How to Use ‘Double Masking’ for More Natural HDR Blending in Photoshop
If you want ultimate control over your High Dynamic Range images, manual blending is still the way to go. But creating a perfectly blended image from two or more exposures using layer masks can be challenging.
In this excerpt from my HDR Master Class, I show you a method I call double masking. Instead of using straight luminosity masks or a mask I created manually with the Brush tool, I’ll combine these two techniques to make a complex blending task much simpler and gain more control.
In a Nutshell…
The basic idea of this technique is to use two layer masks that are nested using a group in Photoshop. In this way, both layer masks are effectively intersected. The outer mask is a modified luminosity mask, the inner mask is created manually.
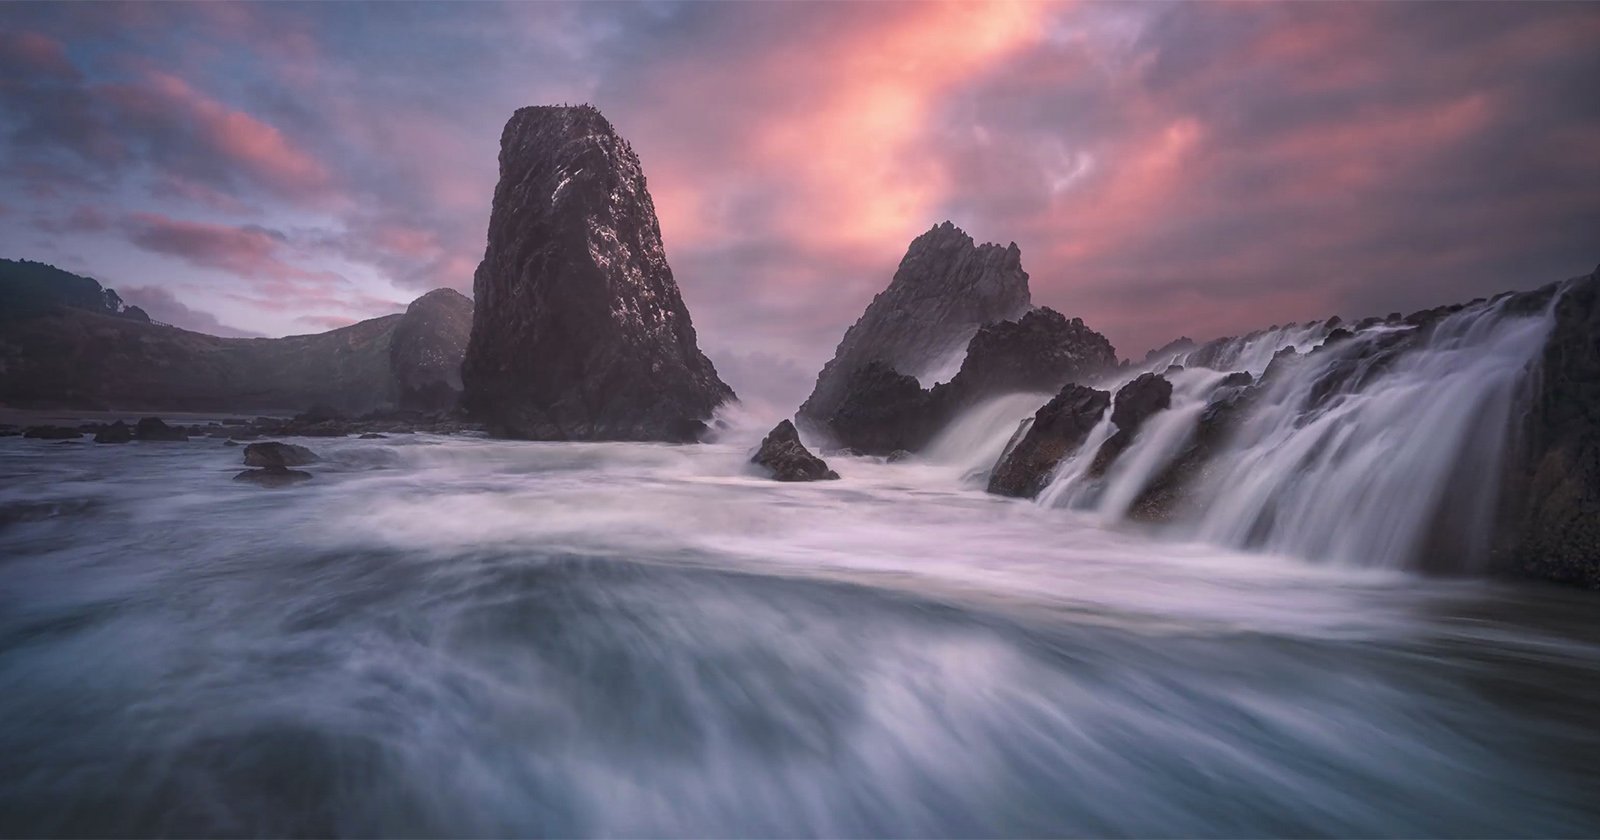
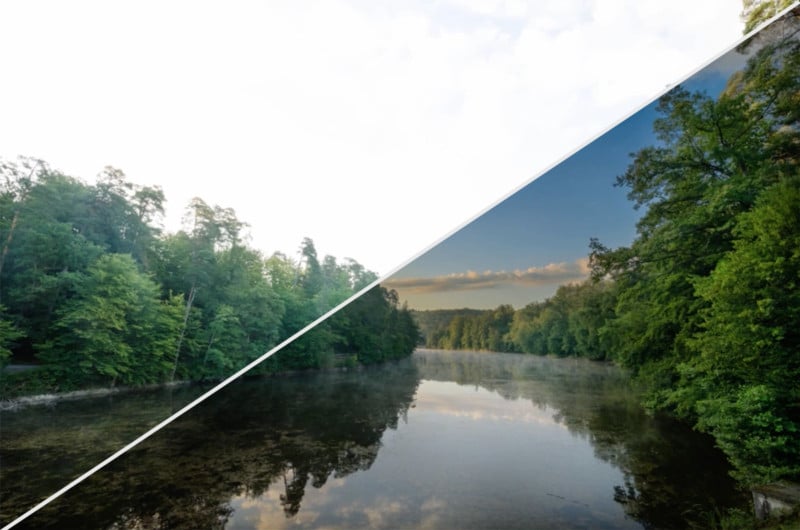
As you can see in the video, this enables me to gradually blend the sky from the darker exposure with the foreground of the brighter exposure without any visible seams or artifacts. Moreover, it is very easy to modify and correct the resulting mask.
About the author: Klaus Herrmann is a photographer, author, and educator with a creative mind and a passion for teaching. To see more of his tutorials, head over to his website or give him a follow on Facebook, Twitter, and YouTube. This post was also published here.