How to Stack Silhouettes in Photoshop Using Blending Modes
Here’s a 5-minute video by Tony & Chelsea Northrup that will teach you how to use Photoshop to stack multiple exposures of a moving silhouetted subject. The end result is a unique effect that conveys motion in an otherwise still image.
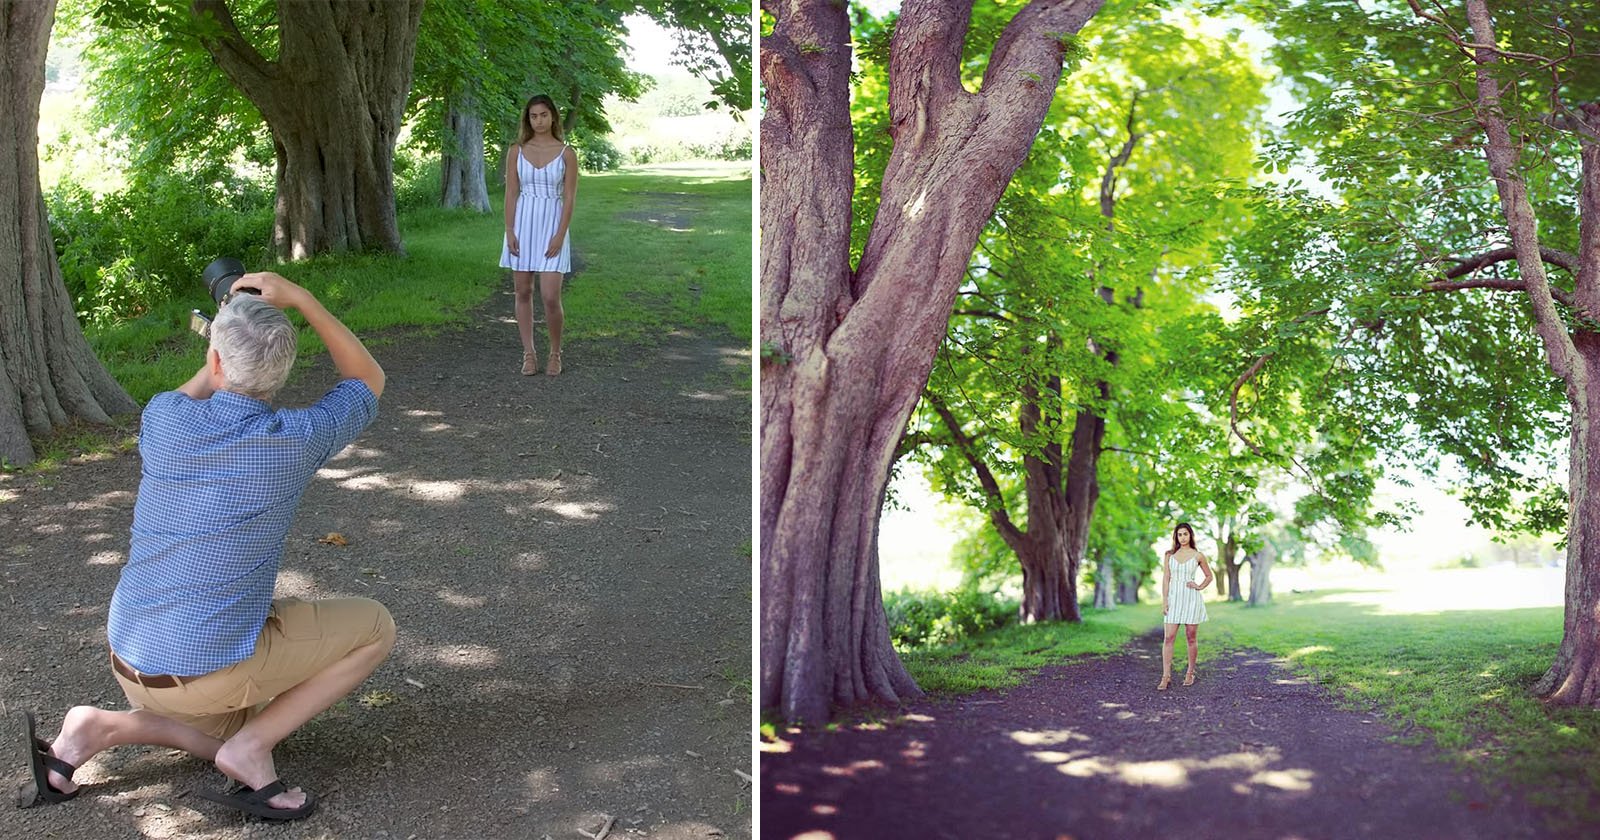
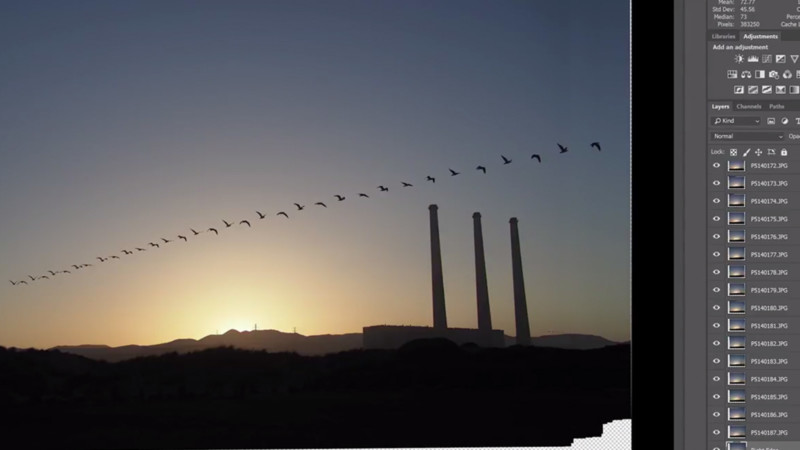
To achieve the effect, first you must take photos of your subject in continuous shooting mode using a fast shutter speed, to ensure the moving subject is sharp. A tripod would be preferable to keep the framing constant, but going hand-held may be okay depending on the lighting.
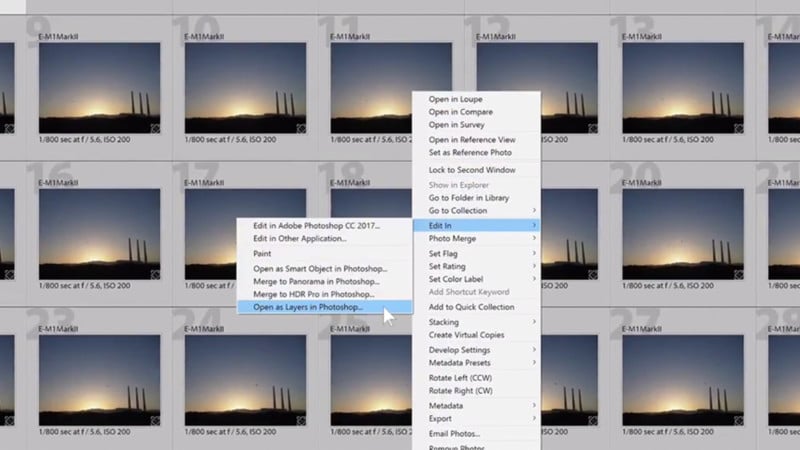
Once you’ve imported your images to your editing software, make sure that any edits you make to them are the same for every image. Select all of the images, right click, and select Edit In > Open as Layers in Photoshop.
As long as you use a tripod for the shots, you can easily align them in Photoshop. Select all of the layers, then go to Edit > Auto Align Layers.
Finally, select all of your layers except the very bottom one, and change the Blending Mode to ‘Darken’. This will work well with the silhouettes, because it will compare to the base layer and show only the darker pixels in the blending layers.
That’s it! It’s a very simple technique, and it demonstrates a creative use of the Darken Blend Mode. If you’d like to learn more about Blend Modes in Photoshop, check out our earlier article, which goes in to depth on all 27 of them.
Take a look at the video at the top for the full tutorial, including an extra tip on using Layer Masks. For more Photoshop and Lightroom tips, be sure to check out Chelsea & Tony Northrup’s YouTube channel.