El Bokeh Wall: How to Create a Beautiful Background with Aluminum Foil
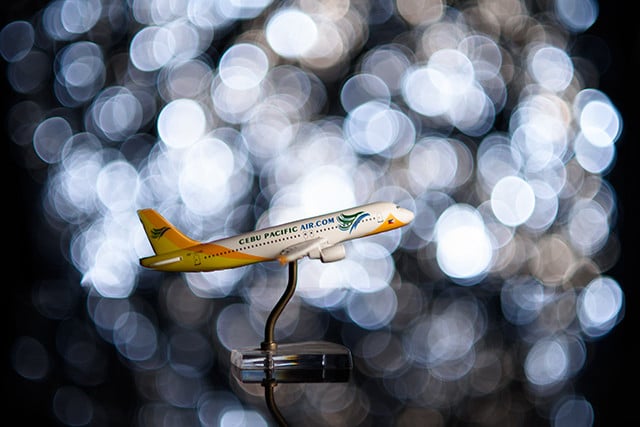
I recently wrote an article about 8 Reasons You Should Buy A 50mm f/1.8 Lens and one part was about using it with the “El Bokeh Wall.” What’s an El Bokeh Wall? It’s using some aluminum foil to add beautiful bokeh to the background of your photos. Here’s a full tutorial on the technique.
What You’ll Need
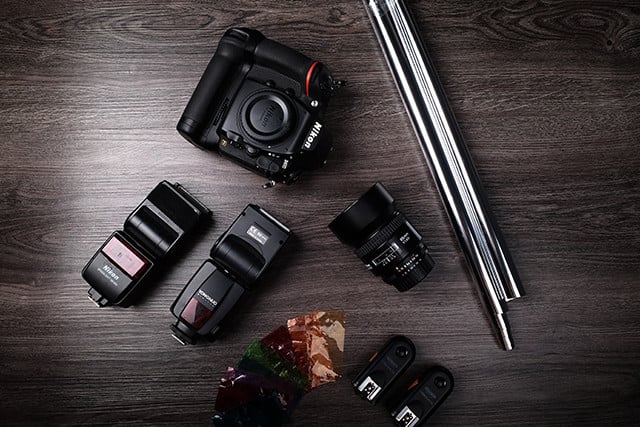
1. A camera and a large aperture lens
2. Speedlights
3. A wireless trigger
4. Gels
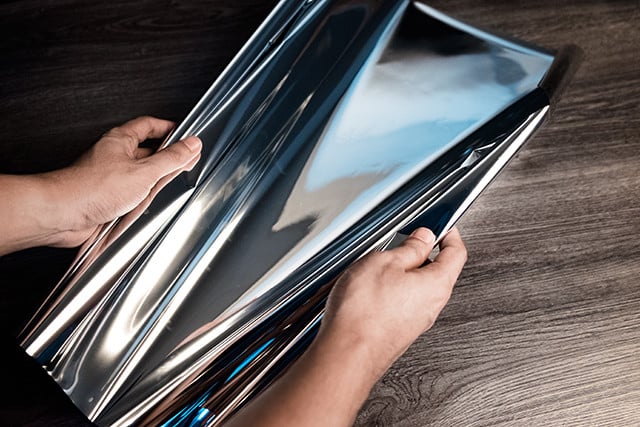
5. Aluminium foil or silver wrapping paper
6. Scissors and tape
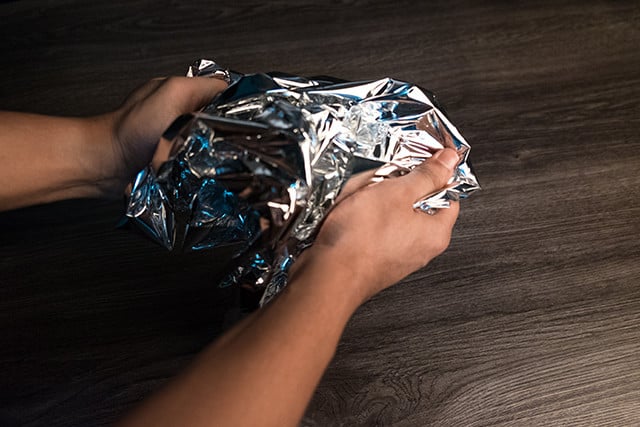
Step 1
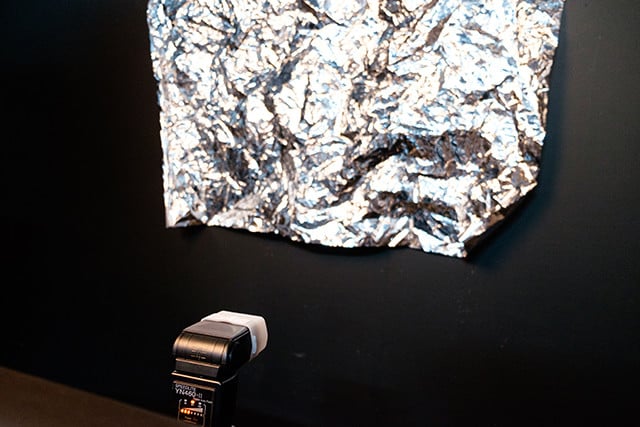
Get your aluminium foil or wrapping paper and crumple it.
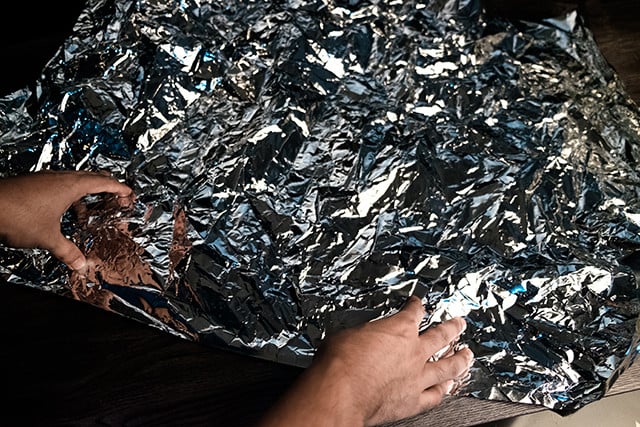
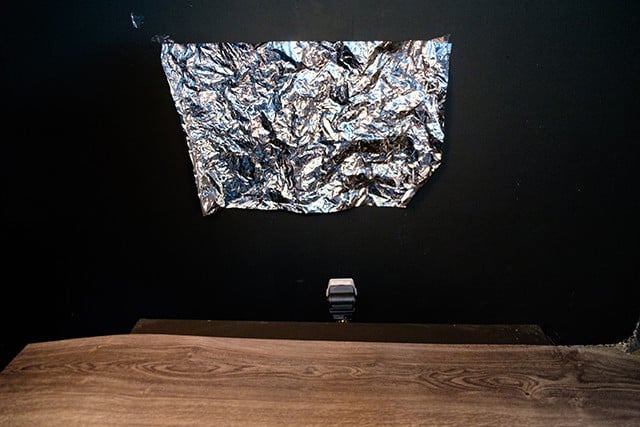
Step 2
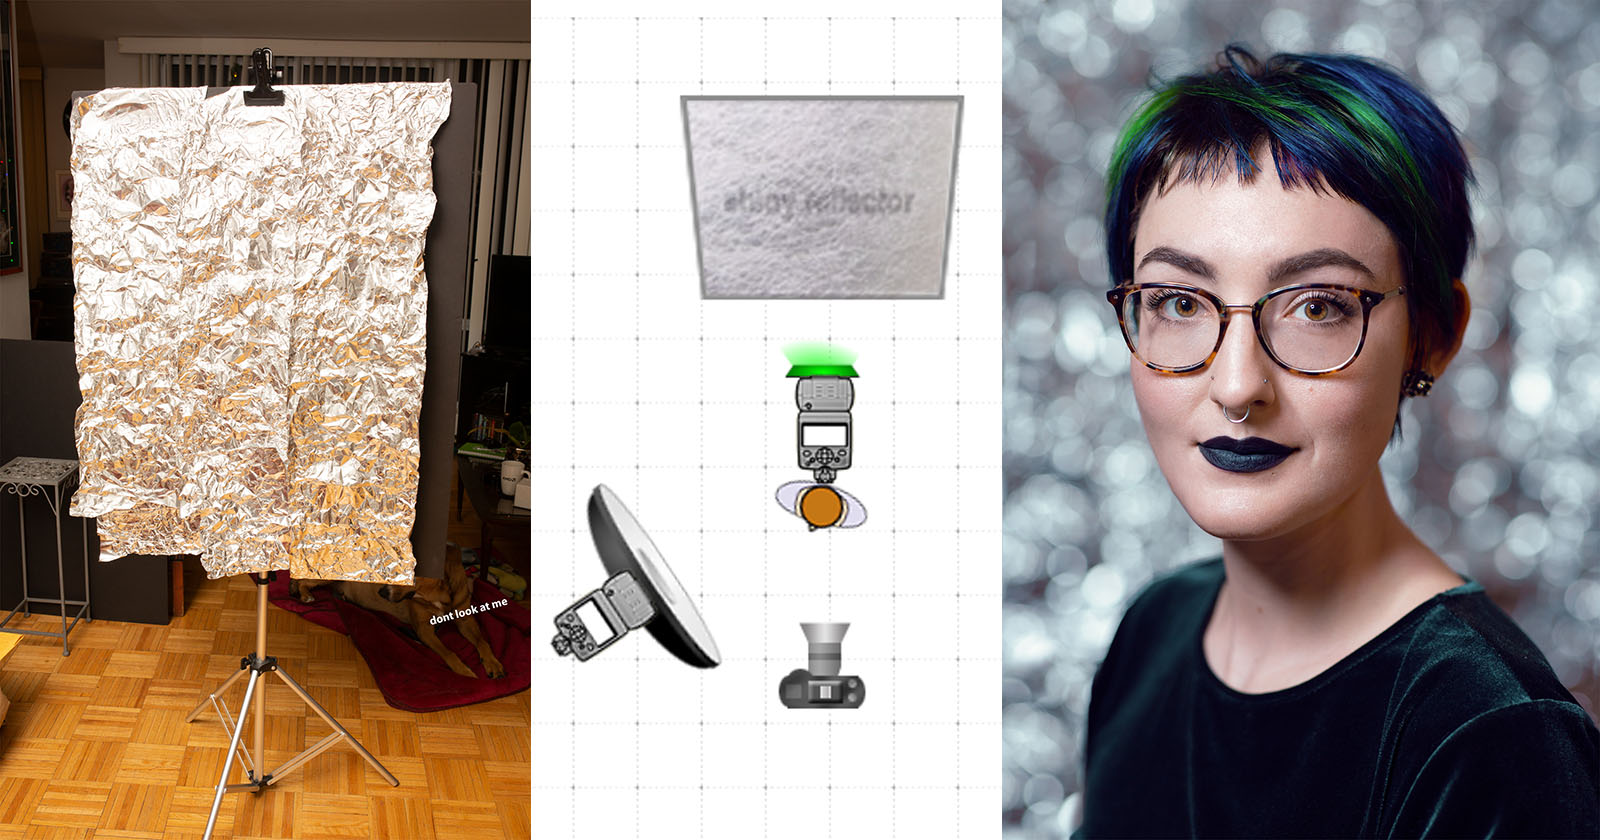
Lay it flat and you should get something like this.
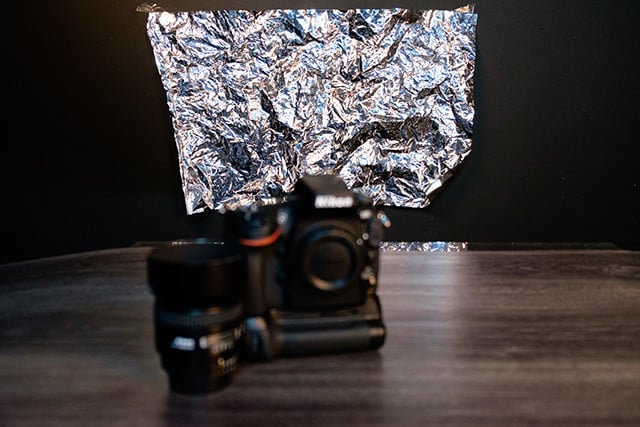
Step 3
Tape it to your background a distance away from the subject. In this case, it’s about 5 to 7 feet away.
I had all the room lights and modeling lights of my studio strobes turned on as I was shooting this tutorial. You don’t really need speedlights or flashes to get the bokeh effect as I was shooting the shot below with the ambient light that I had.
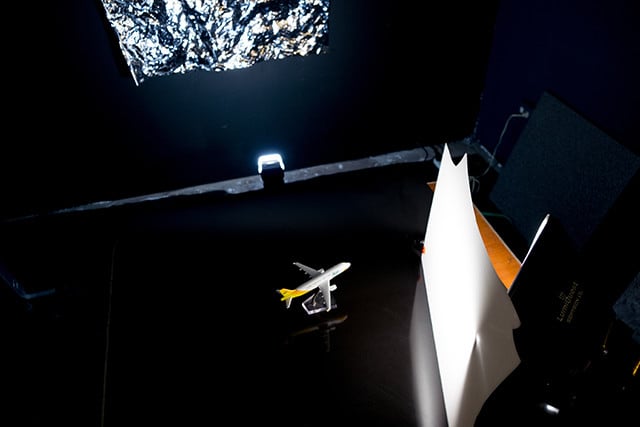
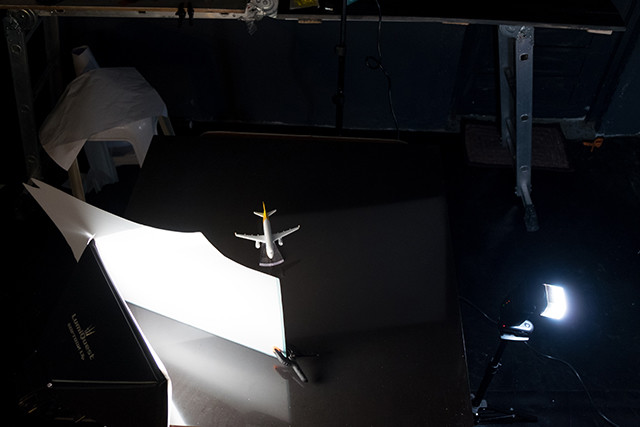
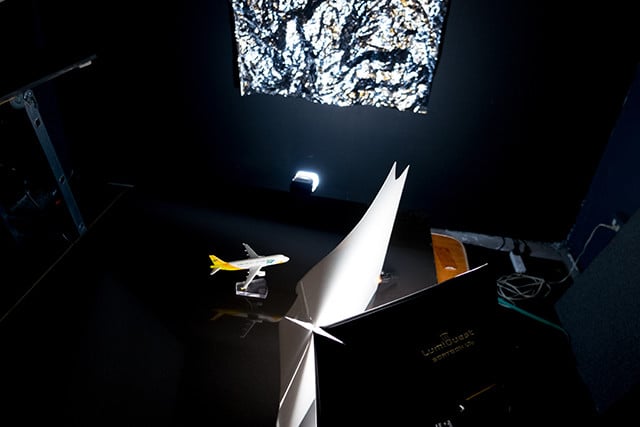
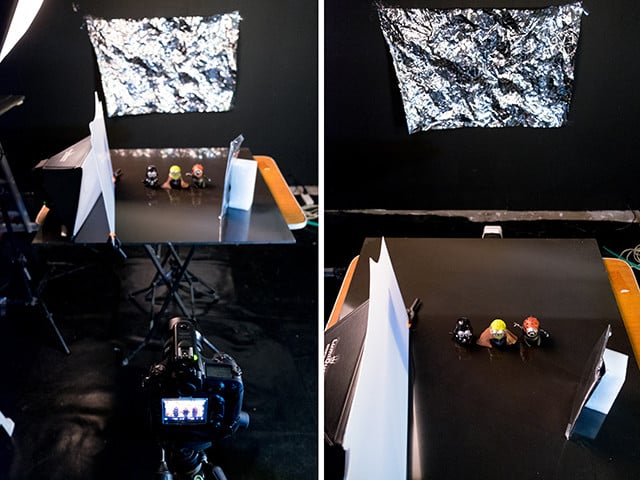
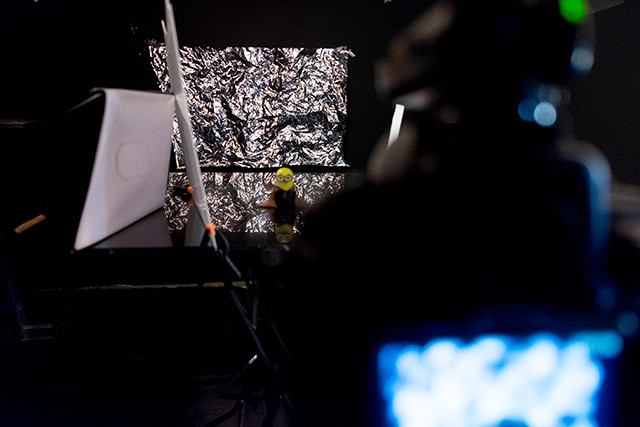
Here’s a shot of the setup I used:
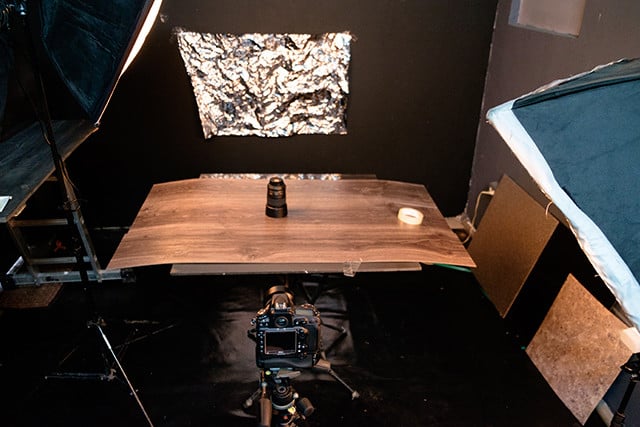
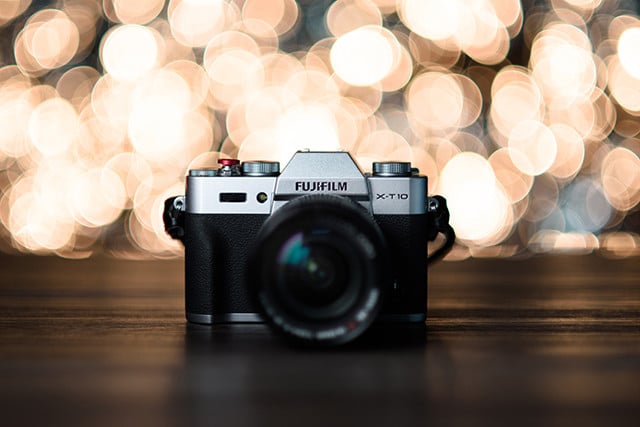
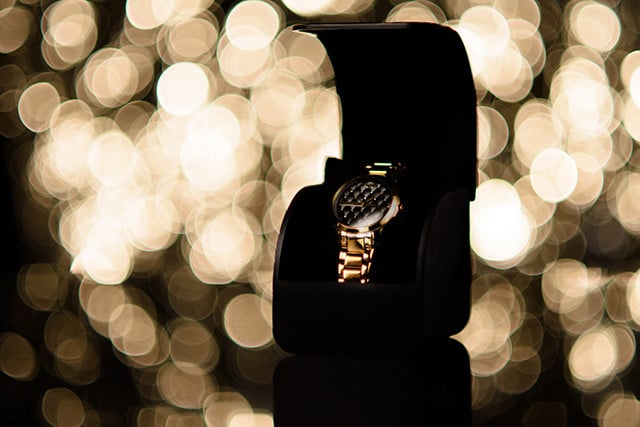
This is what the photo looks like with just ambient lighting:

But I still prefer shooting with speedlights as you have more control over your light.
Step 4
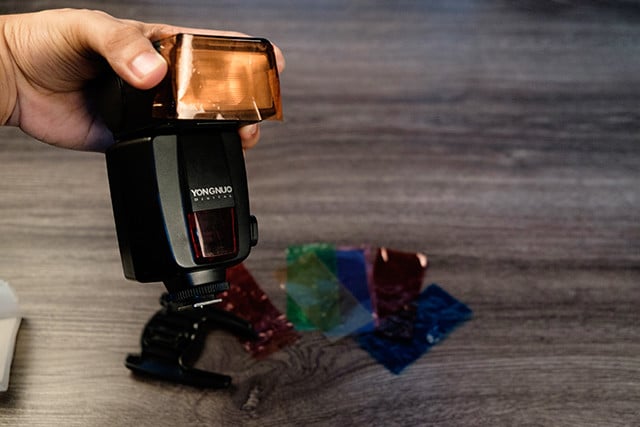
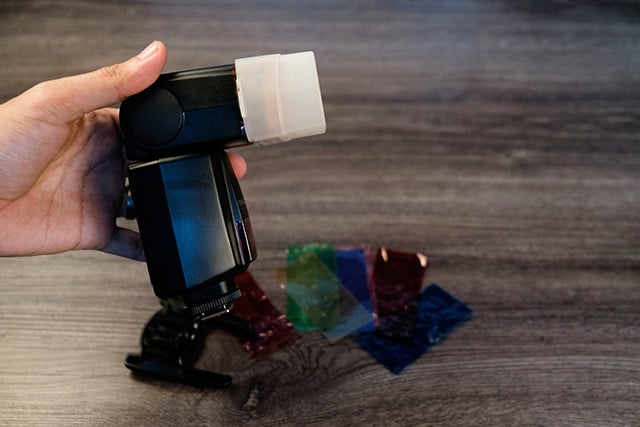
Get your speedlight and choose a colored gel for the background that you want. I also used a stofen omnibounce diffuser on top of my speedlight to get a more balanced light on my background.
Step 5
Place your speedlight with gel below your shooting table and point it towards your background (the crumpled aluminium foil). I normally set my speedlight to the lowest power because you will be shooting wide open. One trick I do when I still get too much power out my speedlight is put a piece of tissue in front of it to cut more light.
Step 6
For the main light I used a speedlight with a small softbox and diffused it some more with an acrylic sheet in front.
I was shooting with a Nikon D810 and 85mm f/1.8 lens at 1/160 ISO 64-160 and playing around from f/1.8 to f/2.2.
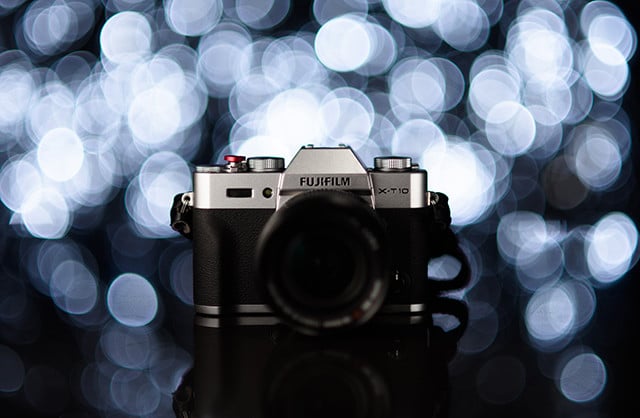
Using a CTB Gel for the background:
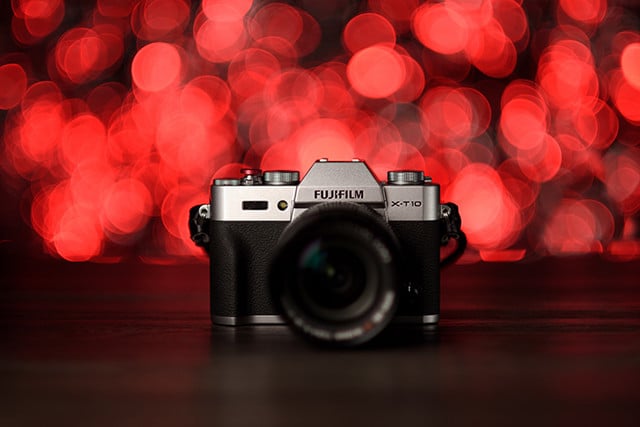
While my 4-year-old son was having his nap, I grabbed some of his minions for my subject. I had Red Gel for the background and I was using a bond paper to reflect light from my main light.
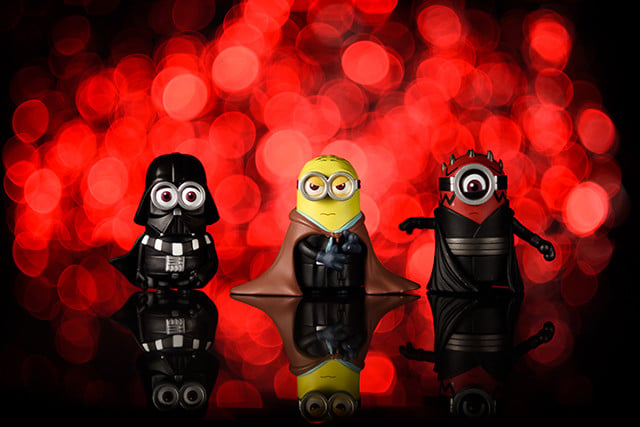
Playing around with different gels and subjects:
There you have it: the technique I call the “El Bokeh Wall.” Have fun with it!