DIY: A Cheap and Effective Rig for Digitizing Negatives Using a Smartphone
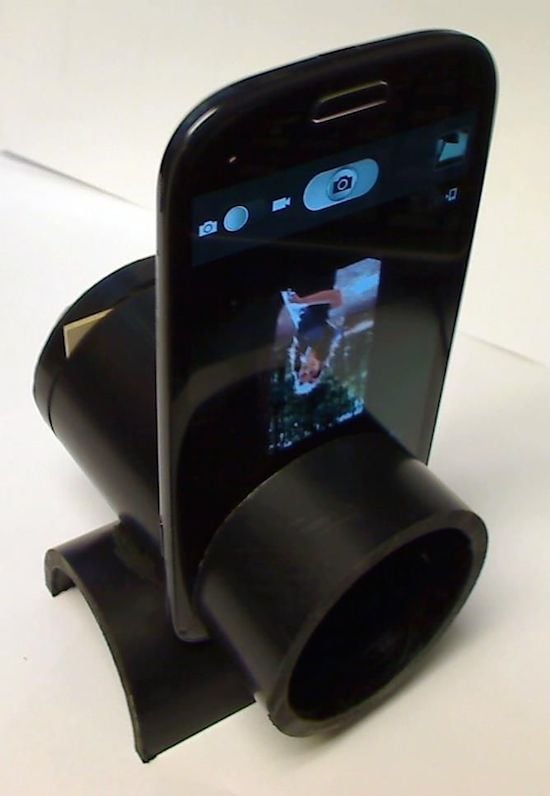
If you’re looking for a quick and easy way to digitize your old slides and negatives, this tutorial is just for you. Created by Instructables user barkergk, this clever DIY setup uses minimal supplies, but leaves you with some impressive results.
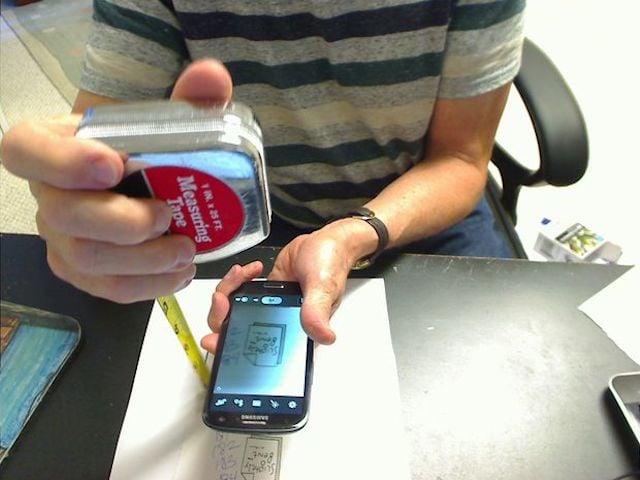
The items you’ll be needing for this little weekend project are PVC pipe, vellum paper, saw, ruler, drill, sand paper and glue. Once you’ve amassed your needed materials, use the ruler to determine the minimum focusing distance of your cell phone.
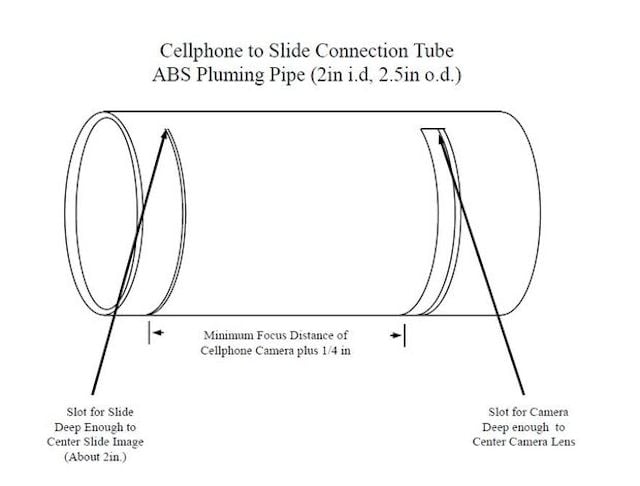
Now that you know that, take the small section of PVC pipe and map out where the cuts will need to be made — one for the phone and one for the film. Then use the saw to slice out the two slots at the needed size.
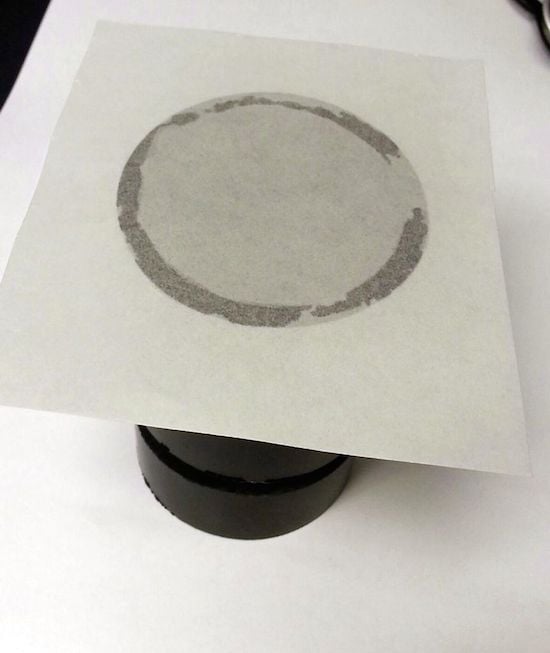
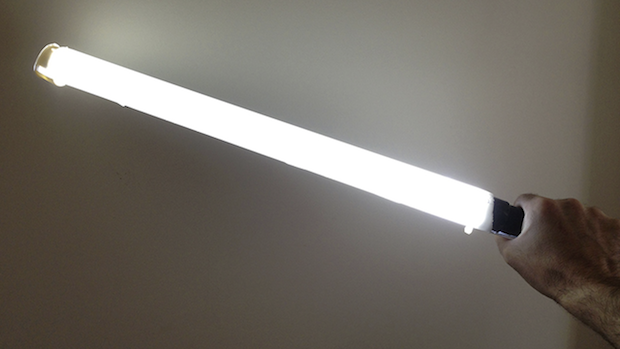
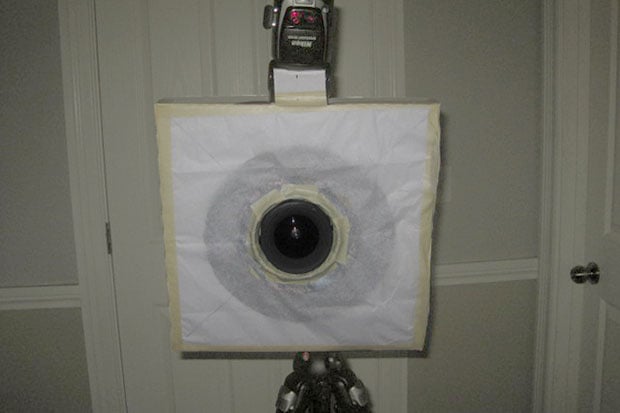
This is where the vellum paper comes into play. The vellum paper is attached behind the film slot to diffuse the light when shooting through the tube and ensure the negative is evenly lit, even in less than ideal lighting situations.
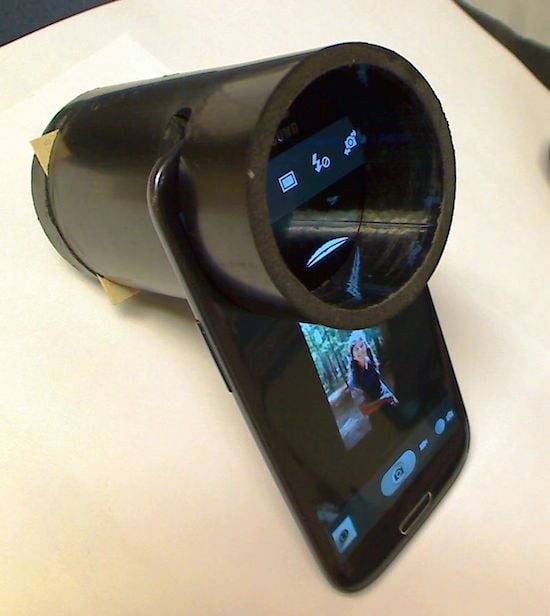
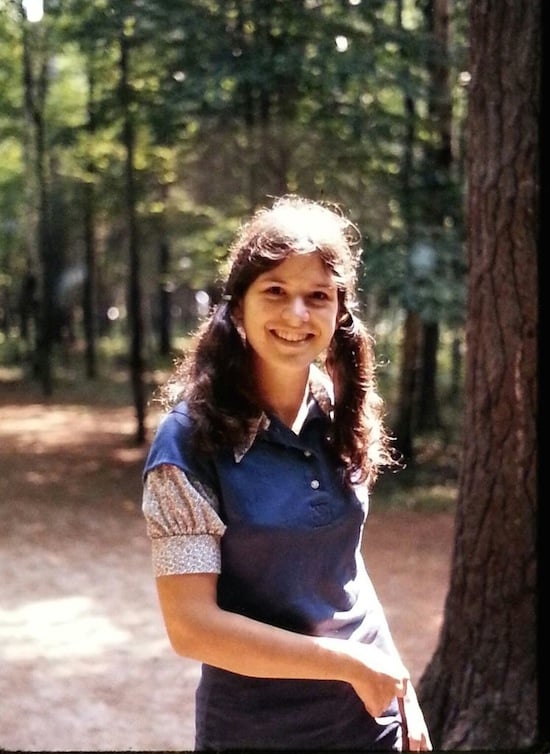
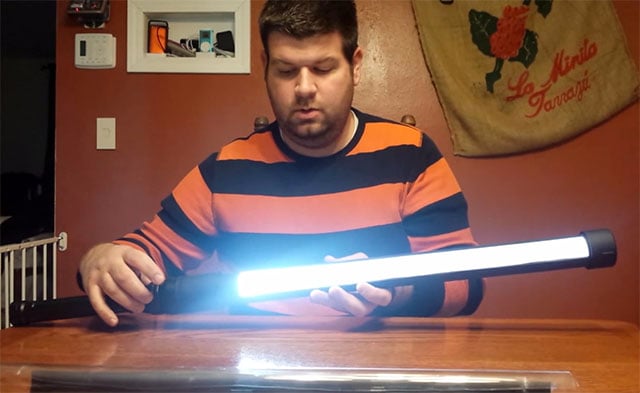
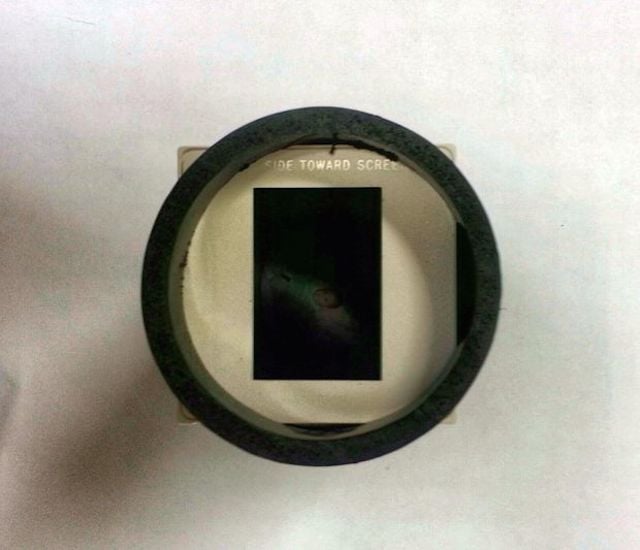
Now, all that’s left to you is to snap the photo, sync it as you please to your computer, crop and tweak to taste. The video below shows you how he created the first iteration of this project, so if you’d like an overview (albeit with slightly different materials) you can watch the seven minute tutorial.
Obviously this won’t compare to a CanoScan, but it’ll certainly get the job done with almost zero investment and it’s super portable to boot.
For detailed step-by-step instructions and pictures galore, head on over to the Instructable by clicking the link below.
35mm Slide Converter For Cellphone [via Instructables]