The LomoGraflok 4×5 Instant Back Review: A New Twist for Large Format
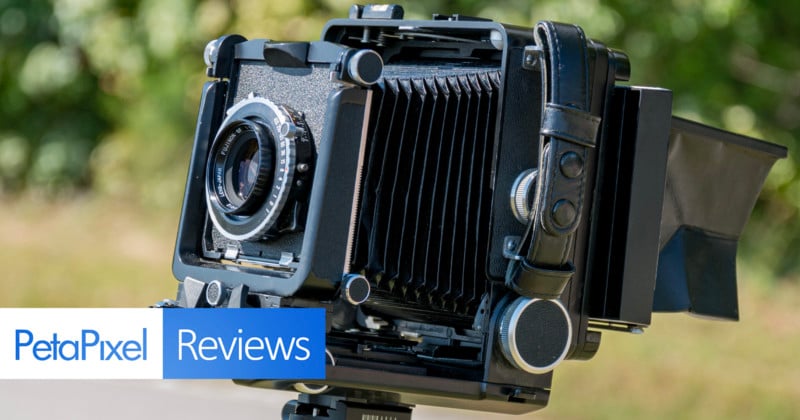
Not many people own a 4×5 camera let along actually use them, which makes Lomography’s new LomoGraflok 4×5 Instant Back particularly interesting. It allows those with 4×5 Graflok-equipped large format cameras to shoot with Fujifilm Instax Wide film It’s niche, but should appeal to a very small, but passionate, group of photographers.
Instax Wide is the largest instant film format on the modern market, making it the optimal choice for large format cameras. But this is far from the first 4×5 instant film back in history — Polaroid film backs were incredibly common for many cameras in the film era. Most medium format cameras, at least those with interchangeable or removable backs, and even many 35mm cameras (like the Nikon F3) had accessory Polaroid backs readily available.
Most of the time, these backs were used by medium and large format photographers to both visualize depth of field (especially for large format which is focused wide open and then usually stopped down considerably), experiment with framing and movements, and to ensure proper exposure. Of course, Fujifilm Instax didn’t exist at that time. Instead, the most recent variation was Fujifilm “peel apart” film (FP-100C or FP-3000B).
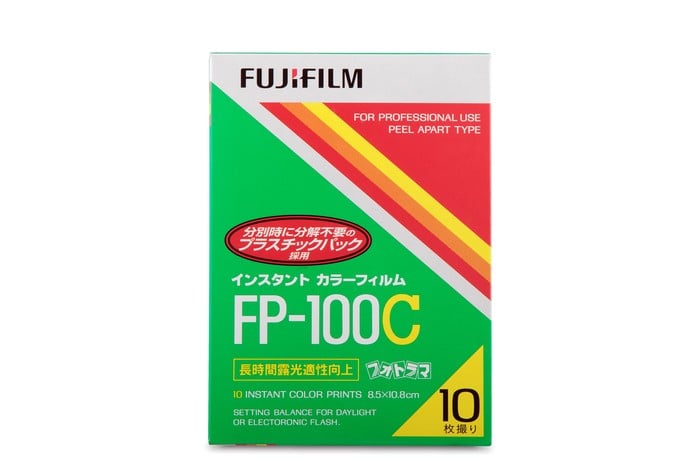
Unfortunately, this film was discontinued in 2016 — a shame given its truly excellent image quality that, in my mind, has yet to be matched by anything else.
It is still possible to find expired peel-apart film on eBay, but the quality is always a shot in the dark depending on the storage conditions and supply is finite and ever-dwindling. Oh, also they sell for about $100 per ten-sheet pack. The backs themselves are also extremely prone to clogging up from the film’s photochemicals, which build up in the rollers over time. Any issues like these with the rollers or the film itself will almost certainly result in smeared, streaky photographs as the chemicals fail to spread evenly.
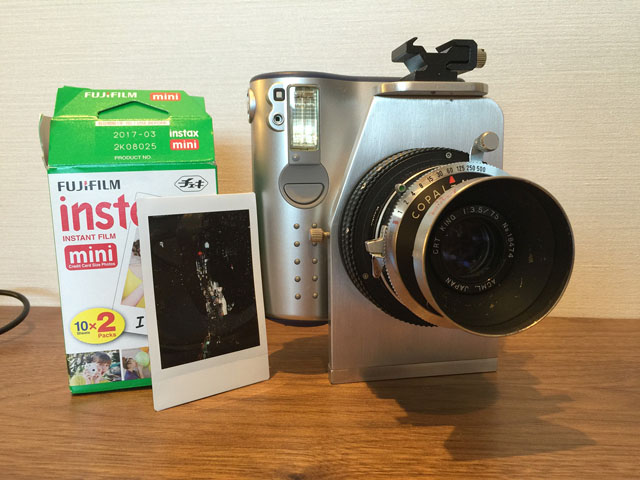
This is the market that the LomoGraflok 4×5 Instant Back steps into. Instax Wide is readily available — in both color and black and white — at tons of online retailers as well as stores like Best Buy or Walmart. The LomoGraflok is the first readymade solution on the market to utilize Instax film with 4×5 cameras.
Design and Build Quality
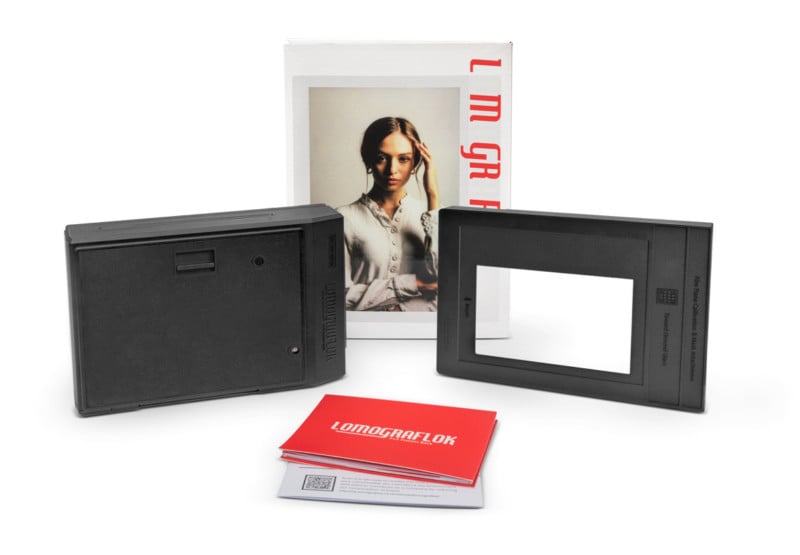
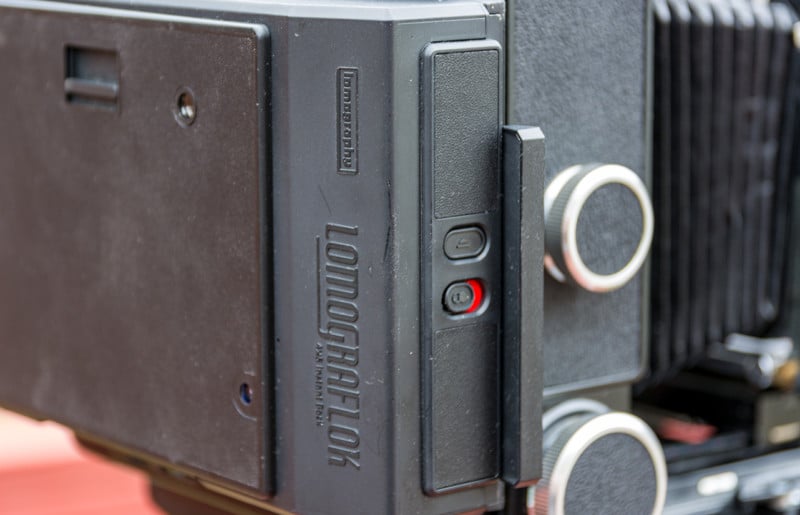
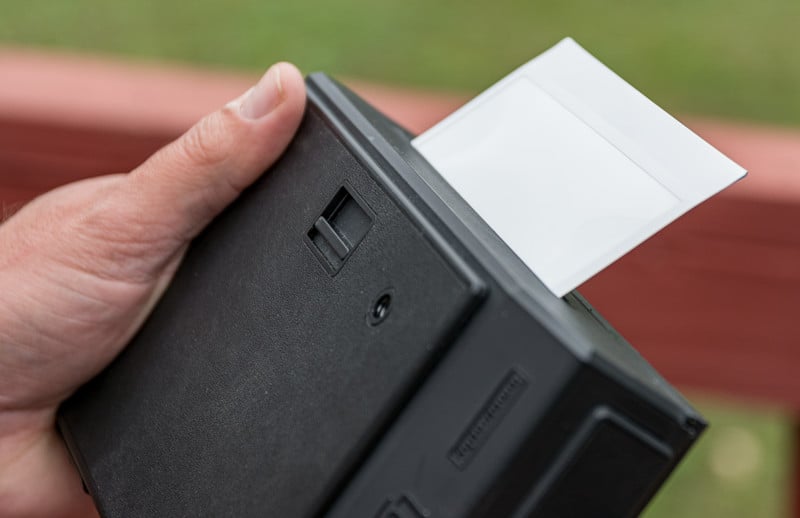
The LomoGraflok is comprised of two main parts: the first is the actual back itself, powered by four AA batteries, in which the Instax Wide cartridge is inserted. It contains a dark slide, an ejection port, a power on/off switch (which also locks the dark slide and prevents accidental ejection), and the ejection button. Secondly is the focus compensation/composition mask. Unlike film holders, which allow the sheet film to be positioned on the same focal plane as the ground glass, the LomoGraflok necessitates a 19mm back-focus compensation.
4×5 sheet film produces an imaging area of 120mm x 94mm, yielding a 152mm diagonal, and a full-frame equivalent “crop factor” of approximately 0.28x. Instax Wide has a 99mm x 62mm exposure area (about 117mm diagonal), which results in a crop factor of roughly 0.37x. So, because of this smaller imaging area, the mask pulls double duty to compensate both for the focal plane shift and to show you the true frame for accurate composition. The back also includes an automatic frame indicator that counts up to ten (the number of photos in one pack of Instax) — this is illuminated with a blue light to make it easily visible in lower light, which is a nice touch.
The back and mask are made of plastic, which is an entirely understandable and reasonable choice given the target price point. Part of me does, however, wish there was an anodized aluminum or perhaps carbon fiber option available. Because of how many steps are involved and how often you need to insert, remove, attach, detach, and so on, it’s incredibly easy for the plastic to become marred and scratched after a few photos (sorry, Lomography, at least you know that it was used).
The plastic doesn’t feel the most durable: my camera and tripod ended up taking a tumble when a huge gust of wind came through one day (my fault for not hanging weights from the center column). My Wista’s sunshade snapped off, but luckily, the LomoGraflok was not attached; I’m not sure it would have survived the impact without cracking. But all else considered, this is a very decent price-to-performance ratio.
Using the LomoGraflok

Upon opening the box, everything was simple and straightforward: two parts, the mask and the back itself, along with a few pamphlets. Strangely, there were no instructions in the box I received, but since mine was a review loaner, this experience may not be true for retail versions. I loaded four AA batteries in, inserted a pack of film, and went out to give it a go.
Note: Be sure to eject the film pack’s dark slide frame at some point — the back will not do it automatically like an Instax camera.
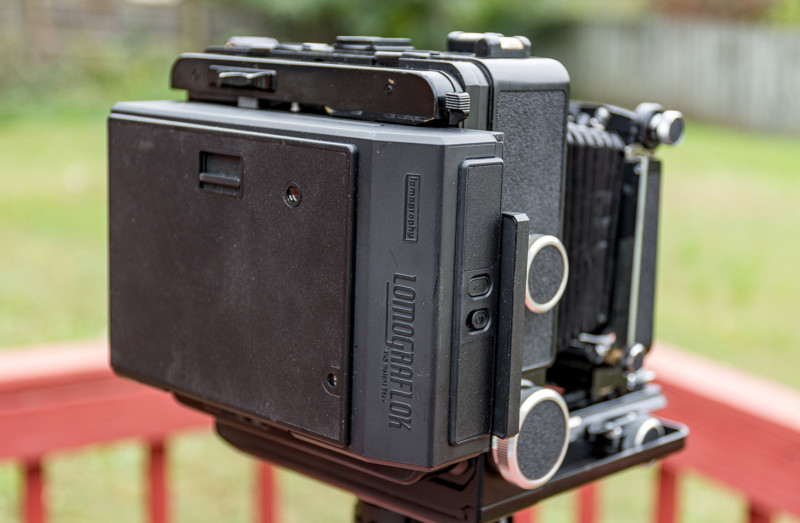
For this review, I decided to use my aforementioned Wista Field 45 instead of my monorail camera, primarily because the latter is incredibly heavy and large comparatively and thus also requires all the attendant bulkier support. Besides, a field camera just feels more appropriate when using something like this. I used my Schneider Kreuznach 90/5.6 Super-Angulon, Nikkor-W 135/5.6, Fujinon W 180/5.6, and Schneider Symmar-S 240/5.6. These yield a full-frame equivalent of about 33mm, 50mm, 65mm, and 90mm respectively on Instax Wide.
Once you have your tripod — I used my Gitzo Traveler and Arca Swiss p0 head — and camera fully set up and ready to focus as you normally would, there are a series of steps you must follow that diverge from how you normally shoot 4×5 film.

Step 1: Slide the frame mask in front of the ground glass, much like you would a film holder. There are arrows and writing on it to indicate which direction it goes. Lock it in place. Make sure you are sliding the mask in from the right — if you do it from the left, you need to rotate everything 180 degrees, otherwise, your photo will be upside down.
Step 2: Focus and compose via the ground glass. The mask will show only the portion that covers the Instax film and the mask itself is built to compensate for the small displacement in the focal plane. Once you have your composition and focus locked in, slide the mask out.
On the note of composition, there is an excellent app (for iOS users) called Mark II Artist’s Viewfinder, which I included in PetaPixel’s list of the Best iPhone Camera Apps, that allows you to choose virtually any camera ever made along with hundreds of lenses to previsualize your frame before setting up your camera or choosing a lens. Because of the slight crop factor between 4×5 and Instax Wide, you will have to input custom focal lengths to match. Since Instax Wide has an aspect ratio fairly close to full-frame 35mm (about 1.6:1 versus 1.5:1), I just chose a generic 35mm film size along with custom full-frame equivalent focal lengths.
Step 3: Detach the ground glass. It depends on your camera and the type of back, but many use springbacks. Push the two springs down at the same time and slide the entire ground glass assembly out. Set it aside.
Step 4: Attach the LomoGraflok back and lock it into place — it slides in the same way the mask or a film holder does, except the ground glass isn’t in the way. Again, make sure the back is inserted in the correct direction — the dark slide should be on the righthand side and the ejection port on the top.
Step 5: If you haven’t closed the shutter from when you were focusing, do that now. Take a meter reading or use your brain and the sunny 16 rule. Personally, I prefer not to use my brain, so I used my Sekonic L-858D-U. If you don’t have a dedicated light meter, there are numerous iOS and Android apps that use your phone’s camera to spit out a reading. My favorite is Photo Light and Exposure Meter, but there are many others that are free (or very cheap) and extremely good. You can even buy accessory light meters that enhance your phone’s metering capabilities — like the Luma 2 Power (iPhone only). However, for that price (and the likely obsolescence of the Lightning port), I would recommend that you get something like the Kenko KFM-1100 or spend a little more and get the Sekonic L-478D-U. Or find a used meter (Gossen, Minolta, Sekonic are all good options) from UsedPhotoPro or KEH Camera.
Something important to note when taking a meter reading or using the sunny 16 principle is the sensitivity of the film. Fujifilm does not label the ISO anywhere on the box — I assume because until now, Instax was used entirely with some level of automated exposure — but a quick Google search will reveal both the color and monochrome Instax film is rated ISO 800.
Step 6: Set your shutter speed and stop down your aperture (if applicable). Cock the shutter, turn on the back. Remove the dark slide. Fire the shutter. Reinsert the dark slide.
Step 7: Remove the back and eject the film — you can also eject while the back is attached, provided nothing on your setup is blocking the ejection port. Make sure you power the back off at all times, aside from when you are exposing and ejecting the photo. The ejection button is extremely easy to accidentally press — I lost about seven or eight photos to accidental ejection.
Everything is fairly straightforward and if you are accustomed to shooting large format, you shouldn’t have many issues. The biggest possible pain point, without a doubt, is the number of extra steps that involve removing and reattaching — primarily the ground glass, which is not necessary to remove when shooting sheet film. All these steps make it extraordinarily easy for your frame to shift around, so a solid tripod and head are a must.
It’s disappointing that the back itself could not be made to fit between the camera body and ground glass — as was the case with older film-era Polaroid backs. It is not clear to me whether the mask itself is compensating for the focal plane displacement of the back or whether the necessity of the mask means that the back must also be larger to compensate for the mask. Either way, I would love to see a design that makes the removal of the glass unnecessary, but I am sure Lomography already went through that process and determined it not to be viable. It would likely require a type of film that was entirely manual (like Fuji’s peel-apart film) — I imagine the motorized nature of the back contributes quite a lot to its thickness.
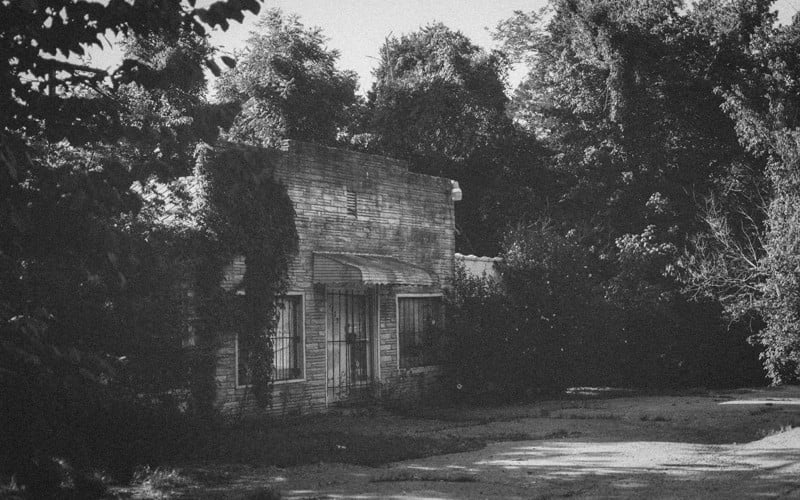
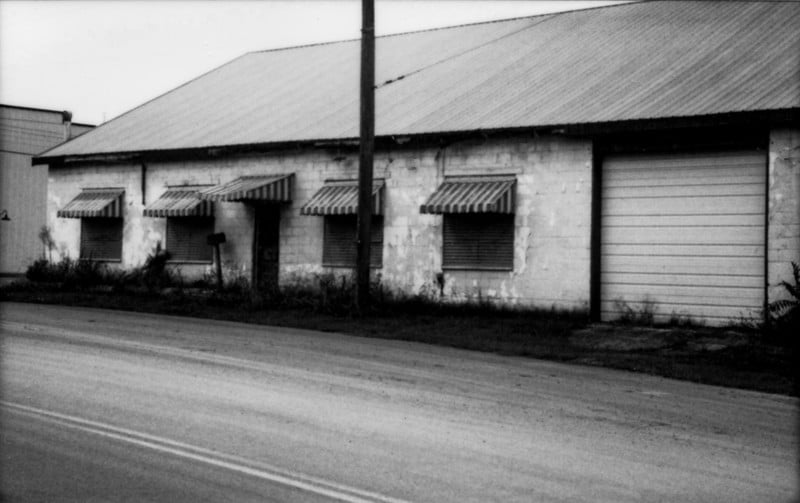
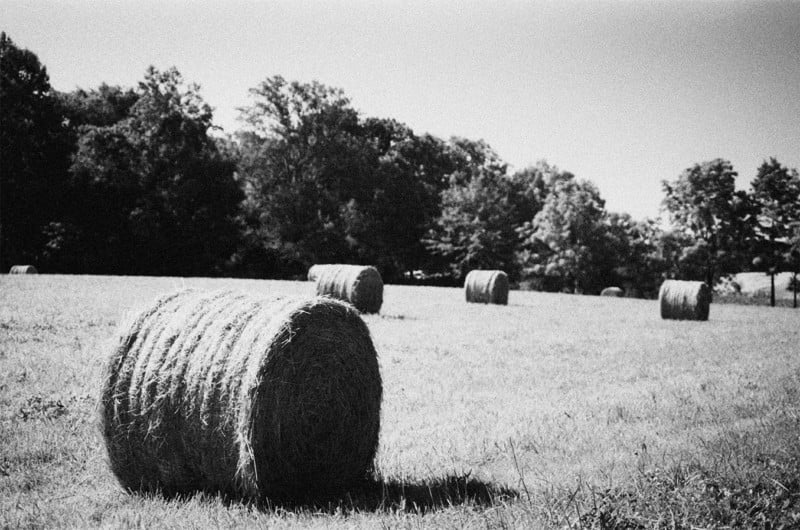
I also have to say — and this is not a comment on Lomography or the LomoGraflok — I was quite disappointed in the monochrome Instax. The color Instax is quite decent, saturated with nice contrast (but not overly so), and makes for a great out-of-camera result when exposed properly. The monochrome is muddy, washed out, and has an insanely unappealing amount of latitude in the highlights — quite the opposite of black and white negative film. All the monochrome photos presented here have either been edited significantly after digitization to make them somewhat presentable or are simply desaturated color photos.
Digitizing
I feel safe in assuming that a majority of film photographers these days end up digitizing their film at some point. Instant film could go either way. If you are solely using it as a previsualization tool, then you may not care, but I’m sure a lot of users would like the option. Unlike film, however, the traditional method I, and many others, use — a digital camera with a macro lens, copy stand, and LED panel to backlight — will not work here. So, I broke out my Epson V600 flatbed scanner.
Note: Unfortunately, my scanner did not play nicely with macOS Big Sur at all, so features like Digital ICE were unavailable to me. I also had to scan these without the border because the scanner was not cooperating and kept cutting off the bottom of the white border.

Anyone who has digitized negatives using a flatbed scanner knows that you should not be placing the film directly on the scanner’s glass. Instead, scan adapters or masks are used to hold the film just above the glass itself, while ensuring it remains as flat and straight as possible. Using a mask eliminates the dreaded Newton’s Rings, which can appear as anything ranging from an irritation to completely ruining your photo. Finding these masks for 35mm or 120 film is extremely easy — not so much for Polaroids, and even less so for Fuji Instax film.

I would like to see Lomography release a scanner mask for Instax Wide (and other sizes) as an optional accessory for those who do intend to scan their photos. Given that Lomography also makes its own instant cameras, I don’t think it would just be LomoGraflok users who would appreciate this. Considering that the company already make scanning masks for 35mm, 120, and 110, I am surprised this doesn’t exist yet.


Bringing Instant to Large Format Photography
As mentioned, the LomoGraflok is the first readymade solution on the market to utilize Instax film with 4×5 cameras and it does so exactly as advertised. For $150, I have nothing inherently negative to say about the LomoGraflok. The removal of the ground glass may be the most irritating, but it is also likely an inevitability given the smaller frame of Instax Wide requiring a framing mask along with the necessary dimensions of the back itself in order to contain all the motorization.
Mostly, I found myself looking for extended support, which might just be more veiled praise for a system I clearly want to use more often and want to make the process more robust. I would like to see some scanning masks released from Lomography, not only for Instax Wide but all Instax formats. It would not hurt if the company also supported Polaroid SX-70, 600, and i-Type sizes as well. And hey, if Lomography happened to come out with its own 4×5 sized instant film that could fit in front of the ground glass, you would not hear me complain.
Are There Alternatives?
Nope, not really. As mentioned, it is still possible to buy Fujifilm peel-apart instant film and of course, the requisite backs (Polaroid 405, 545, etc.) are easily available, but the back itself plus one pack of the film will cost you about the same as the LomoGraflok. And, given the massive popularity of Instax film, I feel comfortable saying it will be around for quite a while.
It is worth noting, though it is not a direct competitor, that Polaroid (formerly the Impossible Project) does appear to manufacture 8×10 instant film, though it is out of stock at the moment. Now if Lomography came out with their own 4×5 instant film, negating the need for a composition mask, then we might be talking about something truly awesome — and hopefully higher quality than the frankly dreadful Instax film.
Should You Buy It?
Yes, if the idea of shooting to Instax film with a 4×5 camera appeals to you. The system definitely works as advertised and fans of 4×5 large format photography should really ejoy this system.