Simple Lightroom Trick Helps You Find Sensor Spots (or Anything Else) in Your Photos
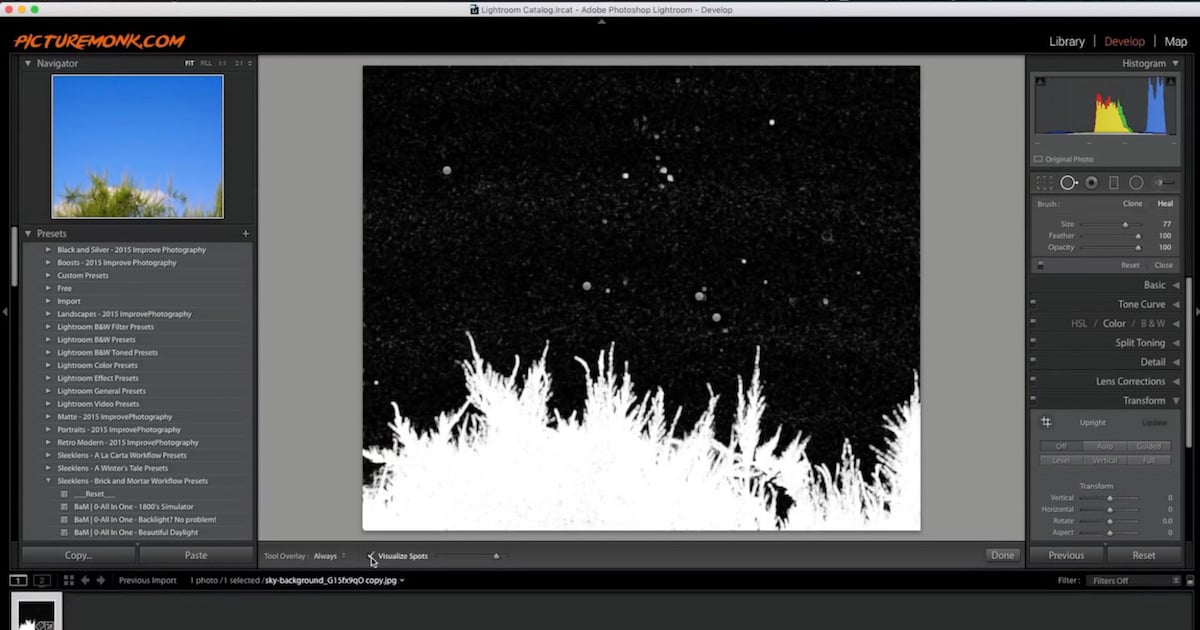
Using Lightroom to remove spots caused by sensor dust is a pretty straight forward process: just click “Visualize Spots” and use the Spot Removal tool, right? Well, photographer Anthony Morganti thinks that he’s discovered a better way, and in the video above he shows you a “hidden” Lightroom trick that makes it easy to systematically search your images for sensor spots… or anything else for that matter.
The key word above is “systematic.” The “trick” isn’t some sort of special hidden feature baked into Lightroom Classic, but a keyboard shortcut that allows you to zoom into your photo at 100% and search it, block by block, without missing or overlapping a single pixel. It’s like an infinitely more optimal version of dragging your image around manually.
Here’s how it works:
After clicking on the image to zoom in to 100%, you click the “Home” button (or Function > Left Arrow if you don’t have a Home button) to automatically place your zoom window in the top left corner of the image.

Then you click Page Down (Function > Down Arrow if that key doesn’t exist on your keybaord) over and over again to, block-by-block, scan your image without any wasted pixels.
Credit where credit is due, even if you’ve used Lightroom for years, you may never have known about this simple-but-useful shortcut, and we could see this coming in very handy in certain situations. In a few keystrokes you can systematically comb over every single pixel in your image, ensuring that you’re not missing anything the way you might if you’re just dragging the photograph around.
Check out the full video up top to see how it works and how Morganti uses it to remove sensor dust. And if you appreciate this tip, drop your own “deceptively simple” post-processing trick in the comments.