I Dropped My Camera in Crude Oil… and It Survived
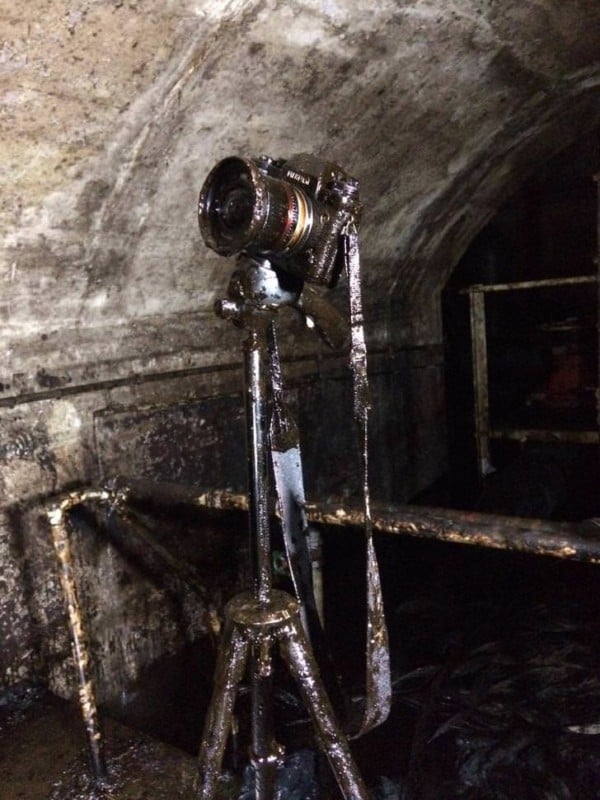
This past week, I had a bit of an accident with my Fujifilm X-T1 while doing some urban exploration in an abandoned fuel bunker. To cut a long story short, I ended up going for a swim in very oily water in a large partially flooded pump room with my camera.
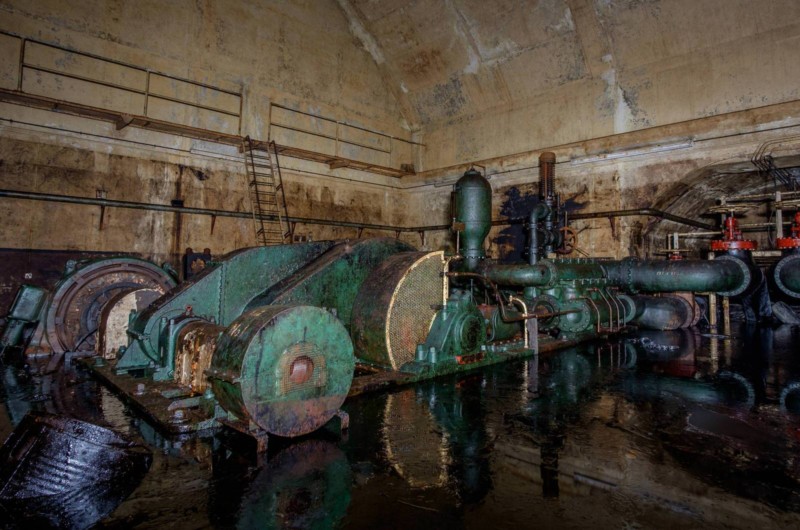
It turned out the floor dropped off and I didn’t notice while walking through with big waders on. Most importantly, I was fine, and I had a friend to help had I gotten into further difficulty. We are both seasoned explorers so we both know the hazards we face quite well.
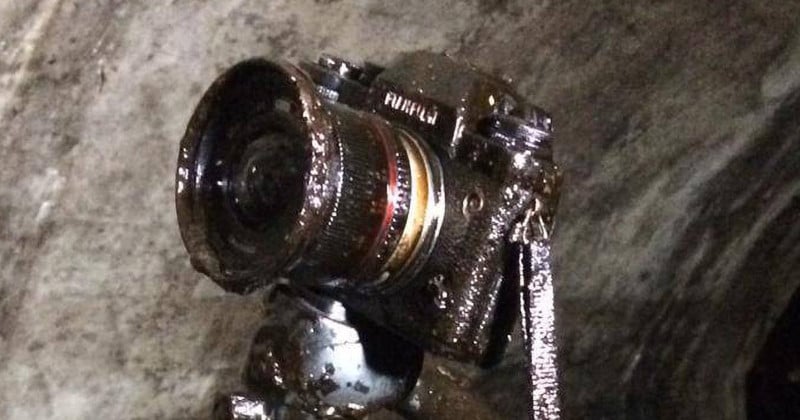
The net result was a very wet me and my camera being submerged briefly in the horrible mixture of crude oil and old water.
Initially, it didn’t look good. I thought it was 100% a case of RIP camera.
However, it was off at the time and the X-T1 is “weather sealed.” So I started nursing the camera back to health.
I began using up my breaks and staying late at my work trying to get it cleaned up and dry. Tried lots of different methods with varying results. I work as an engineer in the science industry, so we have a few bits of kit that turned out to be very useful.
The first thing I did was a clean using isopropyl alcohol cleaner. I used a few different sized Q tips to try and get in the nooks and crannies. This worked pretty well, but only really dealt with the externals at this point.
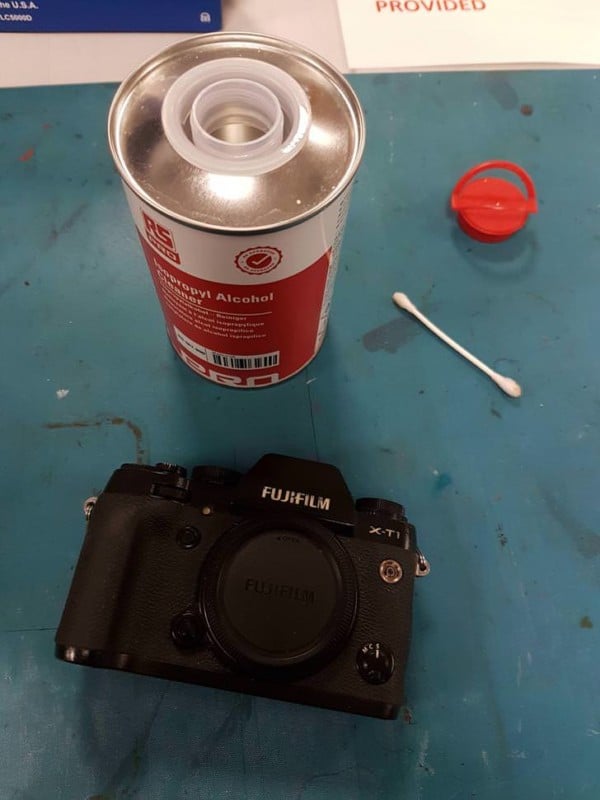
This is how it looked after the first clean:
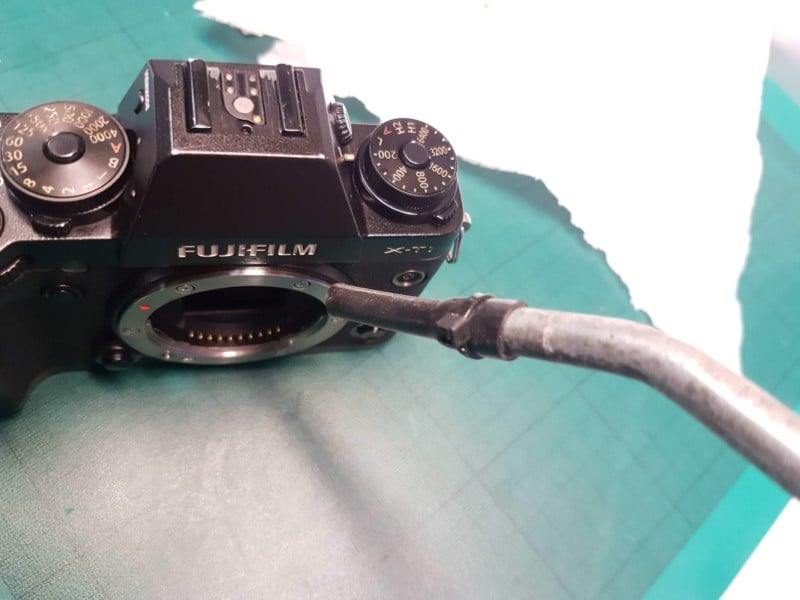
I used an air line to try and chase out the moisture that was stuck inside of the dials and under buttons. I was quite surprised how much water came out of the shutter button. Did a decent job getting it all out.
Next task was to try and get internal moisture out. I’d had it rice for 24 hours, but to be honest, I don’t think it worked all that well. So I thought a few hours in a lab oven at 40°C (104°F) would help evaporate the moisture from inside it — because my job is in the scientific industry, I have access to expensive ovens that can accurately do anything from 20°C to 200°C (68°F to 392°F).
The downside to this was that it evaporated up, and in this instance condensed on the inside of the EVF window and couldn’t really escape. So I turned it upside down with all the flaps open and left it for a couple more hours until all the condensation went.

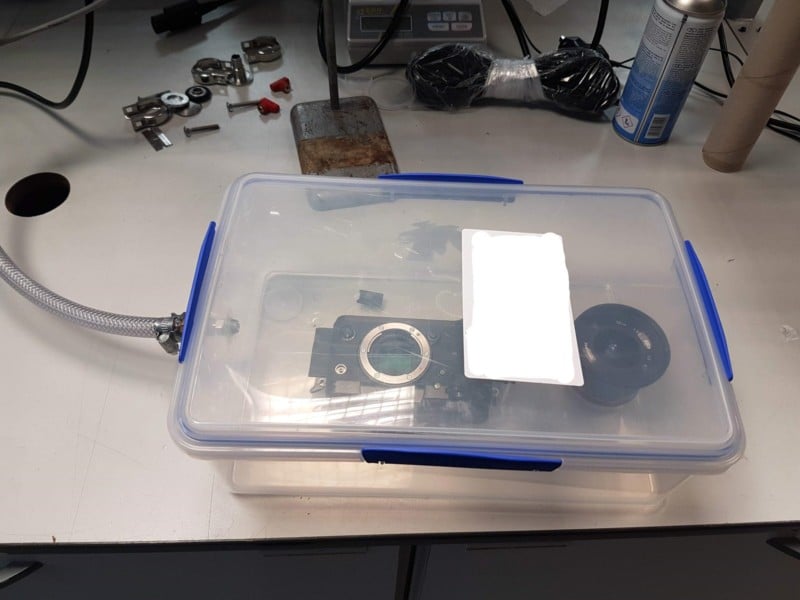
Now this probably got some of the moisture off, but I had a feeling that there might be more still trapped, so I had this crazy idea of using a vacuum pump to vacuum down a box, essentially making a vacuum chamber to pull the moisture out of the air. My first attempted was hopeless, using a Tupperware box with a hose attached to one of our little vacuum pumps. It leaked like a sieve so I gave up on this plan.
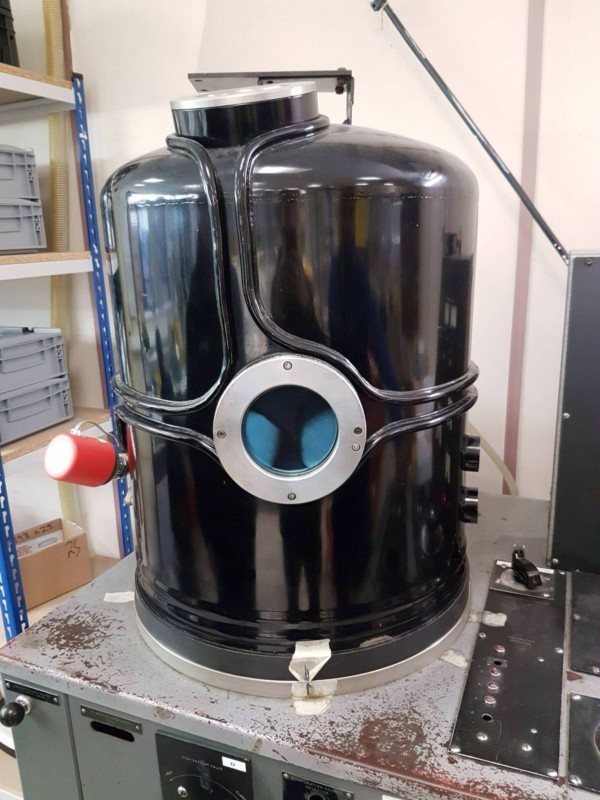
Then I remembered we have an ancient 1960s coating plant that is essentially a massive vacuum chamber designed to coat optics in different metals. It’s old school but built as tough as they come and would, of course, be ideal for just creating a vacuum atmosphere and suck out some of the moisture. I was careful to not vacuum it down too far as I was worried about pressure differentials if there were any sealed parts of the camera. I went down into Torr-3 and then let it slowly drop back to atmospheric over an hour or so.
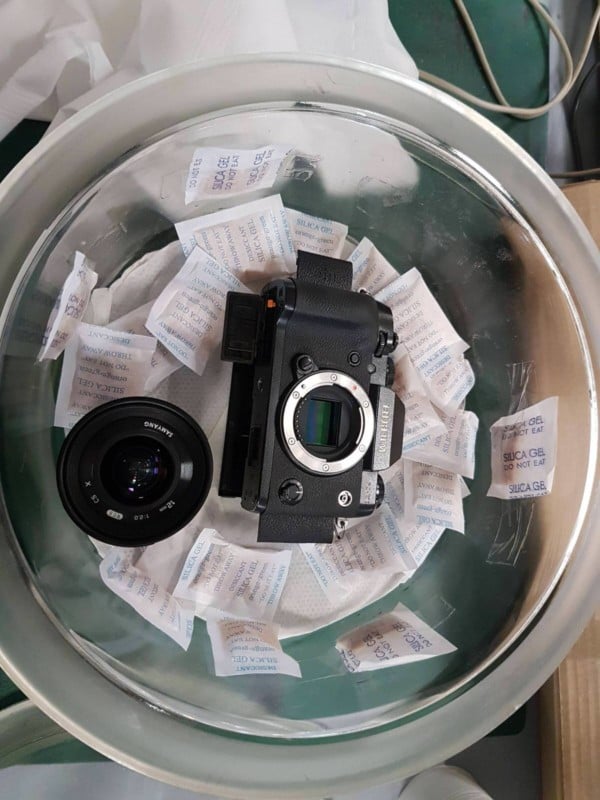
Then I left it in a jar filled with Silica Gel overnight.
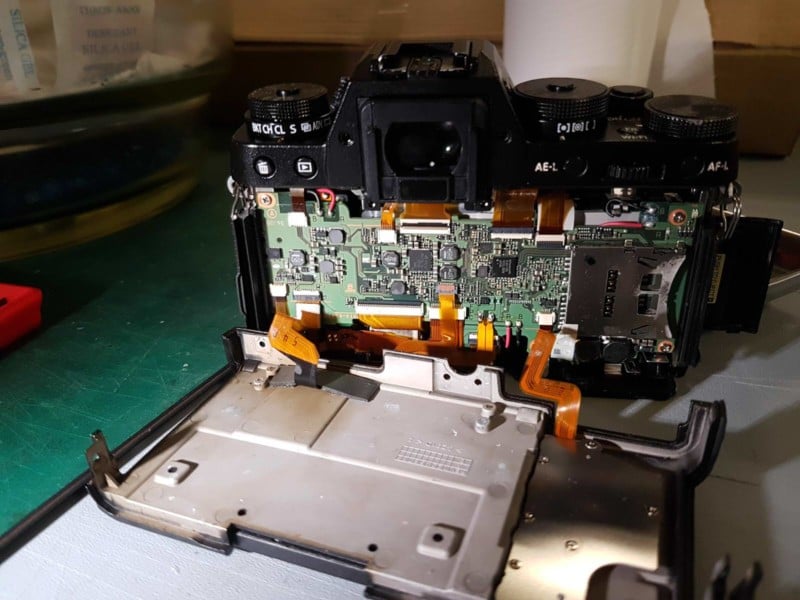
The next day I decided it would be a good idea to open the X-T1 up and see if there was any moisture inside. Following a simple disassembly guide, I had it open in no time at all. I carefully checked inside and it appeared to be bone dry! I left it a little longer in the silica jar with the back open just to get any last little bits of moisture out.
Then I re-assembled the camera and started giving the outside a further clean. Using a toothbrush and more isopropyl I cleaned all the oil discoloration from the white indented markings and button labels. It came up really nicely removing pretty much all of the gunk.

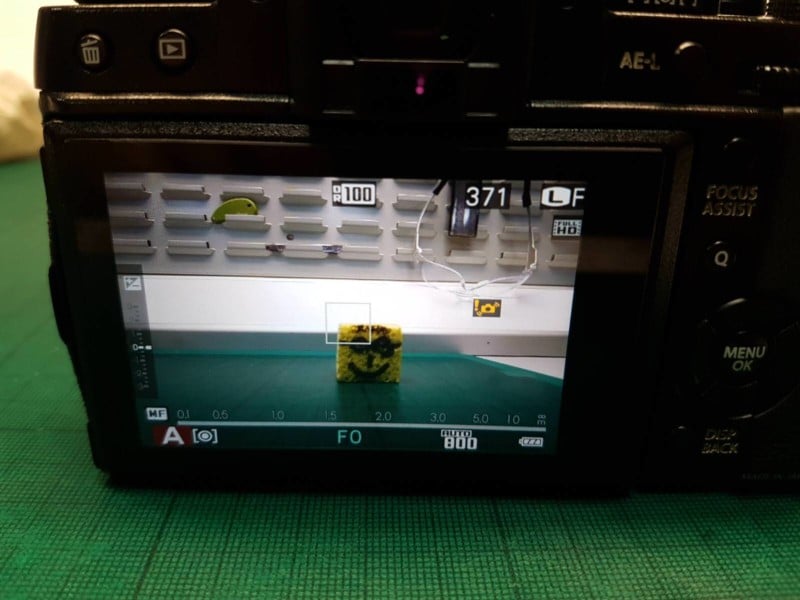
Finally, moment of truth time, I put the battery in. Flicked the button on and the camera sprung into life with a first-time start-up language select screen! It was alive! It had obviously done a factory reset, but that didn’t matter. I tried to take a photo however and it wouldn’t respond to the shutter button. I gave the button another blow out with the airline and removed a little more water that was still in there. Then disassembled it and checked that none of the little ribbon cables inside had been pulled out, but it all looked good.
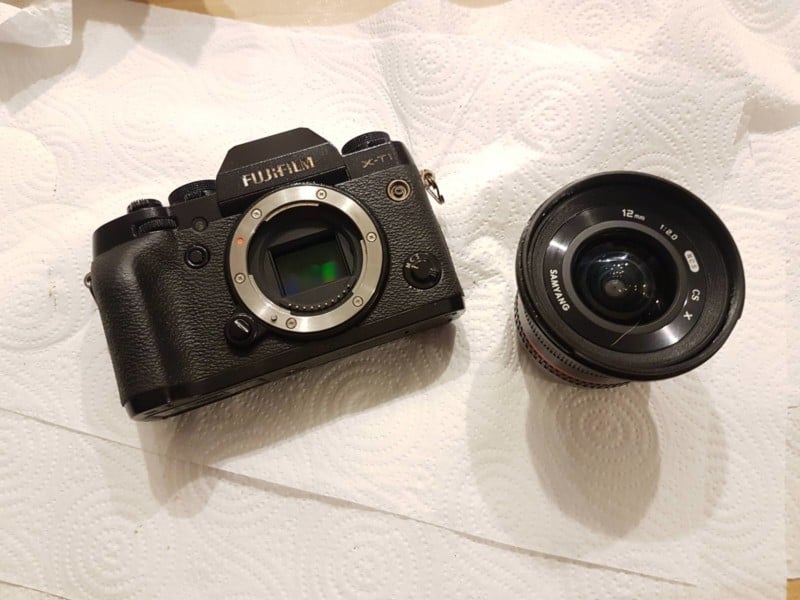
It still wasn’t working upon trying again, until I realized it was a really silly and simple reason why it was doing this. ‘Shoot without Lens’ was back to ‘Off’ in the setting, so it wouldn’t shoot with the manual Samyang 12mm attached! As soon as I changed that setting back to ‘On’ again it worked!
Everything on it seems to work, all the dials and buttons work. It still smells a little of oil if you give it a good sniff, but that will probably a long take time to go, and I can live with that. I’m really chuffed!
The Samyang 12mm lens, which went through mostly the same steps except for the disassembly part, appears to be working fine too. It did a surprisingly good job keeping moisture away from the sensor. There is a little bit of grit under the focus and aperture controls when you rotate them, but it works well enough considering. More importantly optically it seems fine. I’ll give it a proper test in the weeks to come, but I’m sure it’s alright (Although an XF10-24mm might be on the purchase list after Christmas anyway)
Thanks, Fujifilm for making such a badass camera. I love it even more now (even if it is a bit smelly).
Also, I won’t go wading through water with it again, I promise.
About the author: Grahamr1234 is an urban exploration photographer and an engineer in the science industry. The opinions expressed in this article are solely those of the author.