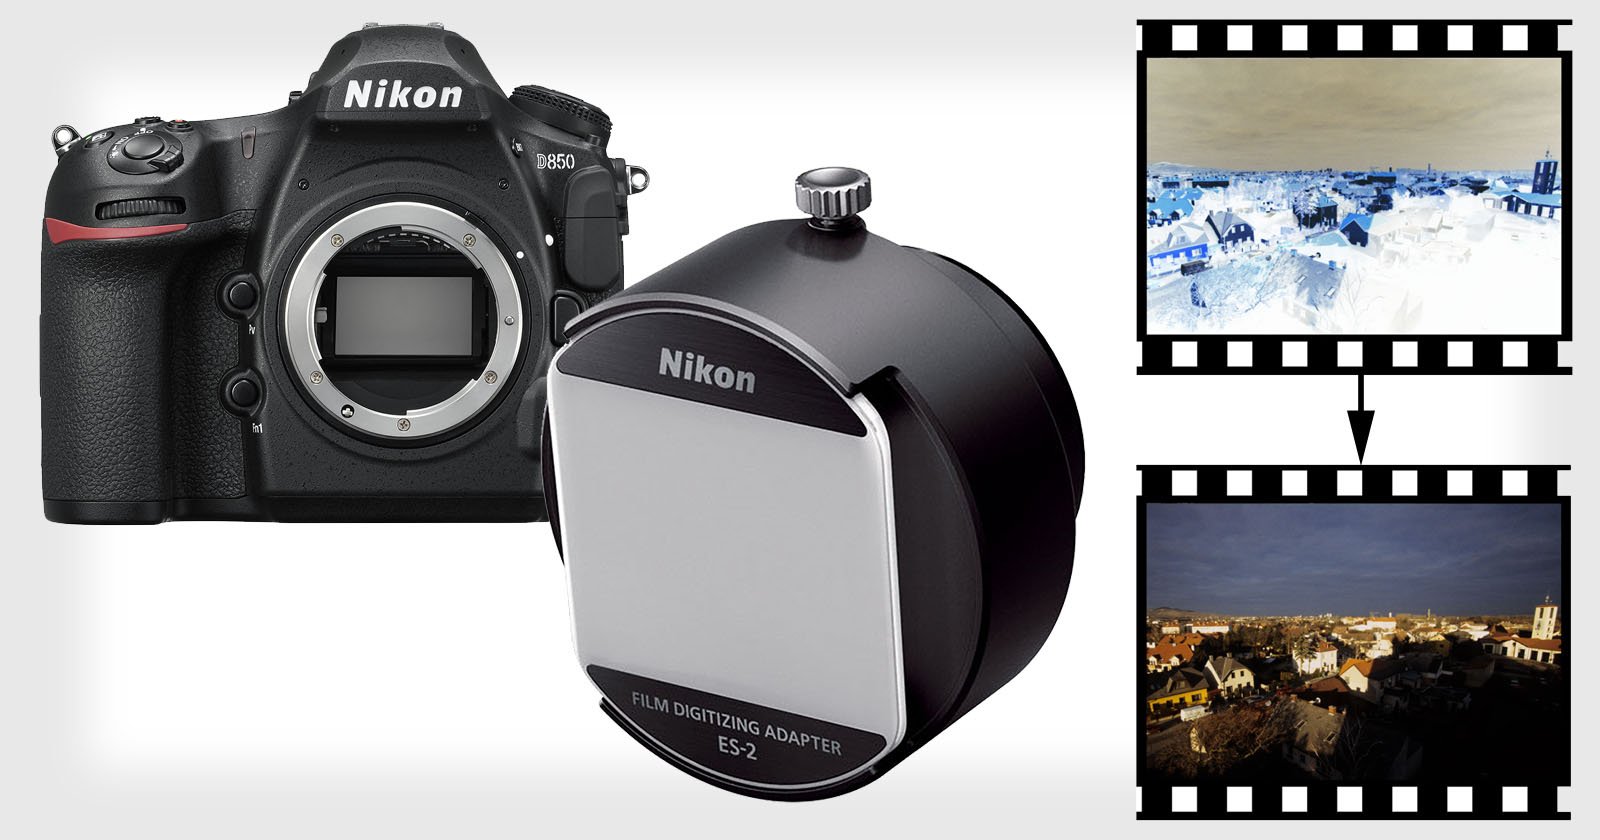
This is How the Nikon D850’s Negative Digitizer Mode Works
My name is Richard Haw, and I’m a photographer based in Tokyo, Japan. In this post, I’ll show you how scanning film works with the Nikon D850’s unique new “Negative Digitizer Mode.”

While this works well with monochrome pictures, I wasn’t very happy with this workflow when it comes to C41 process films due to the heavy amber tint, as this requires more time and effort to fix in post.
But Nikon has rocked the boat so to speak when they announced the new Negative Digitizer Mode in the D850. I recently visited Nikon’s offices with a C41 negative frame and borrowed a D850 to test out the new feature.
Here is the brief video showing how the new “Negative Digitizer Mode” works:
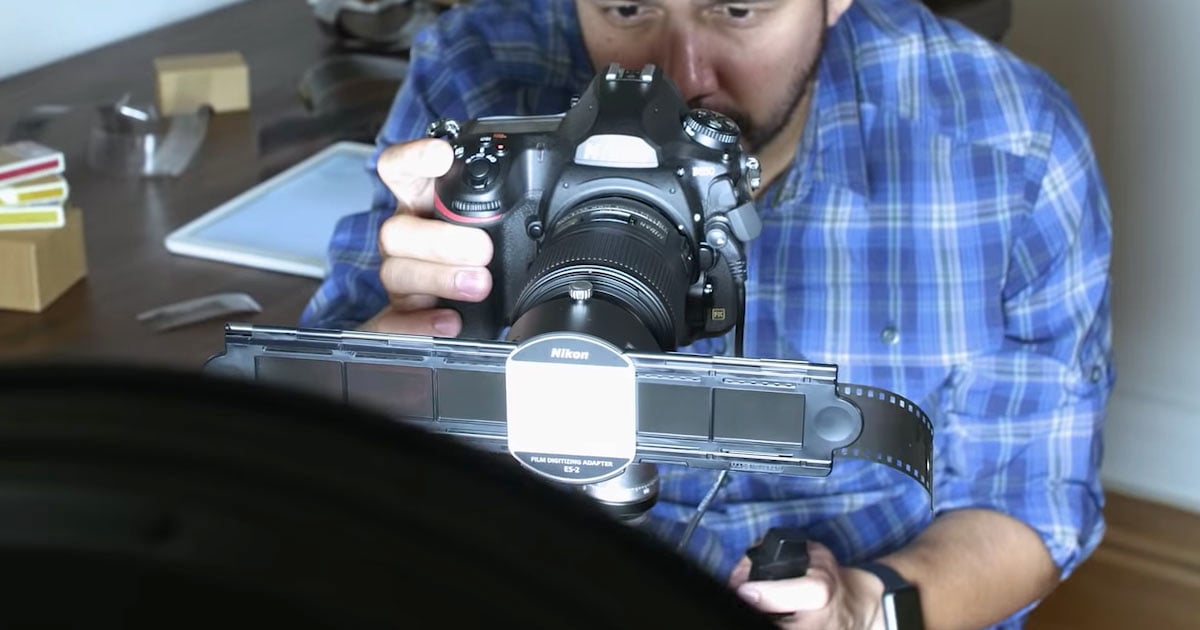
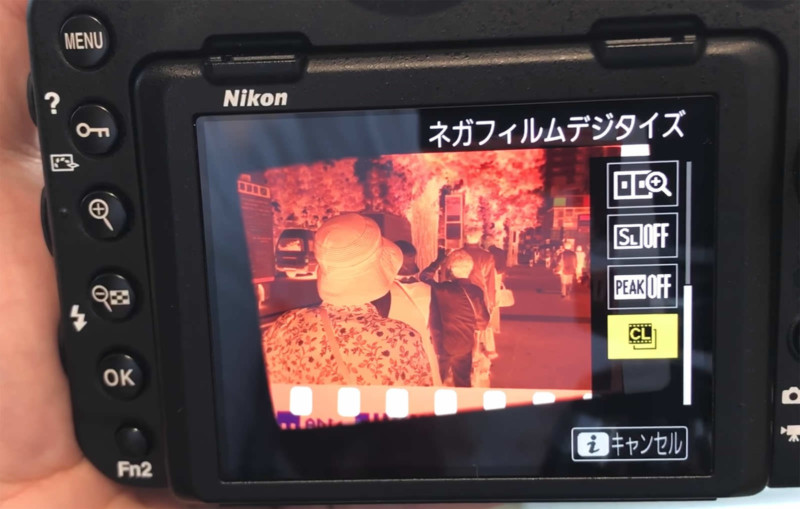
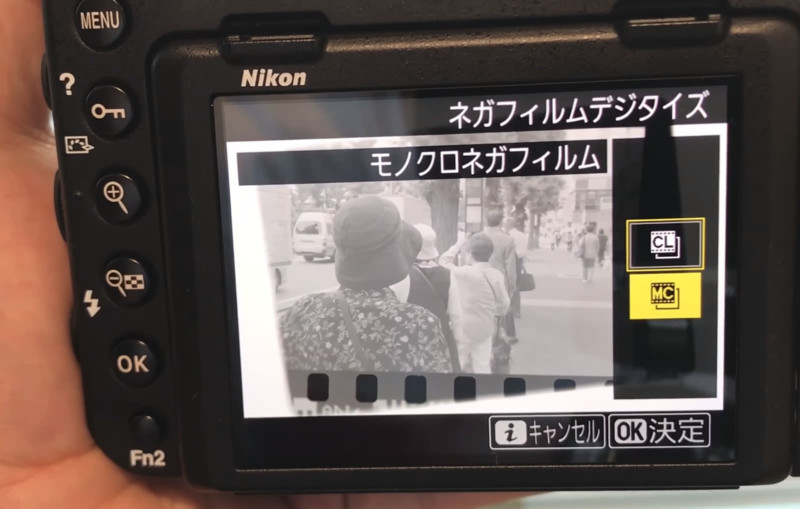
You have to enter into Live View picture taking mode and then click the “i” button to bring out the menu on the right sidebar. Scroll down a bit until you see the icon for the Negative Digitizer Mode. Select which one you want between monochrome and C41 process film and begin capturing.

It’s very easy.
There are some things I’d like to point out:
- Flash was unavailable to me while in the negative digitizer mode.
- The mode automatically defaults to aperture priority.
- You are unfortunately stuck with aperture priority mode.
- You cannot save to RAW.
- You can change the exposure compensation, that’s the only thing you can change.
- If you want a higher shutter speed, change the ISO.
I don’t know why the engineers decided to only make aperture priority as the only mode available to you when you’re in the Negative Digitizer Mode. It doesn’t make a lot of sense because there are lots of people who use flash guns to illuminate their negatives. I was wondering whether my decision to use the manual lens for this made the camera default to aperture priority but I tried it with a newer G lens and I still got the same thing.
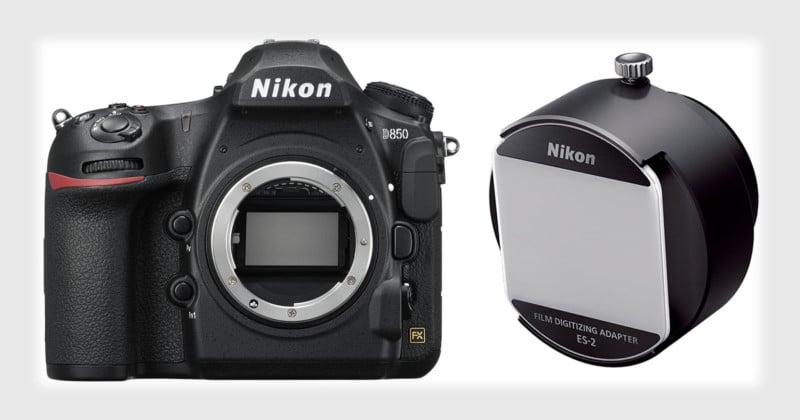
You will need a lens that is macro-capable and something to secure your negatives. I’m using an old Nikon ES-1 for this but Nikon is coming out with the Nikon ES-2 for strip film. It should be much better because it has a holder for strip film but the price is not cheap at $190! Will I buy one? Hell, no!
Before I forget, you will also need to illuminate your negatives, so you may need a flash gun. Some people just use bright LED lights or sunlight but I prefer to use my Nikon SB-700 instead. To be honest, anything should be OK so long as you’re illuminating your negatives properly.
Having the Negative Digitizer Mode means that I will spend less time working on the curves and white balance of my capture so that it will look as close to what’s it suppose to be. The color also gets inverted when you are in monochrome mode but as the name implies, it is best suited only for your monochrome negatives.
This all looks handy and nice until you realize that you will NOT get the same results as a RAW file! I am not sure why (because this can be easily be implemented) so I am now thinking that this is just an extension of Nikon’s in-camera RAW editing features where post-processes like “Photoshop filters” are implemented and isn’t something that can be embedded within the RAW file.
This is sad because the whole point for me using a DSLR to digitize my negatives is having the powerful RAW manipulation tools at my disposal — things like adjusting exposure, etc! This should make the purists and the “direct from scanner” crowd happy.
Will I recommend this as a way to digitize your negatives? Yes, of course! It can be very fast compared to a scanner-based workflow and the Nikon D850’s 44MP sensor will be more than enough. To be honest, I can really forget about having the RAW files if the captures look great. I haven’t seen anything yet outside of what is shown on the brochures so I cannot make any conclusions just yet. If I’m going to base it on marketing literature, then the results look good enough.
If it’s so good that you don’t need to play around with it in post, then I am all for it.
Here’s how you can digitize film using the Nikon DSLR you already have.
Editor’s note: Richard writes a blog dedicated to Nikon-related repair articles and news. If you’re interested in Nikon gear, be sure to check his website out. You can also contribute to his efforts by donating via PayPal to [email protected].
About the author: Richard Haw is a photographer based in Tokyo, Japan. You can find more of his work and writing on his website. This article was also published here.