Review: The Nikon D850’s Negative Digitizer Isn’t Ready for Prime Time
A couple weeks ago, I got a chance to run the Nikon D850 through its paces as a scanner. The “Negative Digitizer” feature, which can automatically flip negatives to positive got a lot of buzz as the camera was being released, and I was eager to try it out.

Here are a couple camera scans from color slides. This part of the process is pretty easy to do well once you have the proper equipment set up a calibrated.
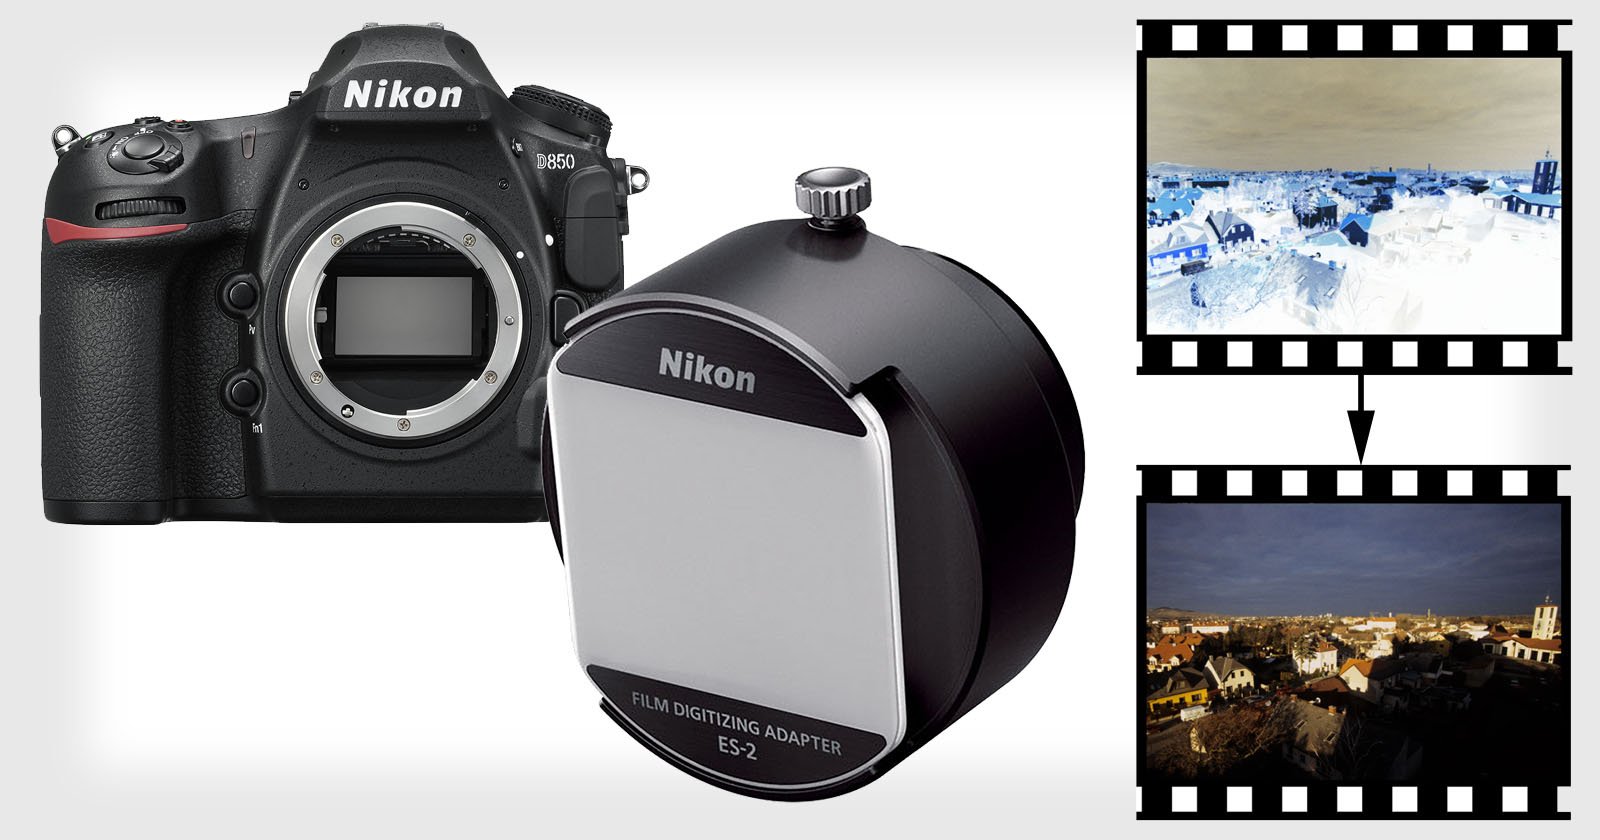
Scanning color negatives with a digital camera is tougher, but with a little work, you can make nice conversions from negative in Lightroom.
Background
I spent a good chunk of 2017 writing a book on the process of camera scanning. I’ve been using the process for almost 20 years, ever since I first got my hands on a digital camera back in the late 90’s (This was a Nikon E2n, a $15,000 one megapixel behemoth.) I’ve published my finding at conferences (IS&T Archiving 2009) and written web guidelines on the process for the Library of Congress-sponsored dpBestflow project.
I currently advise a number of private collections, as well as conservation departments at the National Archives and the Library of Congress, on best practices for camera scanning. I’ve digitized 50,000 of my own B&W negatives, and tens of thousands of other personal, professional and family images.
The primary benefit of camera scanning is high speed. Because digital cameras have such high dynamic range, it’s possible to scan vast amounts of film very quickly without needing to do individual exposure tweaking during the shooting phase. For the vast majority of my film, the camera scanning process will be the last time I touch the actual piece of film. This is, of course, as long as the scan is good enough to make a nice rendering of the image.
So, yes, the Nikon D850 was of great interest to me.
The Color Negative Problem
Camera scanning works extremely well for slides, prints, and even B&W negatives. Creating a great digital copy of this image is pretty straightforward and easy in Lightroom. The hardest images to scan with a digital camera are color negatives. While it’s pretty easy to flip them to positive, and even to do a general correction for the orange color of these negatives, tweaking color in a raw file to get a great final image can be frustrating. The color controls run in reverse and the underlying color engine is simply not meant to adjust upside-down color.
You can run your camera scans through conventional scanning software like Vuescan and SilverFast, but these tools make it only marginally easier to get good color. And running files through this software requires the creation of a derivative file (JPEG or TIFF), which complicates workflow. After a lot of experimentation, I’ve found that the best workflow is to only use this software when the high importance and difficult conversion of the image demand it.
Testing the D850
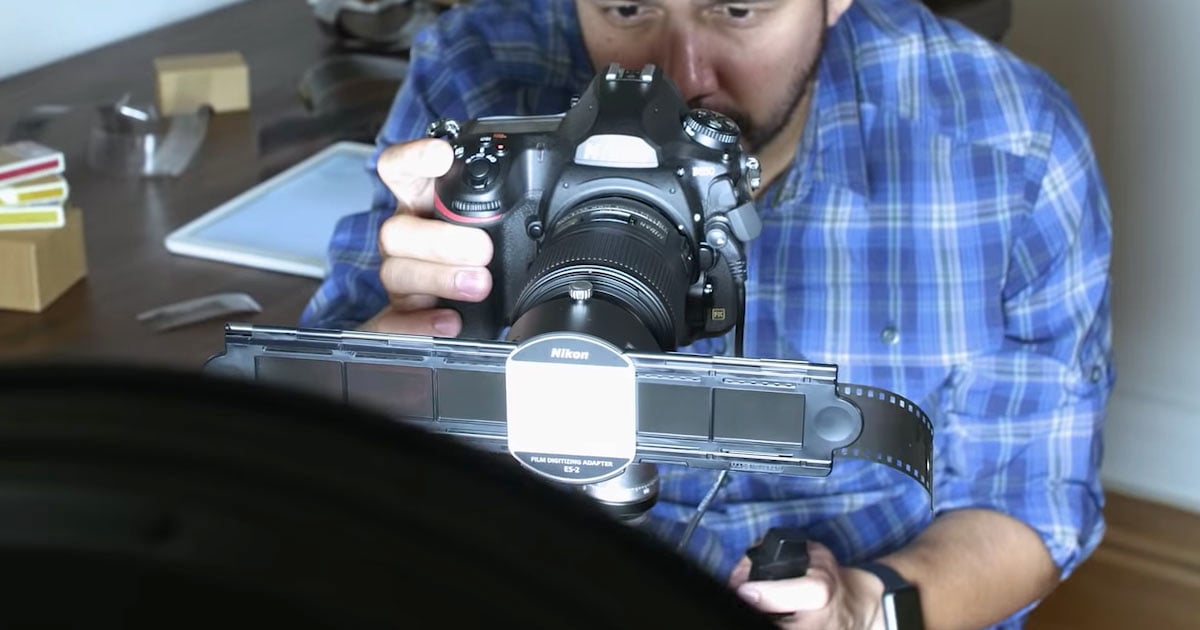
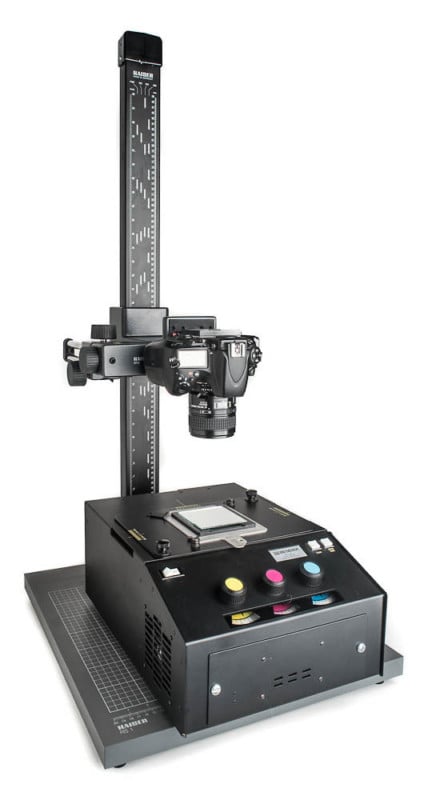
I shot about 10 rolls of color film, form a variety of film stocks. The original film was shot under a pretty wide array of lighting conditions, so I got a chance to see how the D850 handled lots of light conditions, including mixed light. This film was between 14 and 25 years old, and so it almost certainly has some fading of the original color. I shot the film using a 60mm macro on a rail system. I tried several light sources, including a Kaiser LED light table, and a Beseler Dual Dichro slide copier base, which let me try several illumination colors, including adding blue filtration to compensate for the color negative orange.
I also shot my standard set of test images, including black and white film, a resolution target and color transparencies in 35mm and medium format.
Here’s some of the equipment I used for the test (these images don’t show the D850.) This photo shows a Beseler Dual Mode Slide Duplicator, which s basically a color enlarger head turned upside down.
These are good quality light sources that can be adjusted to compensate for the film color in a negative.
Here’s a rail system, which is a film stage attached rigidly to a camera through a rail.
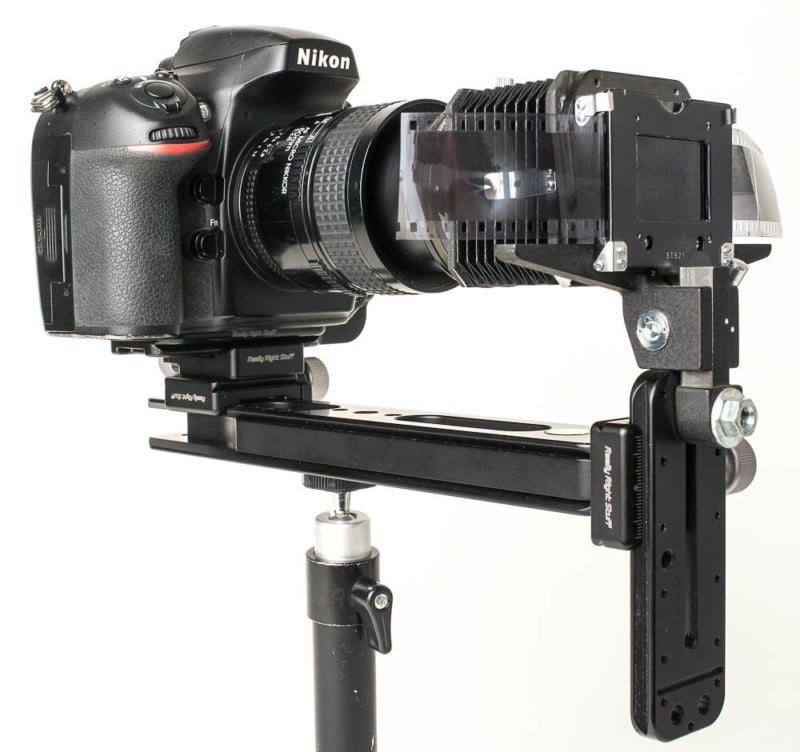
These are great for rapid workflow for 35mm film capture.
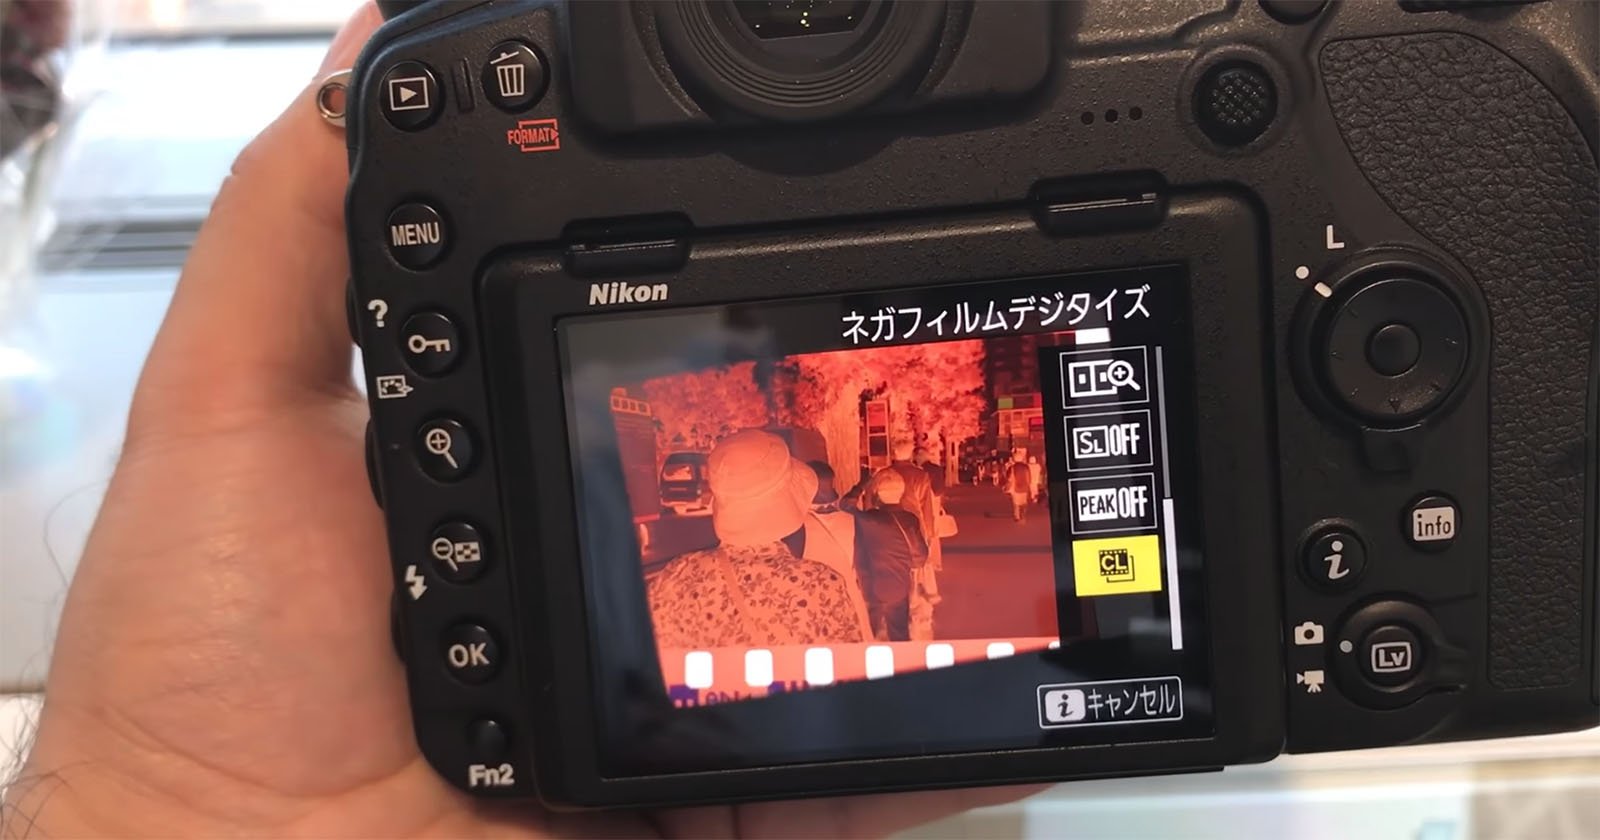
How it Works
In order to get the D850 into Digitizer mode, you turn on live view and hit the “I” button. This turns the image into a positive and shows it on the LCD screen. It also removes almost all custom settings and removes your ability to do any adjustment to the image. The camera is set to aperture priority and chooses f/8, along with an automatically-selected shutter speed. Digitizer mode, on the production model camera I tested, did not honor any of the custom settings like contrast adjustment or even bracketing. The format changes to JPEG, and no raw file is created.
The Good News
The D850 has an amazing sensor and provides a significant jump in detail over a D800. I use a microfilm test slide to check resolution, and you can see that there is an order of magnitude more detail. But microfilm has a lot more resolution than most 35mm film, especially higher speed film like Tri-X. So you might not get any more usable resolution. However, I strongly suggest that you do your camera scans with the highest resolution camera you can get your hands on, so this is undeniably good news.
Here’s a Kodachrome slide shot with both a D800 and D850.
I’ve done some pretty aggressive sharpening in Lightroom, but it’s not producing any objectionable artifacts. When you look at the image 1:1 the D850 clearly captures more information, although you would need to make a pretty big print to be able to see the difference in the end result.
Here are two shots of a microfilm resolution chart.
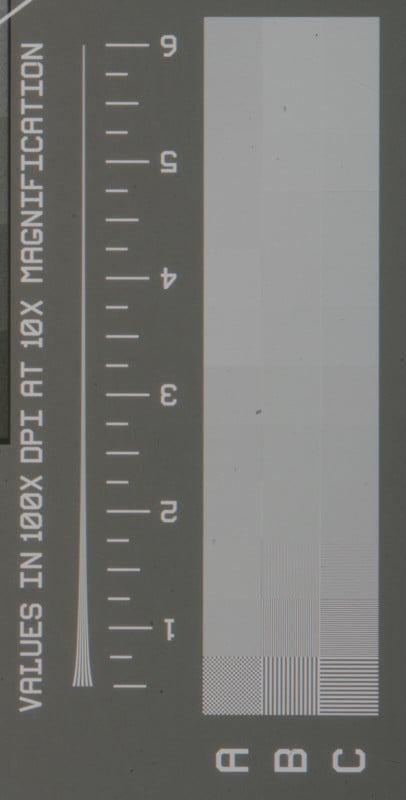
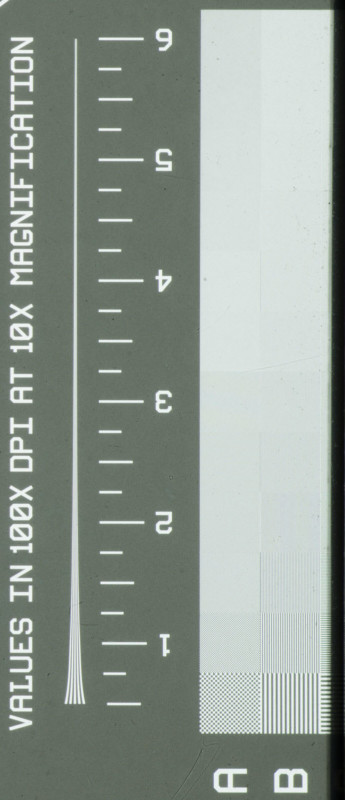
There is a significant improvement in the D850. (Apologies that these are not equivalent crops, but you should be able to see the difference pretty easily.)
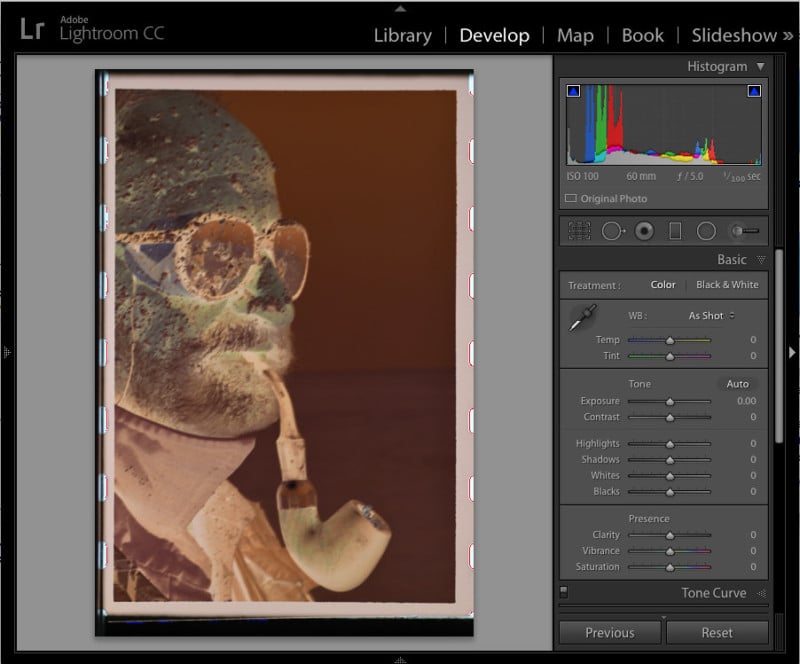
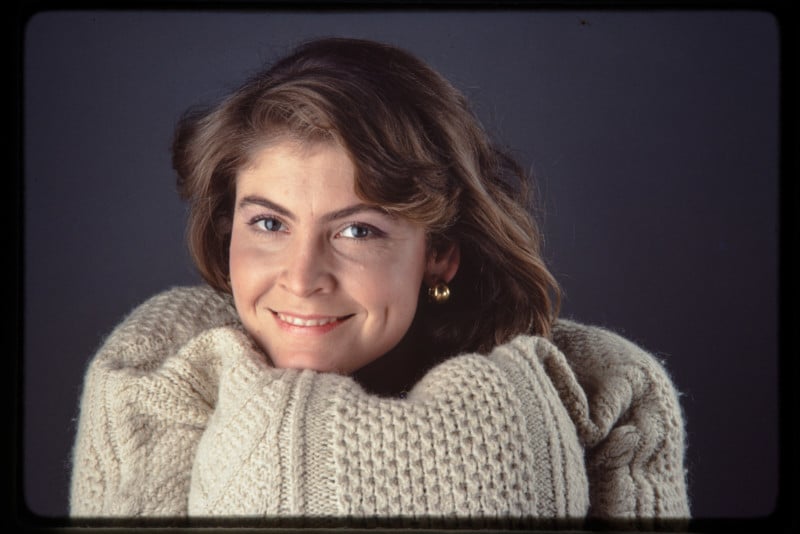
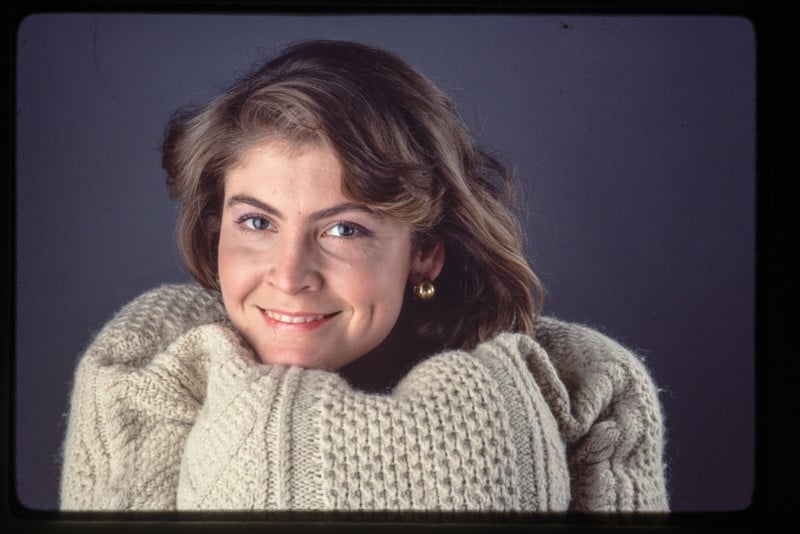
For color negatives, the D850 did a reasonable job turning the color positive, in most cases giving me a starting point for color that was easy to optimize in Lightroom to produce acceptable, or even very good color.
My first scanned image was really promising. It came in a little green but was easily fixed with the dropper tool.
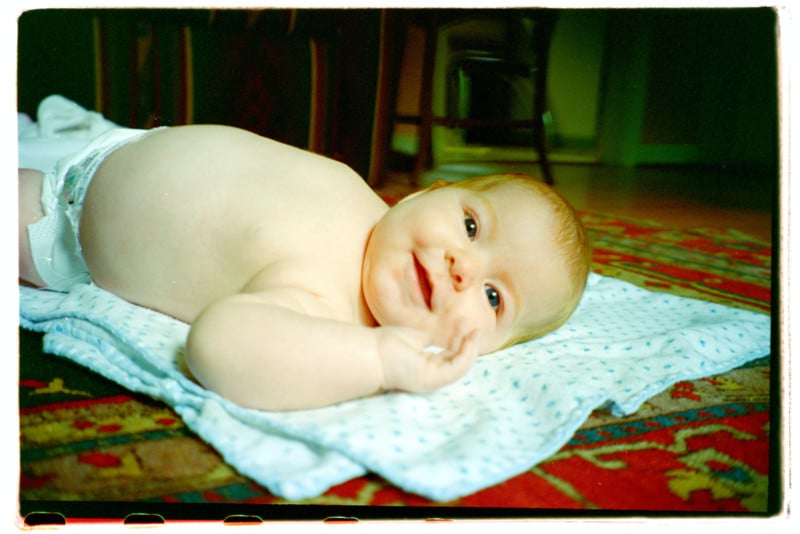
I then reduced exposure, added clarity, and reduced saturation and got a really usable image – something I would be happy to use for printing.

But hidden in the clipping indicators was evidence of the problems that would surface. The D850 should have used the frame edges to set the black and white points, but instead it is applying a curve that is clipping a lot of the pixels in the conversion.

The Bad News
Sadly, the digitizer mode in the D850 has some real problems. The biggest problem is that the curve applied to the files when converting to positive is way too aggressive in setting white and black points. It clips one or the other (or both) in nearly every frame that I tested. In some images, this was not a huge problem. While this is annoying to lose some shadow detail, I could live with blocked up shadows in many instances.
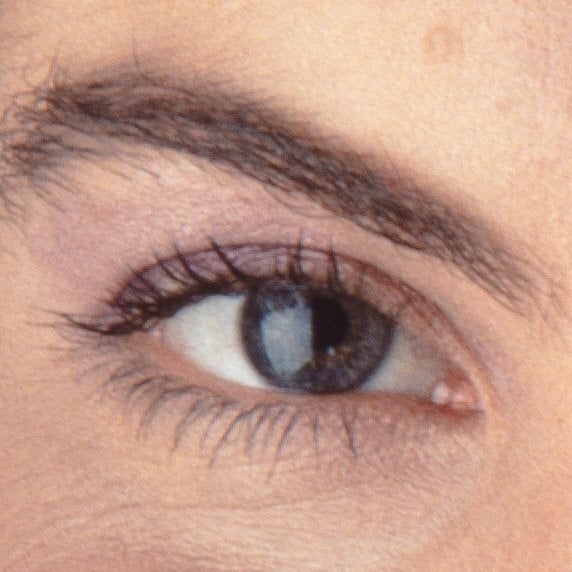
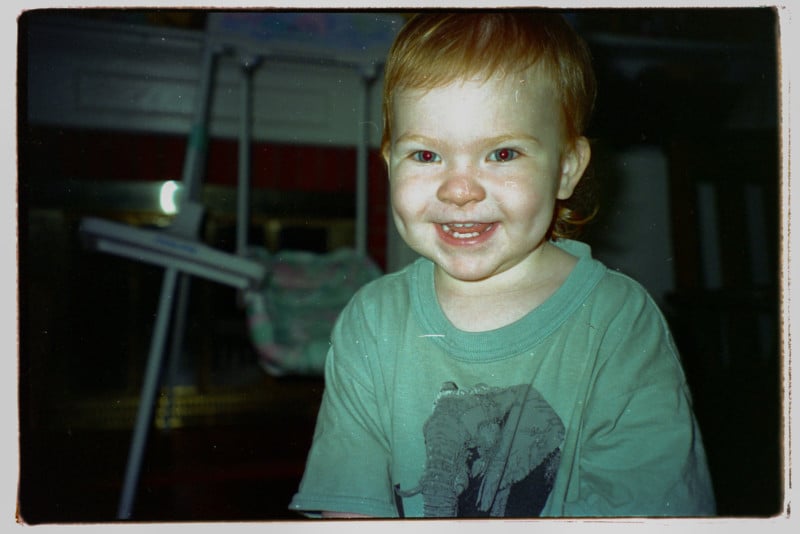
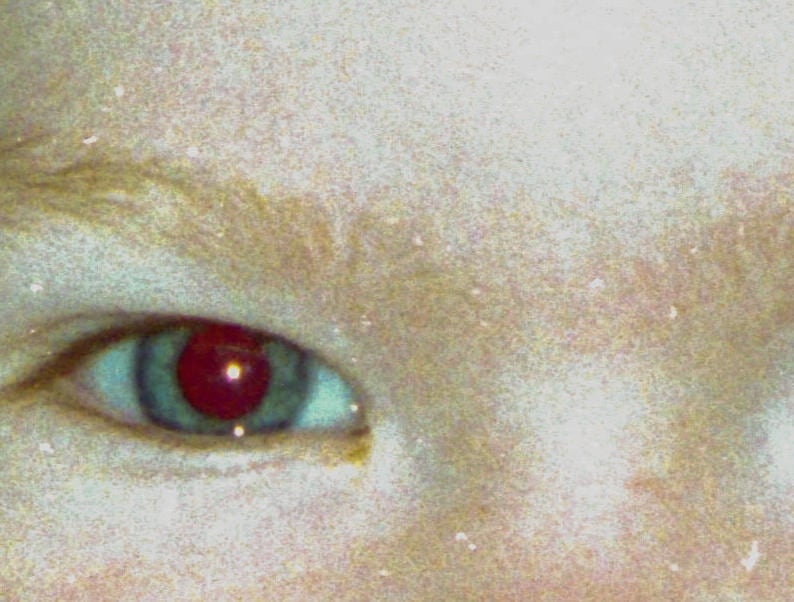
However, the blown highlights in many images make these scans a poor source for high-quality reproduction. Keep in mind that blown highlights are going to be particularly common for images shot with on-camera flash, and the elements that are most likely to be clipped will be faces.
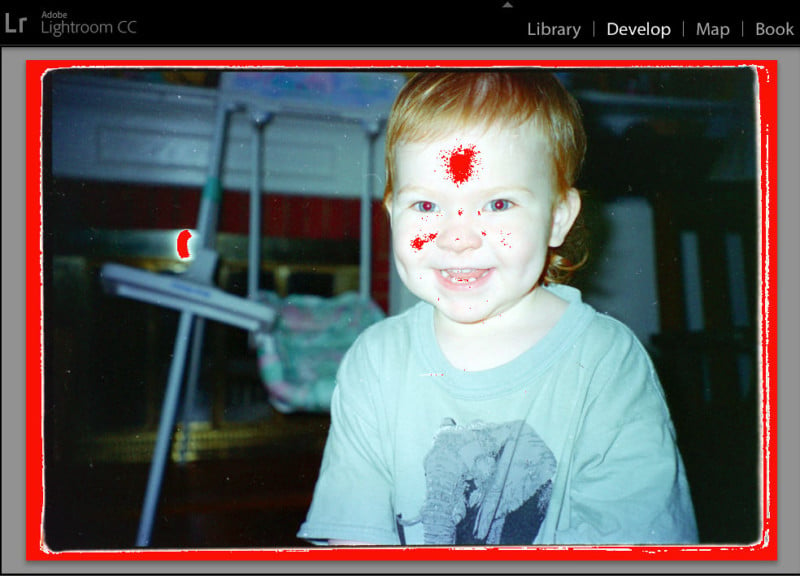
This situation was really common in the scans I created. And while it’s possible to use Lightroom’s exposure and highlight recovery tool to make a better tonal range, a close examination shows that there is a total loss of tone and texture in the blown areas. This will be unacceptable in the final print.
There was another problem with the D850 workflow. Because the camera automatically adjusts color and tone for each image, you lose the ability to make batch corrections to images shot under similar lighting conditions.
With raw files, it’s common to adjust one image in a series and then paste the settings to all similar images. This provides consistent color and tonal rendering for similar images. Unfortunately, the D850 auto adjustments created too much difference in color rendering between the frames. This occurred even when the only differences between frames were small variations in composition. This prevents an efficient batch-correction workflow.
Here’s an example of the inherent problem with auto color workflow in non-raw files. These images were all shot within a few minutes of each other in the same light. But the renderings for each have some very significant color differences.

In a system where you can’t lock color and tone in the rendering, you need to do a custom correction for each of these. In a conventional raw scan workflow, fixes to one image would easily apply to all photos and produce a consistent look.
Here’s a copy shot of a strip of negatives shot with raw capture. You can see that the same conversion settings work for multiple images. The use of batch corrections makes raw capture more efficient in the long run.

Black and white negatives suffered from the same problems as color negatives, with unacceptable clipping in highlights and/or shadows. And given the easy workflow and high quality of conventional camera raw file scanning, this was a total non-starter. I also noticed that the JPEGs the D850 produced significantly less image detail than I was getting out of raw file workflow.
I stopped my testing after a small number of rolls because the clipping was just too problematic, and the batch processing issue was too frustrating. There is no point in making these scans if they will need to be remade later.
Possible Fixes
I contacted Nikon Professional Services in search of any settings that might help mitigate the problem but they were not able to provide any alternate workflows.
There are several firmware changes that could help to mitigate (or entirely solve) the clipping problem. New curves could be used for the conversion, setting less aggressive endpoints. Additionally, the digitizer could honor user contrast adjustment. The ideal fix for me would be to allow the camera to shoot raw+JPEG in digitizer mode. This would give me a nice proofing version for initial use, along with a full-information negative image to use when desired. Unfortunately, the workflow required to manually shoot raw + JPEG was too cumbersome to be attractive. Switching modes on every frame (or running all film twice through the workflow) is not an acceptable solution in my opinion.
The Bottom Line
The Nikon D850 is a great camera for conventional raw-workflow camera scanning. The sensor resolution, coupled with the absence of an anti-aliasing filter, produces an extremely detailed scan. But the in-camera conversion is not ready for prime time.
Nikon has shown that they are interested in supporting this workflow. They have produced hardware to hold the film and have made the digitizer a prominent feature for the camera. They should have the opportunity to fix this in a firmware release and make in-camera color negative conversion an easy-to-achieve reality.
Update on 10/30/17: At the PhotoPlus Expo last week I got the chance to speak to several people from Nikon. They had seen this article, and acknowledged that the Digitizer function needs improvement.
I believe that all my concerns were well-understood, and that the people I spoke with are committed to making the D850 Digitizer an excellent solution for negative scanning. (Just as the D850 raw file workflow is already a great solution for slide and print scanning).
We will continue the discussion as Nikon investigates which approaches will provide the best combination of high image quality and good user workflow.
About the author: Peter Krogh is a photographer and author from the Washington DC area. He has published 5 books on digital photography workflow, including The DAM Book. His most recent book is Digitizing Your Photos with your Digital Camera and Lightroom.
Image credits: Header illustration contains photo by Caltrop