Lightroom Basics: How to Edit a Milky Way Photo
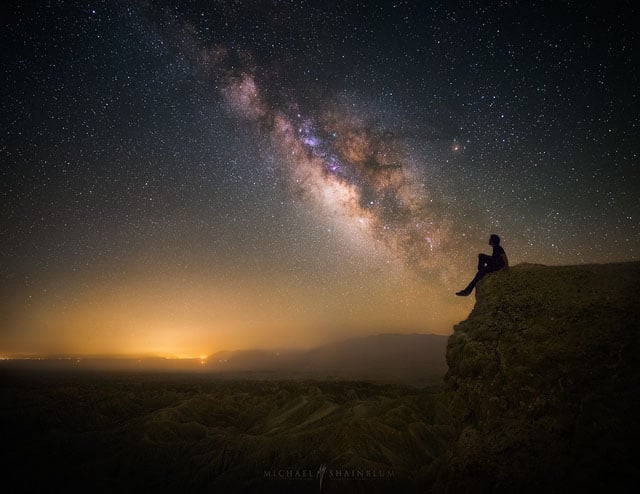
This short Lightroom tutorial will show you how to turn a simple RAW photo of the Milky Way into the kind of bright, vibrant Milky Way shot you’re probably used to seeing online—complete with out-of-this-world colors.
The quick workflow walkthrough was put together by Rob Nelson of the Rob & Jonas’ Filmmaking Tips YouTube Channel. A while back they asked their users to send in RAW photos for them to edit, and this photo by a different Rob Nelson was Rob’s pick.
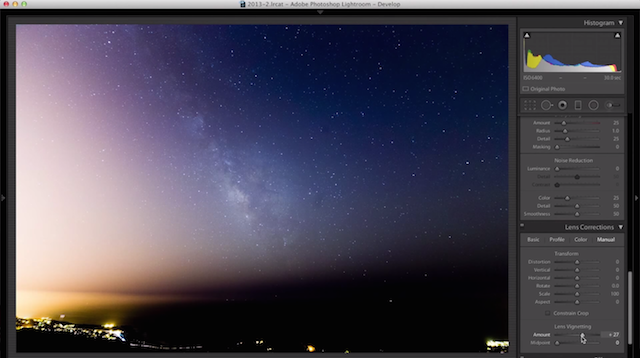
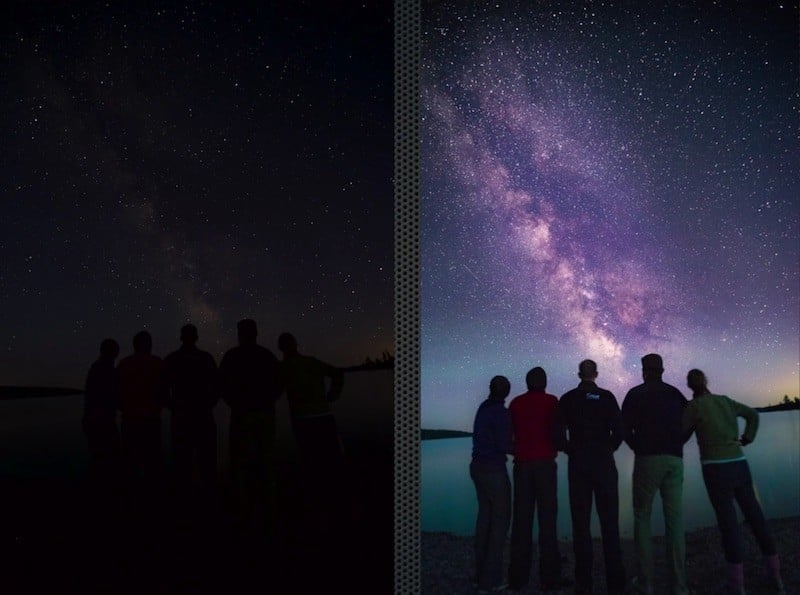
He chose the photo specifically because he wanted to show you how easy it can be to make the Milky Way pop once you’ve captured a photo with enough information. The before image below on the left might not seem like much, but there’s a lot of information hidden in that RAW file:
Some might find the edits a bit on the extreme(ly colorful) end, and Rob acknowledges that. “Keep in mind that I’m doing a lot of manipulation based on my preferences,” he writes. “For much of what I do, I like the surreal look. I often add vibrant colors that may look unnatural to what you had in the environment. I’m not a purist.”
The point of the tutorial isn’t to copy him exactly, but to show beginners just how easy it is to make the Milky Way “pop” out of a photo. If you’ve never tried taking a picture of the Milky Way, it may just be the push you need to give it a go.
So check out the full tutorial up top to see how Rob engineers this photo transformation, and if this does inspire you to go capture beautiful Milky Way photos, we definitely suggest reading this much more comprehensive guide before you do.