How to Make a Double Exposure Photo in Photoshop
In the past, double exposing film was one of the most popular special effects used in photography, and often could be hit or miss. The idea was to combine two (or more) photos into the same image.
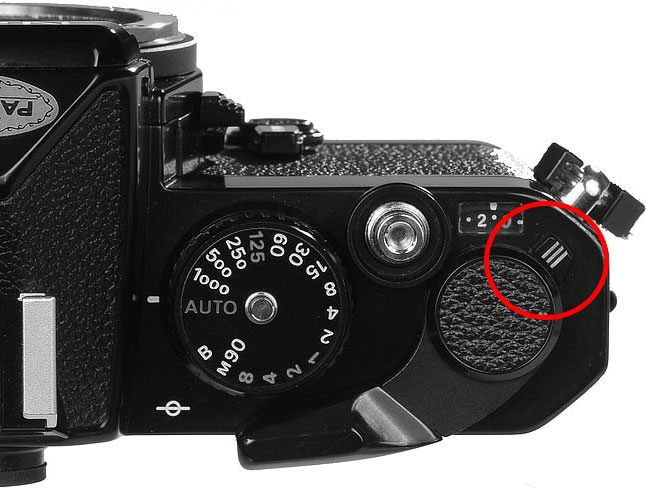
Many 35 mm film cameras could do this by using a special function to allow the shutter to be cocked without advancing the film (Figure 1). You could also do this on cameras not designed with this function by carefully holding the rewind knob steady, pressing the rewind release button, and then advancing the film lever.
Another way would be to hold the shutter open on “bulb” mode and simply remove and replace the lens cap. This method is really only useful in the studio or at night when long exposures were needed. As you can imagine, this and the previous methods all required a bit of experimentation and often required careful framing of the shots to be double-exposed.
Now, with the advent of Photoshop and, later, digital cameras, the creation of double-exposure images is much easier and offers much more creative control than the above methods. In this guide, we’re going to look at creating double-exposure images in Adobe Photoshop. It’s important to note that practically any image editing software that supports layers can be used to do this, and the basic steps should be similar across these applications.
Table of Contents
Selecting Images
The actual process of creating a double exposure in Photoshop is pretty easy. Perhaps the harder part of the process is selecting the images to be used. In the following examples, I wanted to demonstrate the process using portrait shots in combination with a sky or landscape image.
Even though I had an idea of what I was looking for, it did take a lot of downloads and experimentation before I found the right images that would achieve what I wanted.
While finding existing images like this are good for a demonstration, I would highly recommend shooting the images yourself, as it may be easier to get exactly what you’re looking for. This also means that you own all the content within the final image, which would be best if you’re planning on selling the final art.
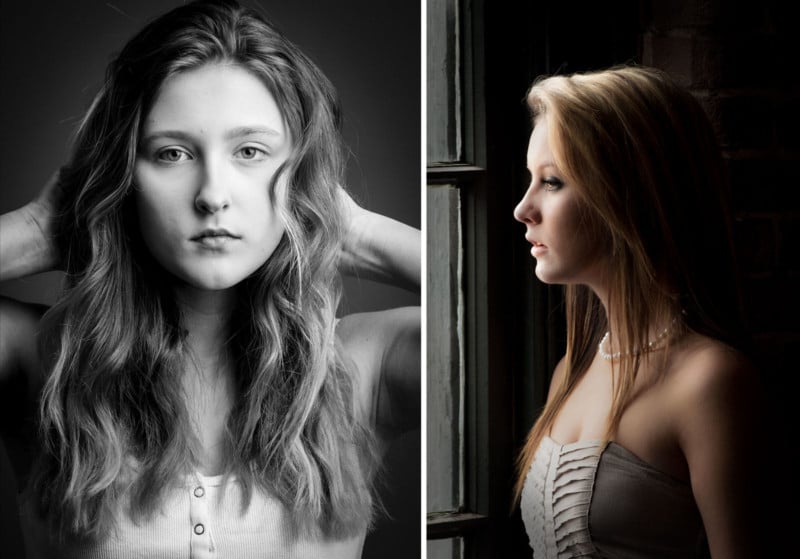
Initially, I had two different portraits in mind for this guide, shown in Figure 2, and I wanted some type of sky with clouds for the first image and wanted to make use of a starry night image for the other. After downloading about a dozen images or so, I narrowed down to some choices I felt were a good starting point. So with all that out of the way, let’s get into it.
Double Exposure Using Opacity
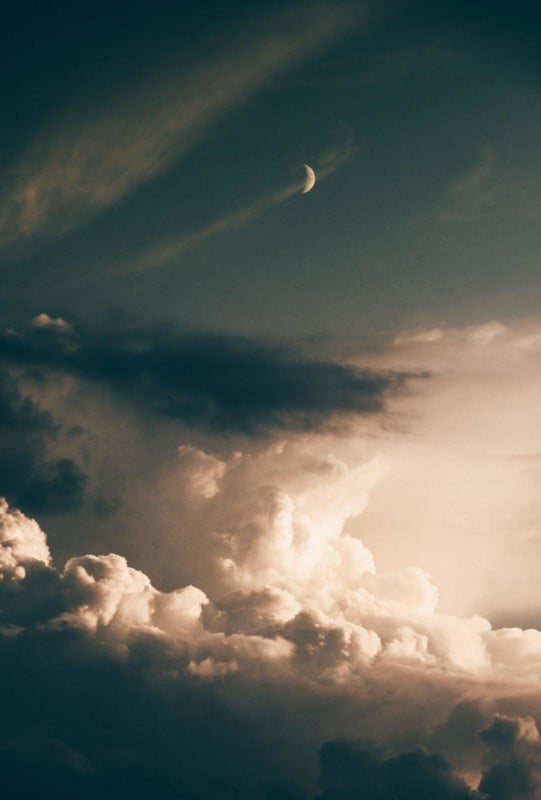
I started with the black and white studio portrait of Calli and for this shot, I want to combine it with this fantastic image of clouds, sky, and the moon in Figure 3.
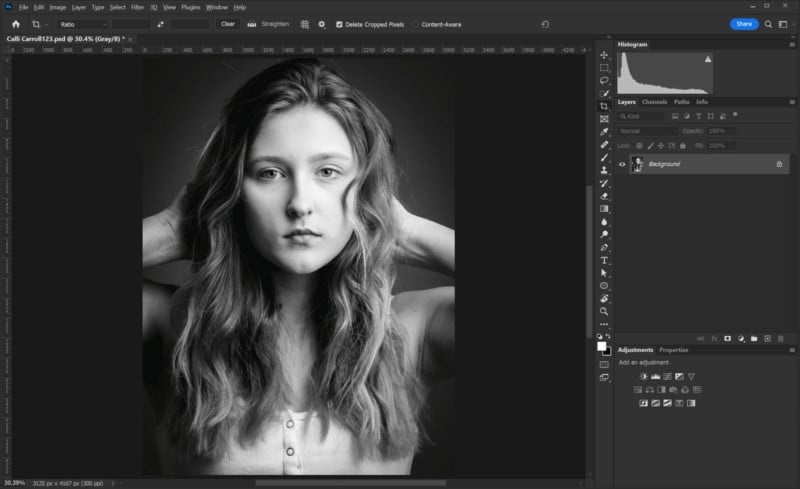
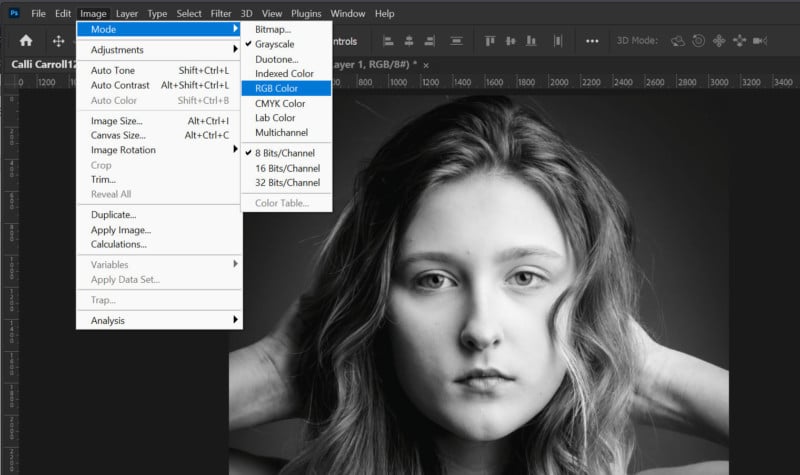
First, I’m going to open Calli’s image. This is a black-and-white photo, and it is currently in Grayscale mode.
Since I want some of the colors from the clouds photo to end up in the final image, I’ll need to change Calli’s photo to RGB mode. This is done by going to Image>Mode and selecting RGB shown in figure 4.
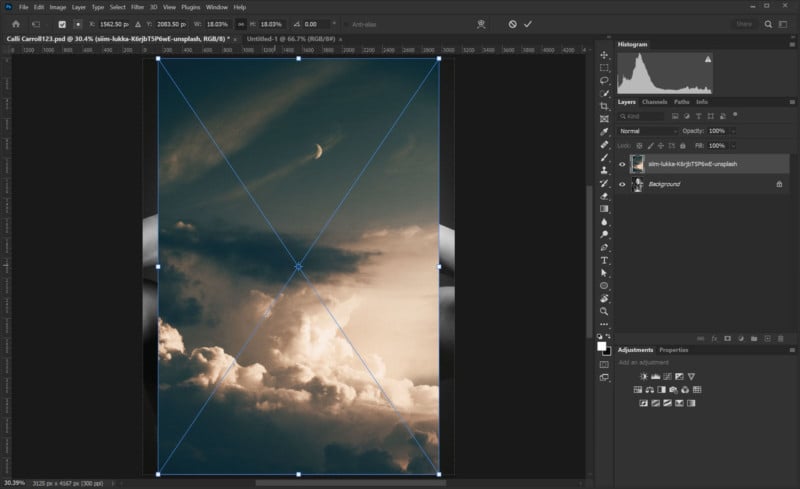
With Calli’s image now in RGB mode, I can simply drag the cloud image into the Photoshop window, and it will “place” the image within the bounds of the current image. You can see (Figure 5) that the cloud image doesn’t quite fit the proportions of Calli’s photo, but that’s OK. We can transform the new layer to fit as we want.
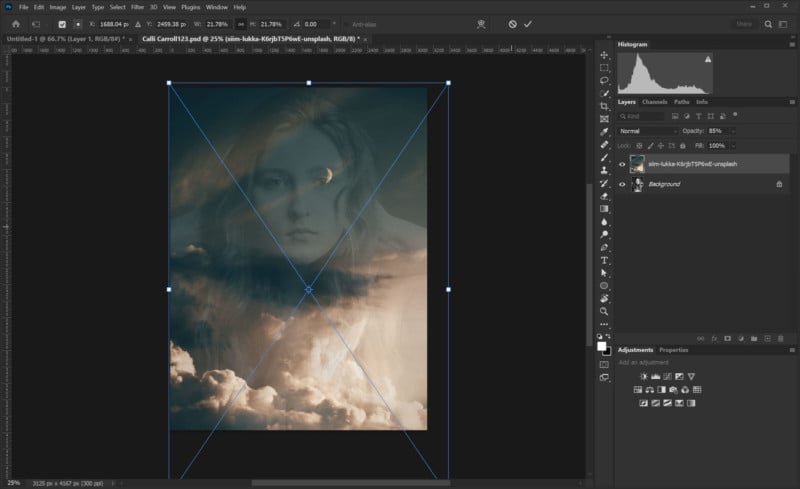
Before starting to transform the cloud image, I’ll run the opacity of the layer down to 85 percent. This allows you to see the image underneath (Figure 6) well enough to get the images lined up as desired. In this case, I expanded the top image enough to cover the entire area of Calli’s photo. I also decided to line up the moon so that it connects with Calli’s eye.
Now, with the two images lined up as desired, you can hit ENTER or the click check mark to commit the transform settings. At this point, you can adjust the opacity setting of the top layer to achieve the desired effect. You may find that more than one setting has an interesting effect, so it can be difficult to land on a final setting. For me, it took a while, but I finally settled on 75% opacity for the top layer as shown in Figure 7.
I’m pretty pleased with the final result here, but I want to point out that I specifically used the “place” function when bringing in the cloud image layer. This is done by dragging an image from a folder or the desktop directly into the current image tab in Photoshop, as I did for this demo. You can also use the File>Place command.
Using the place function as opposed to just pasting the image in from another open Photoshop file creates the new layer as Smart Object. This allows the layer to be edited and resized from the source file rather than the resized and adjusted version present in the layer.
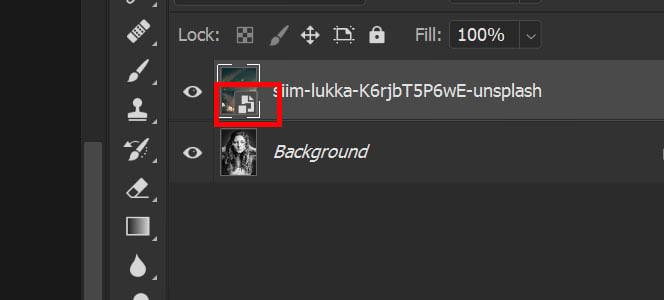
You can see that the layer is a Smart Object by the small double-square icon seen in the lower-right corner of the layer thumbnail (Figure 8). By double-clicking that corner you can open and readjust that image without loss of image quality. This is handy when you decide you want to totally redo the final image a few days later (it happens!).
Figure 7 is an example of a basic double exposure effect by using only the opacity adjustment and two layers. There is another way that you can create double exposures without even touching the opacity adjustment, and that’s by changing the blend mode.
Blend Mode Changes
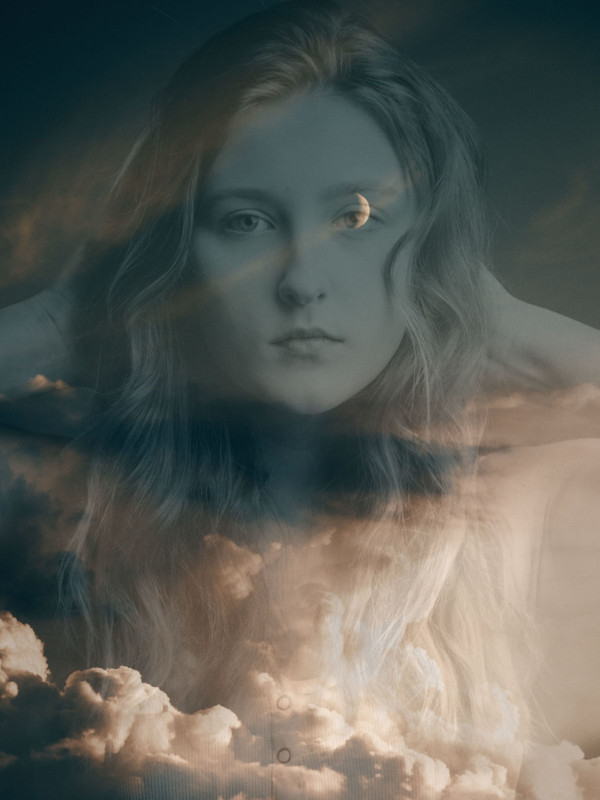
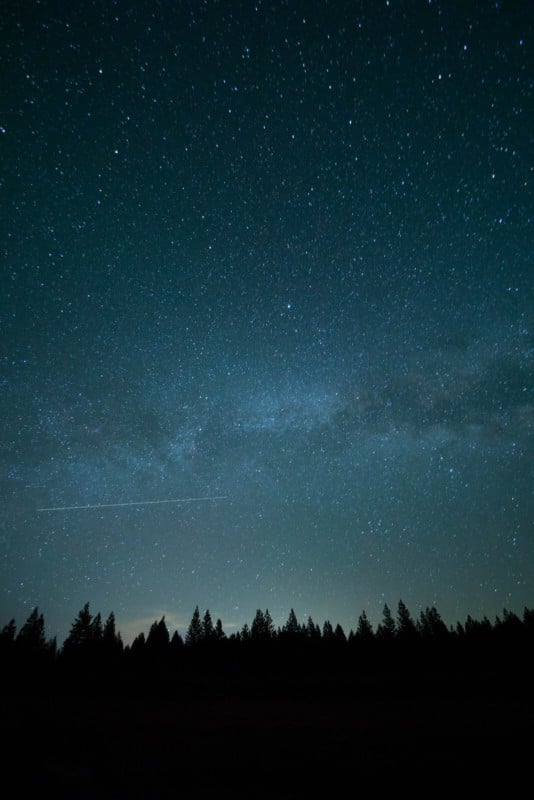
For this example of creating a double exposure, I’m going to use the color portrait of Malea looking out the window (Figure 2) and going to be laying the starry night landscape photo from Wil Stewart on Unsplash (Figure 9)
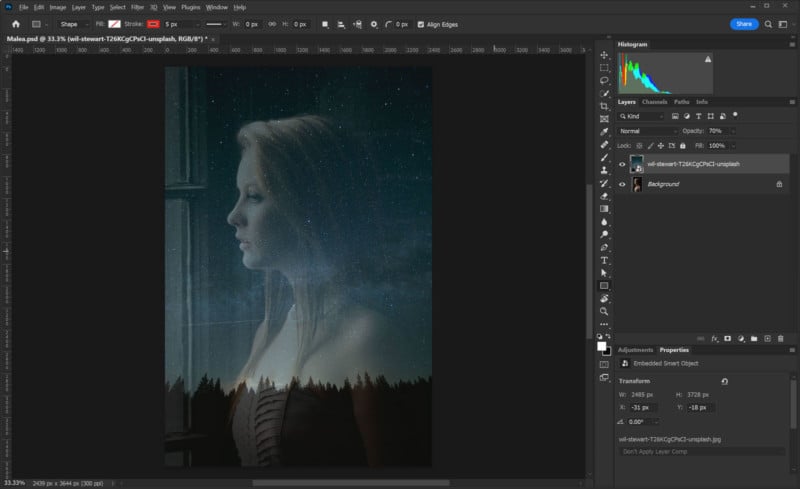
Since Malea’s image and the Starry Sky image are both in color, there is no need to make any adjustments here. The same is true of the proportions of the image, so when I drag the Starry Sky image onto Malea’s photo it fills the frame. Setting the opacity to 70% allows me to visualize how the two images are coming together, so I’m going to skip any transforming and leave it as placed. I would still be able to make changes later without losing image quality, thanks to the new layer created as a Smart Object when it was placed.
Now looking at the combined double exposure based on the opacity difference (Figure 10) I can see how there is an interesting image to be had here, however, I’m not sure that it’s working for me, yet.
For this image, I’m going to turn up the opacity on the top layer back to 100% and then change the blending mode to see what kind of results pop up. Blend mode changes the way the layers interact with each other based on lightness and/or color. That’s really oversimplifying it as the topic of blend modes could be its own guide in itself, but it should suffice for this article.
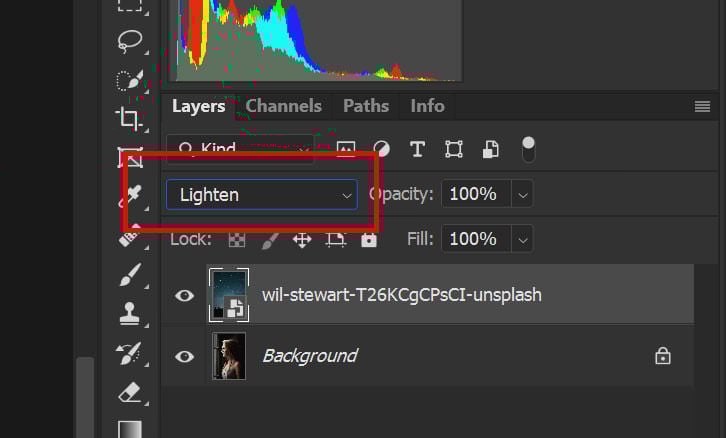
To change the layer blend mode, you use the pull-down list to the left of the opacity setting in the “Layers” palette shown in Figure 1. There are several options to choose from and as you cycle through each mode the image will update immediately with the results. Figure 12 below shows three of the options that I considered interesting as I cycled through the various modes.
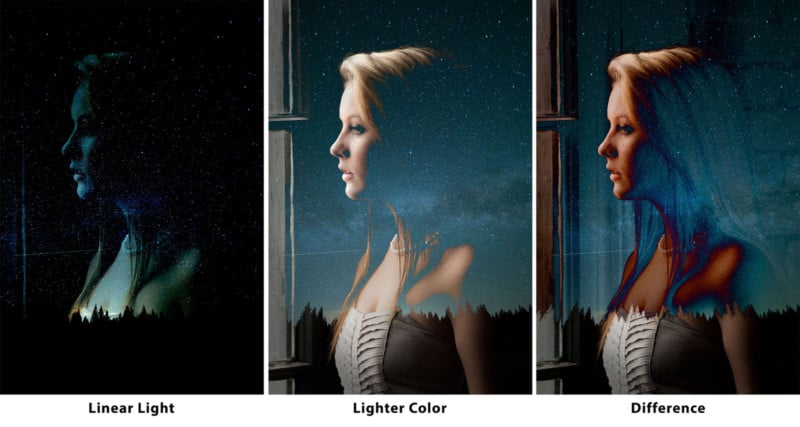
The first one, Linear Light, is certainly interesting in a Sci-Fi paperback cover sort of way, while the second pick of Lighter Color was definitely closer to what I was looking for. Difference has an interesting look as well, but it’s a little stronger effect than I was looking for.
In the end, I went with the Soft Light blend mode, as shown in Figure 13. It has some of the feel of the others I tried, but it has a nice balance between the effect without overpowering. Of course, this is completely subjective and readers here might like a different option or none at all for that matter. That’s OK, as this is a very subjective type of art, so opinions will, and should, vary on this.

Making a Masked ‘Double Exposure’
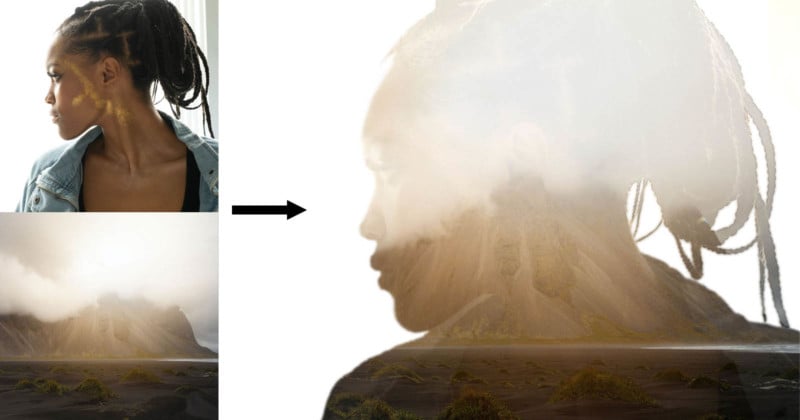
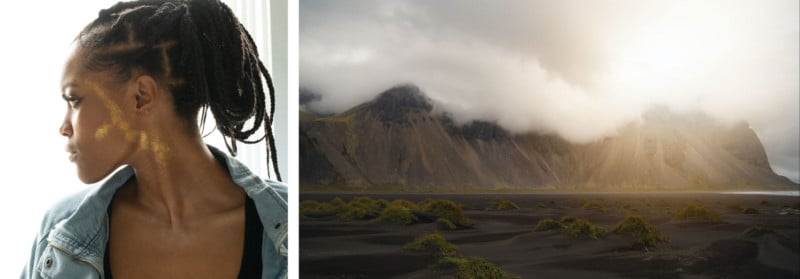
After creating the above images, I felt I should also show another popular way to create what is often termed a double-exposure type image. In this case, a Layer Mask is used to “cut out” a section of one image in the shape of another. I feel that this effect may be better termed as clipping or compositing, but it is also referred to at times as double exposure. In this case, I’m taking this portrait of Saniya (Figure 14, left) and combining it with the cloudy landscape by Cody Silver (Figure 14, right).
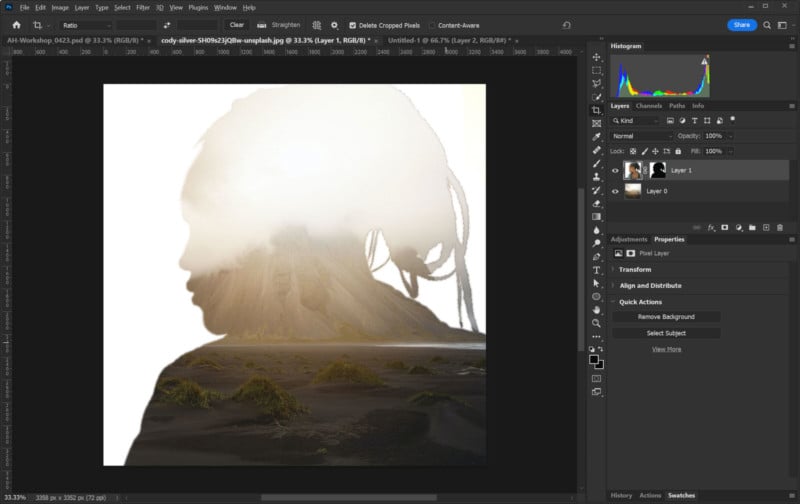
First I’m going to bring in the landscape image as I want it to be on the bottom layer. Then I’ll bring in Saniya’s portrait. Since her image is square, I’m going to need to crop, but first I’m going to create a mask from her portrait using the Select Subject function. After creating the selection, I refined it a bit by smoothing and expanding the selection to even out some of the “rough” edges. Then by holding the ALT key while clicking on the Layer Mask icon in the layers palette I end up with the mask as shown in Figure 15.

Next, I cropped the image to the square proportions of Saniya’s photo and moved the top layer to a spot where I liked what landscape was showing through the masked area. It’s starting to get where I want it at this point as shown in Figure 16, but it’s not all the way “there” yet in my opinion.
Next, I tweaked the levels of the landscape layer to add some more contrast. I also ran a Gaussian Blur on the mask itself to further soften the transition edge of the mask. Finally, I ran the mask density down to 90% which allows a thin view of the details of Saniya to be seen through the image. The resulting image can be seen below in Figure 17.
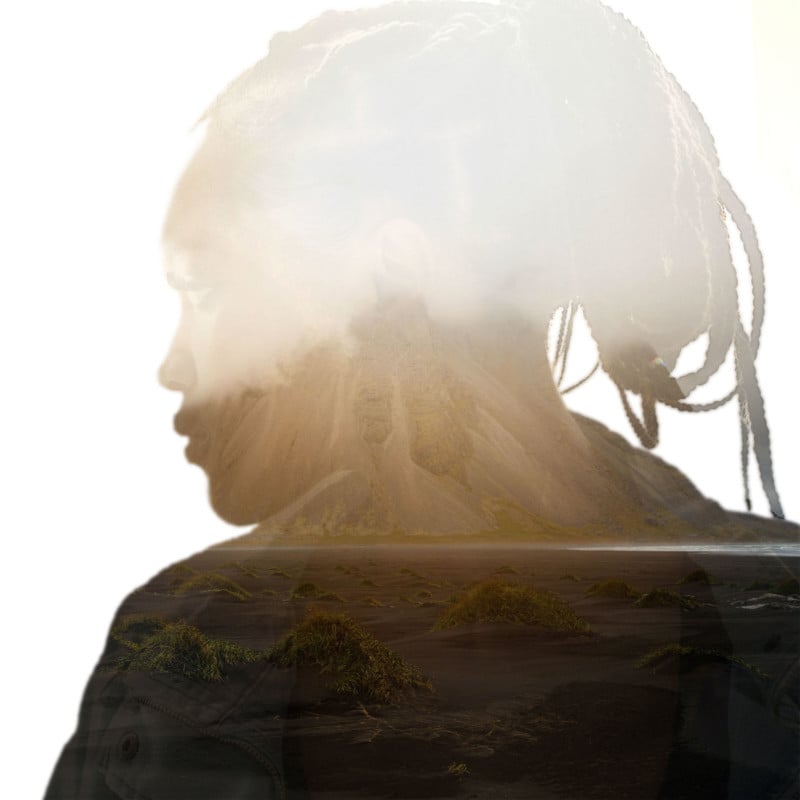
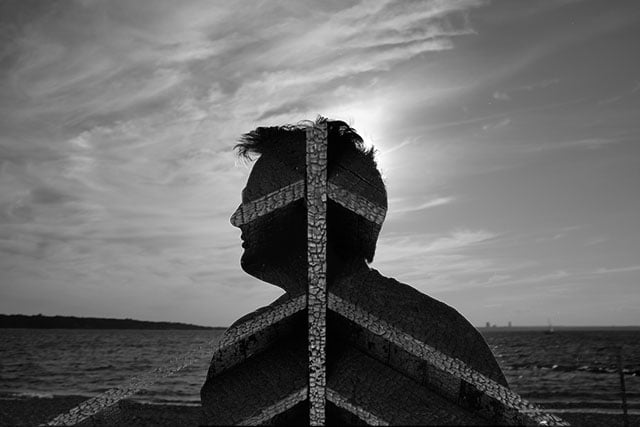
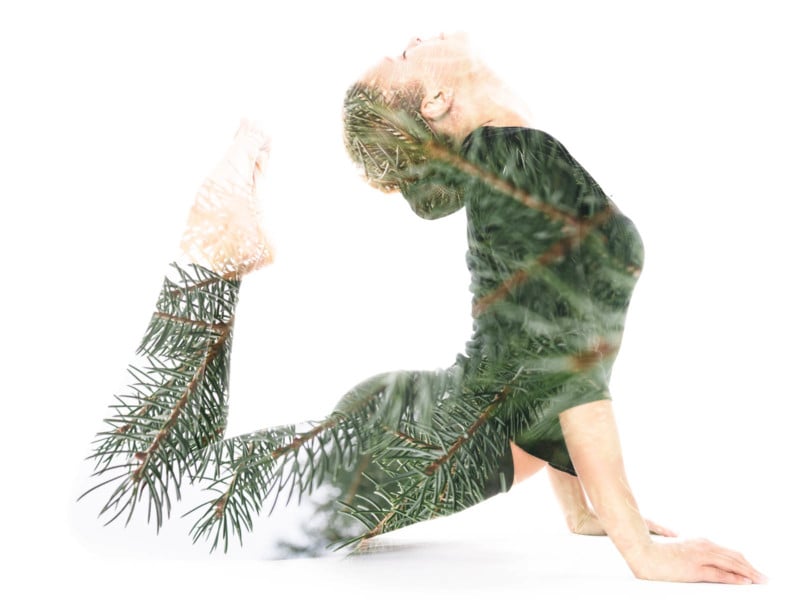
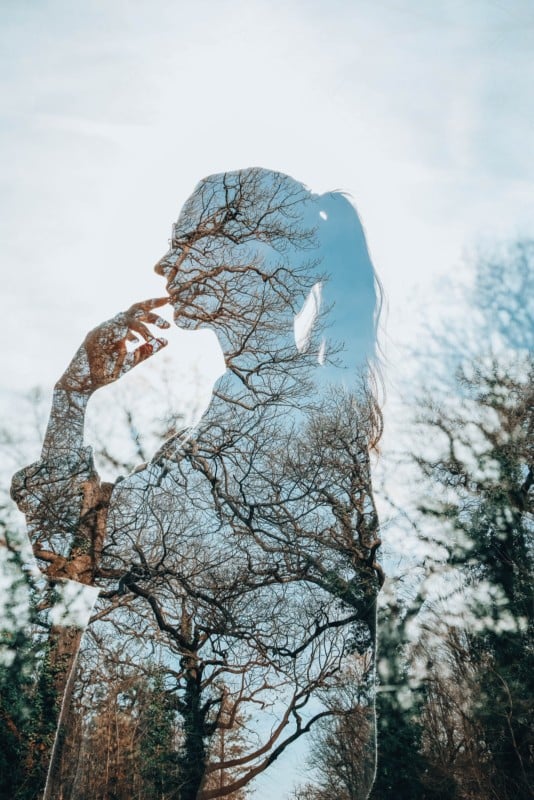
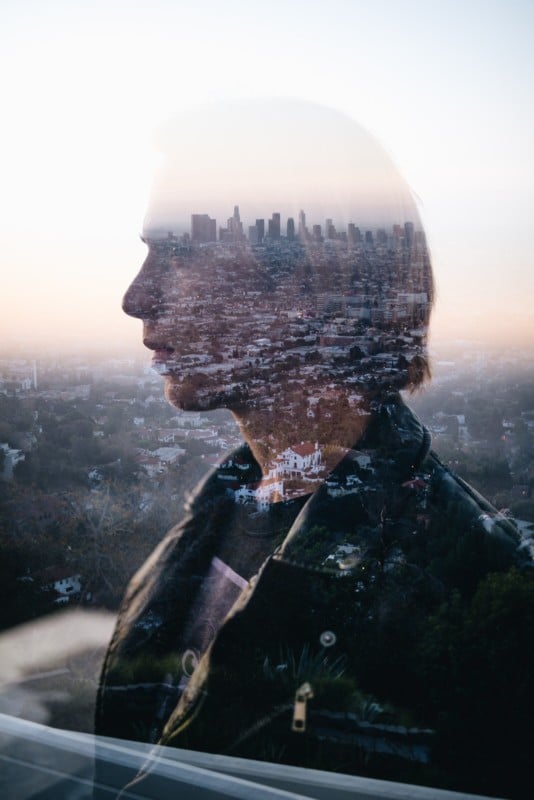
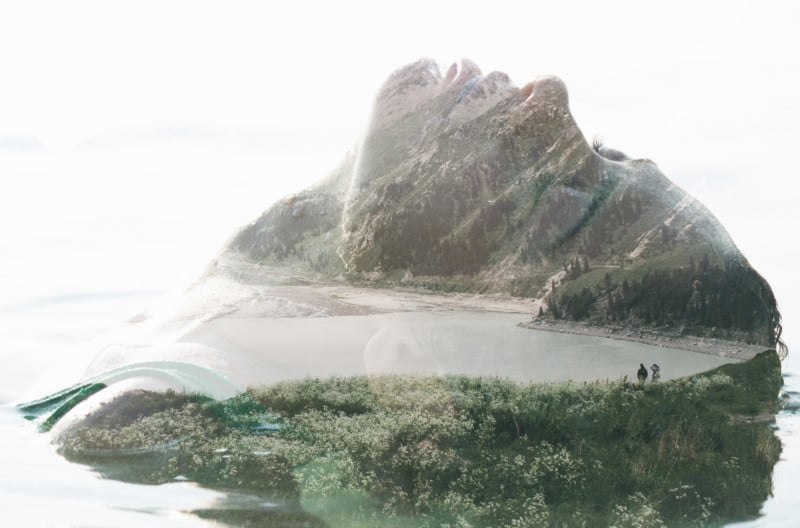
Example Double Exposure Photos
Here are some other examples of “double exposure” portraits for inspiration:


Keep it Simple
Even if you have only used Photoshop for a short time, you may be thinking that there are a lot of other options and effects that could be employed with this type of image, and you’d be correct. I feel the first two examples are closer to the spirit of the double exposure than the third example. I believe once you start getting into selections and masks, you are moving into the realm of creating composites, not just double-exposure.
Using the images at close to their original proportions and doing minimal transforms to the layers makes this process strongly dependent on finding just the right images to fulfill your vision. It may be good just as an exercise, but you can end up with something wonderful too.