3 Film Hacks to Expand Your Photo Creativity

The resurgence of interest in film photography is astonishing. Newcomers revel in the challenge of having only a limited number of photos per roll. They enjoy the suspense of waiting a lengthy period for the film to be processed before they see whether their photos have turned out.
Film Hack 1: Cross-Process for Colorful Results
When you buy a roll of ‘normal’ film, it is based on the idea that the film will be processed in chemistry, and you will receive a long strip of negatives ready to be printed. In a traditional photographic lab, these ‘negative’ images are projected onto photographic paper, which is put through other chemistry to create your prints. Slide film is different. When slide film, also known as positive or transparency film, is processed, you can hold it towards light and see a true-to-life image. Slide film is processed through a different type of chemistry (E-6), not ‘normal’ negative chemistry (C-41).
What happens when you process transparency film through chemistry that’s supposed to be for a color print film?
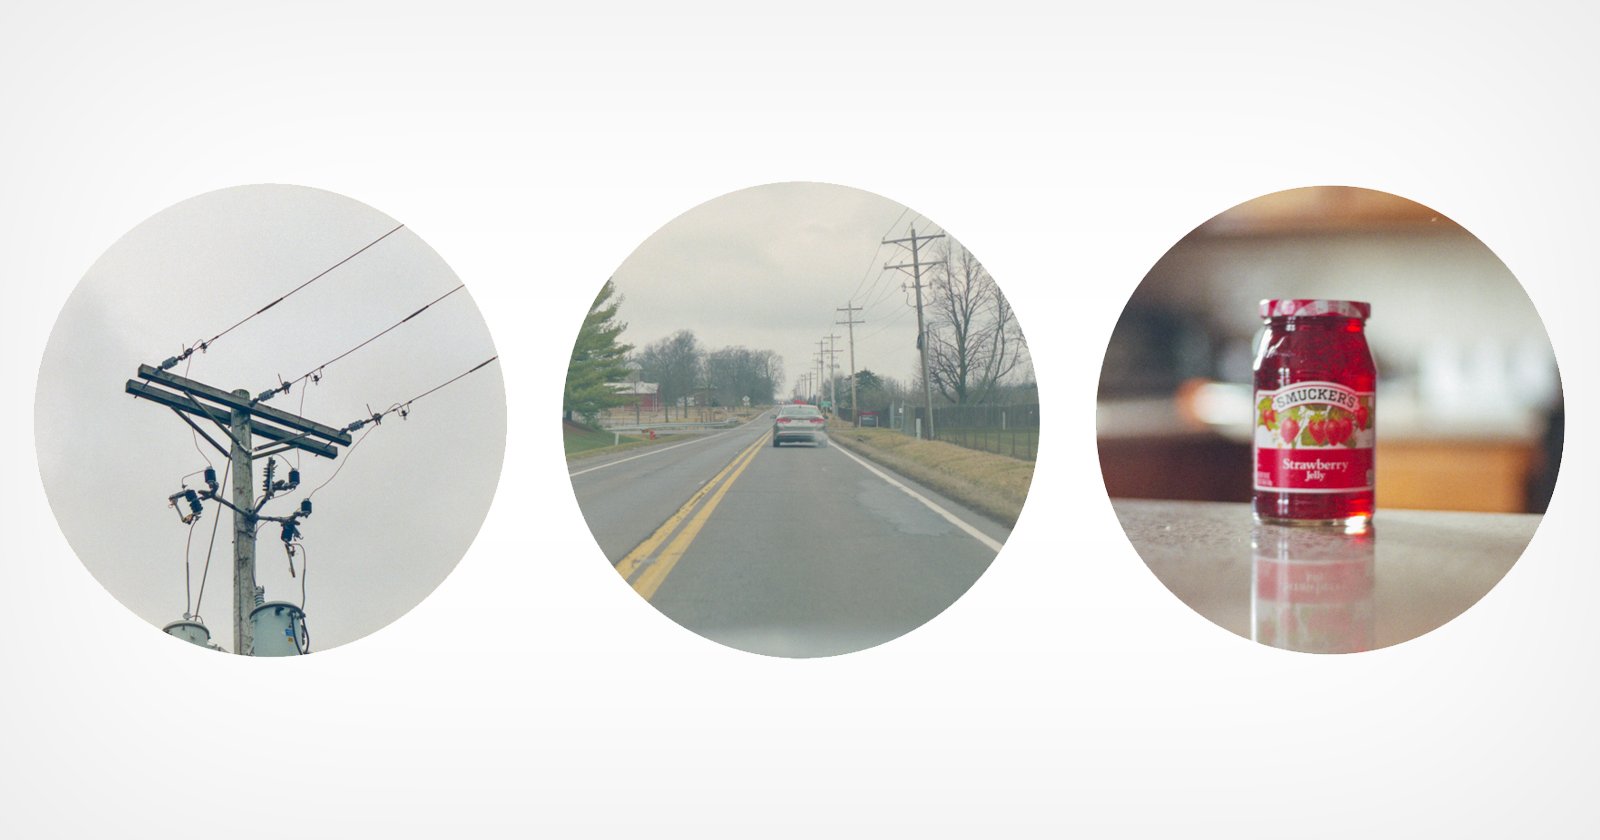
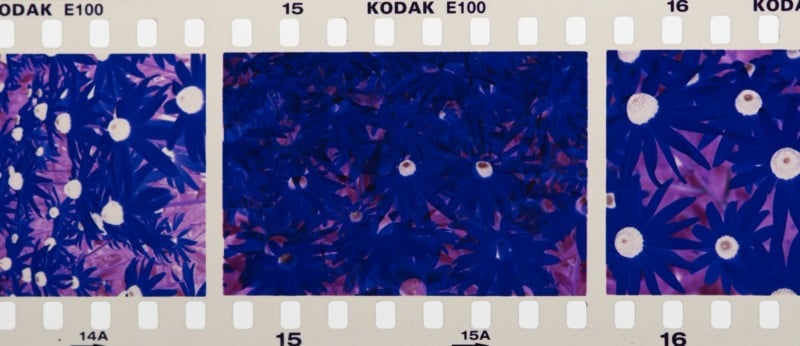
This is called cross-processing. You end up with a strip of negatives with weird color effects. It is contrasty, has high saturation, and it’s full of chunky grain. Pay attention to your light meter when taking shots destined for cross-processing because you get better effects when the photos are correctly exposed. And remember that since cross-processing increases contrast, you won’t get any detail in shadow areas because they go really dark.

Being creative with cross-processing means choosing situations that can cope with surreal color shifts. Street scenes, surfing shots, and theme parks are excellent places to take photos that will be cross-processed. They’ll benefit from the freaky effects of this type of film manipulation, where subjects end up with odd color tones.
Don’t bother taking wedding photos and cross-processing the film; the results will not be flattering. Cross-processed film gives strong greenish color casts on skin tones and gritty, grainy characteristics that are not appealing on a bride.
You cannot cross-process black and white film through color chemistry, as this will strip the film from its emulsion. After all the time spent taking photos, you will be left with a blank roll of film, and it could ruin the color chemistry too. And don’t try cross-processing an old Kodachrome that you may have found in your parents’ photography kit; it uses an entirely different type of chemistry, and you will ruin the film.
When you hand over your slide film to a photo lab, ensure they understand that you want it cross-processed. Otherwise, they’ll use normal E6 chemistry to develop it. Cross-processing is a fun way to experiment with film because the results are wild and unpredictable. You don’t know how the photos will turn out until you get the prints in your hands.
Film Hack 2: Double Exposures

One of the prerequisites of producing creative results is to abandon the need for perfection; this is a time for experimentation and fun! It’s an opportunity to play with concepts and be willing to make mistakes to learn what works best.
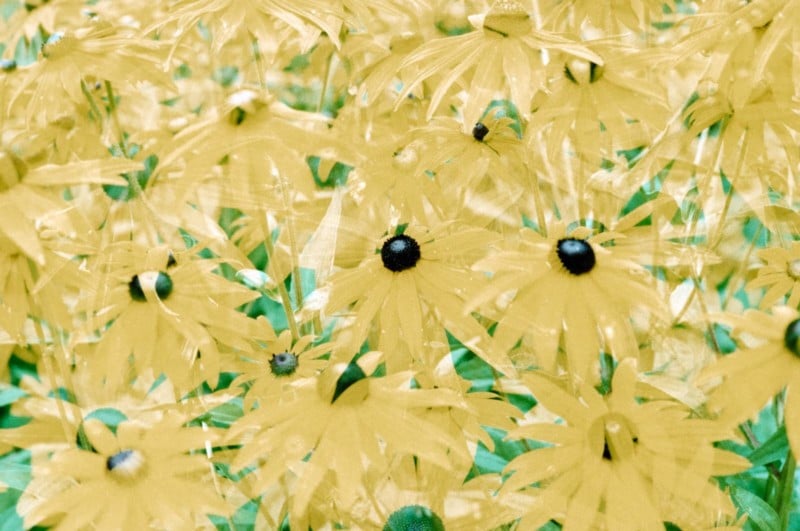
Double exposures used to be the unfortunate result of forgetting to wind the film forward before taking the next shot. It happened on old, manual film cameras in the hands of forgetful photographers and nearly always ruined the image. But creating double exposures on purpose is an exciting way to challenge your skill as a photographer. For this hack, you can use any SLR camera and any roll of film.

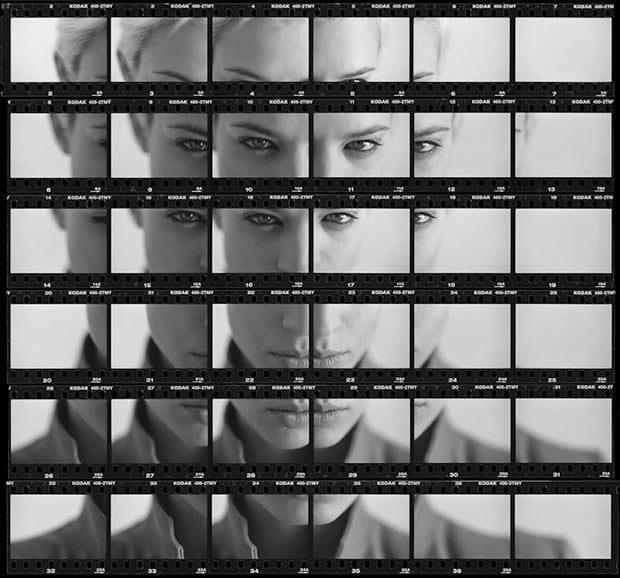
The simplest method for double exposures is to load the same film into the camera twice. Take photos on the roll and rewind the film until it releases from the spindle, but stop winding before it goes all the way into the canister. Now reload that same film and take another set of photos over the top of the previous ones. Unless you are mindful enough to attach the film in precisely the same sprockets as the first time, you will probably get misaligned frames, but this can add to the random and charming nature of double-exposed images.
Another option is available for cameras like the Nikon F2 or Canon AE-1 with a manual rewind system. After taking a picture, press the rewind button to stop the film from moving forward, and then wind the film advance lever until the camera thinks the next frame has arrived. In reality, the film stays in the same position, and you can proceed to take the second picture over the first image. This allows you to compose an image so that both scenes overlap in an aesthetically pleasing way.
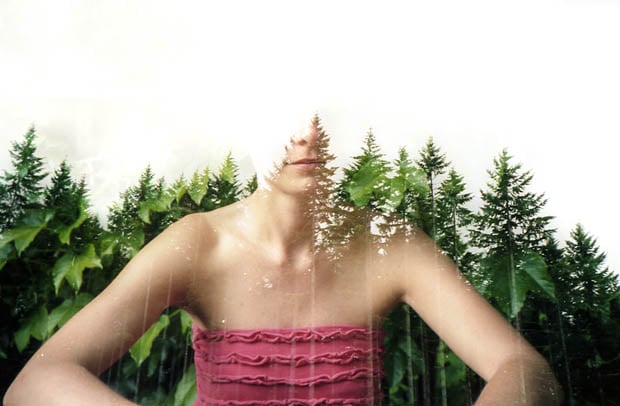
To have a ghostly effect, leave a blank area in one part of the frame, such as the sky, and fill it with the subject of your next shot. Or include dark regions of the first image, and the second exposure will be more visible in that part of the frame. A balanced scene shows you have intentionally created this double image. This method allows you to do double, triple, or quadruple exposures on the same frame. For best results, underexpose the overlapping images by one f-stop so you don’t overexpose the frame.

Some newer cameras have a built-in multiple exposure feature. Cameras like the Nikon FE2 and Nikon FM3A feature a small lever, which can be pressed down between shots. This lever allows you to reset the shutter without advancing the film. And newer electronic film cameras, such as Nikon’s F3-F6, are equipped with a dedicated button for multiple exposures, making it easier to have two or more shots in precisely the same position within the frame.
Film Hack: Retro Light Leaks

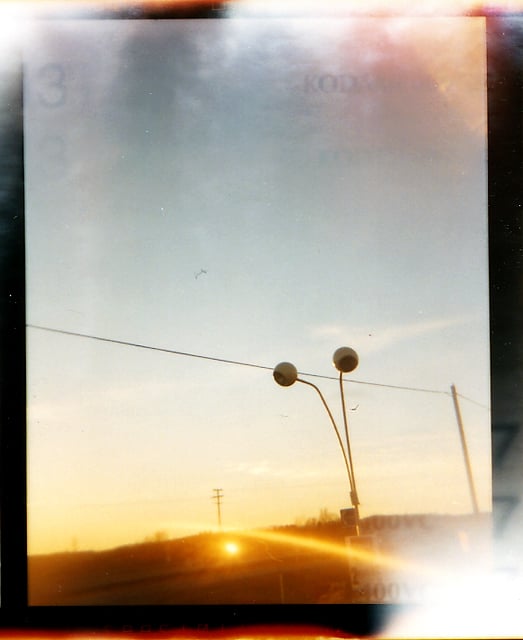
Light leaks used to happen accidentally with old cameras, but with some manipulation, you can intentionally add light leaks to make it seem as though you have used a vintage camera. Light leaks add yellow, orange, and red streaks that create a retro, whimsical atmosphere. But you must be aware that forcing light leaks has an unpredictable nature, and you can’t control the position of this effect.
The simplest way to produce light leaks is to open the back of the camera for a fraction of a second when the roll of film has been shot. Don’t rewind the film; stand in a bright area and click open the back of the camera for a brief moment before snapping it shut again. This exposure to light will likely ruin the last few photos, but the rest of the roll should only be subjected to light leakage across the sprockets and into some parts of the frames.
If you want some influence over the look of your light leaks, you can fake a similar result by reflecting light from a mirror into the lens as you take a shot, creating a colorful flare across the image. For the more traditional light leak tones, bounce reddish light from a prism into the lens as you photograph a scene. You can also place a yellow, orange, or red object close to the side of the lens as you focus on a distant subject. Use a wide aperture to blur these foreground items to look similar to light leaks. Shooting through the flame of a cigarette lighter also offers a realistic light leak effect.
Summing Up
Many photographers are returning to the film camera for its traditional, grainy look. It brings a sense of nostalgia coupled with anxiousness as you wait to discover if your film is full of amazing images that match the vision you wanted to produce or if it contains underexposed out-of-focus flops.
By experimenting with cross-processing, double exposures, and light leaks, there aren’t any mistakes — you are always creating exciting works of art.
About the author: Leigh Diprose is a business owner and full-time writer in the imaging industry whose passion is to share knowledge. The opinions expressed in this article are solely those of the author. His published work has been featured by top imaging wholesalers and leading imaging retailers in over 14 countries.
Image credits: Header photo by Markus Winkler