How I Timelapsed the Solar Eclipse (and Everything I Learned Not To Do)
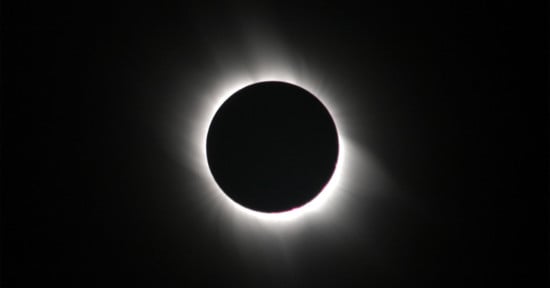
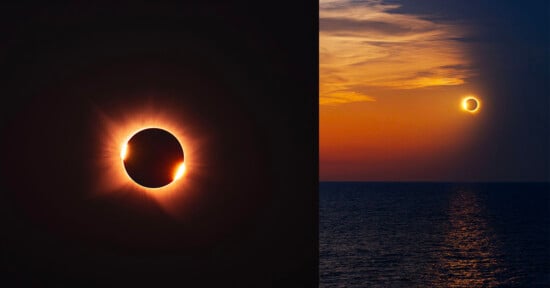
This past August, I went to northern Spain to try and photograph the total solar eclipse. I figured a lot of people would be chasing that single frame of totality, so I wanted to try something a little different and capture a full timelapse of the whole event.
I started prepping and researching, but soon found out I might have bitten off more than I could chew. Not only would I have to be dealing with major exposure changes and accounting for the rotation of the Earth, I would also be going in completely blind and having to scout and lock down the perfect spot across all of northern Spain just a day before the eclipse. But I never back down from a good challenge, so I didn’t let that stop me.
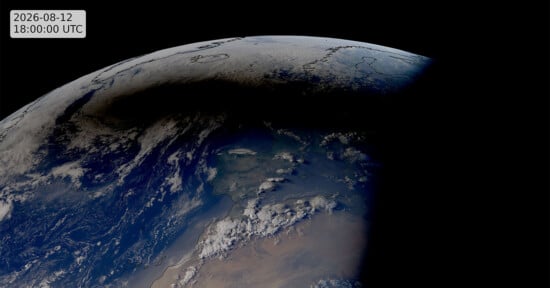
Why Spain?
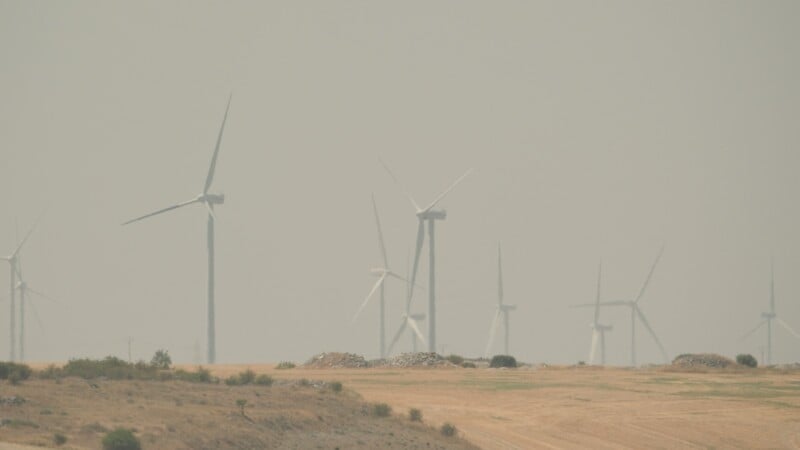
When we started planning this a couple of months ahead of time, we had two options to see totality: Spain or Iceland. A dear astronomer friend told us Iceland would likely be a terrible spot this time of year because of heavy overcast weather, so the choice was easy. As we got ready to depart, news of wildfires in Spain had us worried. Air quality was reported to be poor, and the fire map looked pretty disheartening. However, when we landed, we were relieved that it wasn’t as bad as we had thought — there was some haze hovering on the horizon, but no plumes of smoke, at least in our area. We would still be filming this eclipse very late, which, even on a clear day, meant looking through many layers of atmosphere. I was genuinely curious to see what it would look like and kept my fingers crossed.
Scouting the Vantage Point
We knew it was Northern Spain, but where exactly would give us the best view was still a big question mark. “Northern” is a pretty big area. It is a lot of ground to cover, and we have never been to that countryside before.
What makes this eclipse special is that totality happens around 8:30 PM, only about nine degrees off the horizon as the sun is setting. That’s a gift for composition, because we could frame the landscape alongside the sun to show just how massive the eclipse really is. We knew we wanted high ground to maximize our viewing time and to get us above the smoke. We also figured that a lot of populated vistas were going to get crowded, as we already saw hundreds of tourists pouring in, so having a remote location was key.
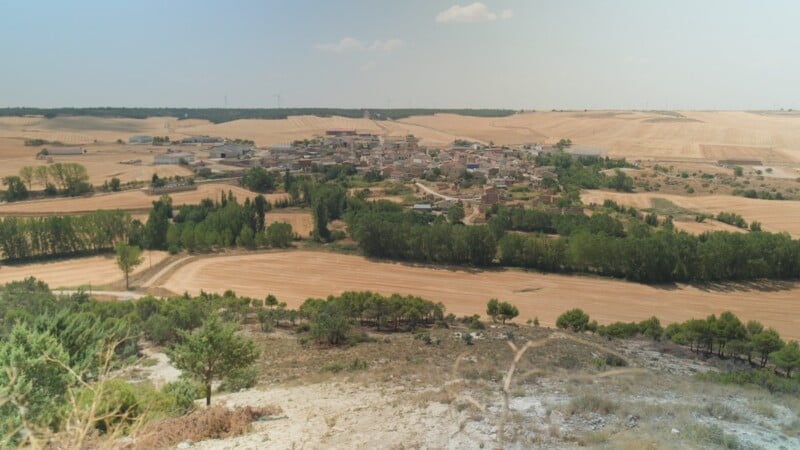
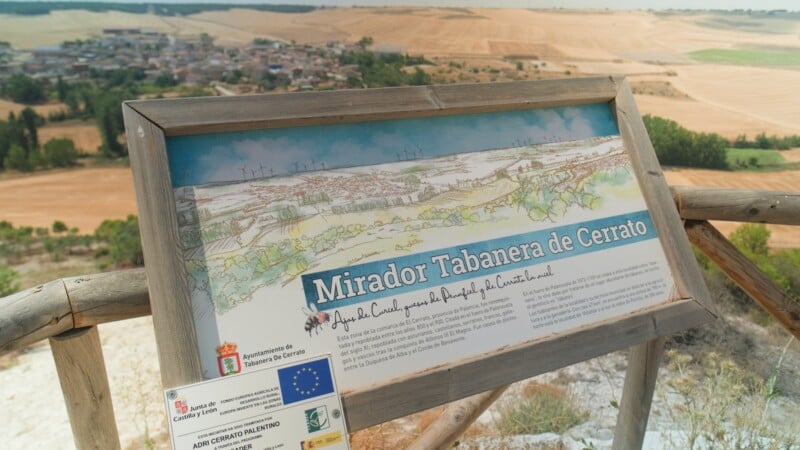
Luckily, we didn’t have to travel far. We were staying in Tabanera de Cerrato, a quaint little village a couple of hours north of Madrid. When we rolled out of town, we happened to spot a radio tower perched on top of a hill. Utility structures told us that there was likely a service road leading up to the top and while it was a little harrowing trying to crawl up a steep gravel road in a manual Skoda, we made it, and found a gorgeous vantage point.
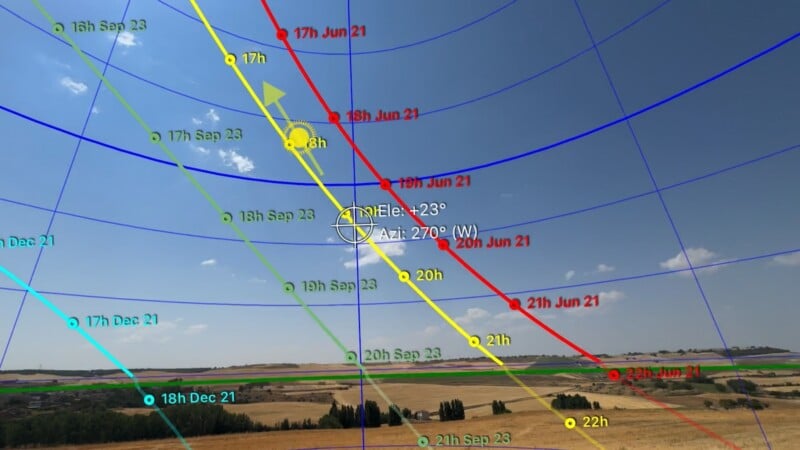
Checking my Sun Seeker app, we noticed the sun would set right behind a line of windmills with no obstructions. The windmills do make for great foreground since they can show the relative scale of the eclipse and though they aren’t the most picturesque structures, it would suffice given how perfect it was in every other way.
The Gear
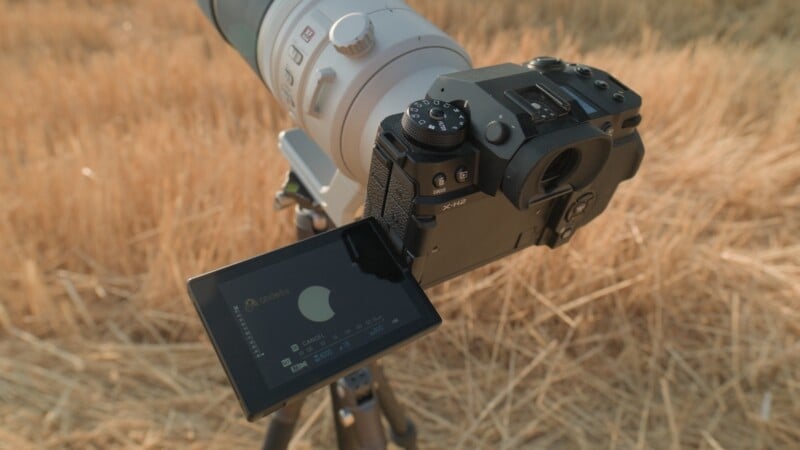
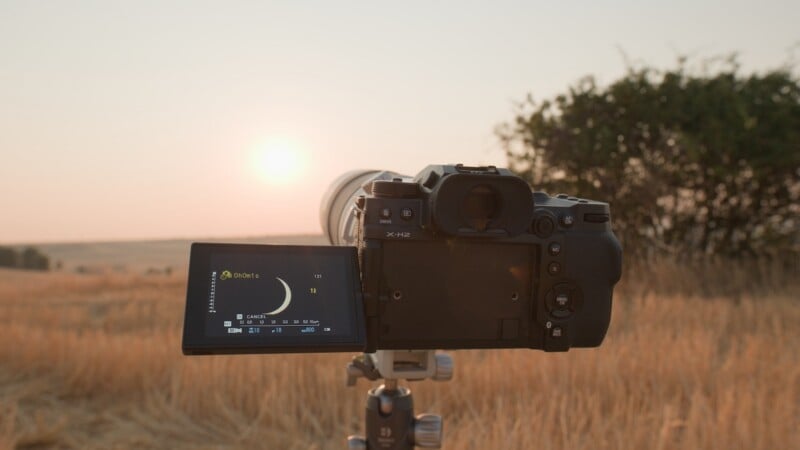
I planned to shoot the eclipse with a Fujifilm X-H2. Its 40-megapixel sensor is great for this because I could always punch in and still keep the resolution high. Although a GFX would give me even more resolution, the larger sensor demands even bigger, longer lenses, so a crop sensor paired with a super long lens is ideal for my situation.
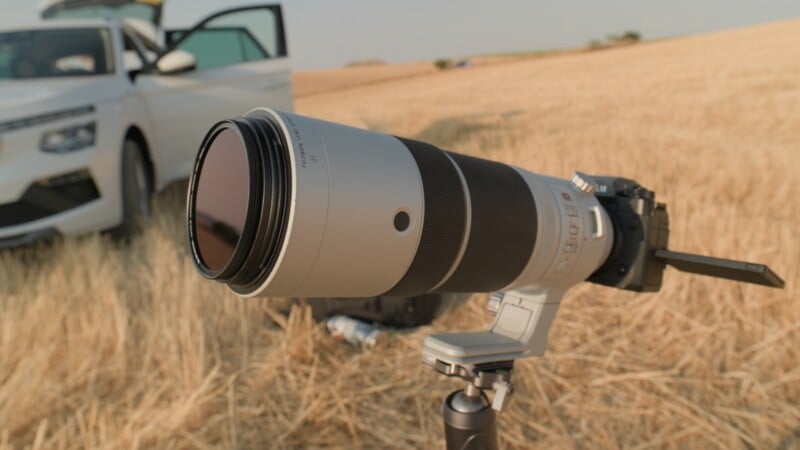
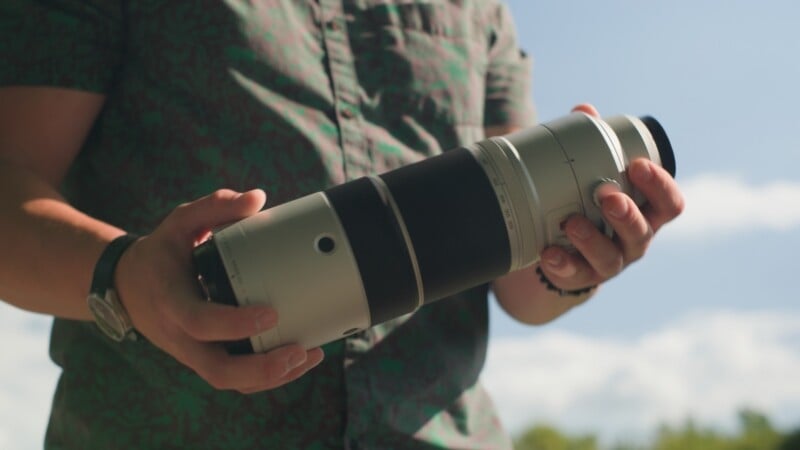
The other star of the show was the Fujifilm XF150-600mm f/5.6-8. It’s sharp, fast, and lighter than you’d think, but despite this, it takes up nearly the full length of my case, so it was a real commitment.
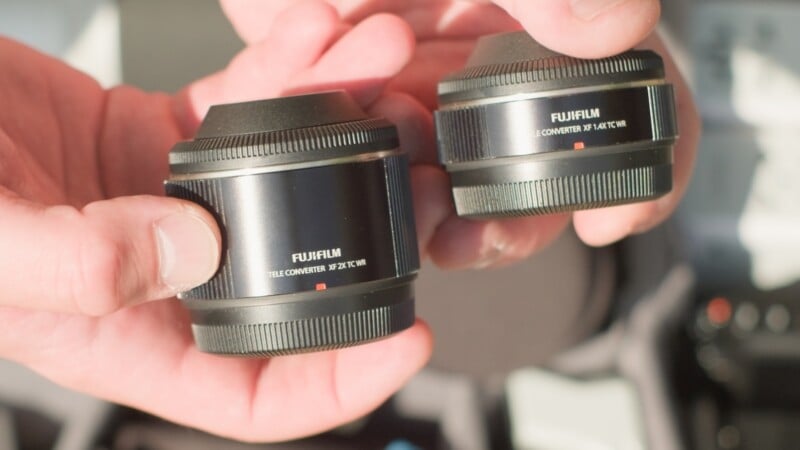
Because I’ve never photographed an eclipse, I wasn’t sure if I would need even more telephoto to reach the sun, so I borrowed two teleconverters, a Fujifilm 2x and a 1.4x. The 2x loses a little more light than I’m typically comfortable with, which is why I grabbed both, just in case. With only one shot at this, I wanted to test them right before the event to check framing and sharpness.
For support, I brought my Benro Bat One carbon fiber travel tripod. It’s lightweight, so I had to balance everything carefully without overloading the small ball head. There wasn’t much wind up there during scouting, so I was hoping it would continue to stay calm on the day.
The last piece to consider was filtration. Pointing a camera directly at the sun and taking many stills, even low on the horizon, will expose the sensor to fatigue and can permanently damage it. Plus, it will likely be impossible to dial the settings down to expose anything properly.
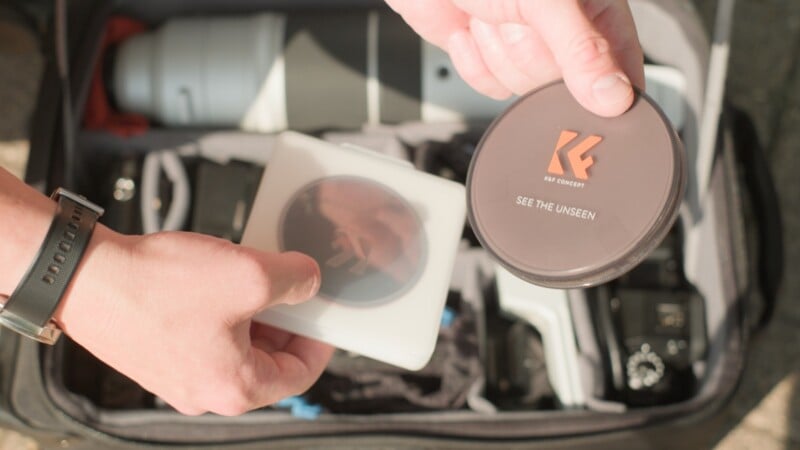
I brought two options: a 1,000 ND, which gets you ten stops, and a 100,000 ND, somewhere around sixteen or seventeen stops. You’d normally want the stronger one for something as bright as the sun, but from what I gathered, the massive drop in exposure might force me to pull the filter during actual totality. There was no way to truly know, but I prepped myself for anything and everything.
The Moment
Once we got set up, I made a few last calls on the fly. The 100,000 ND would be far too strong once the corona appeared, so my plan was to run the 1,000 ND, then yank it off the moment totality hit. Luckily it’s a magnetic filter, so that swap would be fast.
I turned off auto exposure because it couldn’t quite get low enough to resolve the sun surface details. It was a choice that I thought might bite me back in post, but I had to make a decision and commit.
I also realized the 2x teleconverter was quite strong. Zoomed in all the way at 600mm with the doubler, the sun moved through the frame so fast that I would have to keep adjusting frame every few seconds. So, I opted for zero teleconversion. Lastly, I decided to decrease the timelapse interval during actual totality, from five seconds to two seconds, just to make sure we get extra time on the totality.
Then, it began.
It started as a little bite out of the sun. Then it grew. The exposure surprisingly didn’t change at all until it was at 90-95% totality and then it started to rapidly drop. That was the moment to quickly yank the filter and change the timelapse interval. Of course, I fumbled and captured some overexposed frames, but I stuck to the plan.
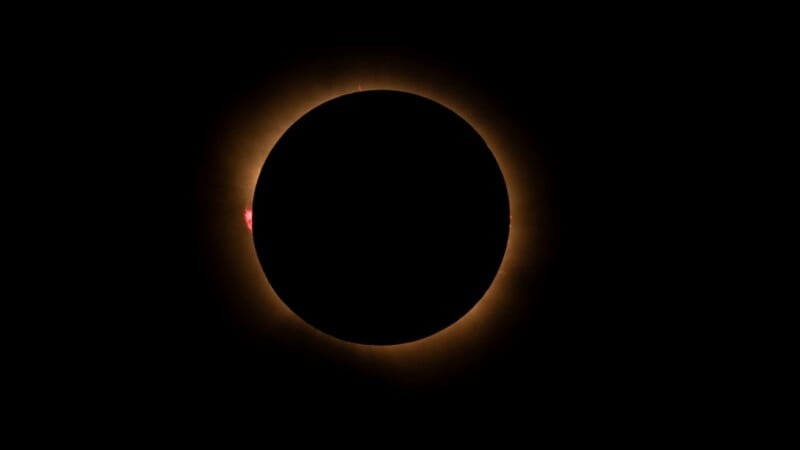
Totality was surreal and mesmerizing. It felt like a dark sheet was thrown over all of the countryside. There I was, trying to be in the moment while still monitoring and adjusting settings, which is a tough thing to balance. And before I knew it, it was over.
The Post
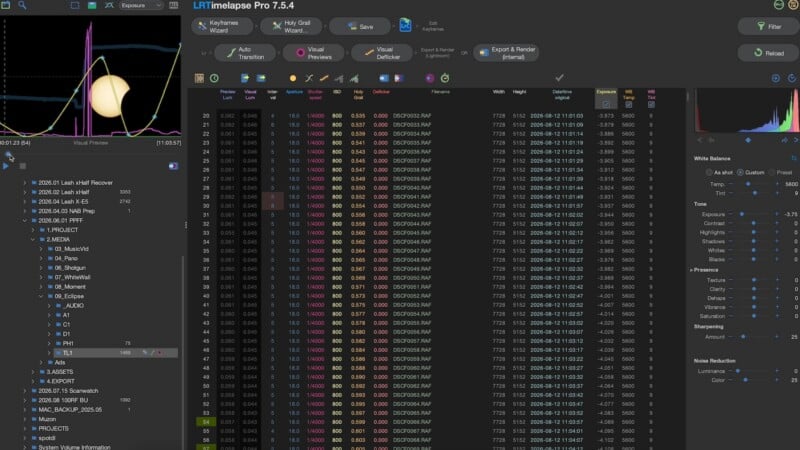
I knew this would be a handful to process in post, mostly because of all the exposure changes during the eclipse. In the end, my decision to manually expose did help in the beginning, but created its own set of problems in the major transitions. It probably would have been smoother had auto exposure worked, since LRTimelapse, the definitive timelapse app, handles auto-exposed sequences better in its Holy Grail method. Thankfully it could still read all my manual exposure changes and tried its best to equalize them. Nevertheless, I had a lot of manual keyframing ahead of me, plus some rogue frames to remove where the filter swaps left a few shots severely over or underexposed.
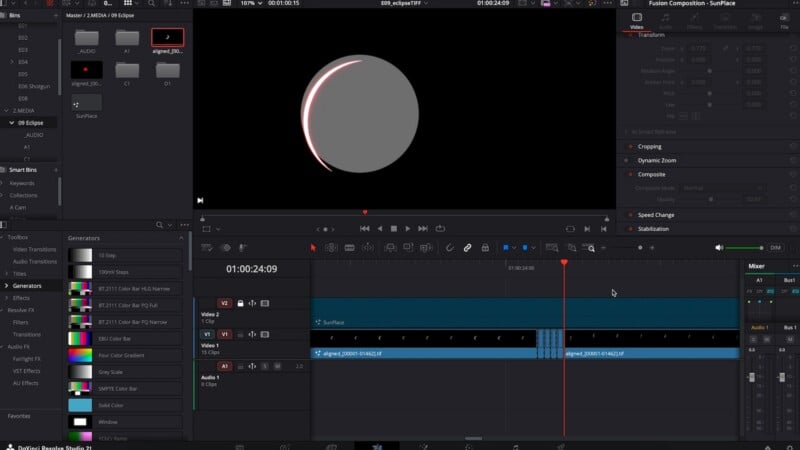
The other big hurdle was stabilizing the whole sequence. Without a motion-control rig to track the earth’s rotation, I had to keep nudging and reframing every few minutes to hold the sun in the frame. That made the movement inconsistent, and I knew Premiere or Resolve wouldn’t be able to stabilize it normally because the shape of the eclipse changes frame to frame and the software can’t lock onto a disc that keeps changing.
Luckily, I found a script that could interpolate the disc’s circle and radius at any position and give it a stable center point. It wasn’t perfect, and I still ended up correcting quite a few frames by hand, but it was a massive time-saver compared to aligning 1,500 frames manually.
The Takeaway
Given all the variables (manually adjusting exposure, manually reframing and following the sun, running around with minimal lightweight gear, and locking in a location at the last minute), I think it turned out pretty well. It wasn’t perfect but I learned a lot along the way.
Next time I’ll bring a motion-control rig so I’m not chasing the sun around the frame and I’ll work on dialing in my auto exposure better so there’s less to fix in post.
I hope you enjoyed the journey and came along with me, and maybe picked up a few lessons of your own, and check back in for more timelapse endeavors!
Affiliate Disclosure PetaPixel articles may include affiliate links; we may earn a commission if you buy through one.