Halumin H18 Soft Light Review: Product Photography Lighting Made Easy
Product photography is often considered one of the most complicated and challenging genres. Besides having the right lenses and props to decorate the shot, you’ll need a variety of light shaping options to create the best looking photos. This is where the $399 Halumin H18 Soft Light brings something interesting to the table.
Obviously to create great looking product and food images takes a lot of practice and a deep understanding of how light will behave when pointed at different reflective surfaces. To help lower the impact of that learning curve, Halumin hopes its ring light-esque modifier will make it faster and easier to create high quality images for photographers at any level, and at an affordable price.
According to the company, the H18 modifier was designed to transform small product, food, and beverage photography (and video lighting) via an easy to control, versatile, and portable system.
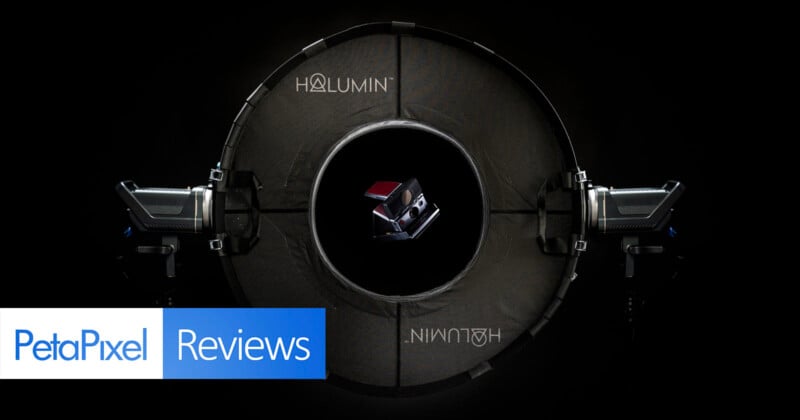
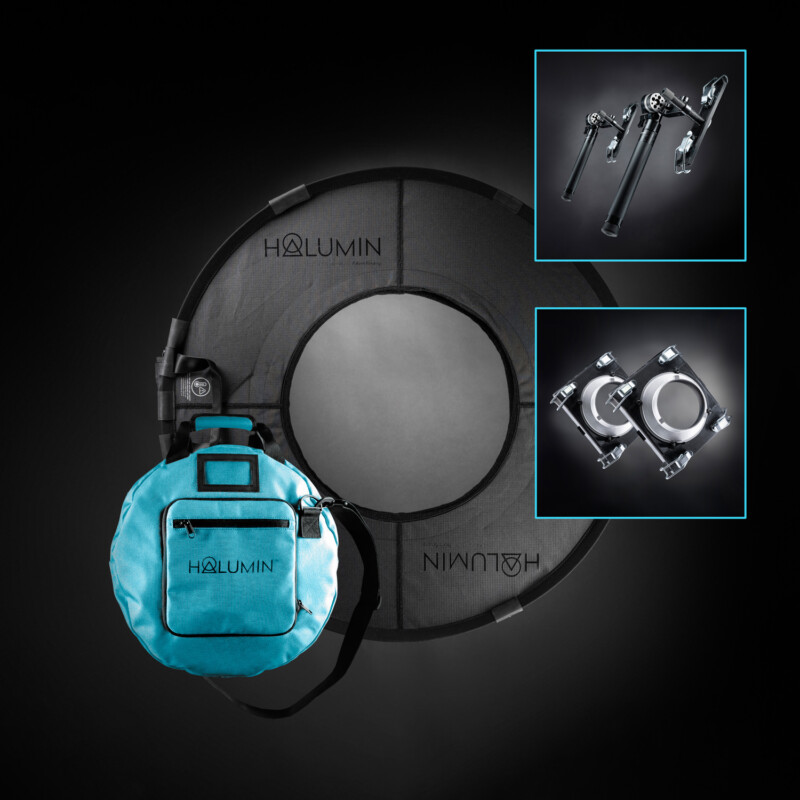
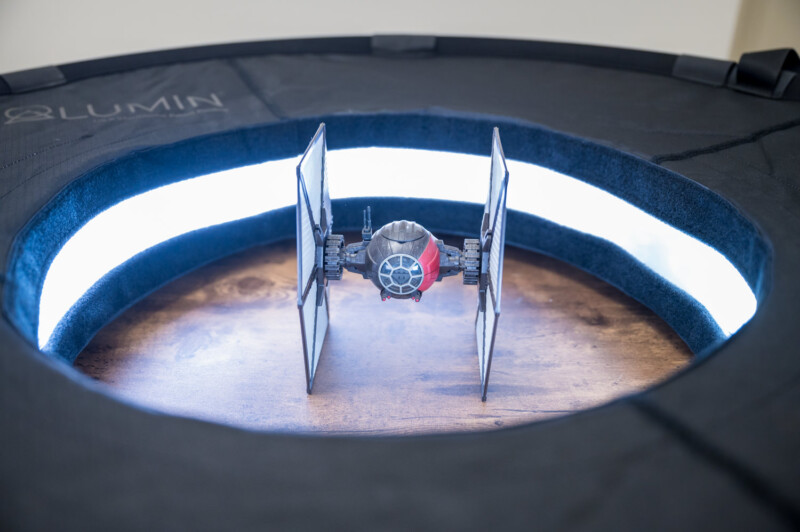
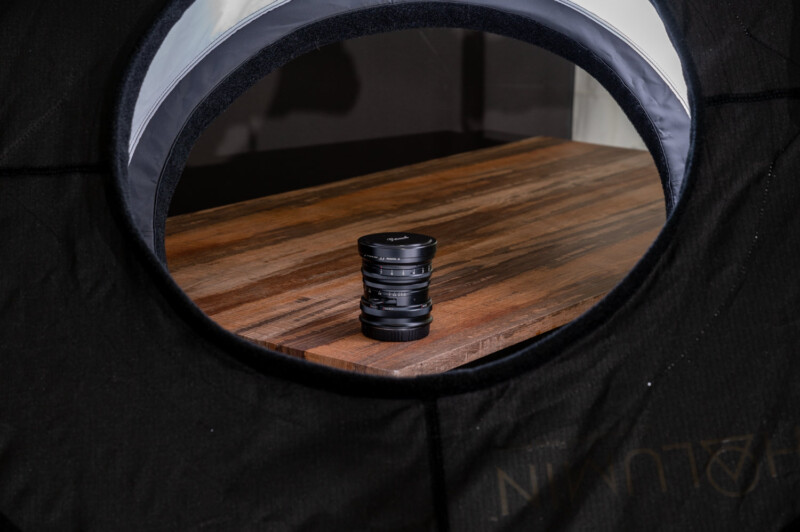
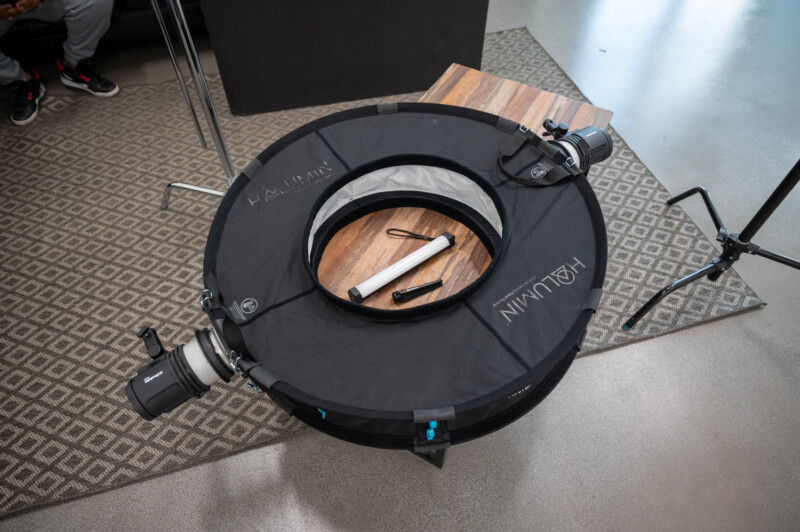
At a glance the H18 doesn’t seem that special, but a close inspection changes that. Where you would normally find light pushing forwards out of the ring to light subjects in front of the modifier, the H18 instead has it’s diffusion pointed inwards in a patent pending “open cylindrical” design.
The modifier itself starts at $399 and has accessories and bundles that can bring the price up to $848 depending on how expansive you want to go. The question is, just how useful and user-friendly is it, and more importantly, is it worth the money?
Halumin H18: Design and Build Quality
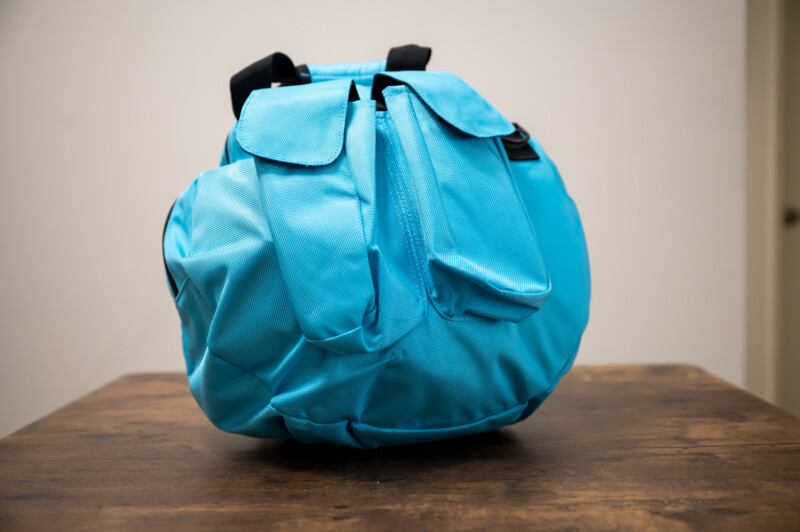
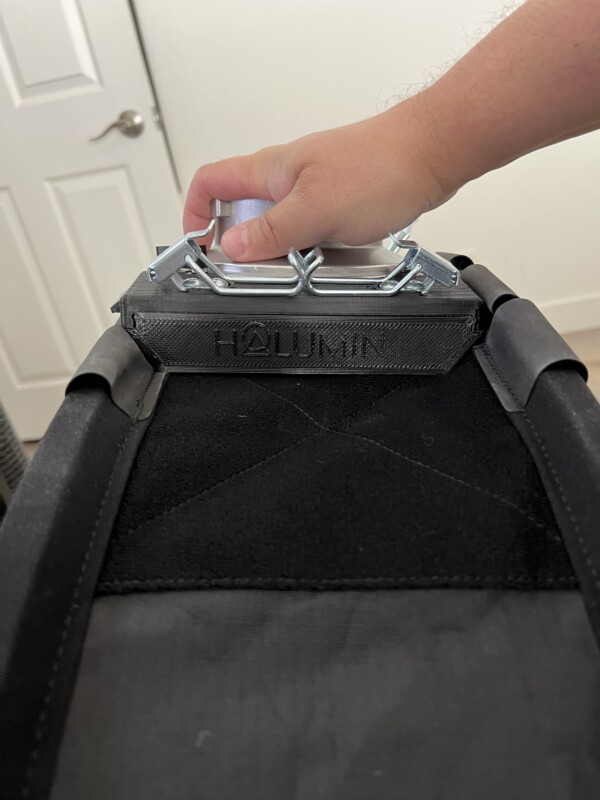
The H18 modifier is pretty well built. The system itself ships in a small duffle bag and folds up much the same as a standard reflector would to save space and travel easier. It’s made with a very rugged and durable polyester ripstop laminate, nylon, and even tempered steel with tough rubber tabs on key stress points of the device to reduce wear and tear along the edges.

The thicker fabric is supposed to enhance the durability of the modifier and minimize any chance of light leakage, ensuring the only place light should come out from is the intended inner circle which is enhanced by the use of an inner lining of reflective silver.
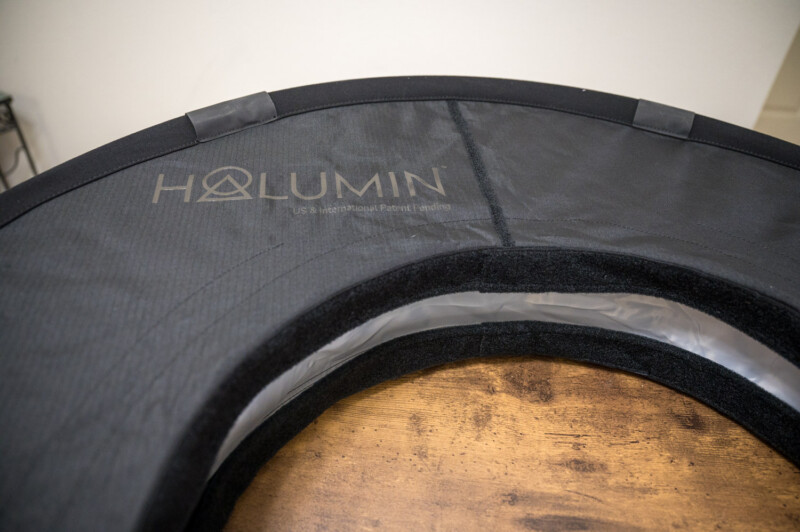
While that is true where it counts, my unit did exhibit a little bit of leakage along the inner seam where the diffusion panel is connected. It is quite minimal and you can only see it if you are actually looking for it. In real-world usage this is completely unnoticeable to the eye and had basically zero effect on the actual images captured, but I’d be remiss if I didn’t mention it.
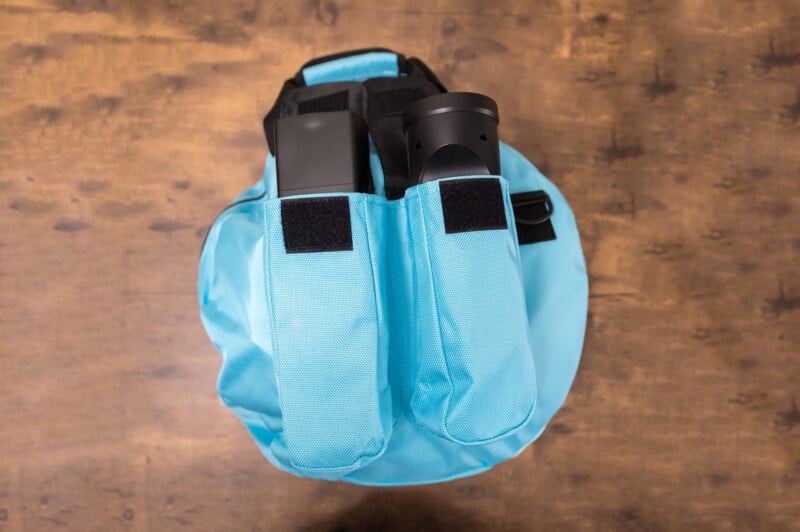
When opened and assembled, the H18 modifier has an interior “Staging Area” of 18 inches and measures 36x 36 x 8 inches in total, basically allowing for a shoot space of about four by four feet if you’re in a pinch for space. When collapsed and in it’s travel bag, the H18 measures just about 15 x 15 x 8 inches (if you don’t make use of the speed-light pouches) making it very easy to store and travel with when compared to many other light modifiers. The bag includes two pouches to carry speed-lights (or other small sized accessories) that can fit most speed-lights on the market, including the larger Profoto A, Westcott FJ80, and Godox “round” style heads.
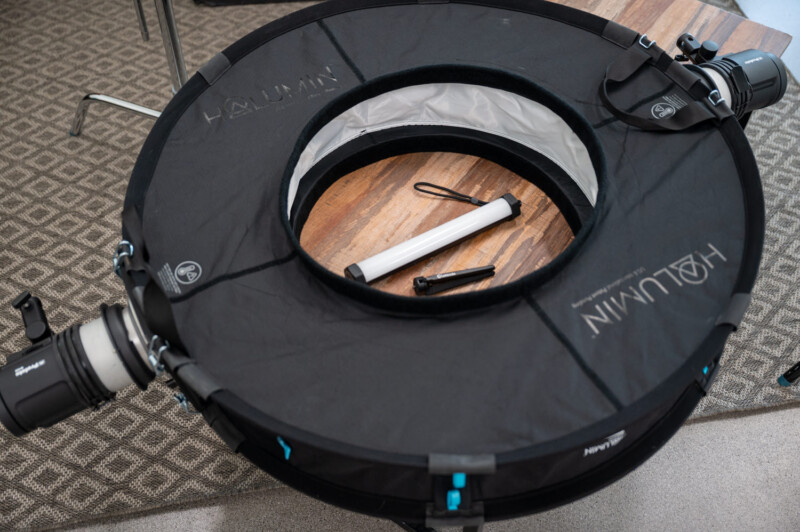
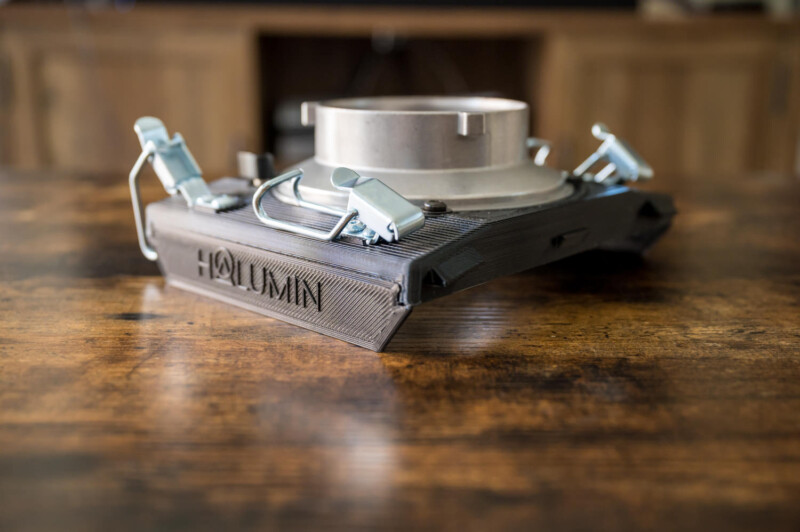
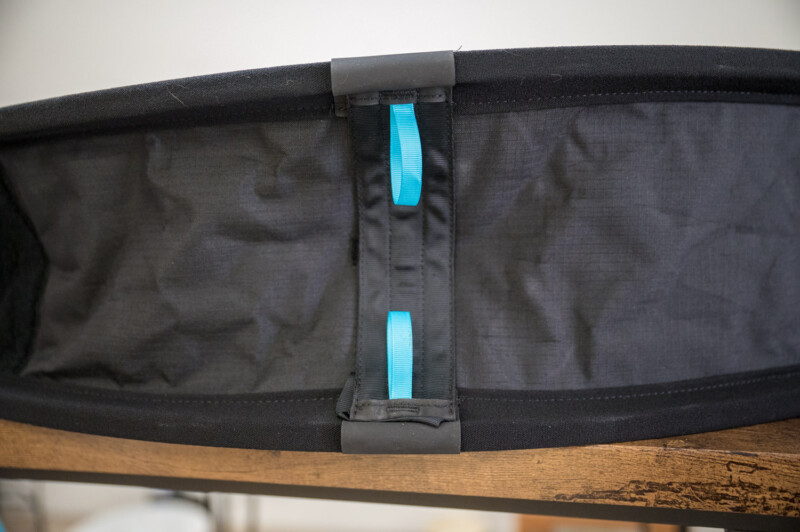
The outer ring of the modifier has several fixed points that help the system maintain its shape. These “ribs” are secured using velcro and positioned alone the heavy rubber points along the outer edge of the ring. Then there are the two slots on opposing sides (we’ll say they are at the three o’clock and six o’clock positions for the purposes of this review) where you can mount the lighting system of choice using the included speed-light adapters, or optional studio light mounts. These ship by default with a Bowens mount, but additional adapters can be purchased to connect to nearly any other lighting system including Profoto which I used for this review.
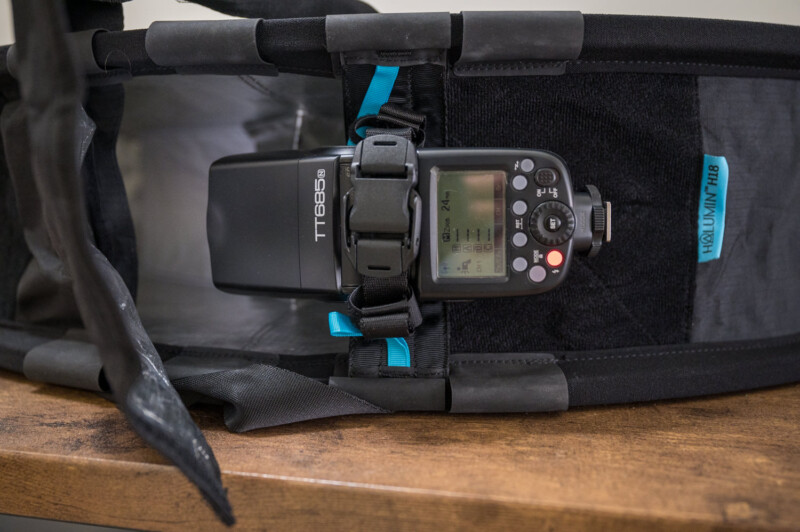
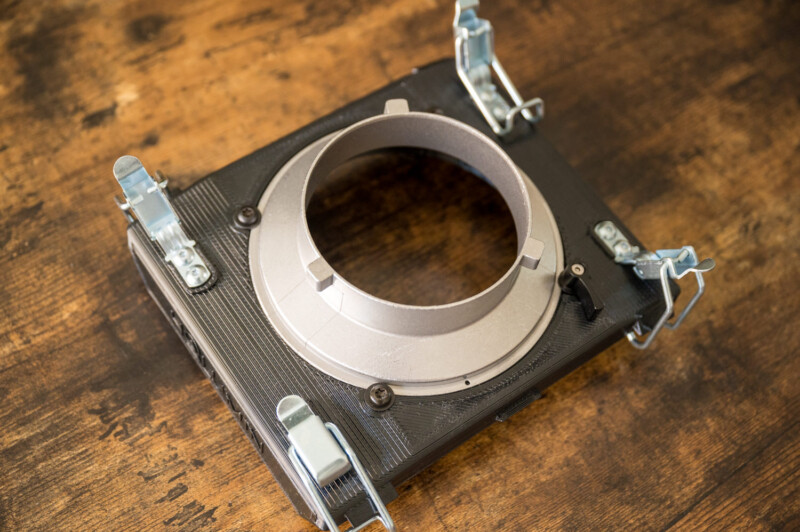
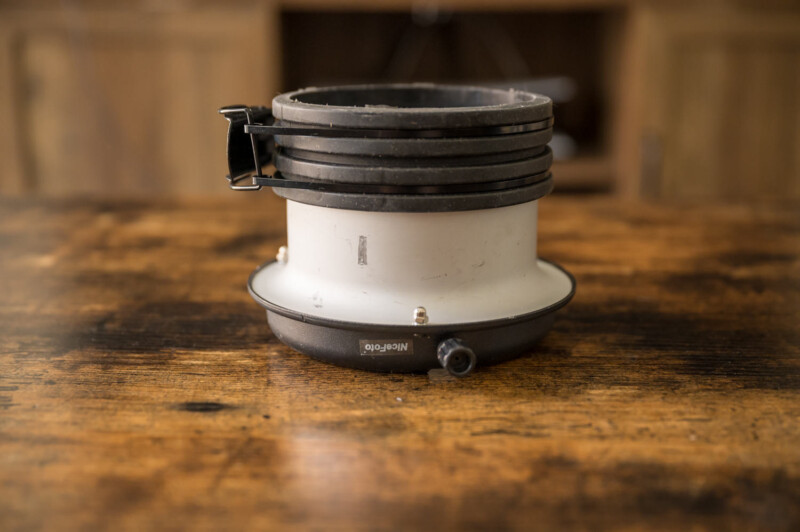
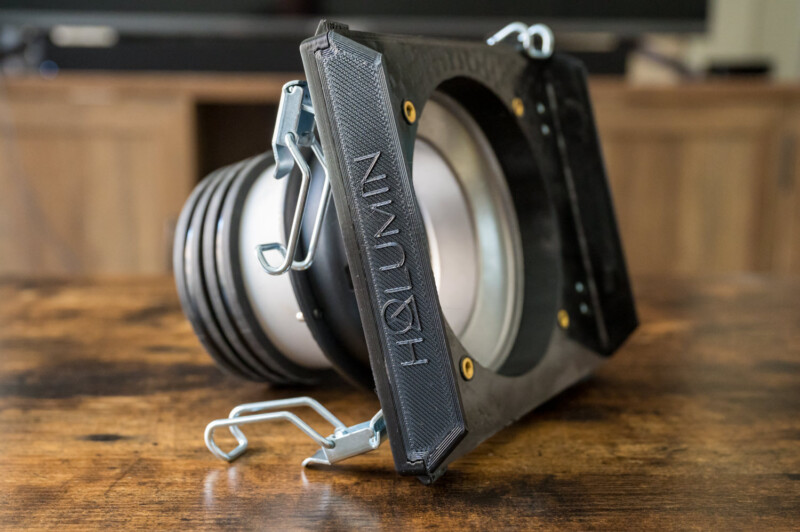
The speedlight setup uses a system of snap-ties and velcro with a “rib” to connect to either side of the modifier, whereas the studio light uses larger metal and plastic clamp-based designed that connect over the thick rubber outer lining of the modifier. Even though its quite a simple setup, it can feel pretty confusing at first, so I’d recommend taking the time to watch a setup guide just so you don’t waste time.
Inside of the ring where the diffusion is, you may notice two thick rings of a heavy-duty velcro like material. These are built to act as a sort of “barn-door” to give you more control over how much light you want to spread on your subjects. This includes the use of some included “blackout materials” which we’ll dive into in the section below on using the modifier.
Finally, the Halumin H18 modifier has optional $269 accessory legs which lock onto the support ribs of the modifier and can articulate in nearly any direction to help support the H18 and its attached lights in a variety of positions. You can use these to help balance the modifier when being used on an angle or even as a “stand” to hold the modifier upright.

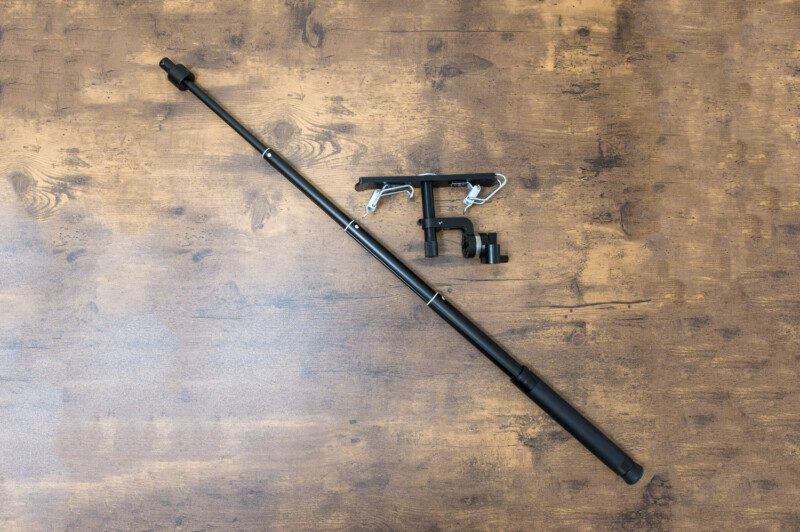
The collapsable leg(s) can extend out to 30 inches (13 inches collapsed) giving users a flexible range of lengths and angles to position them. At first these feel rather clunky, but after a bit of practice it started to feel second nature for helping balance tricky angles and setups.
Halumin H18: How Do You Use It?
If you don’t read the instructions (or watch the handy series of YouTube videos) the first setup can be a little confusing, but even then it didn’t take me long to figure out.

Once you figure out the intricacies of the H18, setting it up using either speed-lights, LED’s, or strobes shouldn’t take you any more than a few minutes. Depending on the complexity of your lights attached and if you need stand support, it might take you a bit longer to reposition the lights the way you want than to set it up or tear it down.
When you first take the modifier out, you need to connect a few rigid “ribs” along the outer lining to keep the system expanded for use. These are positioned along four corners of the modifier with openings at the three o’clock and six o’clock positions to mount the light of choice for your shoot. If you use the speed-light option, the H18 has a built-in reflective cover to fold over the speed-light to ensure there’s no light leaked when in use.
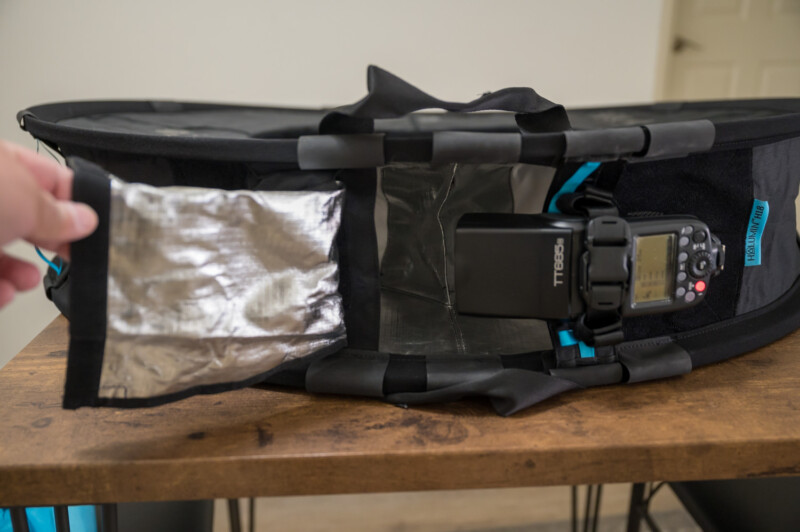
If you use the strobe/LED mount option, the base of the mount covers the entire opening, ensuring the light goes exactly where it’s needed and nothing is spilled out of the sides.

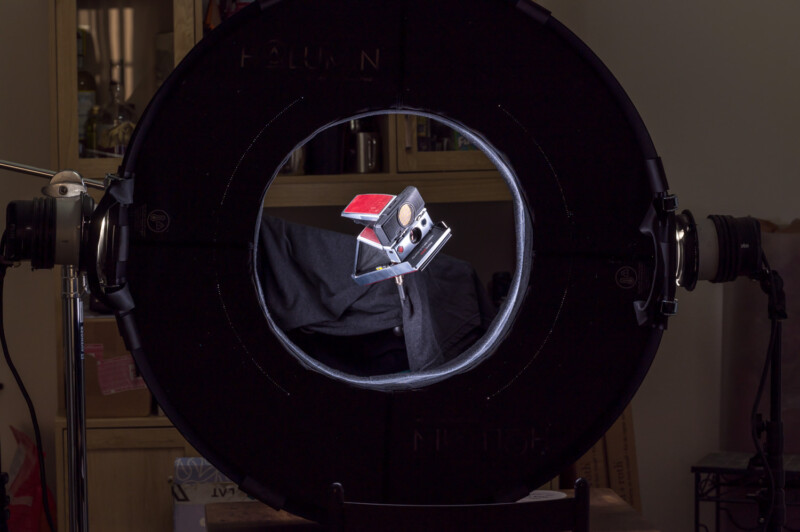
As I mentioned, the inner ring of the H18 has a set of 360-degree velcro “barn doors” that when turned inward keep the light contained in a really narrow area with a hard drop off. The idea here is that you can isolate the light in a tight space and only light your subject and not spill out onto the background. If you flip one of the rings outwards, it lets light come out at a wider angle. This lets you get a little more light on the product and/or the background.
Additionally, you can also flip part of the ring on both sides open to allow light to be stronger in one side of the ring so you can manipulate the light with having to change the settings of each flash as often.
Since they are Velcro you can control the light even more by taking the included blackout strips and use them totally block the light from select areas. According to the company, “This is for situations like, if you have a reflection on part of your subject that you want to eliminate or some of your subject is too close to the edge of the ring and you want to block that light so it’s not hot in that spot.”
The design itself is meant to be able to reduce the number of lights and modifiers needed to achieve a soft all-encompassing light setup which would typically need four or more lights to achieve a similar look, so while it still feels a bit big, it really does cut down on the space and quantity of lights needed to get a very smooth looking product shot. This was especially useful for me, being rather new to that side of the photography world.
Halumin H18: Performance and Results
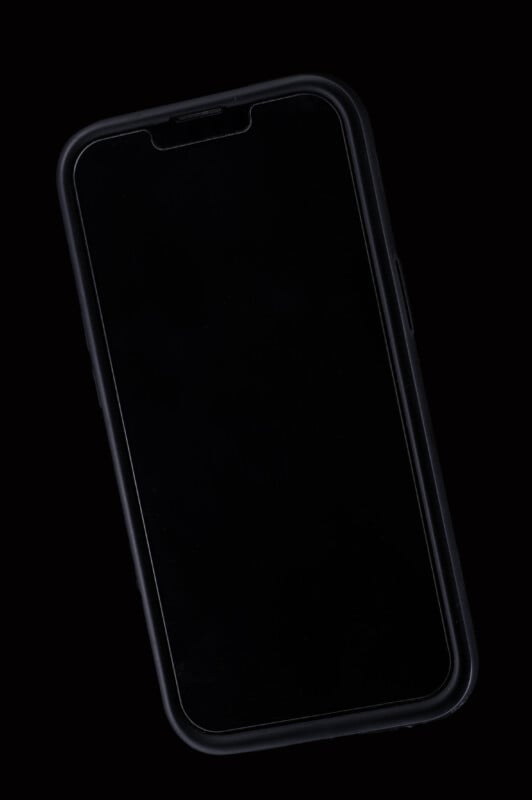
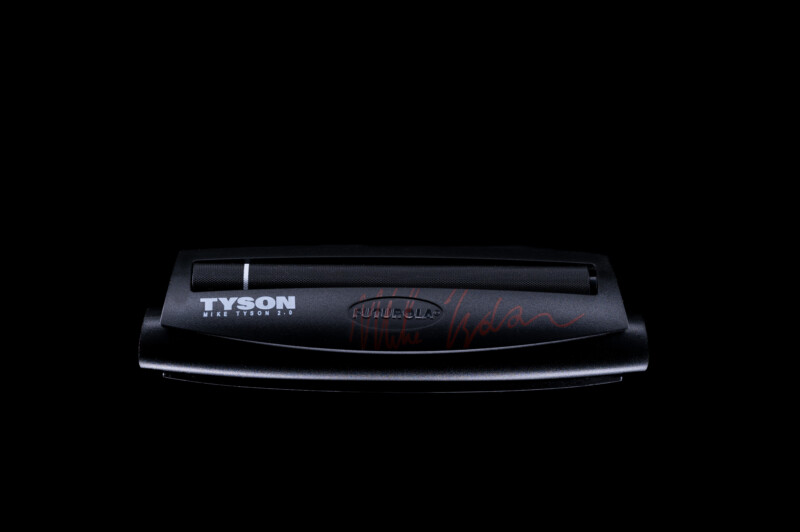
I tested the Halumin H18 in a few different setups from the small dining area of my home to some lay-flat and table setups in the studio to see just how good it was, and maybe it was the beginner product photographer in me speaking, but I was pretty impressed with it. Yes it’s kind of weird to look at, but it actually works really well, especially if you want to create that dramatic product shot.
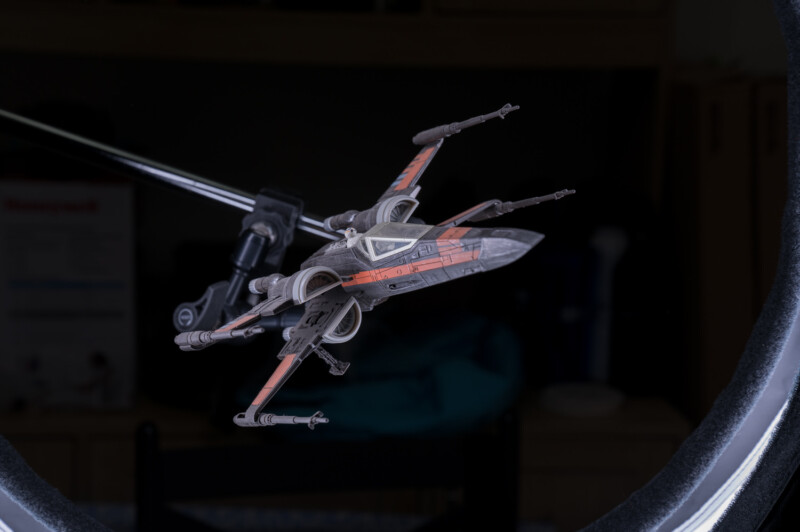
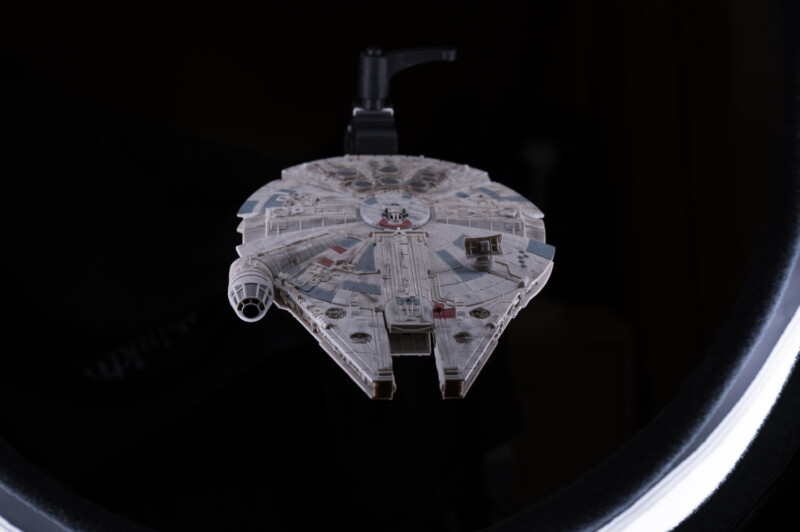
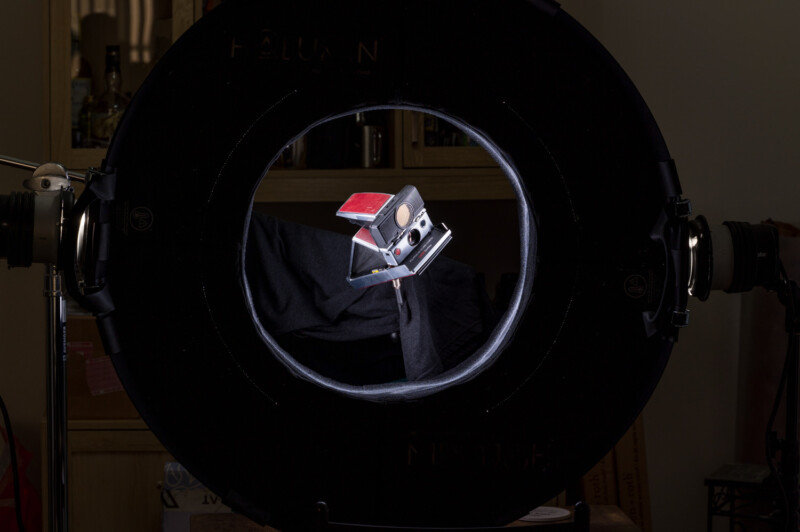
For the first few tests, I used a C-stand arm with a Manfrotto/Lastolite micro-arm and mini-clamp combination to hold a bunch of different items and almost straight out of camera they were ready to release.
To clean things up a little better and reduce my editing time, I simply draped a black t-shirt over the reflective c-stand arm and was left with just photoshopping out the actual “clamp” for the final shots. Other than adjusting my exposure, it was pretty easy to get a great shot right out of camera. Granted, the images could have been made much more attractive had I added additional lights or colored gels for the background but I wanted to focus on using the Halumin H18 on its own to show what it is actually capable of.


Halumin H18: Awkward At First, But Incredibly Useful
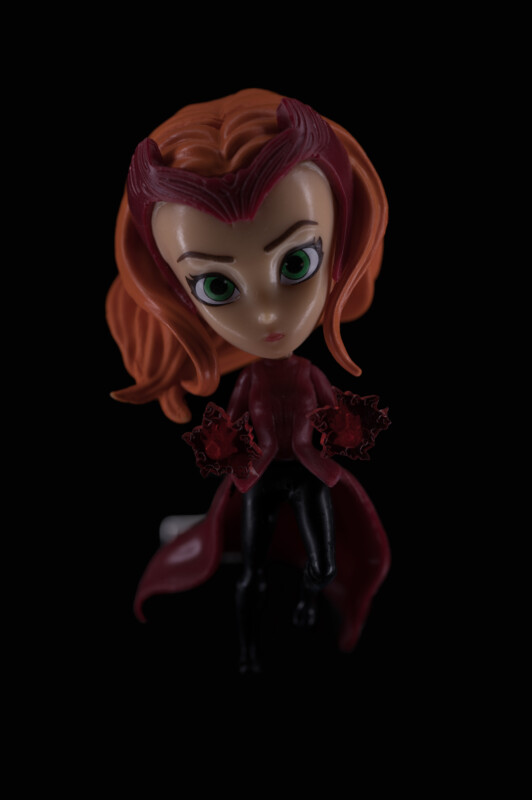
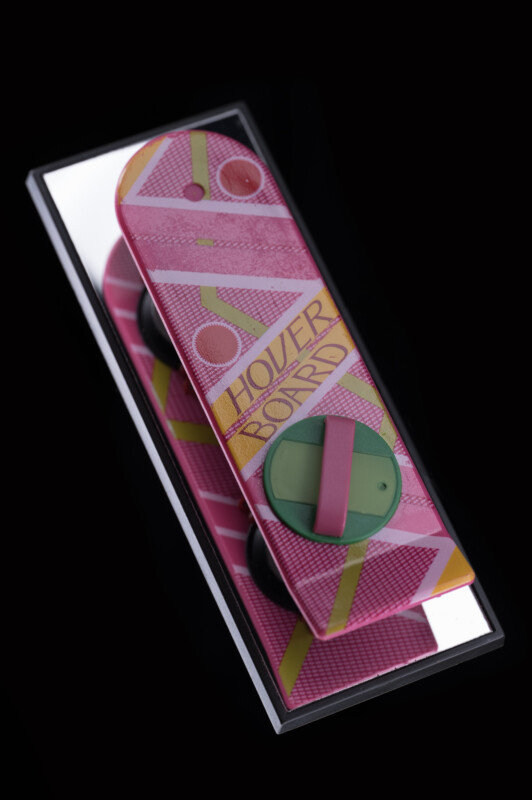
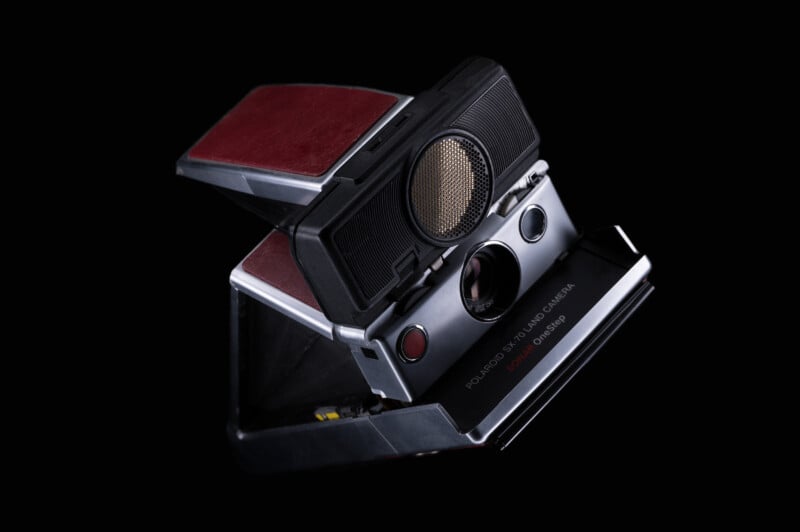
In each of the the vertical floating setup, lay-flat, and the corner/table setup, the $399 Halumin H18 Light Modifier was the only light used, and each shot was used with the modifier positioned at a few different angles with the inner “barn doors” held in a variety of positions to make subtle changes to the lighting. But in each and every case, it was clear that the H18 Softlight handled the reflections on shiny objects exceptionally well, making it an ideal tool for those serious about food, beverage, and product photography.
Being new to that world myself, It was kind of exciting to be able to capture images this way with such ease, especially since the modifier on its own seemed to make the products shot with it just pop out of the background. It was pretty quickly clear that spending more time finding the right angles or adding additional accent lights could make the products shot with this modifier absolutely jump off of the screen. The only downside would be if you had to photograph larger products, then this modifier would effectively be useless for you.
For many new to the product world, the cost of entry may be a bit of a deterrent given that the modifier starts at $399 for the base system and goes up to as much as $848 for a bundle with the accessory legs and adapter mounts for studio lighting (more if you need to buy adapters for a light other than Bowens)
But, given that good product photography lighting, sets, accessories and props are expensive, adding a high qualify modifier like the H18 just makes sense as it can significantly cut down the amount of gear and lighting required to get “the shot” as well as save you a ton of time both on set and in post production.
Are There Alternatives?
One alternative that is kind of close in the end result would be the much more affordable $139 V-Flat World Light Cone bundle by Karl Taylor which would require additional setups but can deliver somewhat similar ending images.
Outside of that though, there really isn’t any other close alternative which makes the Halumin H18 modifier unique. Yes, there are tons of other ring-lights out there, but they are all front-facing designs, not “inwards” as the H18 acts. Meaning, you can get other similar shaped light modifiers, but they would require a significant amount of additional customization to even begin to get close to replicating the setup, which would defeat the entire purpose, and likely make the cost and or space required to use much more significant.
Should You Buy It?
Yes, if you’re serious about food, beverage, and product photography.