The Tilt-O-Matic is a 3D-Printed Tilt-Shift Adapter
I’ve been making tilt-shift lenses for a while now, and they’re a bunch of fun to make and shoot with. I don’t think I need to sell you on the creative possibilities of this type of photography and videography.
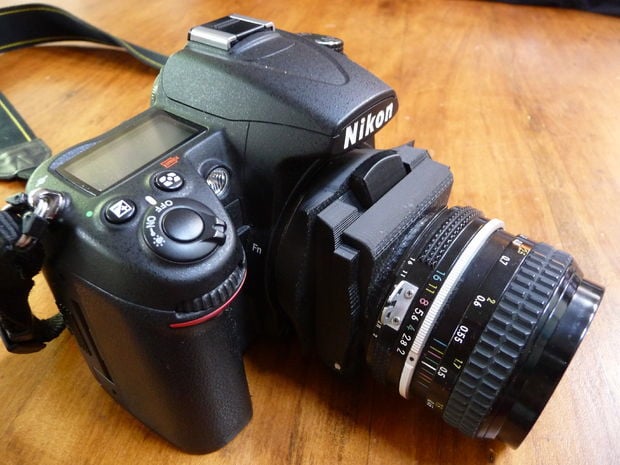
My interest in tilt-shift has dovetailed with my experimentation with 3D printing. I’d wanted to upgrade some of my previous designs to be a bit more robust and with better optical alignment, so I designed and made the Tilt-O-Matic – a 3D printable tilt-shift adapter for using 35mm lenses on mirrorless cameras.
In this iteration of the design, the lens side accepts any Canon EF lens and on the camera-side mounts to a Fuji X body. Please note that there is no electrical connection so any attached lens is completely manual.
The design could be adapted for most full-frame 44-45mm registration distance camera lenses (e.g. DSLR-style camera systems such Canon-RF/EF, Nikon-F, M42 mounts, etc) and on the camera side most APS-C or smaller sized mirrorless systems (e.g. Fuji-X, Olympus PEN, Micro 4/3, etc).
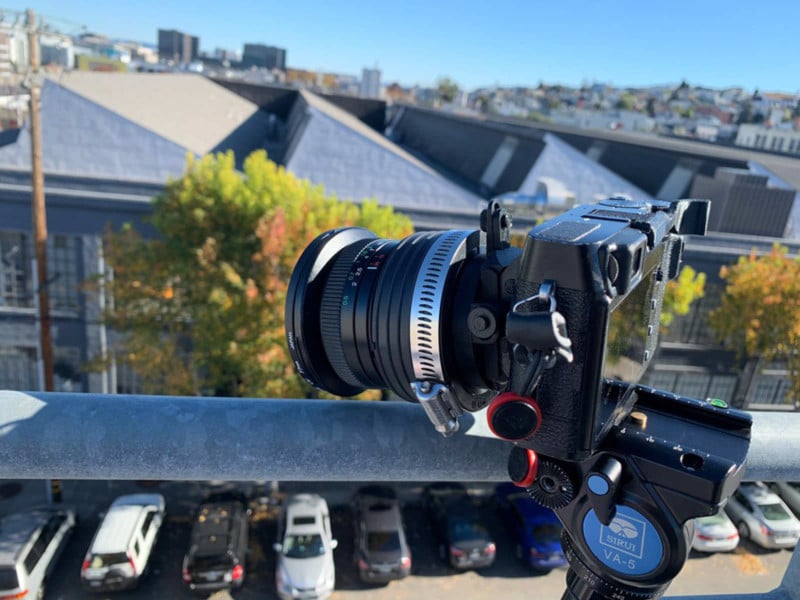
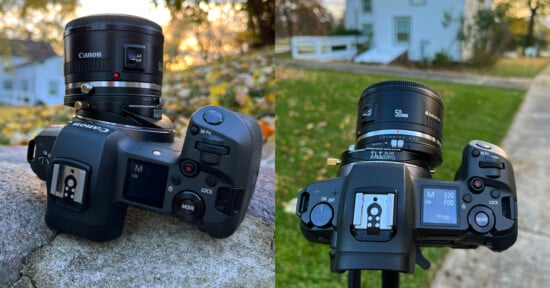
The adapter allows for three movements – tilt, shift, and rotation. The rotation radius is around the sensor plane to maximize the coverage of the image circle on the sensor and make the tilt a bit more sensitive. The tilt and shift movements can be fixed into place by tightening nuts, and the rotation is on a firm ‘click’ dial.
Here’s a quick demo of some of the Tilt-O-Matic 3D printed tilt-shift adapter movements:
You can grab the STL files for printing this yourself here on Thingiverse. If you end up printing and using this, I’d love to hear from you!
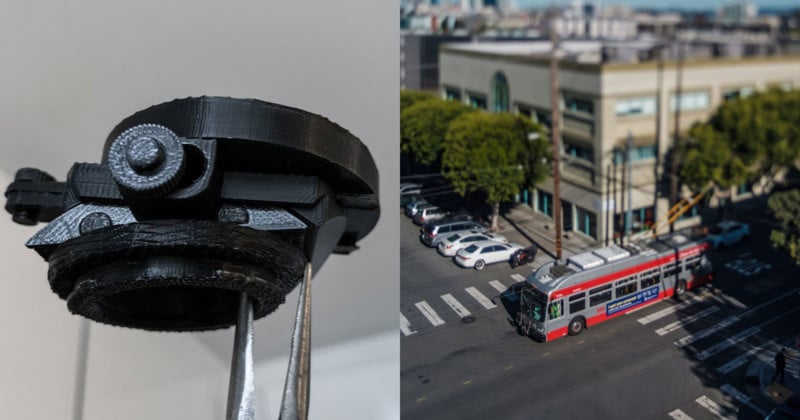
Sample Shots
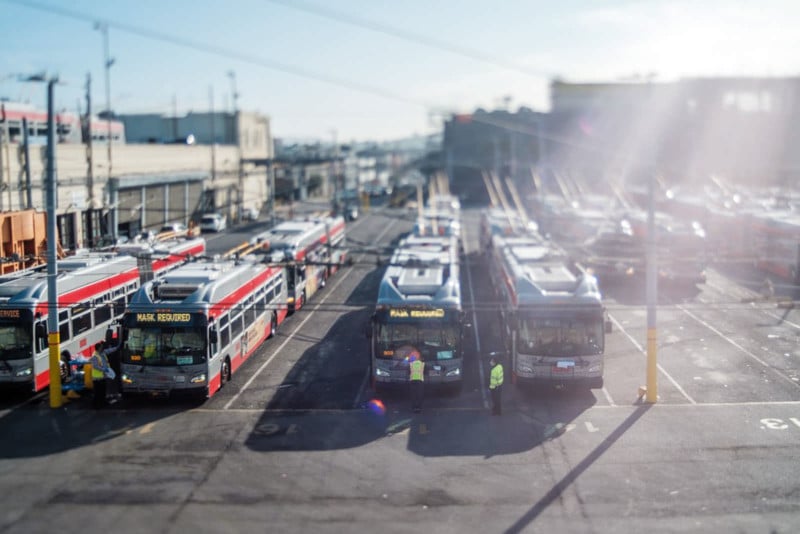
Here’s a quick couple of shots I took with the adapter. Note that I was able to lock off the lens position so it was possible to shoot effective timelapses.
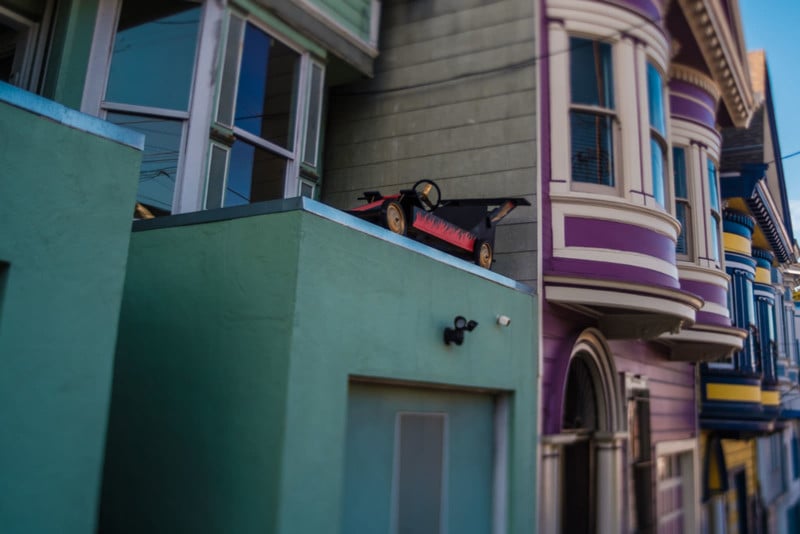
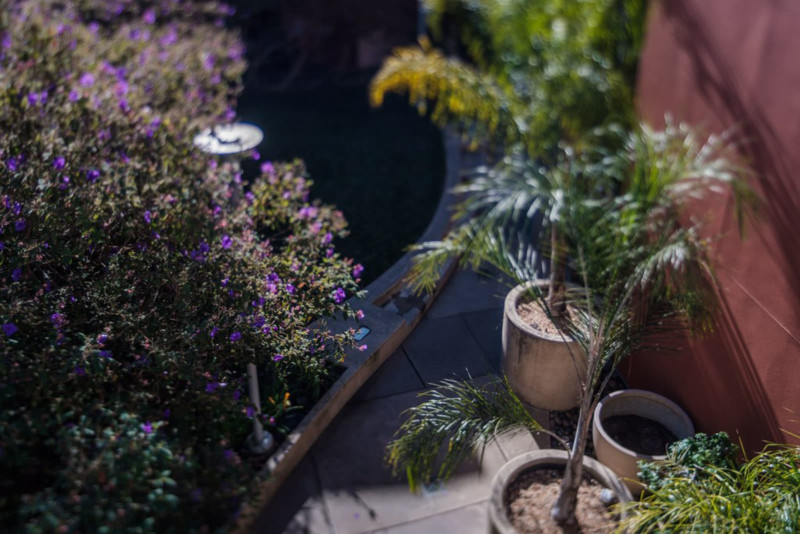
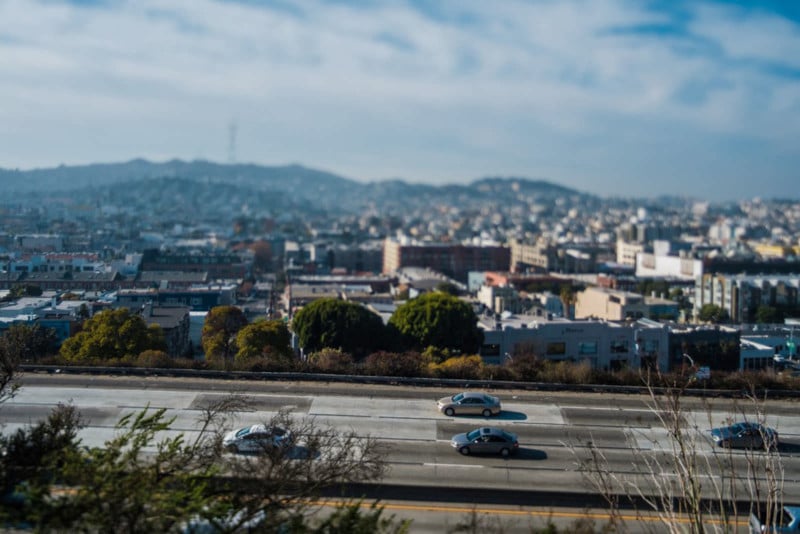
Here are a few example shots with the adapter and a 19mm Canon EF lens. The adapter can facilitate architectural perspective correction – however, I’ve focused on examples here of the very selective focus.


Creative Notes
The lens adapter allows for free-form lens posing by simply loosening the tightening nuts. This permits some pretty free-form shooting, similar to my previous Bendycam lens, which remains one of my favorite lens designs to date.
However, it can be stiffly posed for more serious perspective correction shots as well as for shooting timelapse videos. It’s a relatively new adapter for me and I’m still getting used to it, but so far I’ve been very pleased with its flexibility and creative range.
Previous Designs
The design of the adapter builds on a previous design called the Plungercam 2, which relied on holding the lens in place using friction alone.
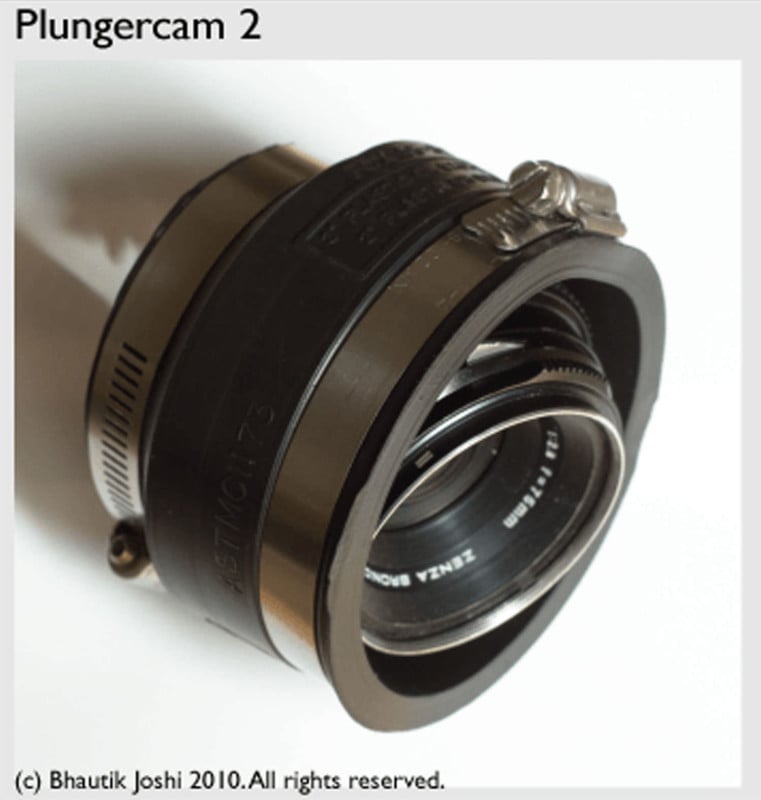
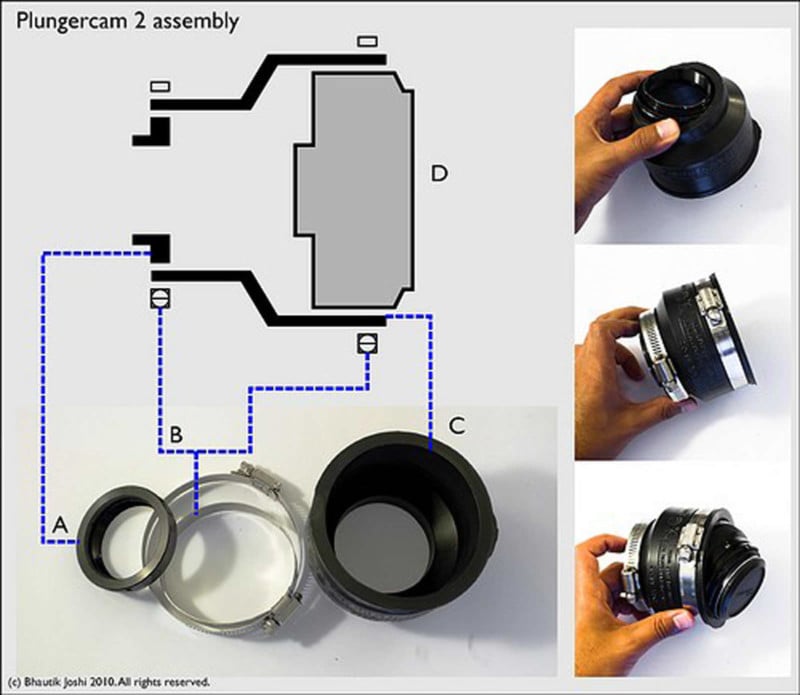
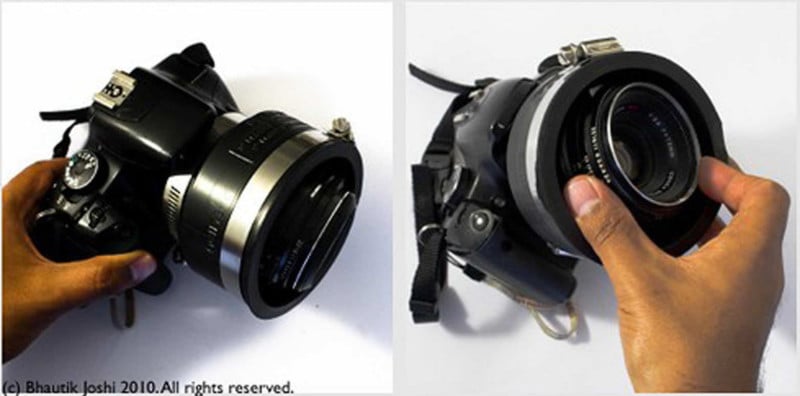
Plungercam 2 operated on serendipity and luck, and no lens shift was possible. Worse still the rotation point of the lens was also very far forward. Very small angular changes led to huge changes in the image focal plane.
Design Evolution
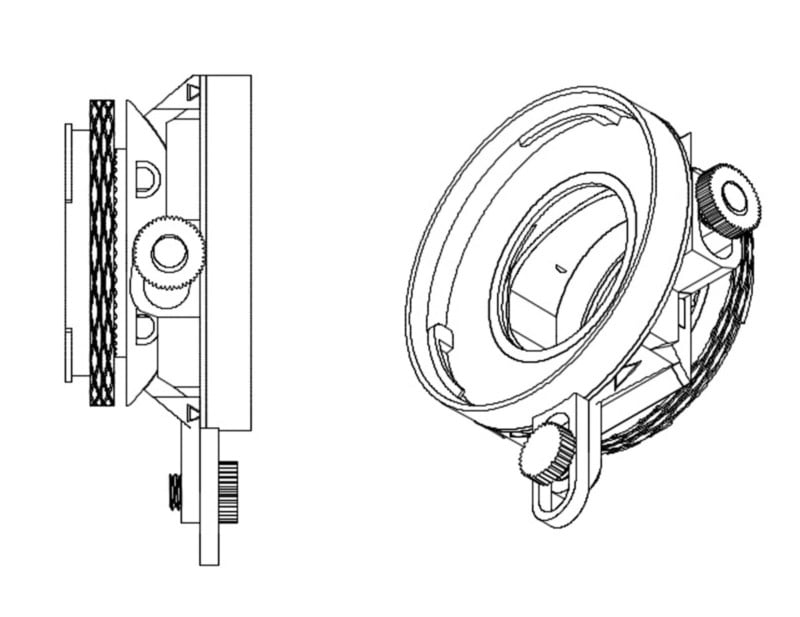
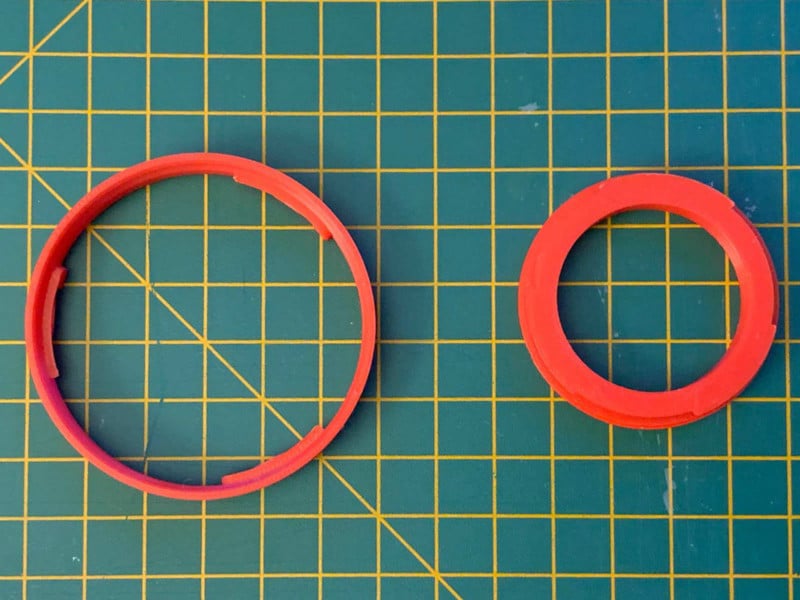
A 3D printed adapter would solve these issues by adding rails or sliders to the movements. This allows them to be moved more predictably and then locked in place once the desired movement achieved. I initially started with creating the mounting rings (Canon EF and fuji-X):
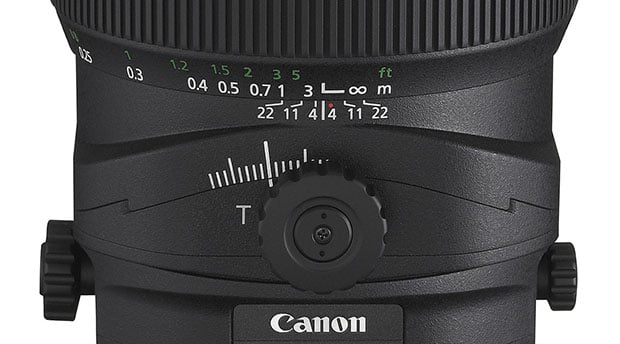
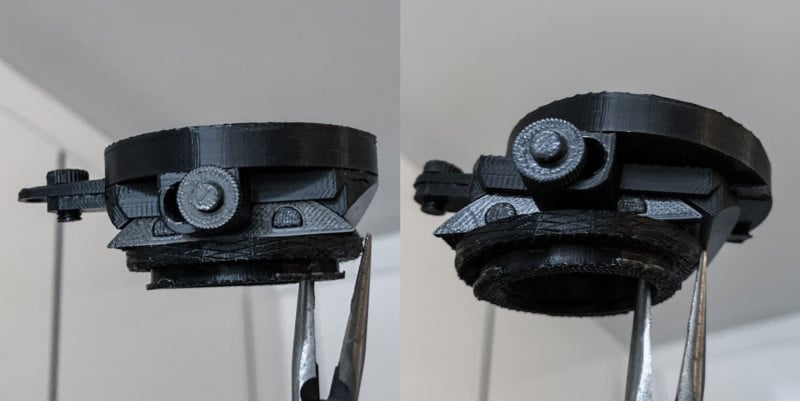
The thing I spent the longest on, however, was working out the tilting mechanism. The radius of the tilt was large – 44mm – to match the distance between the back of the lens and the sensor. However, the available space between the camera mount and the back of the lens was only 26mm. Initially, I went with a more literal tooth mechanism but that was hard to lock in place. I ended up switching to a more literal curved slider with a simple nut and bolt friction lock.
Here’s the evolution of the tilt mechanism:
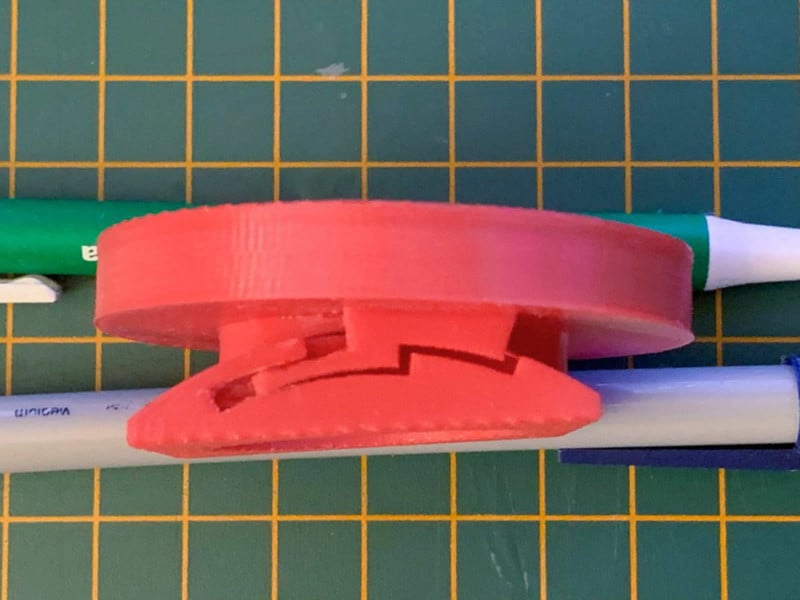

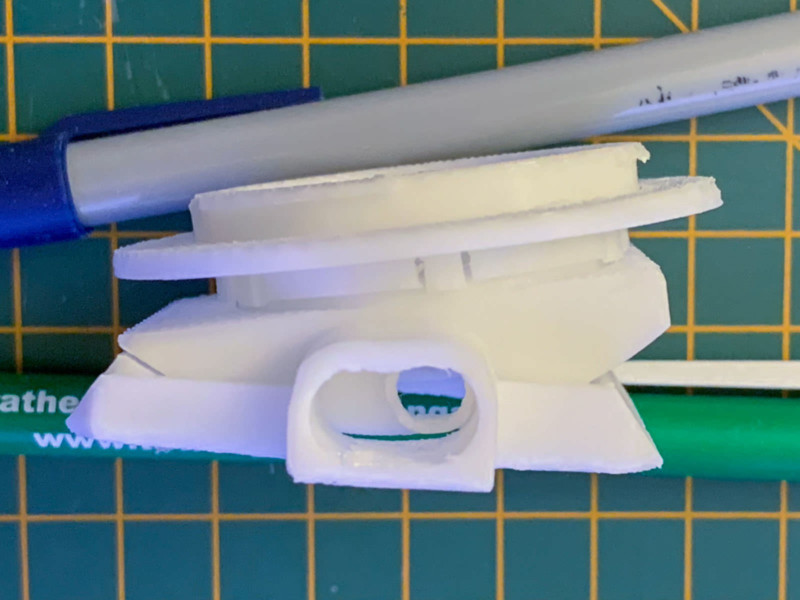
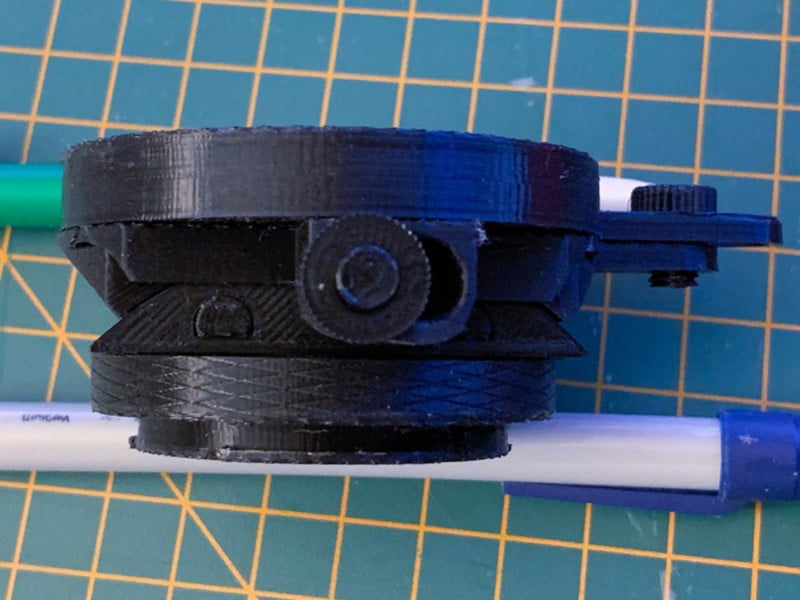
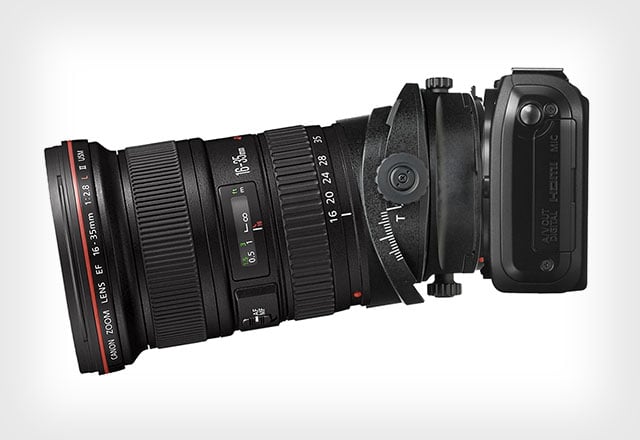
I found myself converging on a pair of sliding mechanisms that had some similarities to commercially available tilt-shift adapters. However, the materials available – PLA and then ABS – meant that a greater surface area was needed to get the sliders to lock. Also, no gearing was possible at this scale so the sliding is done directly rather than via rack and pinion.