A Look at Creating 360° VR Content for Clients
The first 2.5 months of the 2019 year were filled with excitement, learning, stress, editing, headache, more learning, and more editing as I dove in head-first to creating a 360° VR promo video for a client. This is a look into its creation and how it’s done.
For those who aren’t hip on the trends and changes of technology, 360° video or VR (Virtual Reality) is video content that is operated much like that of Google Maps; you can look in any direction (hence 360°) at any given time. Except, unlike Google Maps, which is a 360° photo, this is video, constantly happening around you. It crosses over into being considered virtual reality — when you view these videos on a headset/goggles (or a phone in goggles most commonly) so that as you move your head and body, it changes what you’re looking at and operates in a ‘realistic’ way.
All this sounds fantastic and amazing, which it is, but it comes with its fair share of challenges when creating this content. Before I jump into those, take a look at the final product I created for the client, so you have a better understanding of what I’m talking about as I go (Note: For best experience, view on phone or tablet. If you’re on a computer, you can still view it just fine, just click and drag around the screen to change your view):
Now, it may look like a ‘standard’ 3-minute video, but this 3-minute video took me over 60 hours to create, so let’s look at what goes into it.
How It’s Shot
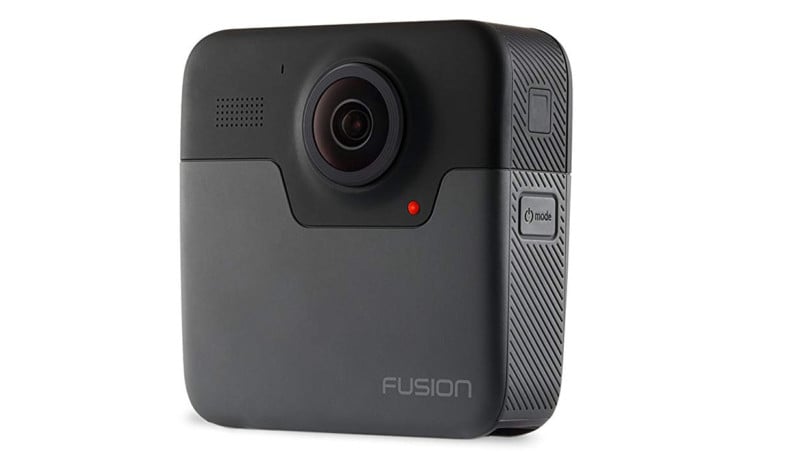
The way a 360 camera works is it has at least 2 lenses, front and back, that shoot simultaneously and record to separate cards simultaneously. Being one of our first 360° projects, I used the GoPro Fusion, which overall is quite impressive, but if I do more 360° work for clients in the future, I’ll choose to use a higher end camera.
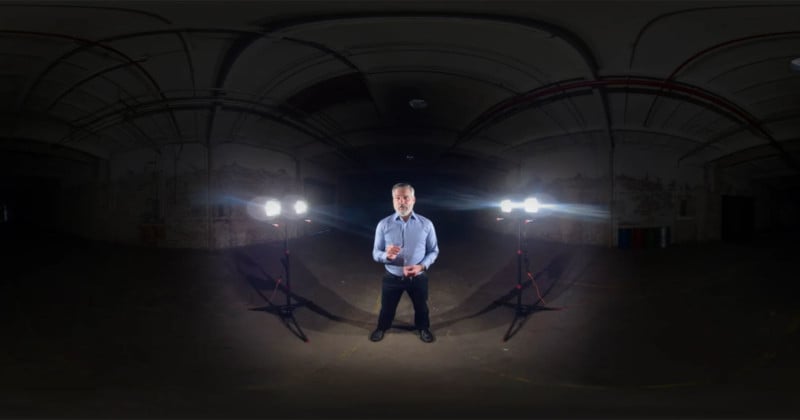
The two images are then stitched together on the computer just after import. The stitched image (looks like the thumbnail for the above video) is called “equirectangular” format and looks like all 360° got compressed into a single 16:9 frame. Viewers and websites such as YouTube and Vimeo can detect this kind of footage in the file metadata and display it in VR form.
This seems simple enough in theory (simple is relative), but in practice, shooting in 360° requires a whole new mindset. Typically, when shooting a video, I would just stand behind the camera. But with 360° video, I’d be in the shot no matter where I stand. How can I light my model with studio lights, if the studio lights would also always be in the shot? How do I capture audio? How do I do camera movements? These are all questions that have to have a solution.
Furthermore, editing 360° content isn’t straight forward either. Not only is it computer performance intensive because of the file sizes, but if I want to create motion graphics in the 3D space, how do I design that on a flat, warped, 2D image?
To a degree, I’ve made it sound harder than it actually is since software has compensated for much of this, but these were some of the questions I was asking when I was first learning. I then started learning that some standard editing procedures could still be done. For example, I can still create image masks in 360°. So in truth, I still stood behind the camera the whole time along with others and gear and then masked myself out with a separate cut of footage showing the empty room. And for the motion graphics, (I use Adobe software) the software has built-in accommodations for editing and viewing in the 3D space so as to create accurate graphics. So in truth, once I learned, it wasn’t that hard, but boy is it time-consuming.
How It’s Edited
Alright, I’m going to walk you through my specific process, although some people may do things in a slightly different order. Let’s jump back to the import. The camera I used records to 2 separate Micro SD cards, so I have to import both. In the “Ingested Footage” folder for that day’s shoot, I put a folder for one card, “Front” and one card, “Back”. Then I use the stitching software and export final stitches for every clip to a third folder I call “Stitched”. Then I dropped each of those stitched files into Adobe After Effects and mask myself, other, gear, and tripod out of the shot. This way I have clean video with only the model in it. I export these as individual files as well.
Now I can start actually editing the timeline, put things to music, figure out transitions and where graphics will go. When I have a first cut of the timeline, I export sections at a time where motion graphics will be. Inside After Effects I can create a 3D camera using their “immersive” tools, convert all motion graphic to 3D layers and create the motion inside the immersive camera view. Viewing and editing on the flat, equirectangular format does little good to anyone. When motion graphics are done, I can export them and replace the original footage in the timeline with the newly exported motion graphic versions.
After doing this over and over, revision after revision, eventually I have a final draft to export. In the export window, it is important that I ensure the “VR” is still enabled. What this does is put that specification in the metadata file so that sites like YouTube and Vimeo know to play it as 360° VR footage. Then I can upload it and ensure the playback is the way I want it.
Conclusion
Although much more time and data intensive, I do foresee 360° and VR as being a growing trend of the future. I think the tools and software will continue to improve and the real world applications will start to become more obvious (i.e. behind-the-scenes where you could actually see everything, car cams so that every angle was captured, real estate videos, etc). I’m excited to continue learning about it and continue shooting on my 360° camera.
I think that at this point, it’s still a very novel and unique format, which can make it a big hit for companies wanting to get an early start at creating 360° content. And that’s exactly what I’m here to help companies do.