How to Make a DIY Prism Lens Filter for Less Than $20
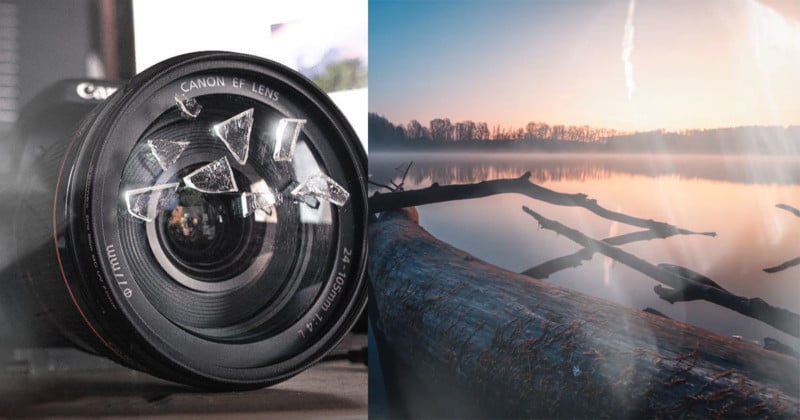
PrismLensFX unveiled a set of Variable Prism Filters back in March that lets photographers achieve prism effects using specially-designed lens filters. Upon seeing the prism filters, landscape photographer Christian Mögnum Möhrle decided to try his hand at making his own do-it-yourself version.
The price tag on the filter is $75, though, and Möhrle had the idea of building his own using a cheap UV filter and glass shards.
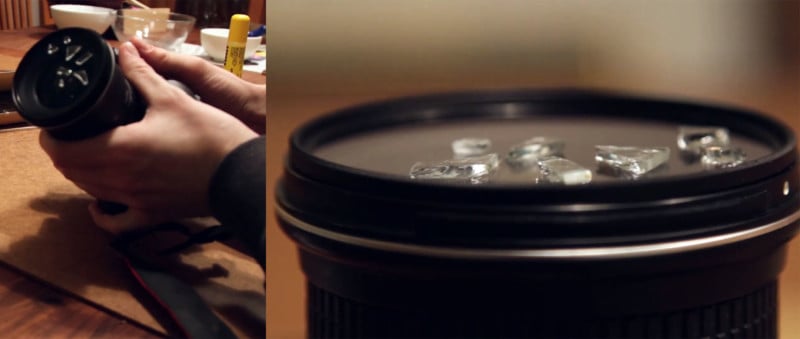
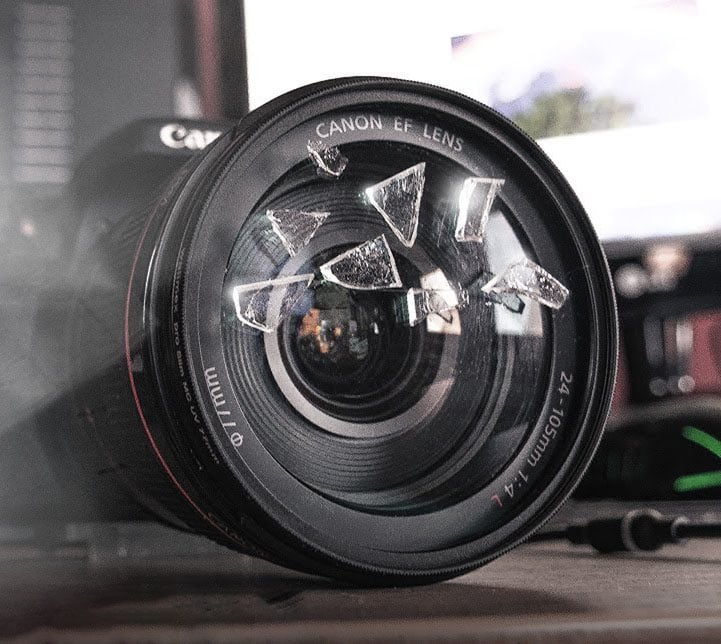
To obtain the shards, Möhrle shattered the glass from an old picture frame using a hammer until he had pieces the size he was looking for. He then mounted the filter to his lens and used some glue to attach a number of shards to the front of the filter.
In between shards, Möhrle pointed his camera up at a bright light and moved it around to see if the flare effect was pleasing.
In addition to using the filter “live” while you’re shooting, you can also use it to create some pre-made flare overlays that you can apply to any photo using Photoshop. Möhrle did this by using a black blanket as a backdrop next to bright lights and shooting some flare photos while pointing his camera and DIY filter at the backdrop.
Here’s an example photo with one of his custom prism filter flares applied using Photoshop:
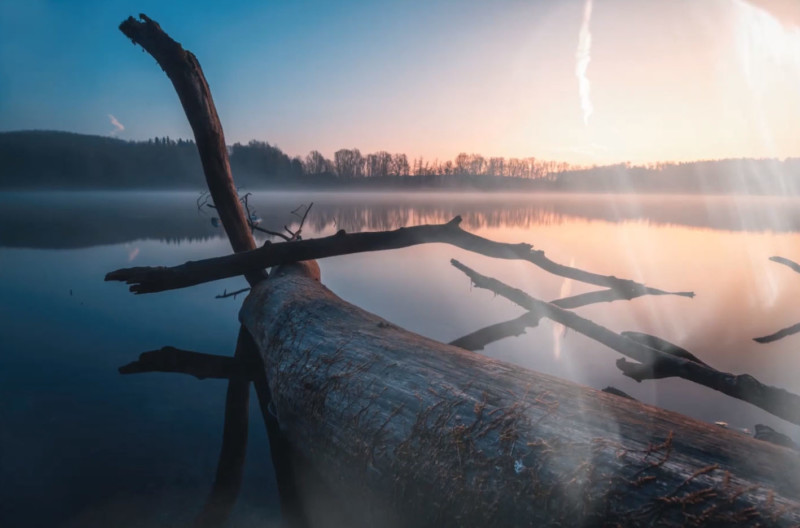
“Now when I want to add the flare effect to my image I simply place the overlay over it in Photoshop and change the blending mode to something like Screen,” Möhrle says. “Depending on the darkness of the background it might be a good idea to adjust the levels of the flare layer a bit.”
Here’s a 2.5-minute video showing how Möhrle created and uses his DIY prism filter:
The total cost of this project should run you under $20. Just be careful not to cut yourself on the glass shards…

