Experimenting with a Neon Light for a Studio Portrait
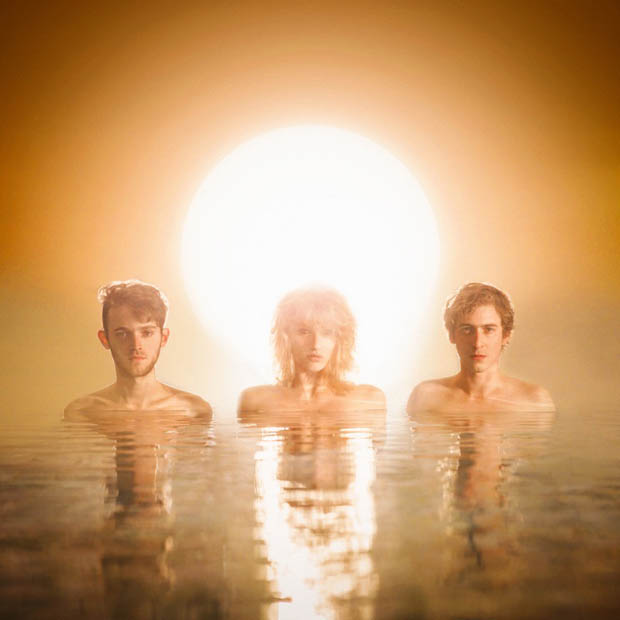
In this post, I’ll share the story and results of a recent experiment I did with lighting a model with a neon light. I was hanging out with a friend in a local coffee shop when he showed me an awesome album artwork he saw online.
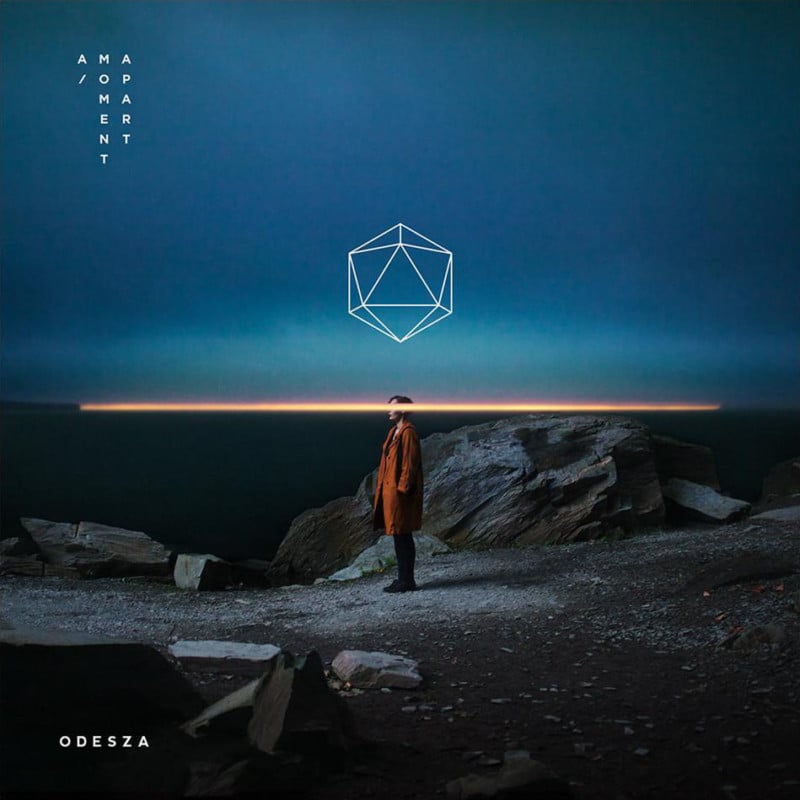
My friend asked me how was it done and if its possible to do it in real life or if it’s just Photoshop. It has this magical vibe with a mysterious orange light shining through a guys head.
I studied the image for a while and my concussion was that is 100% created in post, but at the same time, I took it as a challenge to recreate that setup in real life, just because I am passionate about studio work. And I invited my friend over to try and recreate that picture in my DIY studio.
I must say at that point in time I was totally obsessed by Feel It Still by Portugal. The Man, a track that I would suggest you listen to, on repeat, while you read the rest of my post since this is the music that inspired the look I went after while creating the photo.
The Idea
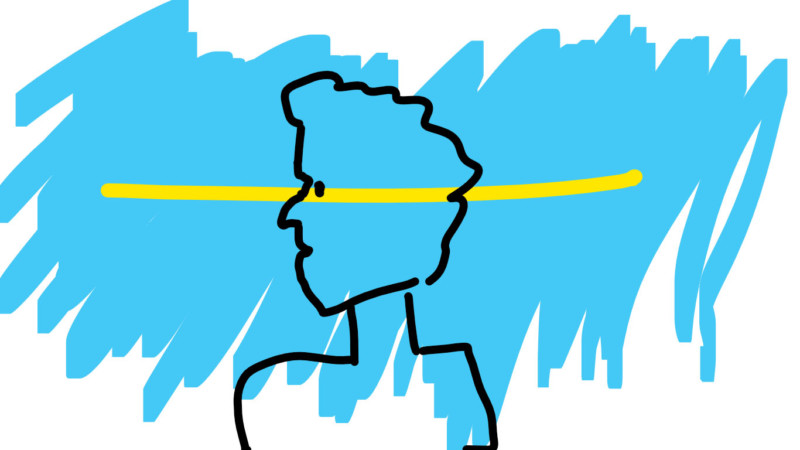
We started, as most of my projects do, with a sketch. This silly stickman figure.
Problem Solving
But I still had one problem: How do I light this image?!
I needed a tube of light in some shape or form. The solution was an old neon fixture I had in my basement that I brought to my studio (I had to redo the wiring to make it work again). Strapped this to a boom stand and problem number 1 was solved.
The second thing is that in my DIY studio I only have a white wall and no fancy blue background. But this problem I knew how to deal with: just add some gels to my speedlights to make the whole room blue. A white wall is one of the best backgrounds you can have in a studio (but only if you know how to manipulate light, of course). That white wall can be grey, black or any other color you can dream off.
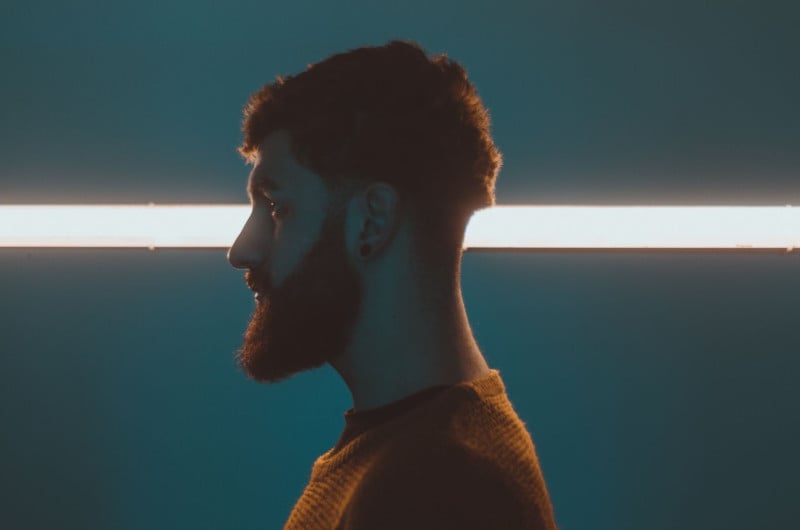
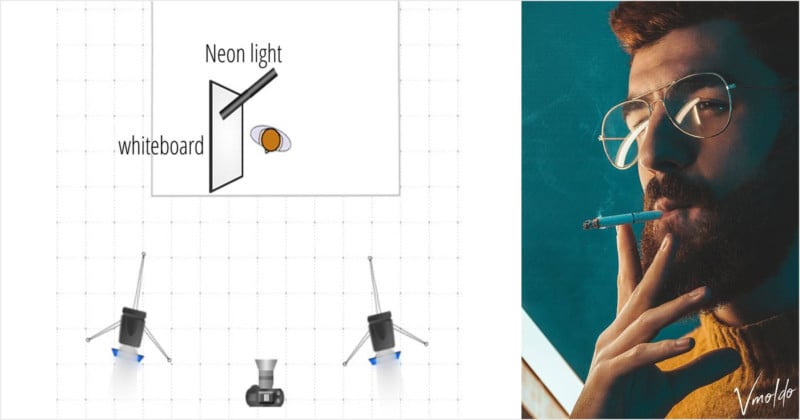
The Light Setup
We then started shooting and experimenting with different angles, moving the lights around every few shots as I normally do during my photo shoots. I quickly realized that the light diffraction in my vintage lenses created hazy looking images and that my subject only showed up as a silhouette, so I added a bounce board on the left and moved the neon light slightly so it wouldn’t hit my lens directly.
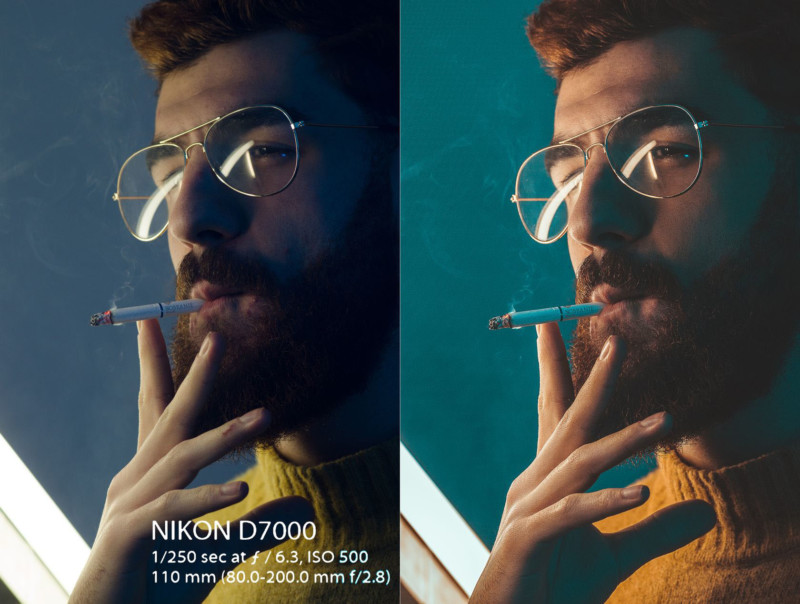
Camera Settings and Post-Processing
When I work in the studio, I always start at 1/250s since that is the maximum sync speed of my flashes. I closed down the aperture a bit so I can have my subjects face sharp and then bumped up the ISO to compensate for this.
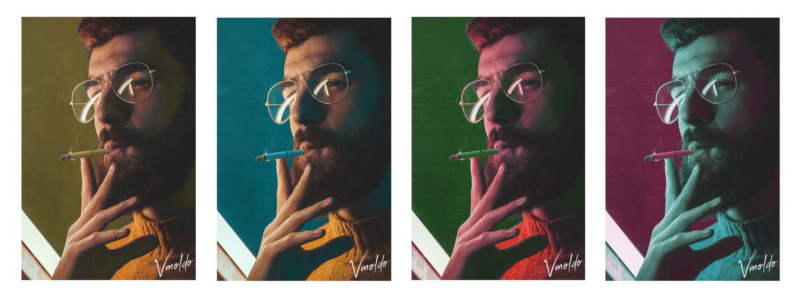
Lastly, I imported the image in Lightroom, started out with one of my presets, and started adjusting from there on so I would get the “80s glossy paper from a magazine” look I wanted. I then moved it to Photoshop to fix a few skin blemishes and to add a border. Something was still missing so I looked online for an 80s font and added my signature in the bottom right corner.
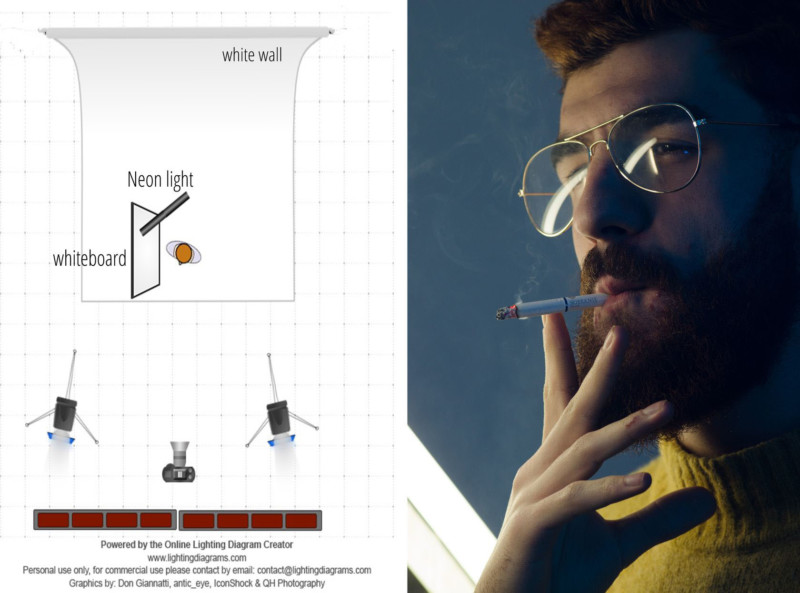
Final Image
Here’s the portrait that resulted from my experiment with a neon light:

About the author: Vlad Moldovean is a visual artist based in Brasov, Romania, who aims to shoot vivid portraits. You can find more of his work on his website, Instagram, and Facebook. This article was also published here.