10 Tips To Leverage Neon Lights for Stellar Portraiture
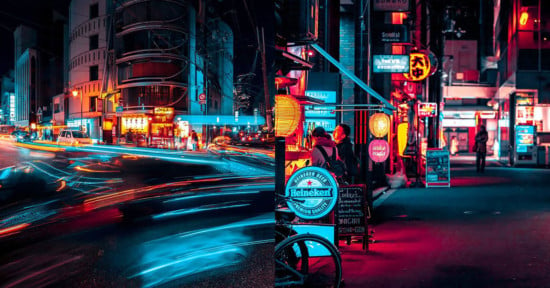
Neon signs give off a unique light that can make for some stunningly colorful, glowing photographs. But the same properties that make them look magical to the human eye can also make them difficult to photograph.
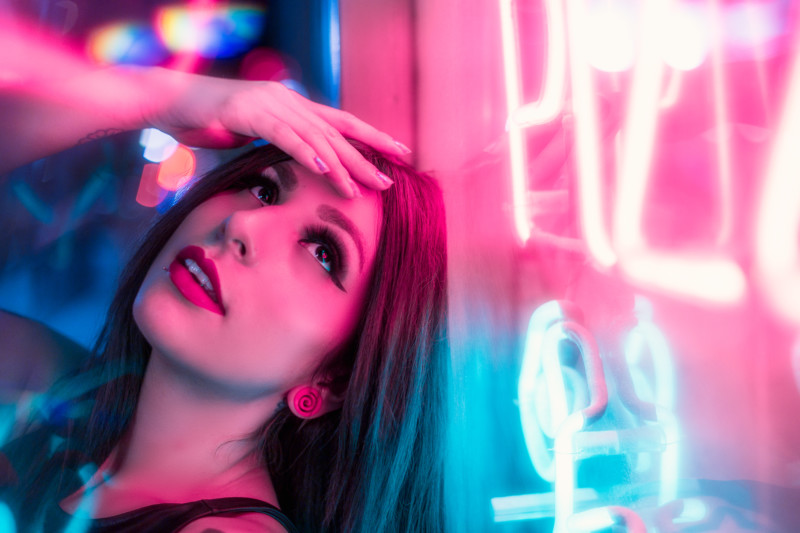
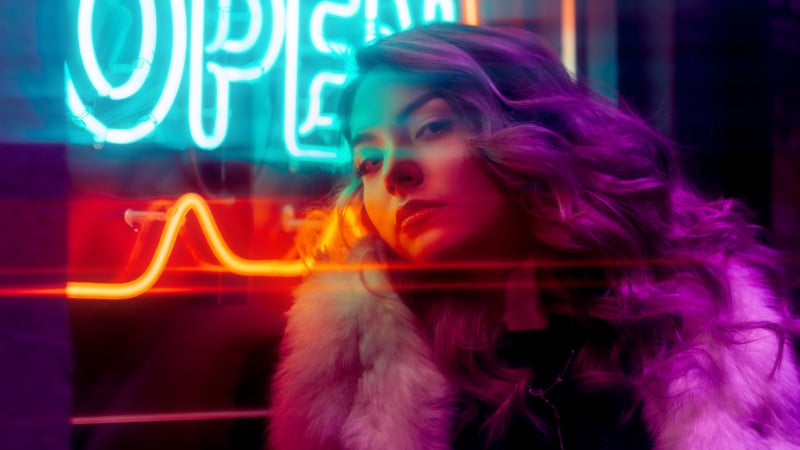
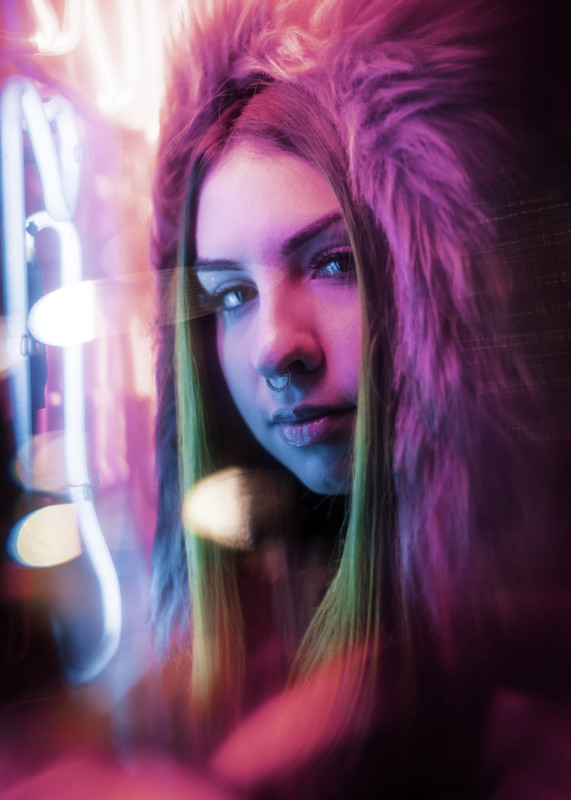
In the video above, I show you how to utilize neon lights to create unique portraits that transport your subject to another world. I’ve included some behind-the-scenes footage from a few of my actual neon portrait shoots, and I have some of the final images posted below as well as my top ten tips for getting the best out of neon light portraiture.
1. Use Complementary Colors
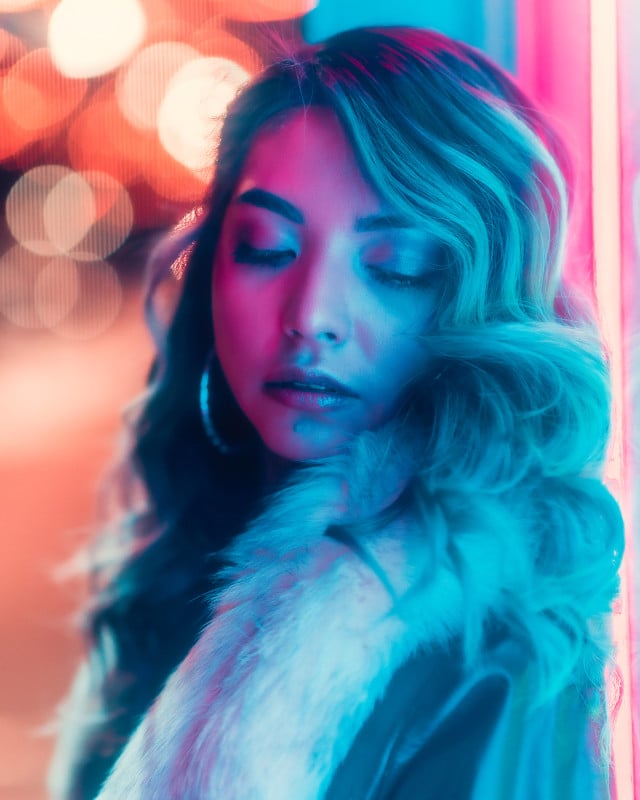
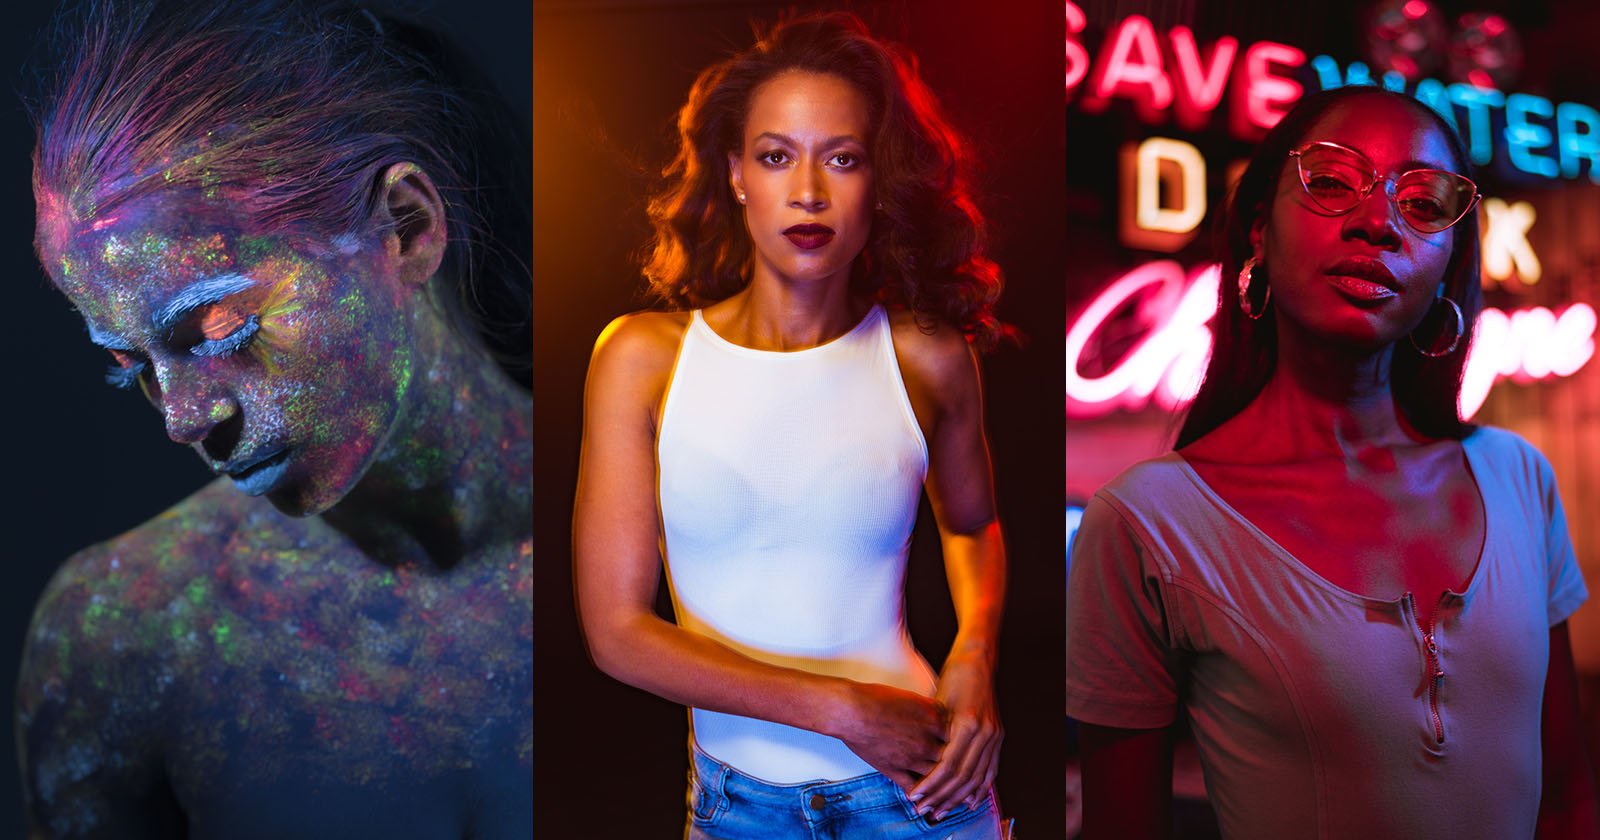
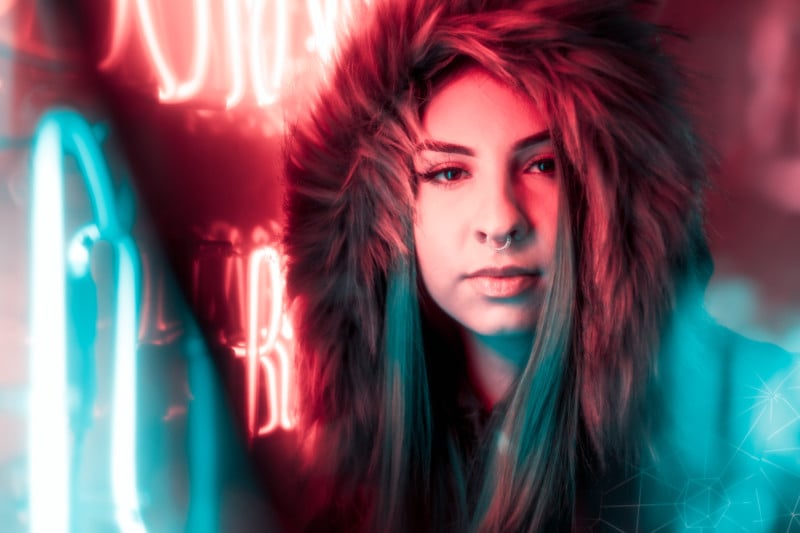
Neon lights come in a variety of colors. I’ve found that using complementary colors is a great way to introduce color contrast in your photographs. Blue & Orange, Purple & Yellow, Red & Green — all opposites on the color wheel that tend to create the best contrasting hues.
As a quick side note, actual Neon gas creates a reddish-orange glow. Various gasses such as Helium, Argon and Xenon, are used to create other “neon” sign colors like Orange, Purple, and Blue. To avoid any needless confusion in this article, we’ll still refer to all multi-colored gas lights as “neons.”
2. Don’t Use Yellow Neon Lights
As a personal rule, I avoid yellow neon signs. Using any single-colored sign (just like a single gelled light source) will appear as if your white balance is incorrect in your photos. Yellow, even when combined with a complementary color, can be tricky to white balance and I’ve never been a fan of the result. I encourage you to go experiment for yourself though, and you’ll quickly find your favorite (or least favorite) hues to work with.
3. Expose for Your Subject, Not the Lights
Your subject should undeniably be the most important part of your photograph, whether that’s a mountain, dog, coffee cup, or in the case of a portrait, your person. Unfortunately, there are some photographers out there who give the advice that you need to be underexposing your portraits by what I consider to be a ridiculous four to five stops in order to preserve your highlights (Highlights that they will end up clipping in post-processing later anyways).
When you are photographing in a studio, do you meter for your subject’s face or for the bulb of your strobe? The answer seems fairly obvious to me.
While I’m not opposed to underexposing by maybe one-stop, don’t take this to the extreme. This will save you from grainy images and therefore the need to use excessive noise reduction later on.
4. Don’t Clip Your Highlights, Add Light
“Hey TJ,” you say. “This tip goes against what you just said in tip number three, right?” Well no, not necessarily. More than anything, pay attention to your histogram during your shoot.
If there is such a difference between your light source and your subject, this could be a great opportunity to add additional light to your scene. That can be as simple as a reflector to fill in shadows or even a small strobe or speedlight.

5. Make Sure That Eyes Are in Focus
When the eyes are in focus, your portrait is in focus. Conversely, when your subject’s eyes are out of focus, the whole image is out of focus. We all know the saying, “the eyes are the windows to the soul,” and that’s especially true for portraits.
Take the time to ensure your subject’s eyes are tack sharp before snapping that shot. Nothing is worse than getting home and realizing all of the photos are focused on the tip of the nose or the ears.

6. Don’t Kill Your Highlights in Post
This tip is all about post-processing. I see a ton of new photographers jump into their post-processing software of choice, and their first step is to drag the highlight slider to -100.
The reason this is so detrimental to neon photography is that the data containing your that lovely neon glow sits squarely in your highlights. You’ll see that by playing with your highlight slider that you are adjusting how much glow your sign is giving off. Why shoot beautifully glowing neon signs just to kill any life it gives in post?
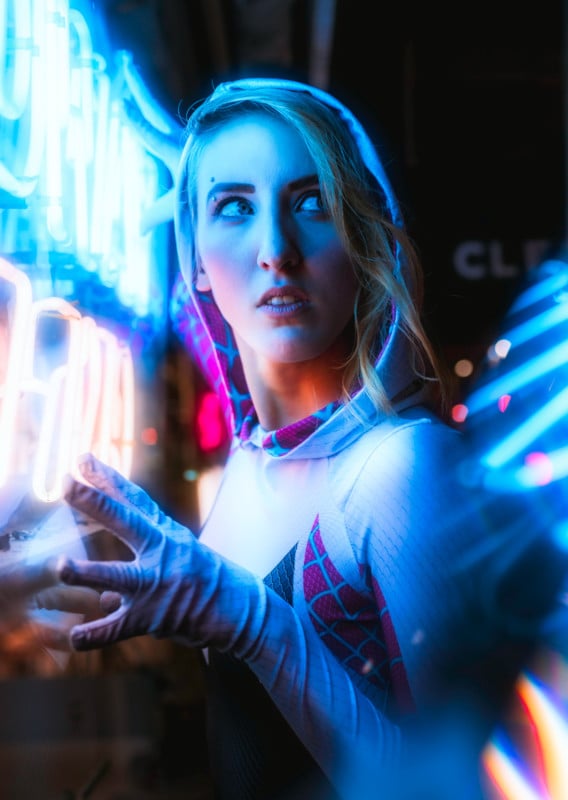
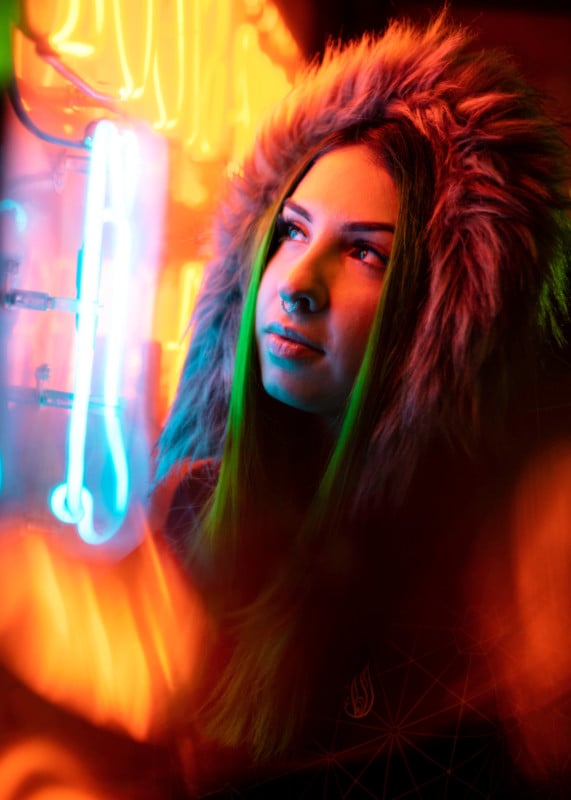
7. Bring the Light and Your Subject Together
The closer you can get your subject to the light source, and the more they interact with it, the better your portrait will be. It’s a general rule in photography that the closer your light is to the subject, the softer the light will be. As you can see from the example in the video above, the more your subject “interacts” with the light and poses with the light in mind, the more colors wash over your subject in unique ways.
8. Manage Your Shutter Speed
Similar to other light bulbs, neon signs flicker; usually at a high enough frequency that it’s a continuous stream of light to the human eye… but not to your camera! Try photographing a neon sign at a shutter speed of 1/500th, and you’ll see your camera produces some ugly flicker which is usually represented by big dark bands across your photos.
I try to keep my shutter at 1/125th or lower. This may vary slightly depending on the sign’s refresh rate, but it’s a good place to start. You may need to utilize a tripod, monopod, or sturdy wall to help stabilize your camera if you don’t have a steady hand.
9. Don’t Over Edit
Don’t kill your photos in post, but by no means am I saying don’t tone your portraits. I see this trend among many photographers: Highlights -100, Shadows +100, Clarity +100, then cover up all the noise you just created with Luminance Noise Reduction +100.
All RAW photos inherently need some toning but take care not to process the life right out of an already beautiful neon portrait. Take a step back, come back later with fresh eyes and ask, “did I make this image look better or worse?”

10. Use Fast Primes
We all love our fast prime lenses! Shooting at wider aperture values like f/1.4, f/1.8 or f/2, will allow the most light through your lens and therefore to your sensor (or film). Remember, the more light you’re getting through your lens, the lower your ISO will need to be, which means less-noisy photos!
Shallow depth of field also creates a soft, dreamy look that’s great for emphasizing the glow of neon lights. I find that my personal “sweet spot” is around f/2 to f/2.8. Sure, my lens may not be at its sharpest, but with proper focus (Tip #5) and a steady hand, it will be as sharp as we need. As long as the eyes are in focus, the rest of the background can blur out into nice bokeh to complement the neon.
Bonus Neon Portrait Tip!
I call my Nikon 35mm, 50mm, and 85mm prime lenses my “portrait lens trifecta.” If I’m going on a portrait shoot, these are the minimum lenses that I will have in my bag.
As we discussed in the previous tip, fast primes lenses are great for allowing the most light into your camera. I typically use the 35mm for shooting head-to-toe full body shots. For waist-up portraits, I’ll throw on the 50mm, which will give me a bit shallower depth of field and some great bokeh. I use the big gun (85mm f/1.4) for tight head and shoulders shots and in instances where I want to blur everything behind my subject into oblivion.