Tutorial: Three Different Ways to Shoot Day-to-Night Time-Lapses
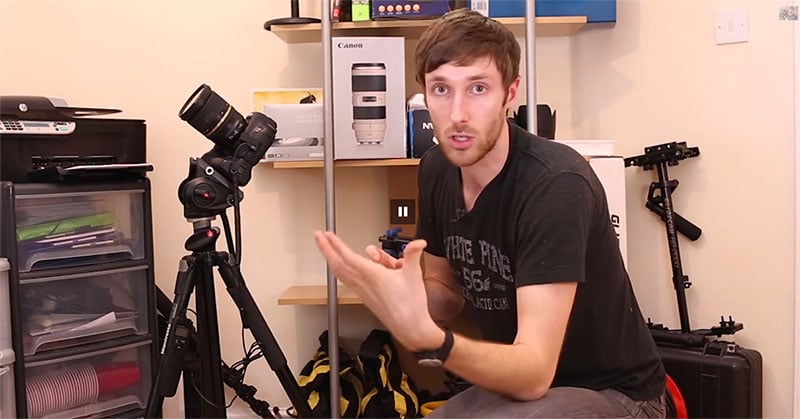
The know-how to properly shoot day-to-night or night-to-day when you’re capturing a time-lapse can add a special something to your final product, but the task may seem daunting at first. That’s why photographer Preston Kanak has put together this comprehensive and easy-to-follow tutorial that discusses three approaches to shooting the perfect day-to-night time-lapse.
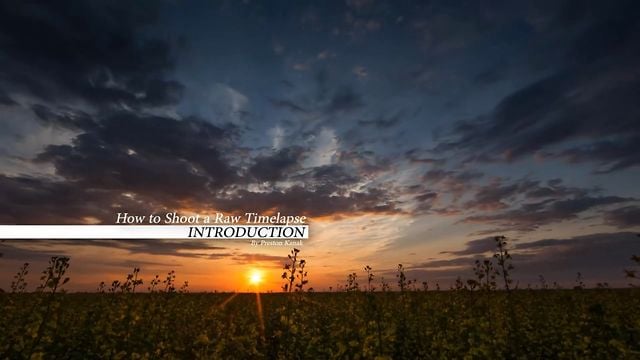
We featured one of Kanak’s tutorials last year in which he explained how to create high-quality RAW time-lapses. That was part of a seven video series he was putting together for the Vimeo group Pay it Forward. If you want to get a more general overview of time-lapse photography, those videos will serve better.
This video simply takes you through the specific case of night-to-day or day-to-night time-lapses, as Kanak does his best to explain the three options available to you when creating these: aperture priority, blend in post, and bulb ramping.
We won’t go into the specifics in the same way the video does, but suffice it to say that each method has its own benefits and pitfalls. Be it the need to remove or prevent flicker when using aperture priority, or the skill needed to properly blend a night and day time-lapse together in post, Kanak lays it all out there and leaves it up to you to decide what method suits your needs best.
The full video is 50 minutes long, so it’s not going to be a quick study, but Kanak manages to present all of the information in a simple and straight-forward manner, telling you everything you need to know to go out and start shooting your own day-to-night time-lapse right away.
To see a text breakdown of what he says in the video, in addition to case-study videos for each of the three methods, head over to Kanak’s website by clicking here.
(via ISO 1200)