How I Turned a Caravan Into a Mobile Darkroom for Wet Plate Photos
Having failed woodworking at school, probably the worst thing I could have done is venture into the world of wet plate photography.
Back in 2012, I learned the dark art of the silver stuff, just around the time the wave of interest was starting to build worldwide. However, as I live in New Zealand, an island nation, it has taken a while (and is still taking a while) to reach us. As a result, getting anything wet plate-related is quite a task. One does not simply walk into a store and buy a ‘wet plate kit’.
In addition to building the hardware, we (in New Zealand) have to mix our own chemicals, this often leads us to places like the garden centre to source ferrous sulphate, which is used as a moss controller.
For a couple of years, I used my garage as a darkroom, which was great as it was MY garage and I could stain the floor with as much silver as I liked (not that I liked spilling the silver, but unfortunately it does happen).
I recently moved out of our bought home and into a rental accommodation, which put the kibosh on any wet plate adventures (if we wanted the deposit back that is). Wet plate photography is what is says on the tin, and you need a wet plate to make an image. If it dries out, the plate is useless. Therefore you need a mobile darkroom if you wish to go mobile. I did have such a contraption in the form of a hydroponics tent, but it was flimsy and very small to work in.
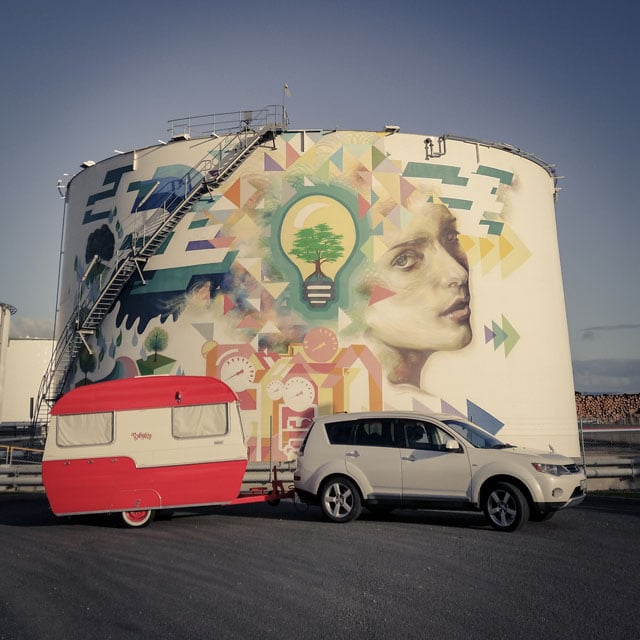
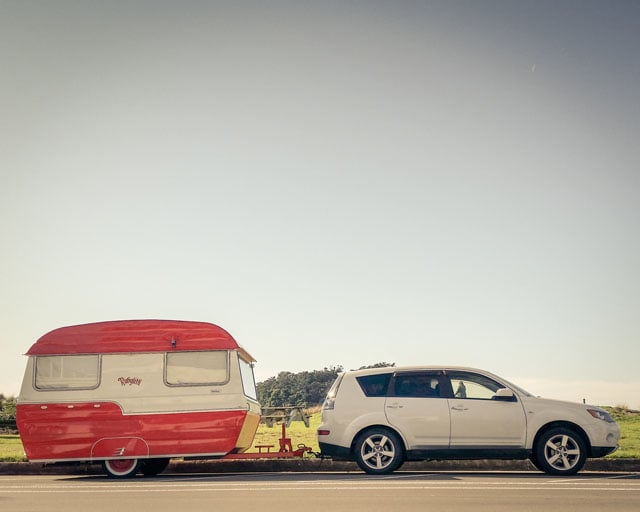
After much rumination, I decided that I could kill 2 birds with one stone by investing in true mobile darkroom, a contemporary version of those towed by the photography pioneers (Brady and Fenton to name but a few). For a few months I trawled out national online auction site to assess various vehicles for suitability. Then in March 2015, a 1970s caravan came up for sale. She had been restored from the exterior, but the interior was ‘as is 1970’. It was perfect and waiting to be turned into a mobile darkroom. With a few clicks of a mouse, I had bought her and she was delivered 2 days later.
On the day of delivery my caravan skills were fairly limited, our car didn’t have a towbar and I had personally never towed anything in my life. Nevertheless, this thing was going to work.

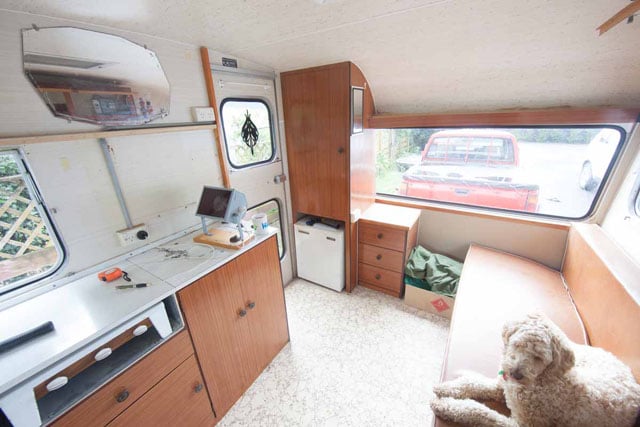
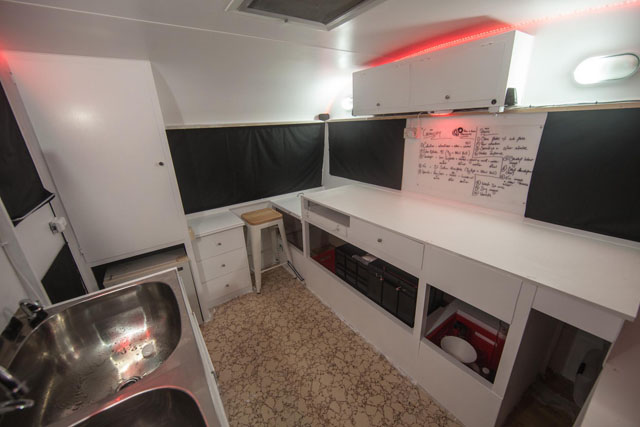
I had a rough plan in my head where things would go, but over the duration of the build it ‘evolved’ as I found things in demolition suppliers or thrift stores. The first find was a dual stainless steel sink, which was marked ‘$350’ in a demolition warehouse. I said to the guy, “will you take sixty?” and to my amazement he said “yes!”. The twin skin was a perfect idea and a perfect fit into the space I had created while ripping out the old 1970s interior.
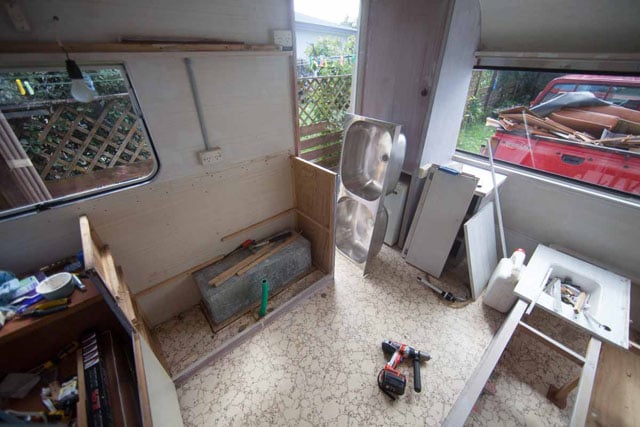
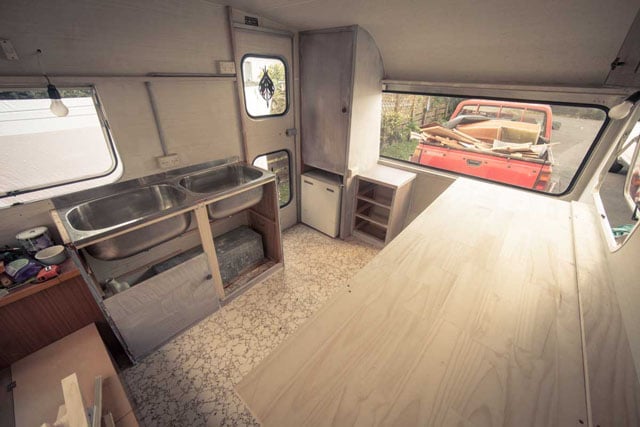
The next issue was power and water. This old caravan had a 240V hook-up and a hand pump for water, but no 12V and no option for mains pressure water. I had a plan as to how I was going to rewire the caravan to install new lights and move power sockets, so off I enthusiastically (and naively) went off to the DIY store.
After gathering all my wire, powerpoints and conduit, I was miffed to be asked at the checkout “are you a certified electrician?”, to which I replied “no sir.” I was then told, “then I can’t sell you all these electrical goods, go and get yourself an electrician.” To me, all I hear was “go and spend oodles of money on something you could ‘probably’ do yourself.”
On reflection, getting an electrician to help was a wise decision. Caravans are, generally speaking, not very lethal, but 240V potentially is. I installed new lights, and the electrician set about moving the power sockets out of the ‘wet area’.
The plumbing was next. I needed to bring mains pressure water from outside (from a garden hose) into the caravan via a tap and there was no way I was enlisting a plumber so I set about researching ways to get the water inside. It was pretty simple really, I ran the mains pressure water through a pressure regulator, then piped it into the caravan to the place where a tap would eventuate.
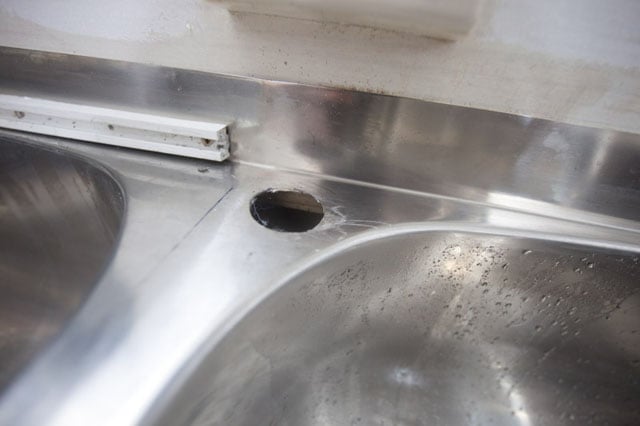
Unfortunately, there was no pre-drilled faucet holes in this double sink, so here comes the next problem. How does one drill a hole in (very strong) steel? I was told, “you need a chassis punch”, so I looked high and low to see if I could rent one from a local outfit, but no such luck.
Guess what came next? “You need to hire a plumber.” I stuck by my guns and set about arranging a DIY option. Fortunately, I had a mate with a diamond tipped hole drill so he came around and we set to work. After an hour of huffing and puffing, drills and stainless steel so hot you could fry an egg, a hole appeared. She wasn’t pretty, but she was a hole.
240V can be lethal and this caravan had no other options for power so I researched how caravans and campervans were powered whilst on the road, and it seemed the next logical step would be to install a 12V system. After talking to a few caravan specialists, I was pleased to hear this is something I could do myself, so off I went into a crash course on auto electrics.
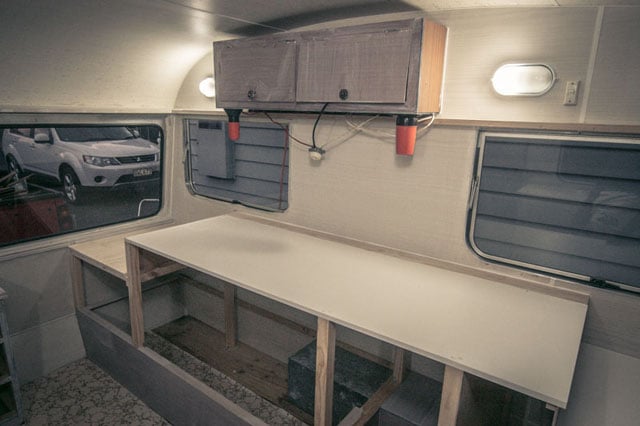
I learned new words, such as ‘crimping,’ and new skills, like how to wire lights to illuminated rockers switches. All in all, I installed a dimmable LED red safelight system, a Bluetooth sound system, external lighting and an off the grid water pump system.
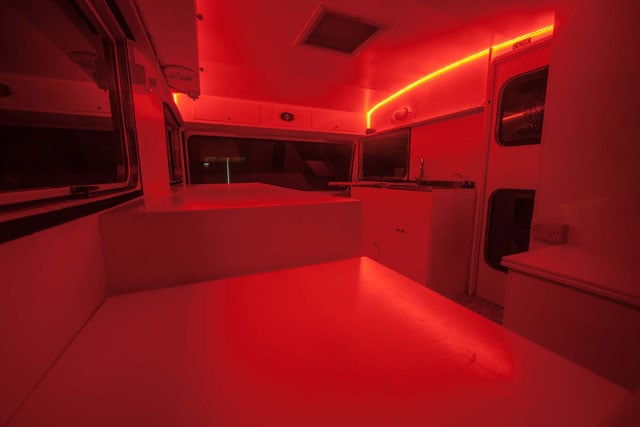
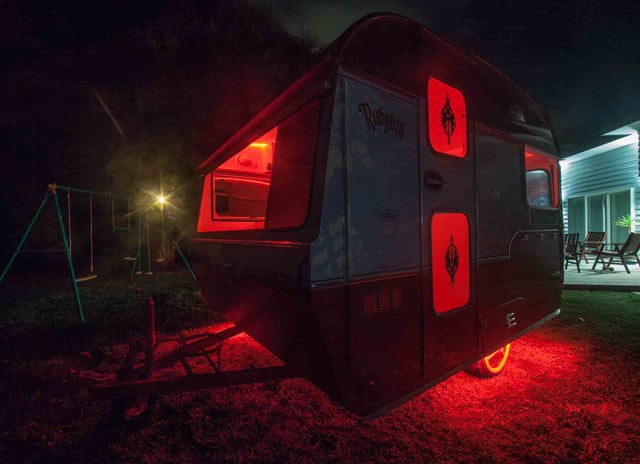
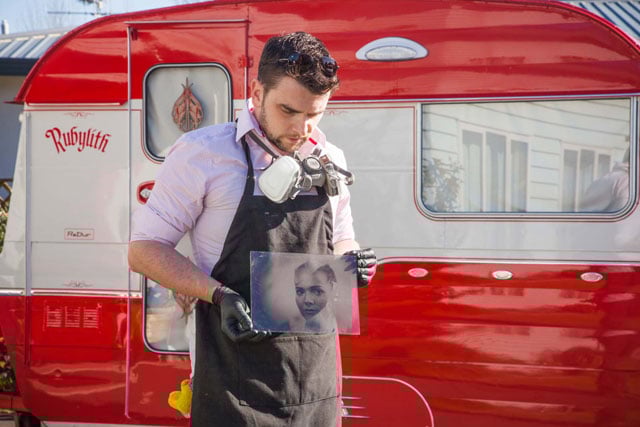
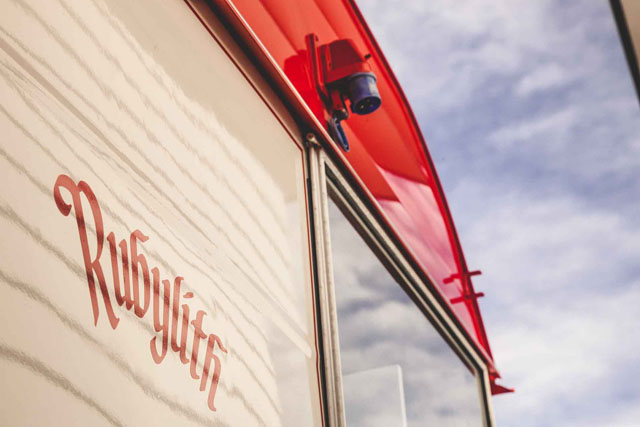
A few weeks later the caravan was plumbed wired and ready to be towed and used as a work space. I have been told all caravans need a name and as this girl is red from top to toe, what else could she be called? It was a no-brainer: Rubylith (or Ruby) was born. (Rubylith is the name of the red filter used on darkroom safe lights).
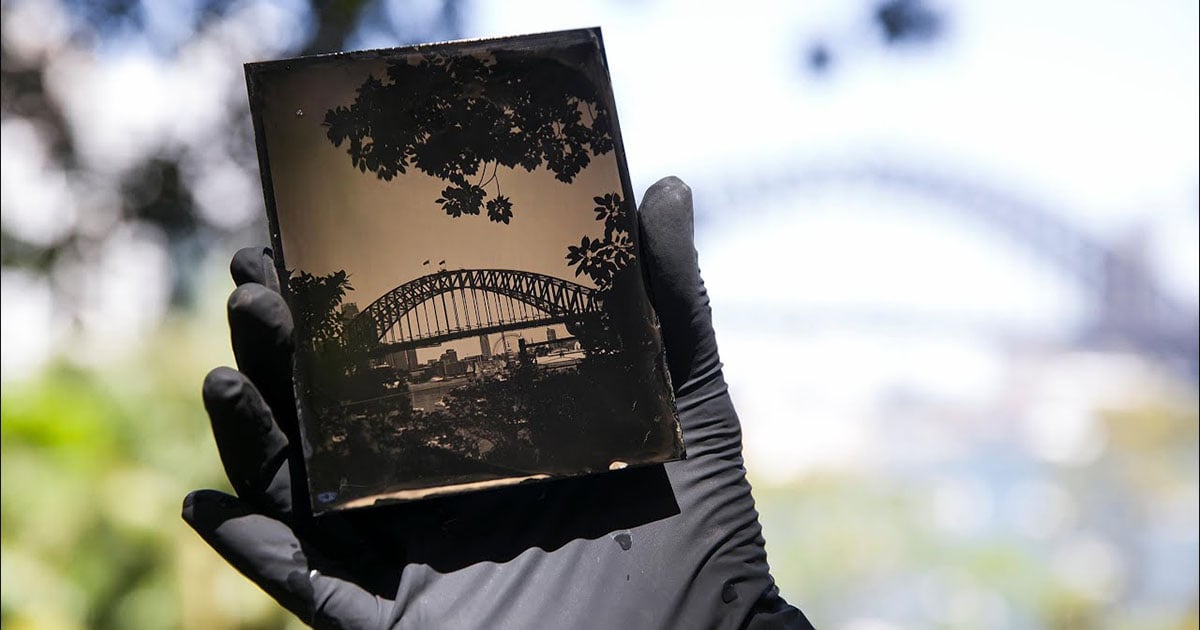
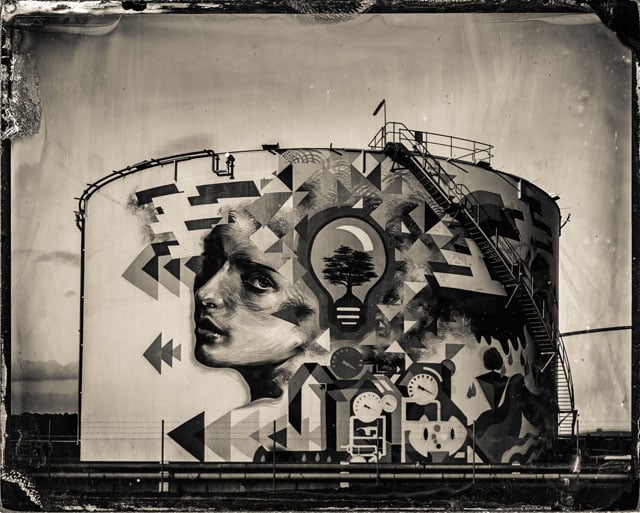
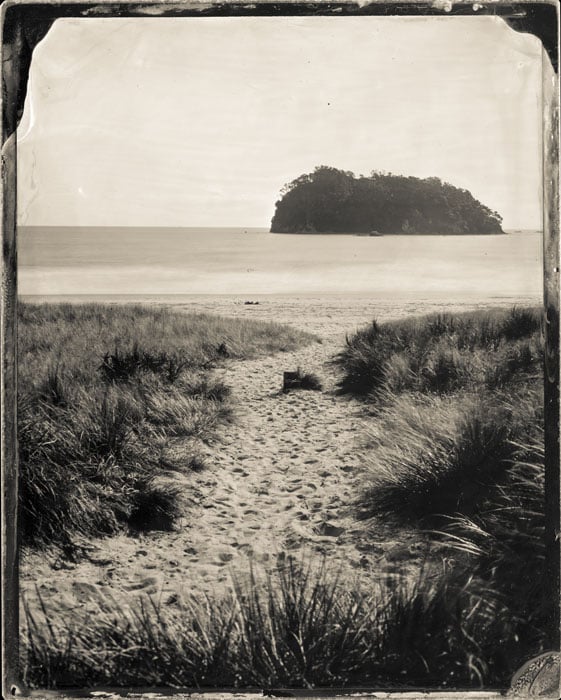
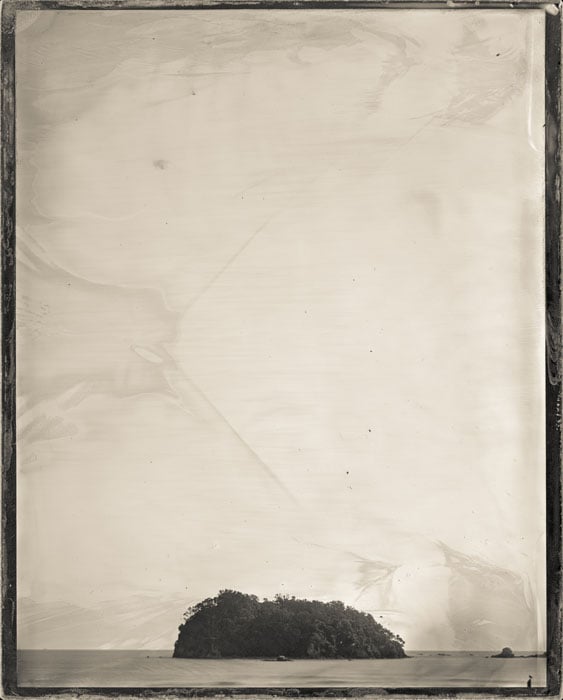
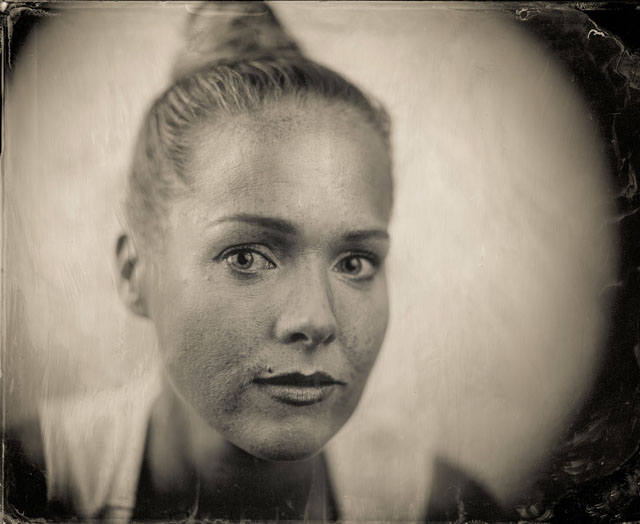
Here are a few images I have made in the mobile Caravan:
And that’s how I converted an old caravan into a mobile wet plate photography darkroom.