The Beginner’s Guide to Tripods
The trusty tripod has remained relatively unchanged as cameras and lenses become increasingly more advanced and complicated. Sure, manufacturers use increasingly more sophisticated materials, such as carbon fiber, but the fundamental character of the tripod has stood the test of time. A tripod has three legs and is a worthy addition to any photographer’s kit. There’s not much else to say, is there?
In this guide, we’ll cover the basics of what a tripod is, what it does, how to use it, and perhaps most importantly, how to ensure you pick the right one for your needs.
Table of Contents
What is a Tripod?
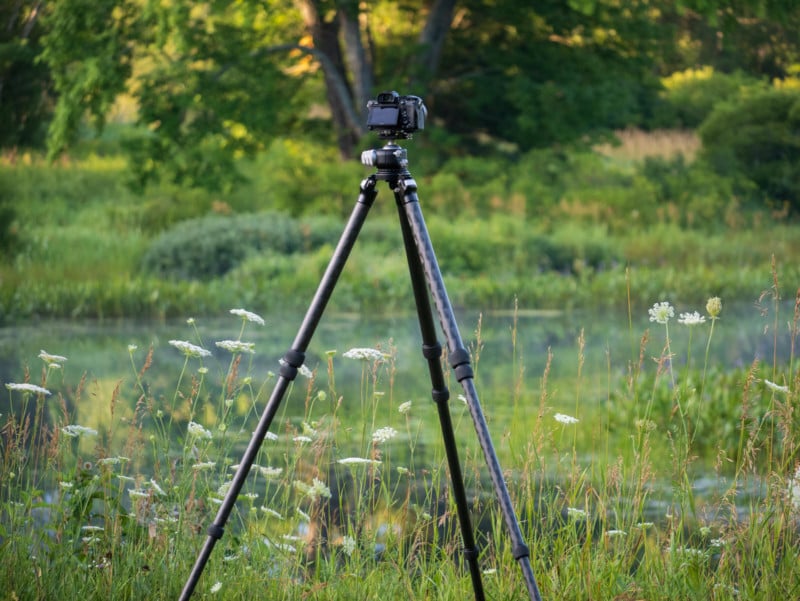
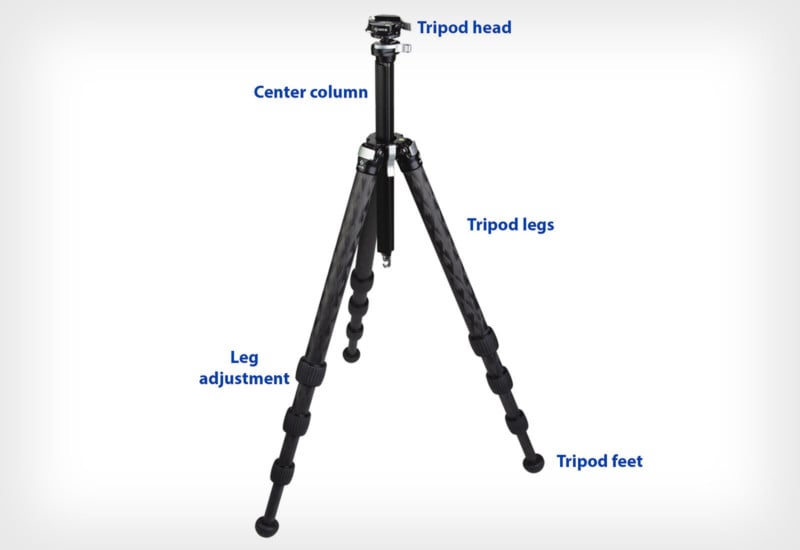
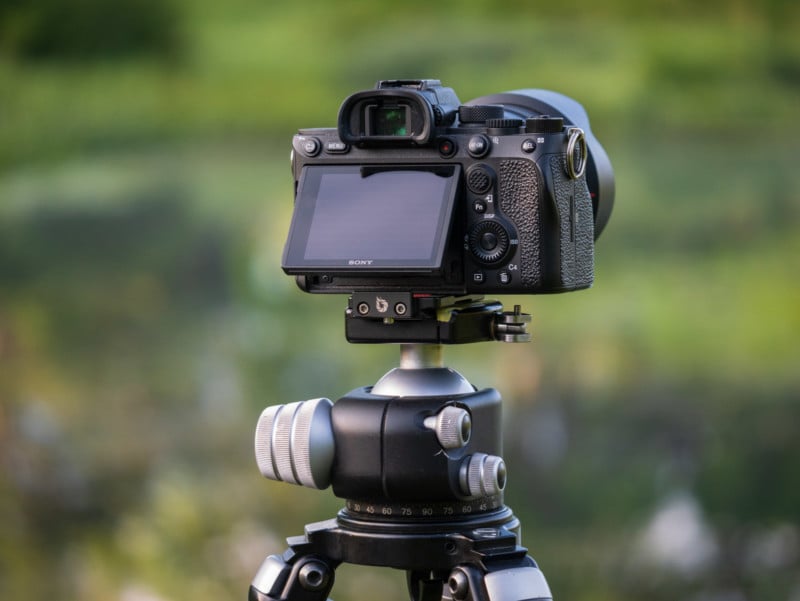
This section is short and sweet. A tripod is a simple piece of gear with three legs and a head. You attach your camera to the tripod head with a plate, which could be a basic universal plate or custom-built for your specific camera, and the tripod legs keep your camera stable.
For many entry-level and even some mid-to-high-end tripods, they come with the legs and a tripod head in a kit. The head is often – although not always – removable. As your budget increases, it’s often the case that you must purchase tripod legs and a head separately, further complicating your purchasing decision and expanding your options.
Some tripods also include a center column. This column can extend up from the legs to make your tripod head sit higher. In some cases, center columns can even come out to the side of the tripod, allowing you to have your camera get very low to the ground. If your center column doesn’t slide out to the side, the bottom of the column will limit you from getting very low since the column will hit the ground.
At the bottom of your tripod’s legs are its feet. From the bottom, it’s feet, legs, and then head. You could consider a center column a torso if it helps the corporeal metaphor. Tripod feet aren’t exciting, but they’re not to be overlooked. Some tripods have changeable feet, allowing you to use rubber feet, spikes (for sand), or claws (for rocks and ice). Good feet can make a tripod more stable on different surfaces.
To summarize quickly, all tripods consist of legs and a head. The adjustable legs extend and collapse to change the height of your tripod and ensure that it’s level on uneven terrain. Additional height can sometimes be achieved using a center column that sits between your tripod head and the legs. Your camera attaches to the tripod on a tripod head. You adjust the tripod head to adjust your camera’s orientation and angle.
Why Do You Need a Tripod?
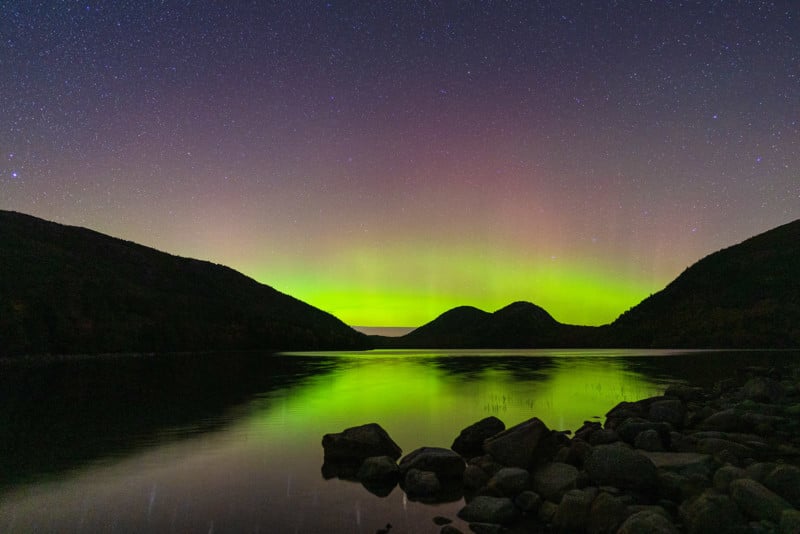
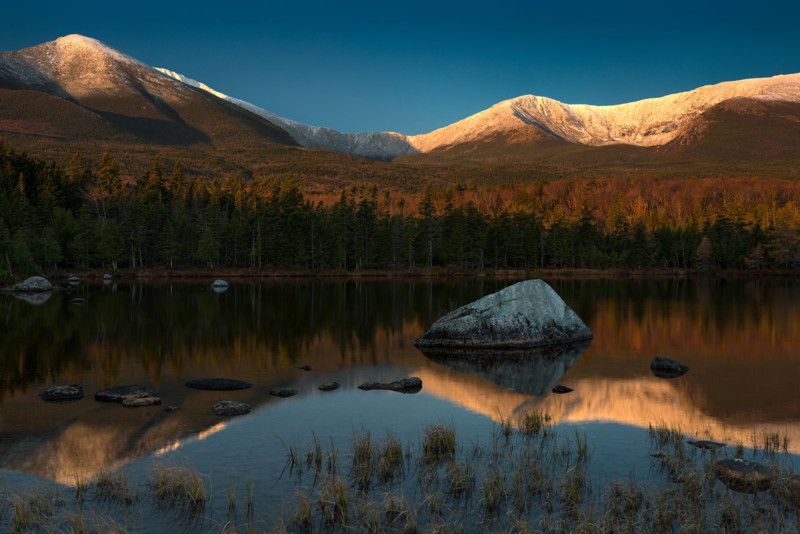
The primary reason to use a tripod is to shoot sharp images at slower shutter speeds. This is beneficial when shooting in low light or when you want to capture long-exposure images.
Image stabilization systems, in cameras and lenses alike, have come a long way. However, they aren’t good enough to let you shoot a steady handheld shot at slow shutter speeds, like one second or longer. You can increase your ISO to shoot at a faster shutter speed. However, to achieve the best image quality, you must shoot at low ISO.
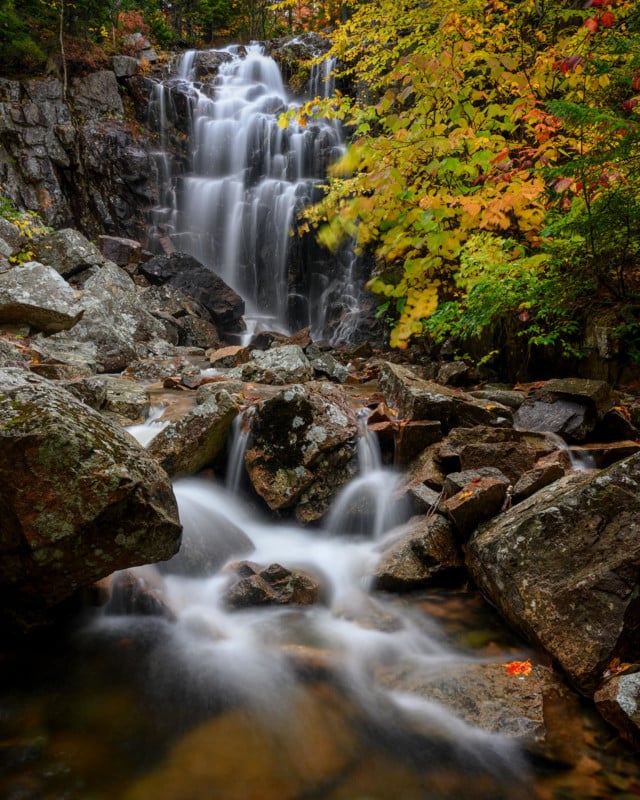
Beyond long exposure photography, using a tripod even at faster shutter speeds when you could handhold your camera guarantees more consistent results. Plus, a tripod is a must-have accessory if you want to capture multiple exposures for HDR photography or exposure bracketing, or multiple shots to stitch together a panorama.
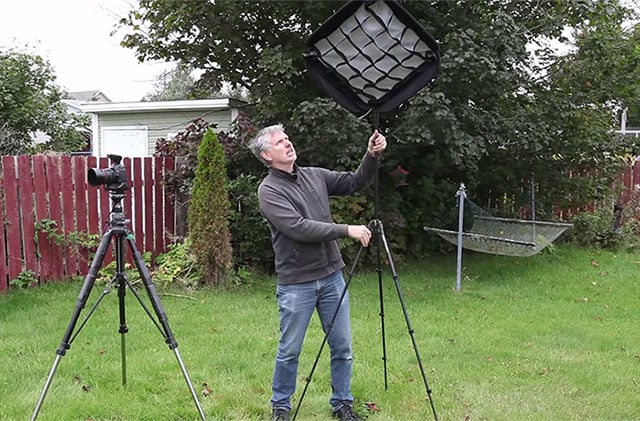
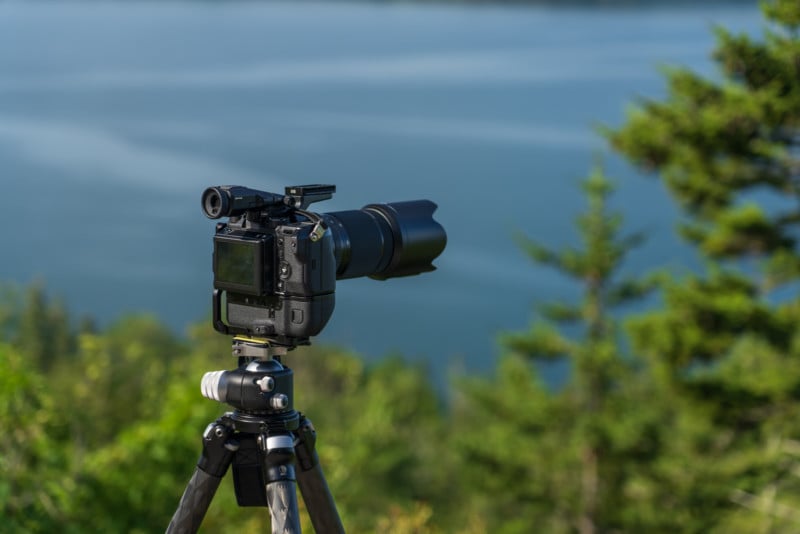
There are other reasons to use a tripod besides image quality and long exposure photography. When using a heavy, long lens, such as a telephoto lens for sports or wildlife, it’s nice to take the weight of your gear off your arms and shoulders and use your tripod. You can also use a tripod to capture self-portraits using a self-timer or remote or experiment with different techniques such as light painting. Further, if you intend to record video, having a stable video will dramatically improve the quality of your work.

Tripods can also make life as a photographer easier in other ways. You can carefully compose images on a tripod, whereas holding a camera in the same spot for very long can be tricky. Your tripod also frees up at least one of your hands to hold an off-camera flash or reflector, which can be helpful when photographing portraits. If you get a tripod that can get very tall or low to the ground, it’ll be much easier to capture different perspectives.
Drawbacks to Using a Tripod
There’s no such thing as free lunch in photography. Whether it’s concerning a lens’ maximum aperture and weight, or a camera’s resolution and shooting speeds, there’s always a tradeoff. That’s also true of tripods.
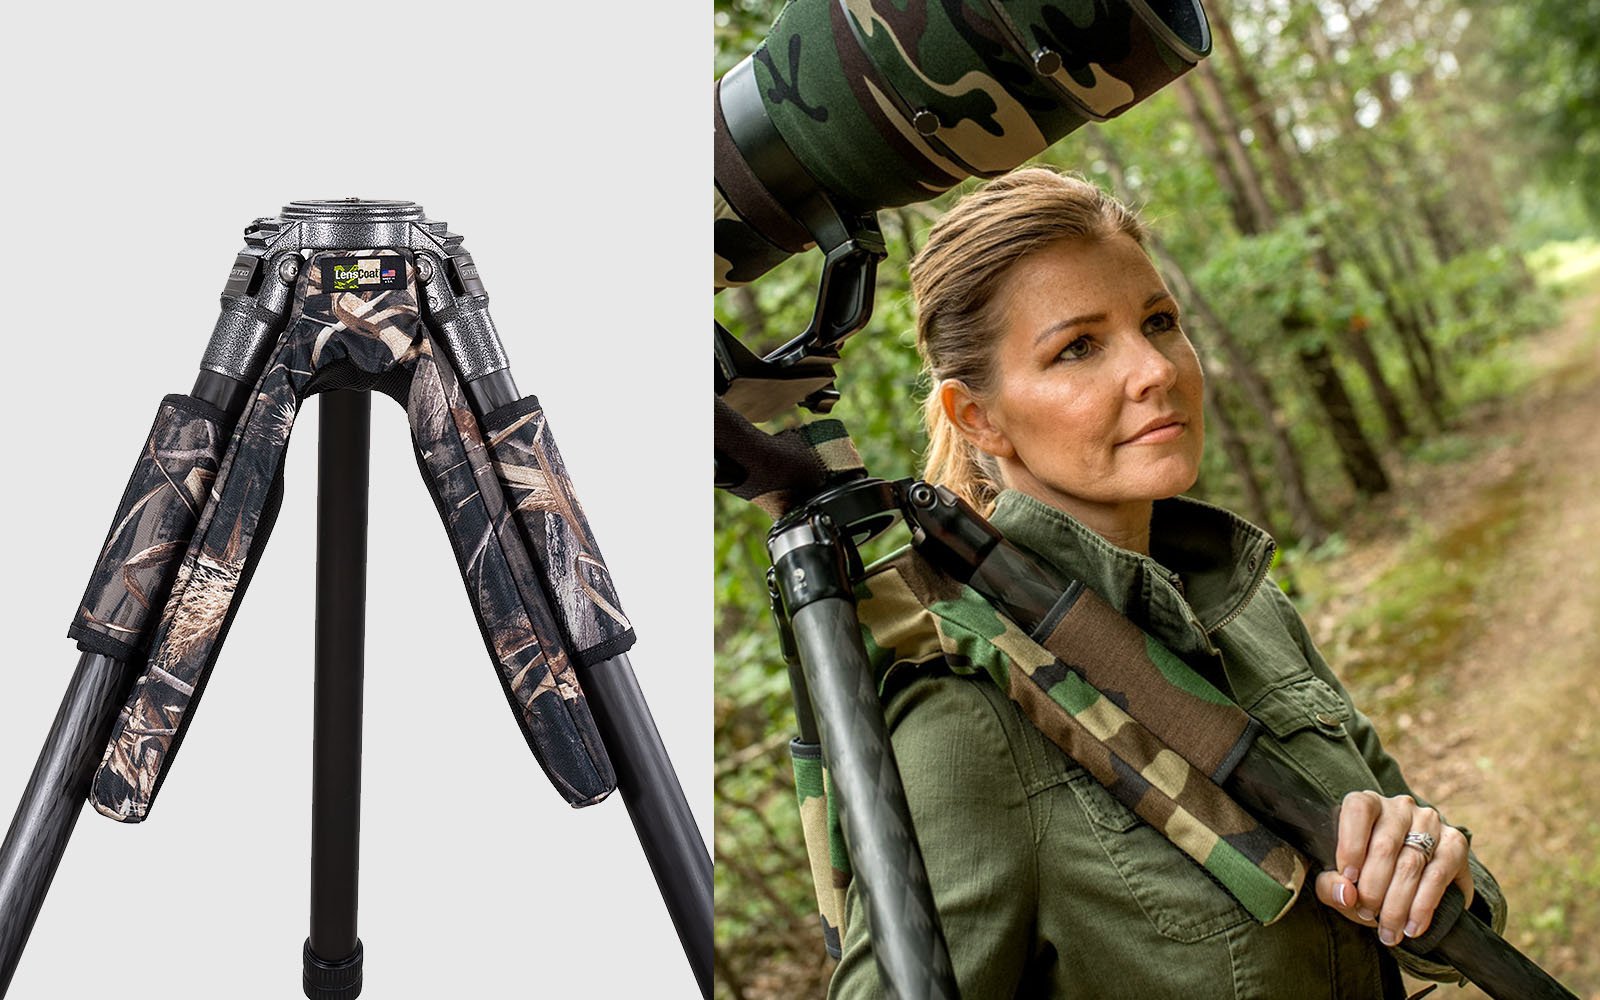
Perhaps the biggest issue is that it’s more gear to carry around. Ideally, you’ll use a photo backpack with a strap for your tripod. Even so, a tripod is more stuff. If you have a large metal tripod with a rugged head, not only is the tripod another piece of equipment to lug around, but it’s also heavy.
Along with the size and weight concerns also comes general inconvenience. If you’re around many people, you may not have the space to set up your tripod. I’ve been at busy landscape photography locations, and there wasn’t much room between other photographers and tripods, plus my tripod. If you’re photographing certain events, like concerts or sports, you might not even be able to bring your tripod into the venue.
Finally, even if you opt for a “cheap” tripod, more on that later, it’s still an extra expense. If you want a high-quality tripod from a popular manufacturer, you can easily spend more than $1,000 when you have the tripod legs and a suitable tripod head. Don’t worry. You can get an excellent tripod for a lot less than that, but a tripod can still be a sizable expense, especially for someone just getting started and those on tight budgets.
Setting Up and Adjusting a Tripod
How you set up your tripod depends a bit on what type of tripod you have, but no matter what style of legs and tripod head you’ve got, the primary focus remains the same: stability. The most stable tripod is one that is level. You often won’t be shooting on a level surface, so you must change the length of your tripod legs to compensate for uneven terrain. You may also want to make your tripod legs wider, if space allows, improving stability.
It’s also important to pay attention to what you’re putting your tripod feet on. If you’re in a rocky area, make sure you don’t have a tripod leg on an unsteady rock. A place that may seem safe can become problematic as soon as you add weight to your tripod.
It’s all too easy to bump into your tripod or fall victim to a gust of wind, so taking the time to ensure that your tripod is as stable as possible is a worthwhile use of time. If your tripod is a slight nudge away from tumbling sideways, possibly breaking thousands of dollars worth of gear in the process, you’ll wish you’d been more careful during the setup process.
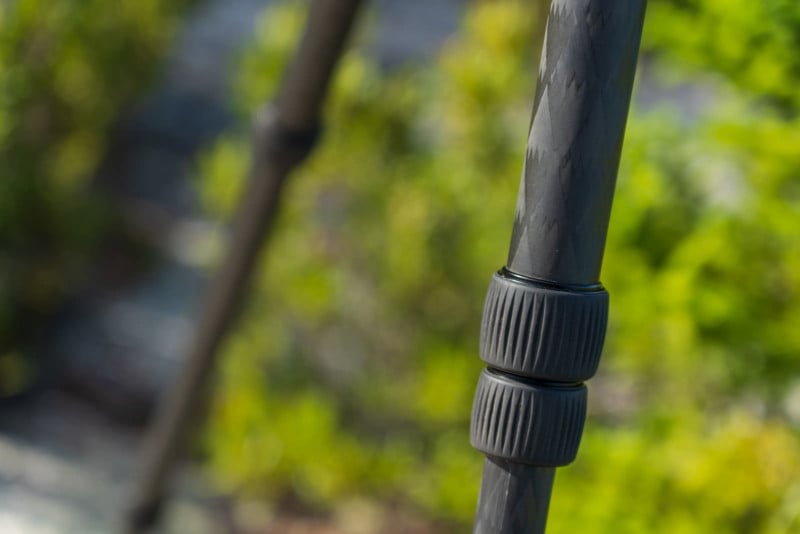
As for adjusting your tripod’s height, photographers have varied preferences. However, I always start by extending the bottommost tripod leg section. The requisite adjustment lock is within reach if I need to make the tripod taller later. I don’t want to bend down to adjust a tripod leg if I don’t need to. By changing the lowest portion first, you also avoid having your adjustment mechanism, whether it’s a twist lock or a clamp lock, in water or mud if you’re in shallow water or wet areas. It’s essential to keep your leg adjustment mechanism as clean as possible.
If I use a tripod with a center column, which I used back when I started with photography, I’d adjust that last and only when necessary. Using tripod legs to achieve the appropriate height is always a good idea. Don’t use a center post for added height if you don’t need to because it’s much less stable than having your tripod head flush with the top of your tripod legs.
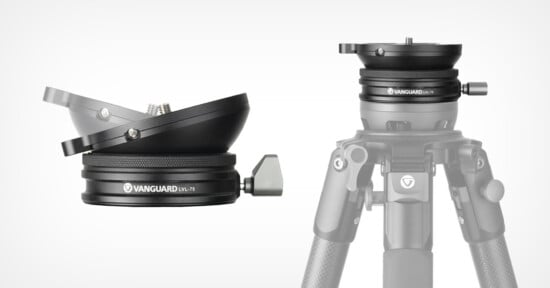
Different Tripod Heads
The style of tripod head you have determines how you adjust it. For most beginners, the options are somewhat limited in scope but not utility. A common choice, especially in less expensive kits, is a pan/tilt head. It includes separate tension knobs that free up movement for side-to-side and up-and-down adjustments.
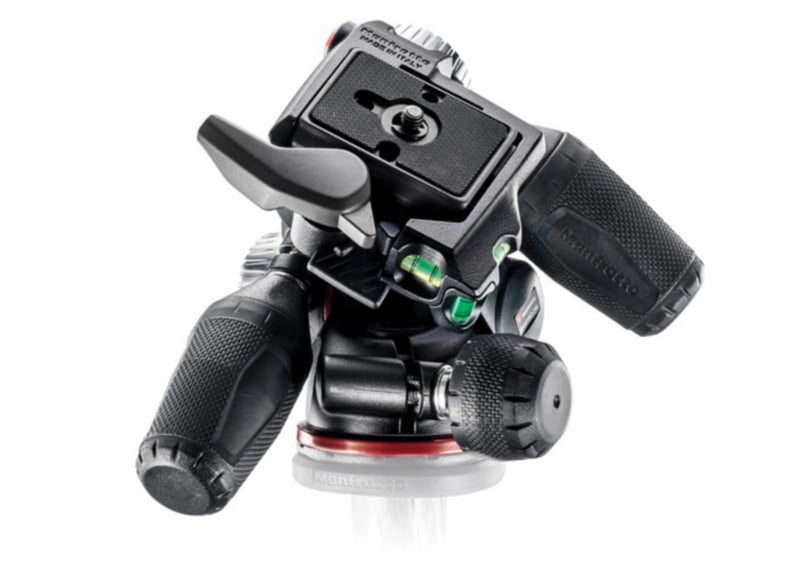
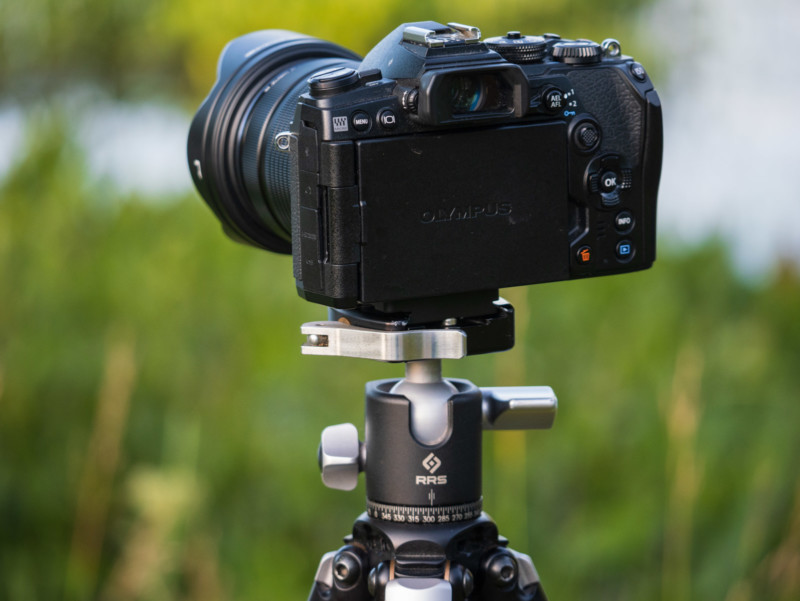
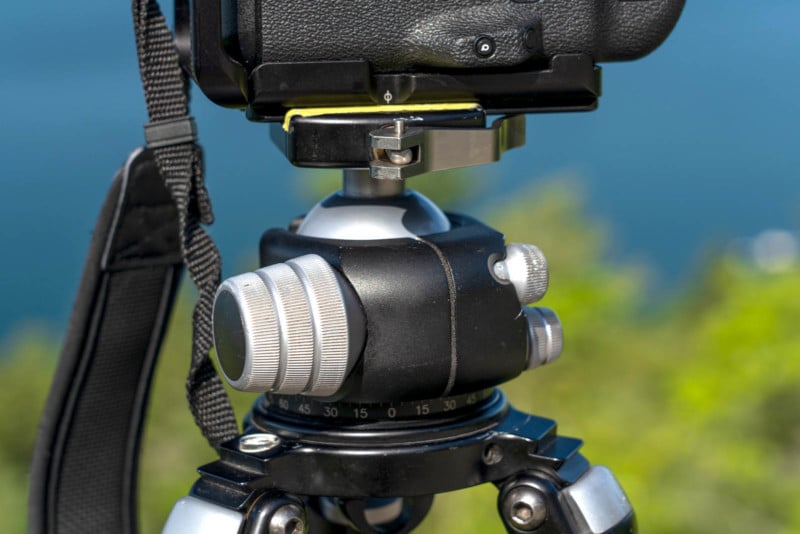
A common choice among landscape photographers is a ball head. This is my tripod head of choice. Your camera sits on top of a ball, as the name suggests, and there’s a mechanism to loosen it so you can freely adjust your camera’s orientation. Whereas a pan/tilt head requires multiple knobs to achieve a wide range of motion, a ball head has just a single mechanism for its movement.
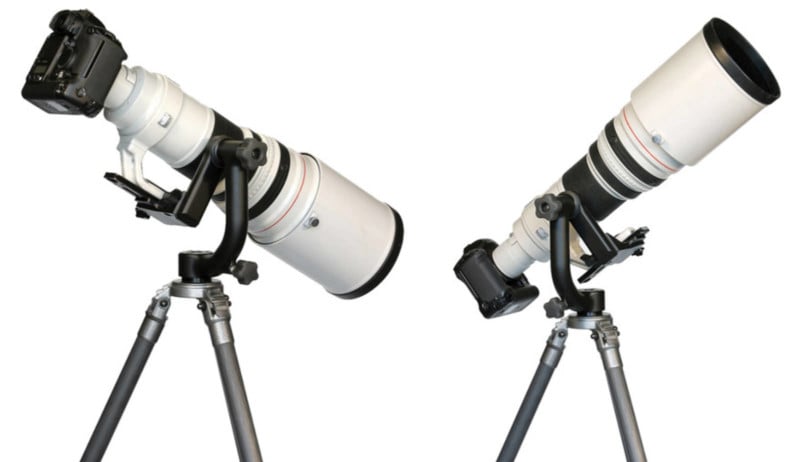
There’s also a gimbal head. This is used primarily for telephoto lenses. It’s an expensive option. A gimbal head is designed to balance a heavy lens around its center of gravity, providing stability when panning or moving your lens up and down, such as when photographing birds in flight. This isn’t a good option for most beginners due to its inflexibility.
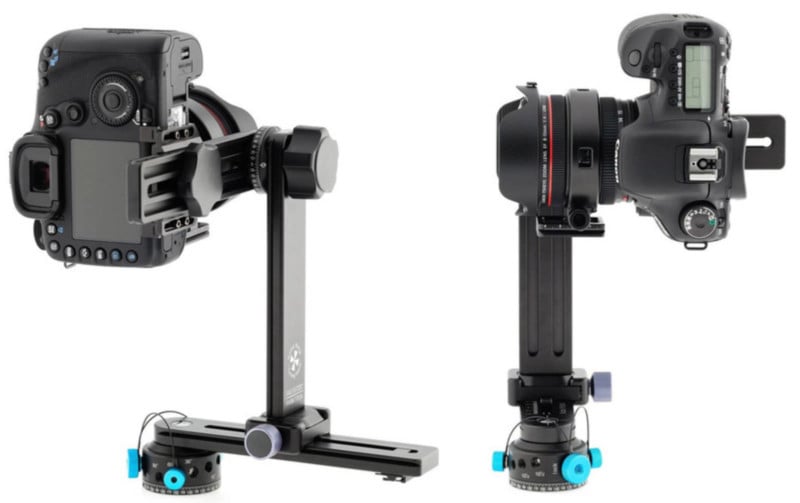
There are some tripod heads designed especially for panoramic photography. You can do panoramic work with a more normal tripod head, but a special pano head makes it easier. Like gimbal heads, specialized panoramic gear isn’t suggested for beginners looking for a versatile tripod.
What to Look For (and Avoid) When Buying a Tripod
A tripod is basically just a head and three legs. How expensive could that be? Nearly all tripods run the gamut from under $100 to almost $2,000. Opting for the cheapest end of the price range is tempting. However, it’s usually a mistake.
When I say “cheap tripod,” I don’t only mean the price. Cheap also refers to the build quality and feel. A tripod with many plastic and rickety components may do the job when using lightweight gear in a calm environment, but what if your gear is heavy, the terrain is uneven, and there’s a moderate breeze? What if it’s freezing outside, the tripod gets icy, and a plastic piece breaks? These are the situations when a “cheap” tripod can fail. If you don’t pay the price for a good tripod suitable to your needs, you will eventually pay the price in the form of damaged camera equipment.
That’s not to say you must spend a lot of money to get a quality tripod. For example, Peak Design is a very reputable company, and its Peak Design Aluminum Travel Tripod is $380 (the carbon fiber version is $650, by the way). Other companies like K&F Concept, Manfrotto, Magnus, Benro, Oben, Sirui, Vanguard, and more make popular, trusted tripods for even less.
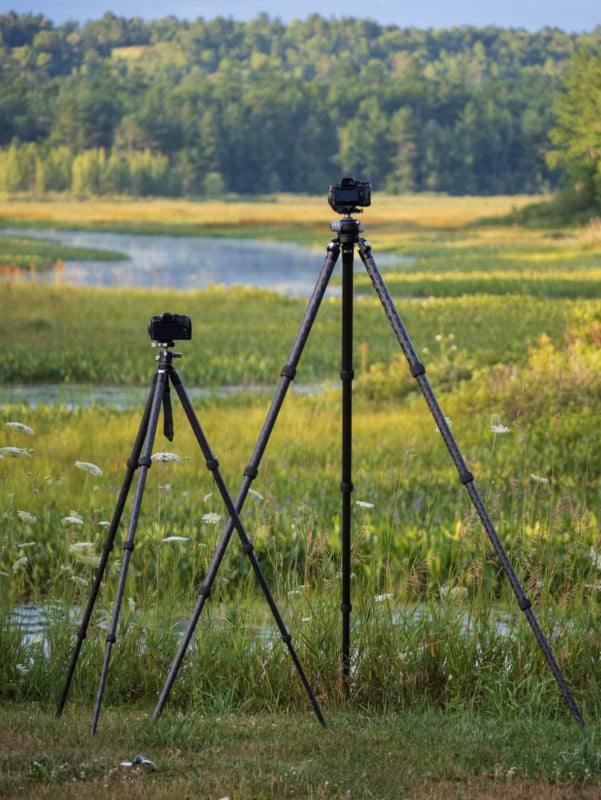
No matter your budget, you must consider a tripod’s load capacity, maximum height, minimum height, folded length, and weight.
Load capacity: Your tripod needs to comfortably support your gear and any gear you may purchase in the next few years. It’s a good idea to give yourself breathing room, although reputable makers should meet their promised ratings.
Maximum height: Your tripod must also be tall enough to be useful for your height. All else equal, the taller, the better, as it’ll be easier to level it at a comfortable height on uneven terrain.
Minimum height: The tradeoff is that in most cases, the taller your tripod can be, the taller it’ll be at its minimum height. A low minimum height is helpful if you want to do macro work and get down and shoot from low angles.
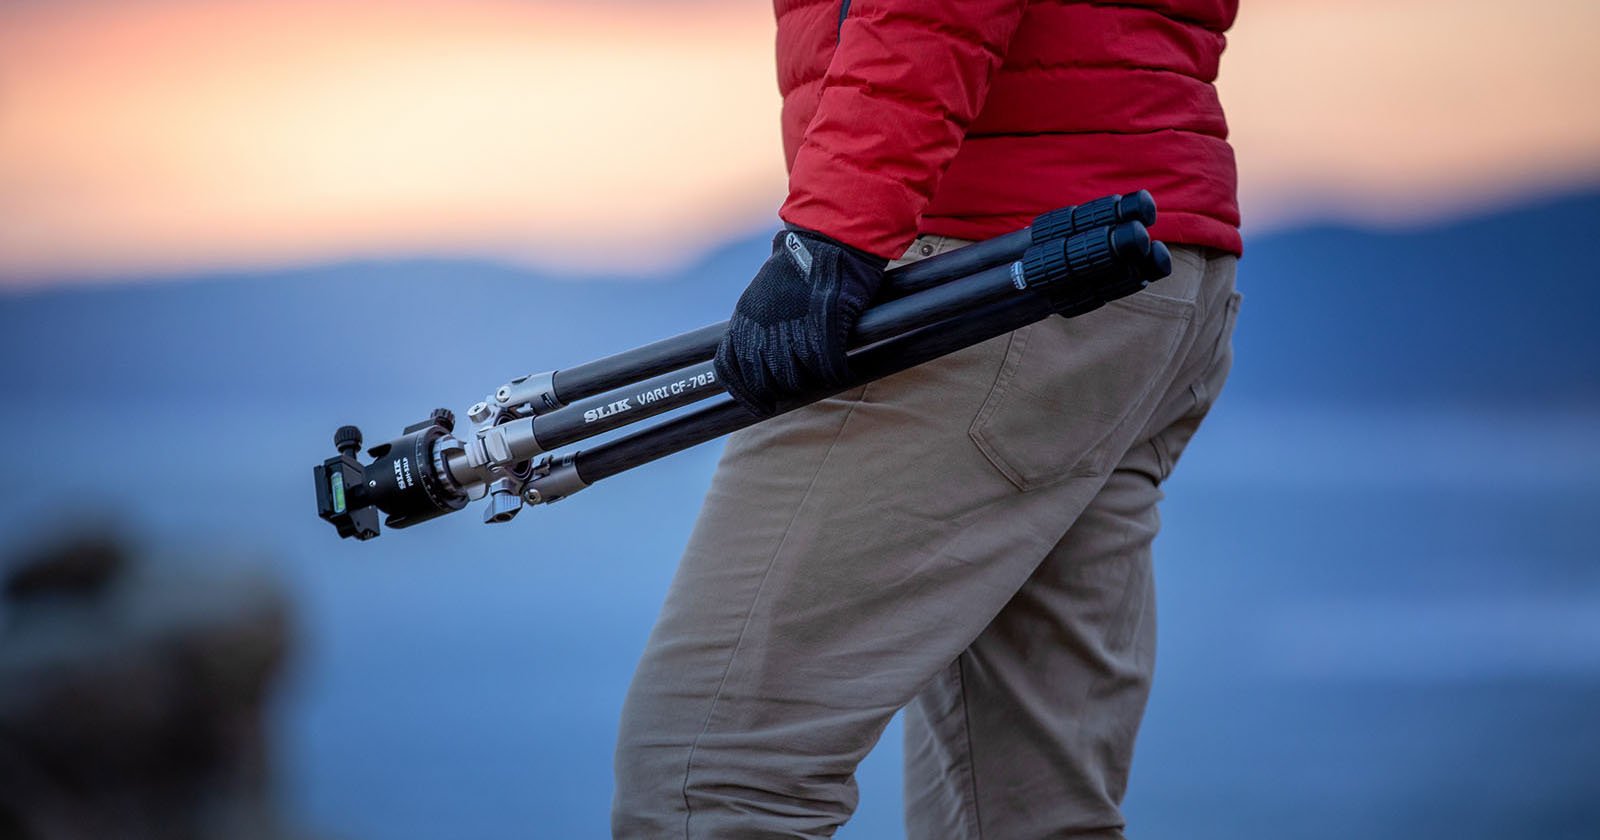
Folded length: Like minimum height, the folded length is often affected by a tripod’s maximum height. The taller a tripod, the longer the folded size. The folded length matters for your backpack. Ideally, your tripod will fit inside or on an outside compartment of your photography backpack.
Weight: Weight is something that you pay a premium for. All else equal, as a tripod’s weight decreases, its price increases. If you intend to do any hiking, you know weight is at a premium. The heavier your tripod, the worse you’ll feel after a long day. Similarly, the more weight your tripod holds and the taller its max height, the more it’ll weigh since it includes longer legs and likely a more significant, sturdier tripod head.
For specific tripod recommendations, check out our picks for the best tripods on the market.
Should You Start With an Entry-level Tripod?
If you don’t own a tripod, you probably aren’t sure how much you’ll use a tripod. Photographers in this situation should opt for something under $300. While I can – and shortly will – espouse the benefits of a very high-end tripod, that much of a monetary outlay doesn’t make sense at first. So, you should avoid buying the cheapest tripod you can find because it is likely of poor quality, and you should avoid buying the most expensive one until you know that you’ll benefit from the relative advantages that make it so expensive in the first place.
Not every photographer will benefit from the highest-end tripod. Many photographers may prefer something smaller, lighter, and more affordable.
Over time, you’ll either realize that your entry-level tripod is perfect for your needs, or you’ll have learned what qualities your tripod lacks that you would personally appreciate. If you fall into the latter category, the next step is to straight to a high-end tripod. If you can’t afford it, it’s worth saving up for.
In my case, my tripod might as well be glued to my side because I rarely leave home without it. It’s as essential to me as my camera and lens. I could make the case that it’s even more important because it will outlast every camera and lens I purchase for a long time.
It took me spending a few years with an aluminum Manfrotto tripod to realize how valuable a lighter design, rugged ball-head, twist-lock leg adjustment mechanism, replaceable feet, and a user-repairable design are to me. I ended up selling that tripod to a photographer who was getting started, and I’m confident they’ve gotten a lot of great use out of it.
Using my first tripod in various situations and places made me realize I wanted a taller tripod. Unfortunately, a more rugged, more usable, lighter, and taller tripod means “more expensive.” I ended up spending nearly $2,000 for my Really Right Stuff TVC-34L tripod legs and BH-55 ball head.

To some, it seems ridiculous to spend that much on a tripod. After all, you could buy a nice new camera or lens with that money. That’s fair. However, after using an inexpensive tripod and finding out that it doesn’t fit your needs, it makes little sense to move up to a slightly better tripod. Soon enough, you’ll again realize that a high-end tripod is a better option.
The high-end tripod range starts at around $500 and goes up to more than $1,500. At the lower end of the spectrum, that’s less than nearly all modern mirrorless cameras or lenses. You typically pay more as you opt for longer tripod legs and more rugged ball heads, but you may not need these features or might outright not want them due to desiring a more compact, lighter tripod.
You Get What You Pay For with Tripods
I’ll wrap up with straightforward advice that applies to no photo gear more than tripods: You get what you pay for. A good, high-quality tripod serving your needs will outlast your camera and your lenses. With regular maintenance – like taking it apart for cleaning – your tripod will last many years, even decades. Spending a lot on a top-of-the-line tripod is a tough pill to swallow, but it will pay for itself through many years of reliable service.

However, you don’t need to start at the top, either. The best advice I can offer is to determine what your gear weighs and figure out if you want any special features, like an exceptionally tall (or short) tripod and try to decide what type of tripod head is right for you. Figure out your needs first, and then find a tripod to fit them. Don’t try to operate in reverse and fit your needs to a tripod. There are many good options across a wide range of budgetary constraints.
Once you’ve figured out what you want from a tripod and picked one, use it for a while and see how it works. You may find that the first tripod you pick is the perfect one for you. If not, there are plenty more to choose from, and you will likely benefit from a top-of-the-line tripod. A considerable upfront cost on something as straightforward as a tripod can be a tough pill to swallow, but few pieces of gear are more important.
Image creditsAll photographs by Jeremy Gray.