Apexel FL07 RGB LED Review: A Great Portable Light for the Field
My friend Cemal Ekin of Kept Light Photography asked me to try the Apexel FL07 RGB LED light kit and provide my comments.
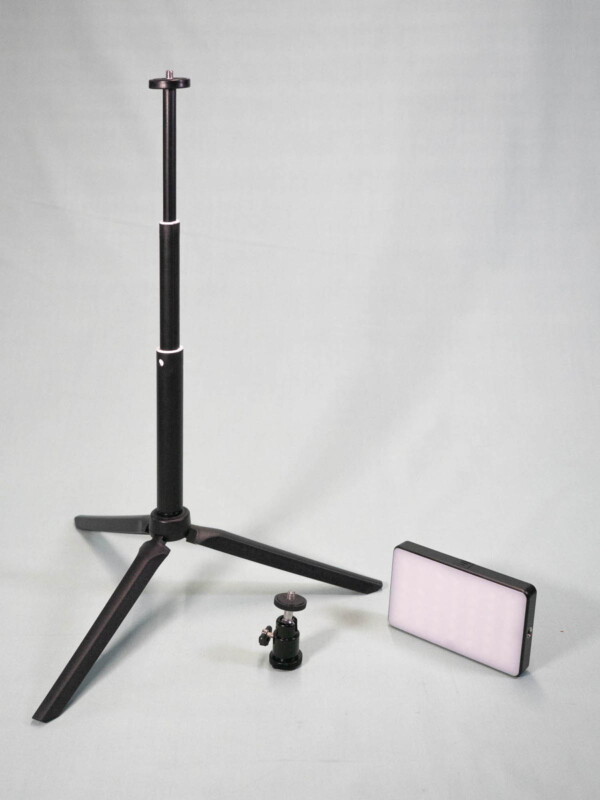
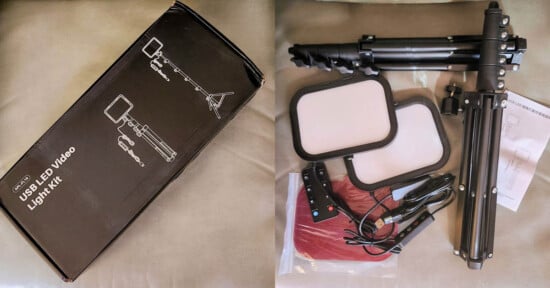
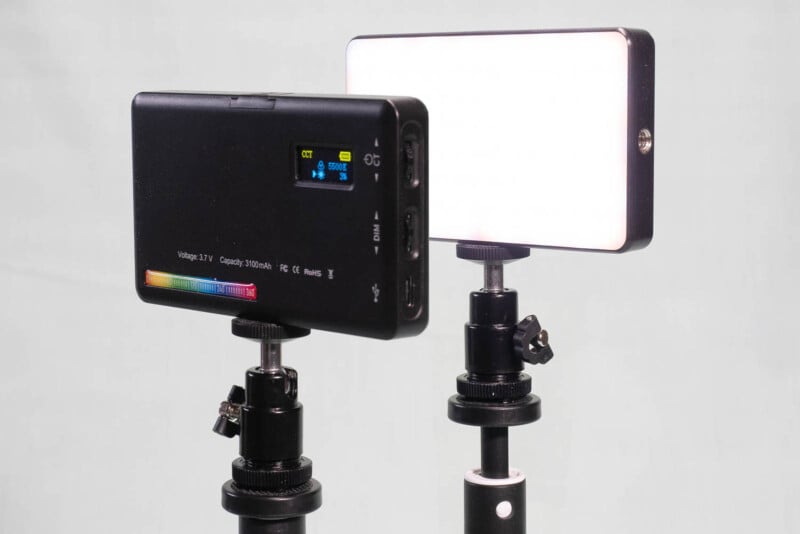
In addition to the compact light panel, the kit includes a USB-A to USB-C charging cable, a ball head, and a retractable light stand. The light panel is compact (11.4cm X 6.7cm X 1.6cm) with a built-in lithium battery and weighs only 130 grams. It is easily portable and truly pocket-sized.
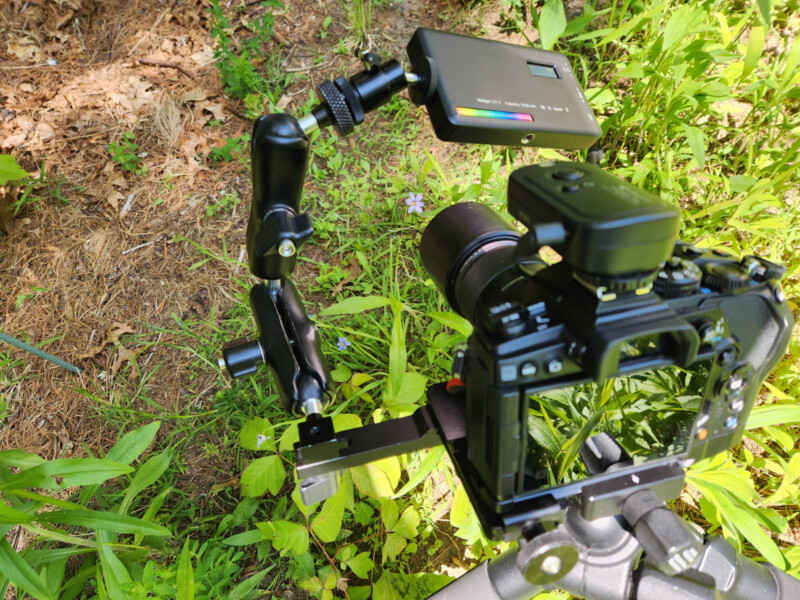
The light stand is made of plastic, the three feet can be folded for storage and the light stand height can be extended from 27cm to 48cm. It is a lightweight accessory, but also light-duty. It would serve well on a tabletop next to a smartphone stand or laptop, but for in-the-dirt outdoor photography that I would be doing, I chose to use my own fixture to hold the light. I did use the ball head that was provided with the light for the images in this post.
Focus Stacking
When photographing flowers, mushrooms, small plants, and insects, I often use a technique called focus stacking. This technique captures multiple images of a subject each with a slightly different focus distance. The images are then “stacked” in the software, merging the in-focus parts of the captures into one image. This allows the subject to be sharp where I want it, and the background to remain softly out of focus.
If a scene needs artificial lighting a camera flash is inconvenient to use since the flash may need to charge between captures. Modern cameras have features to quickly capture focus stacks at speeds of 30 per second and faster. The only practical way to capture that many images is with a constant light source, such as an LED light. Another benefit of a constant light source is that you see the effect of the lighting before the capture. All the images presented here are focus stacked, with and without adding light.
How I Use an LED Light
I own a few LED light sources that I use for close-up photography, but all are much larger or much smaller than the Apexel FL07 RGB LED Light. The main purpose I use LED lights when photographing wildflowers growing near my home is to help balance the amount of light on the subject (fill light) and for scenes where the light is minimal (main light). Most of the images presented here show the naturally lit scene and show the result by adding light.
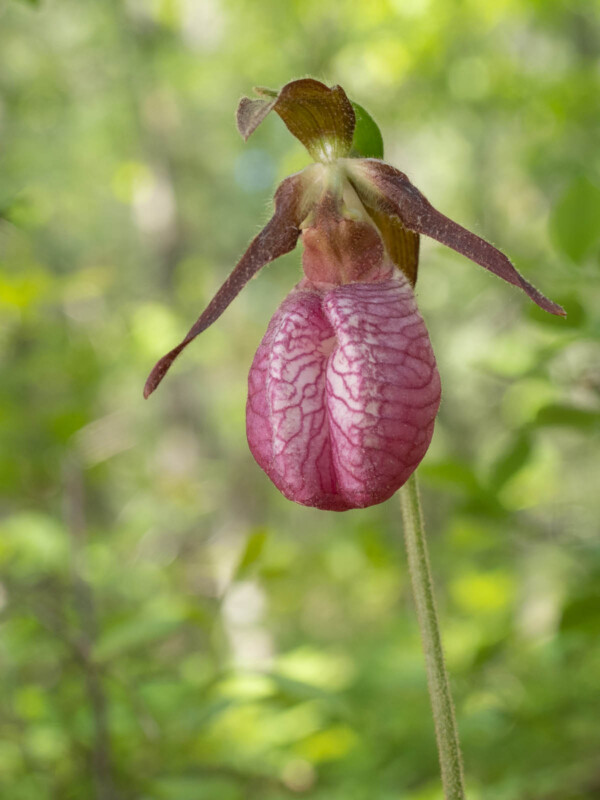
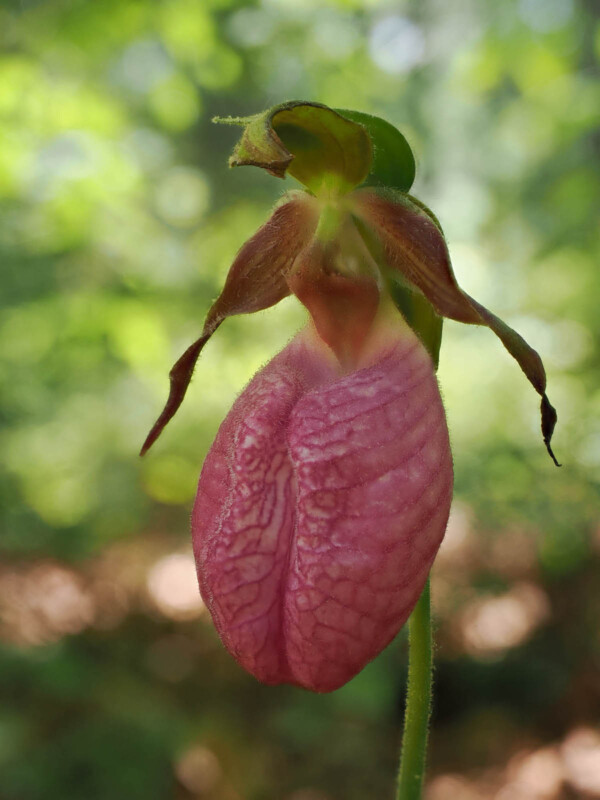
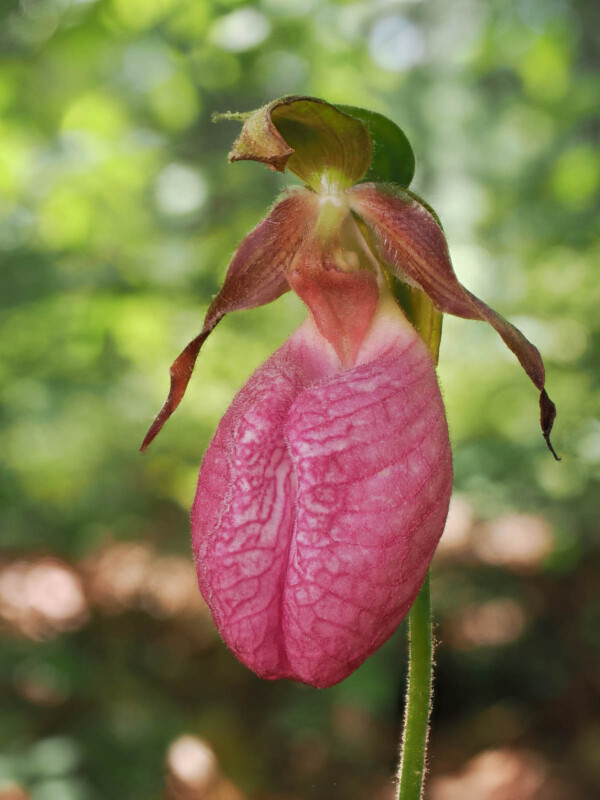
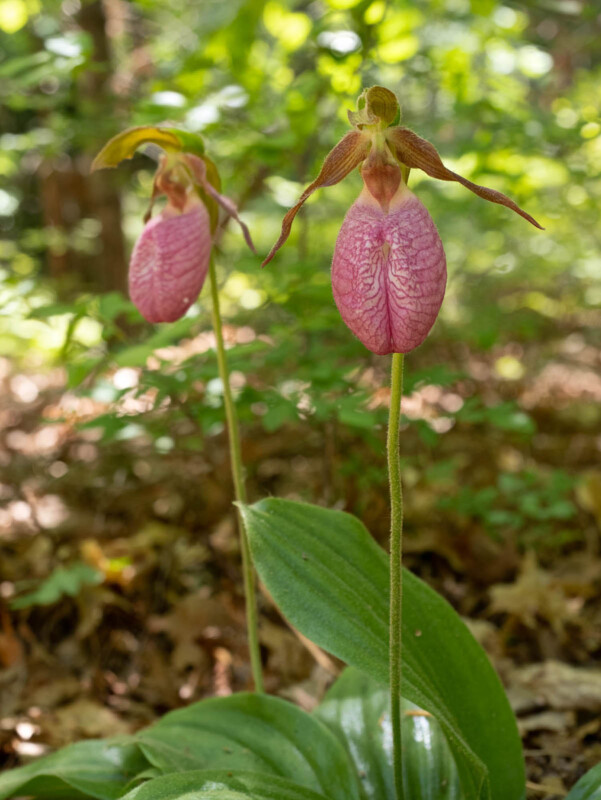
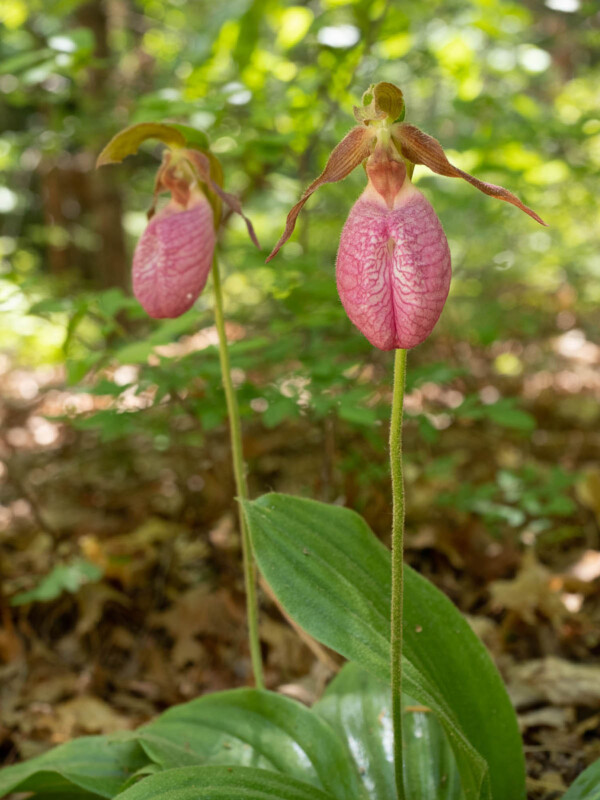
Example: Pink Lady Slipper
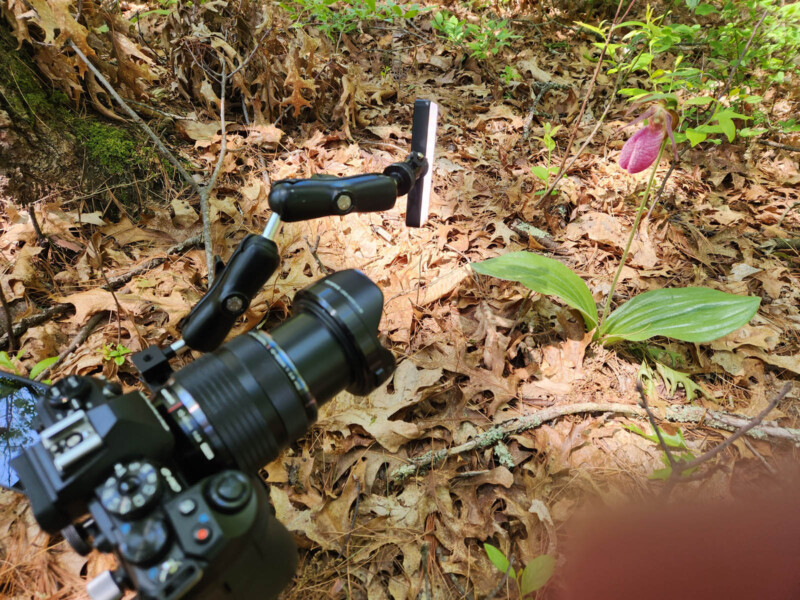
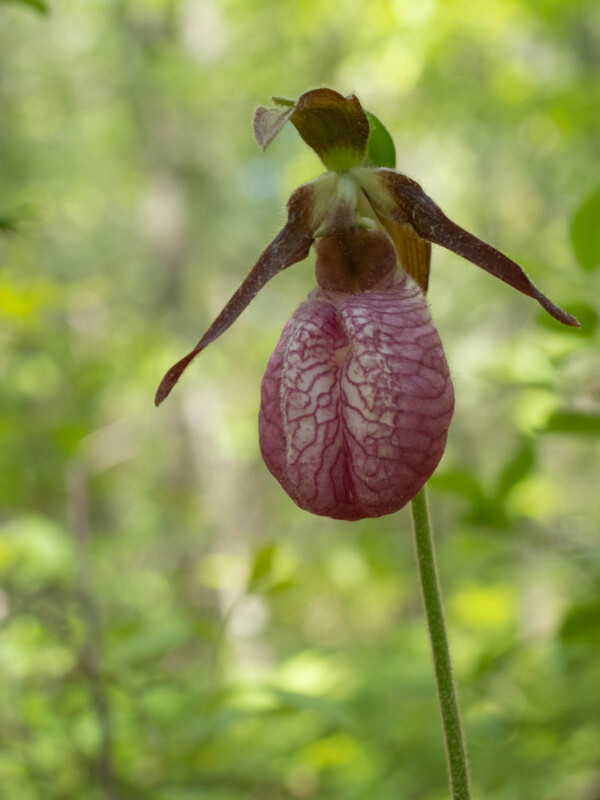
The first example is a pink lady slipper in an open forest area where the background foliage is lit by the sun but the flower is in the shade. I used the Apexel FL07 on an articulated arm attached to my camera on a short tripod as shown in the image below and a photo of the flower was captured without the LED light. The light was positioned to illuminate the flower so that the exposure more closely matched the background.
The true colors of the flower are brought to life and the details of the flower structure are revealed. In the second set of images, the camera was set up on a tripod and the light was handheld when making the capture. Using the focus stacking technique only on the flower to the right accentuates it as the subject of the photo. Adding light to that flower brings out the detail otherwise hidden in shade.
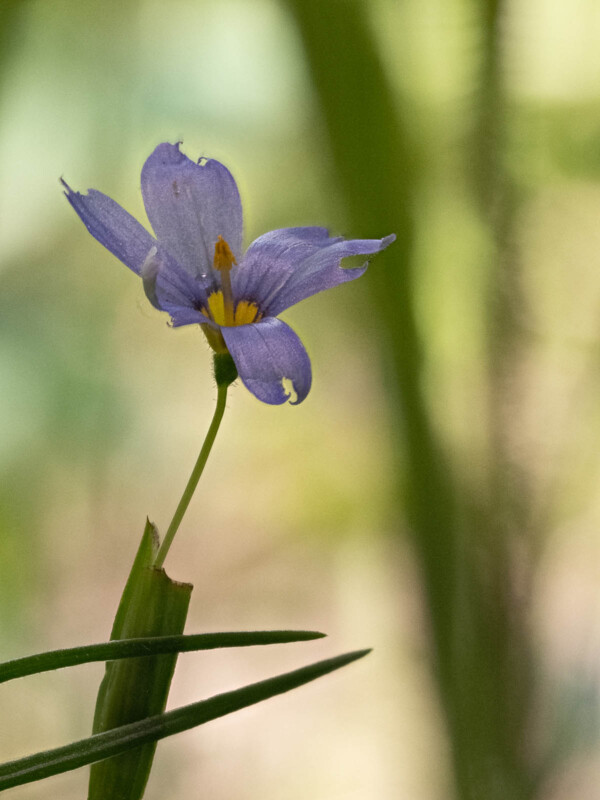
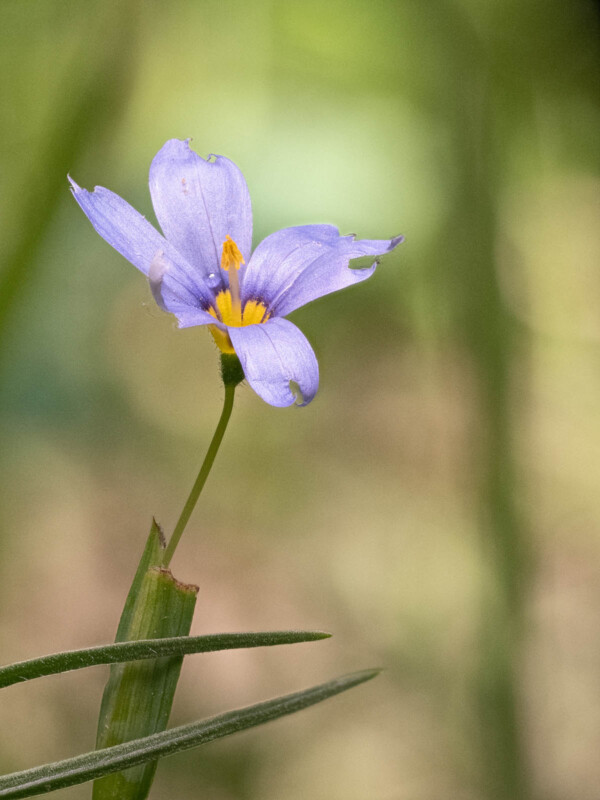
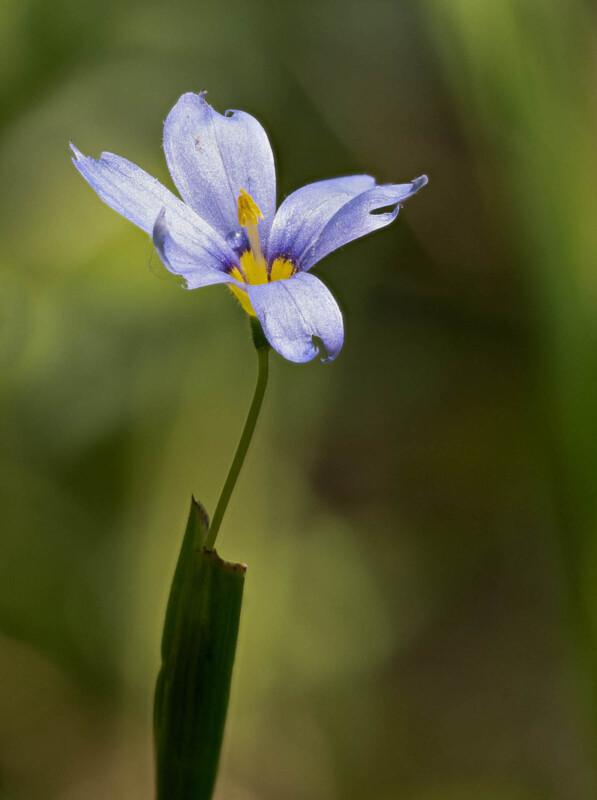
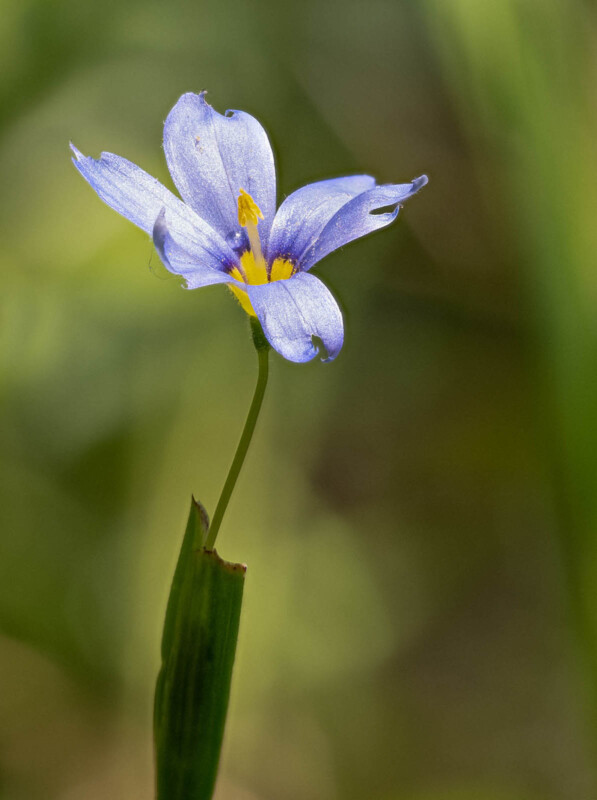
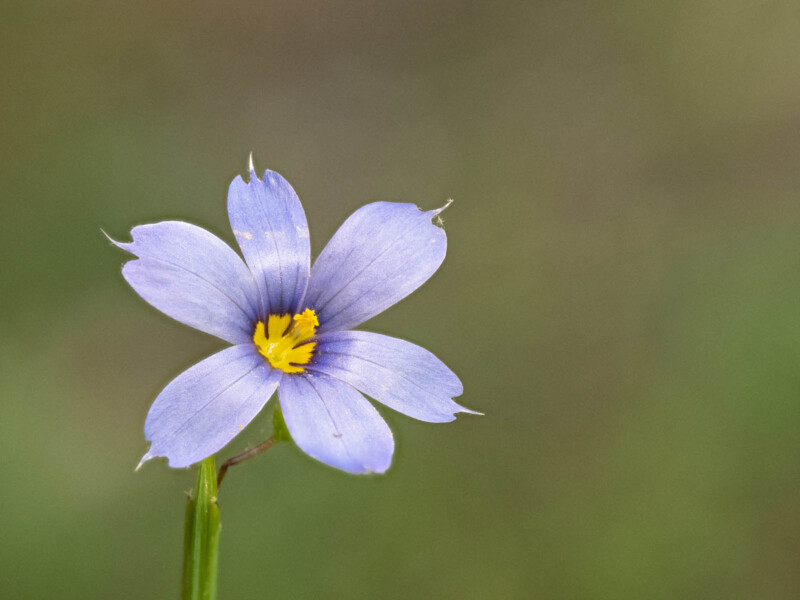
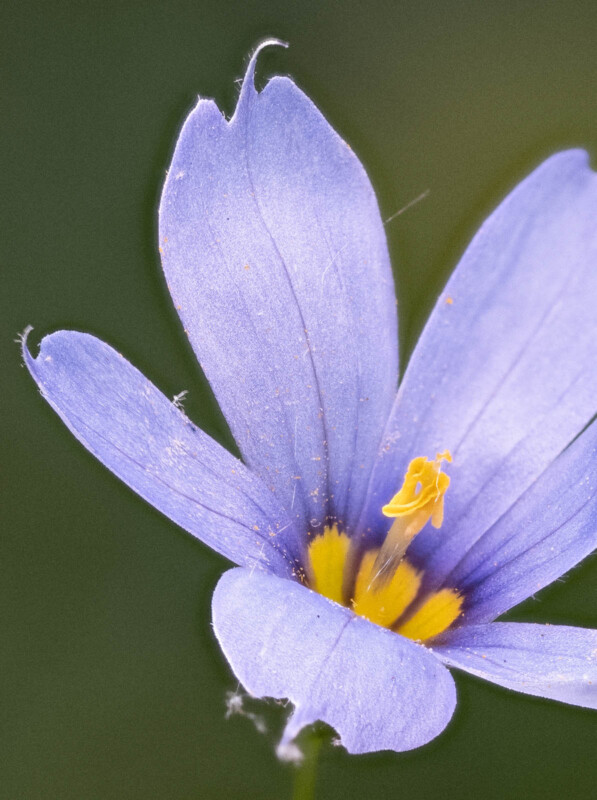
Example: Blue-Eyed Grass
The blue-eyed grass was growing in an area congested with vegetation. I attached the light to the camera on a tripod and positioned the light to be above the flower. Since the light is so much larger than the flower it provides a broad source of light eliminating any small shadows in the flower.
The first few images show the flower against the bright background; adding light evens the lighting on the scene and brings our attention to the flower. In the second set of images of the same flower, I used a large piece of plastic to shade the background, but not the flower. Then a small amount of light was added to bring a little detail to the stem and to light the stamen of the flower. The amount of light landing on the flower from the LED light can be reduced by the level control, but in this case, I simply moved the light further away from the flower.
Example: Columbine
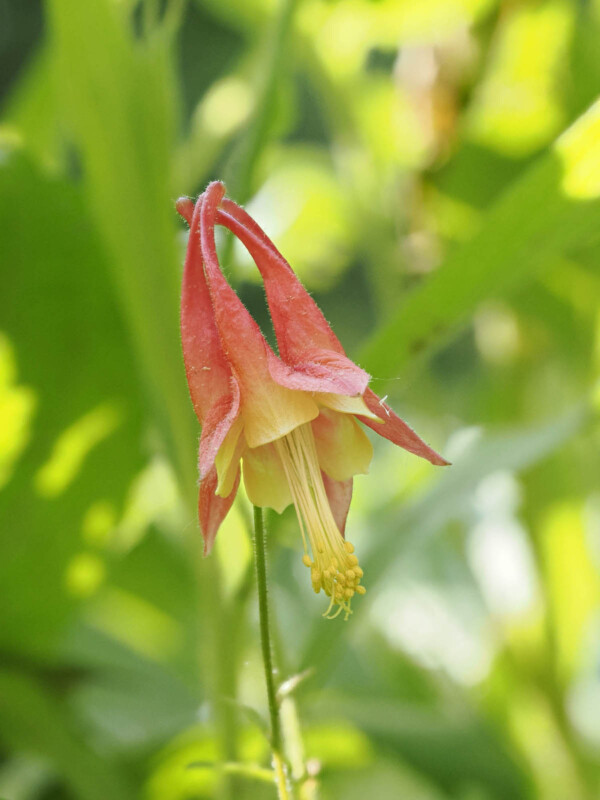
The columbine presented different lighting challenges. It was also in a crowded area of the garden with strong sunlight coming from the left and behind the subject. The lighting on the vegetation was mottled due to some plants shading parts of other plants and the flower itself was shaded by other vegetation. There was no direct light on the flower in the first image.
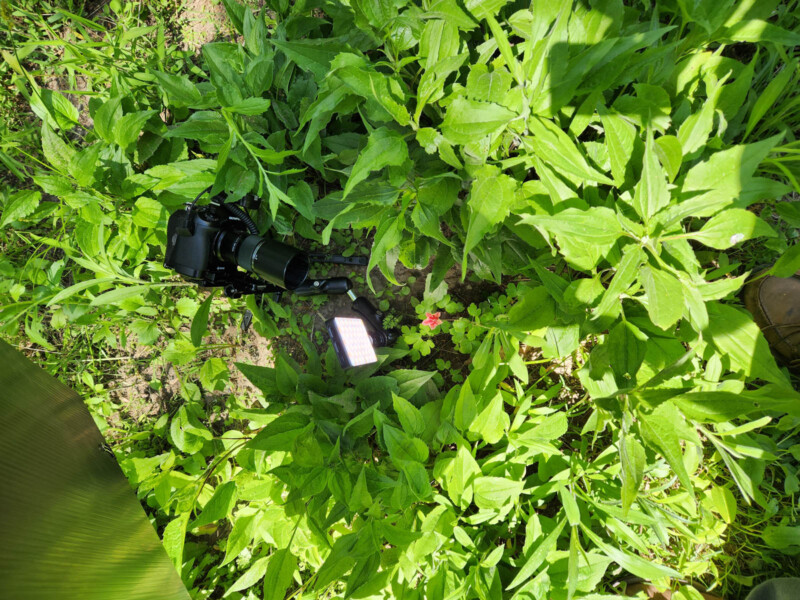
Adding light using the Apexel FL07 brightened the flower and caused it to stand out from the background. I went to the same flower at midday when the light from the sun would be worse. The sunlight was from the right and behind. However, there was no shade on the flower so I provided my own by using a corrugated black plastic sheet to block the sun on the flower and some of the vegetation.
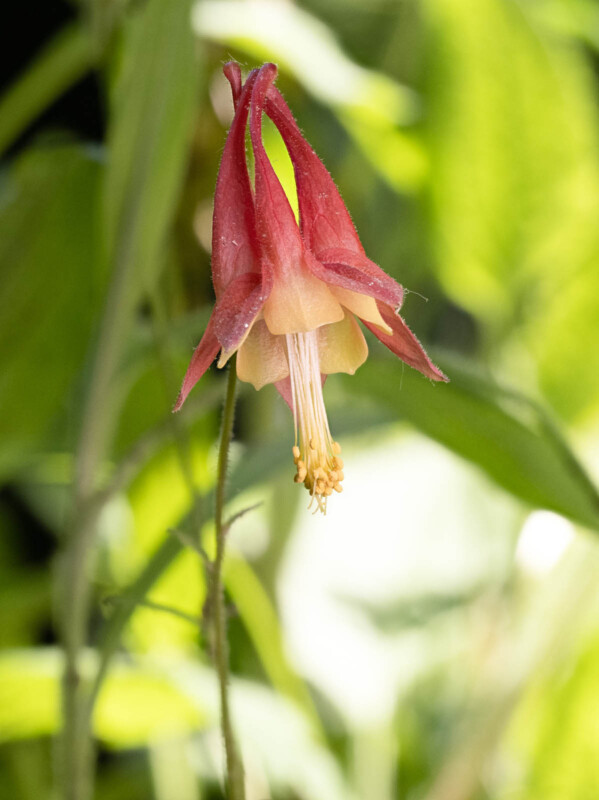
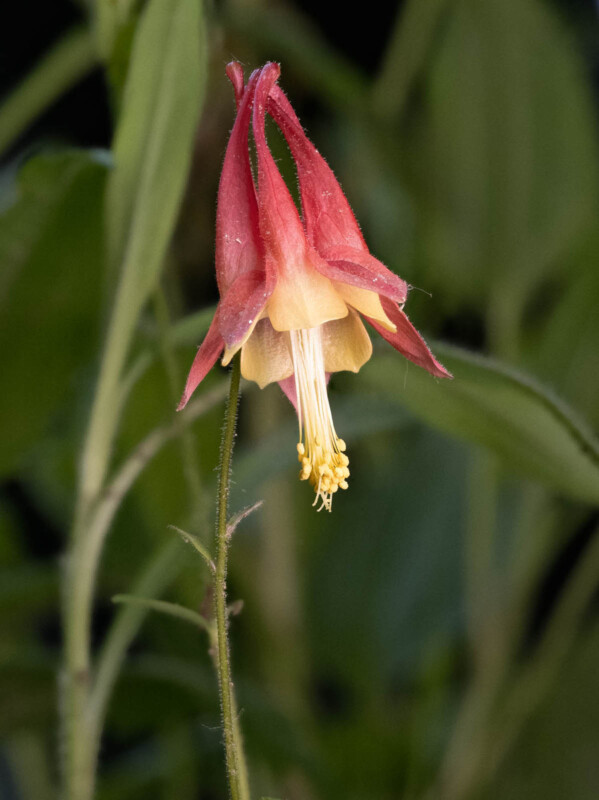
In the image of the setup, you can see the rectangular square of shade over the camera and subject setup. This let some light hit the vegetation and resulted in the next image, the flower illuminated with the light. By adjusting the position of the black plastic I was able to eliminate any light from hitting the vegetation and the final image was taken. The vegetation is evenly lit with no hot spots and the flower is properly lit with the Apexel FL07.

Conclusion
I found the Apexel FL07 RGB LED Light to be a product I would use regularly for close-up photography. It is compact, light, and well-built, giving it high marks for portability in the field. I tried all the lighting modes and found that the color temperature mode provided enough control for my needs.
- At the current price of $45.99, it is in the mid-range of panel lights of this size.
- The built-in battery powered the FL07 for nearly two hours I used it in one session, recharged quickly, and can be powered or recharged with a power bank.
- Perfect for portable lighting either on camera, macro bracket, small light stand, or even handheld, in addition to the desktop stand that is provided in the kit.
- The ball head provided in the kit is light-duty, and suitable for desktop tripod use. Applications requiring a more rugged ball head have many options available.
About the author: Dennis Goulet is a retired electrical engineer and a highly accomplished photographer. He won the Audubon Magazine Birds In Focus grand prize and many other national, regional, and local awards. Visit his website for more of his work. This article was also published here.