Apexel APL-FL19 Two-Light Kit: Fit For Tabletop Photography
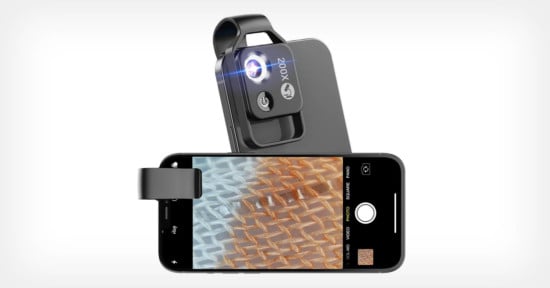
A while ago, I reviewed a couple of attachments by Apexel for phone cameras. They asked me to review their night vision scope but I told them nobody would believe my review of a product like that! I inquired if I could write a review of a couple of LED light kits and they agreed.
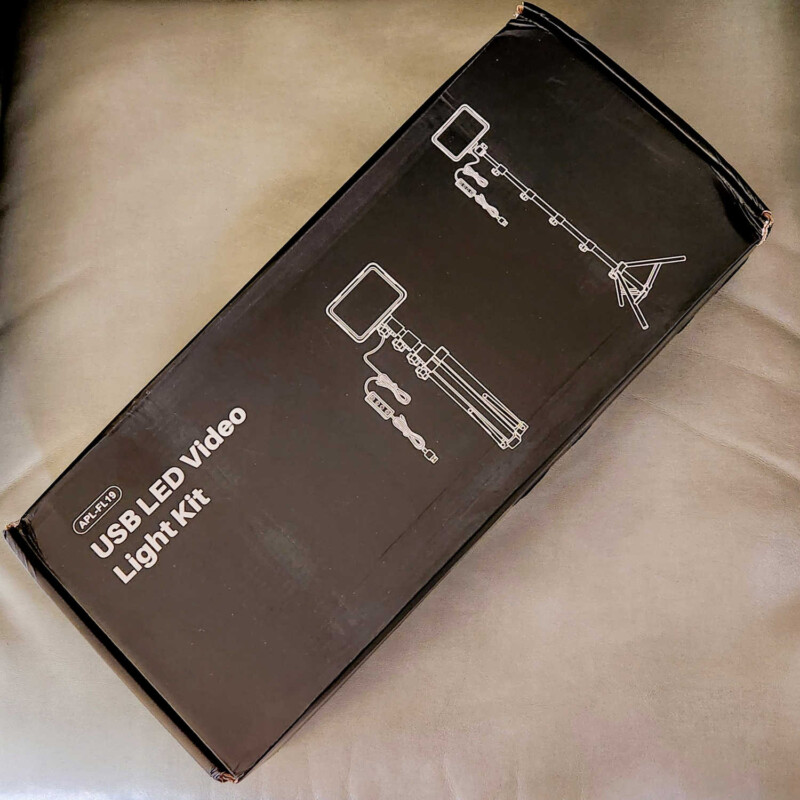
Apexel APL-FL19 USB LED Video Light Kit
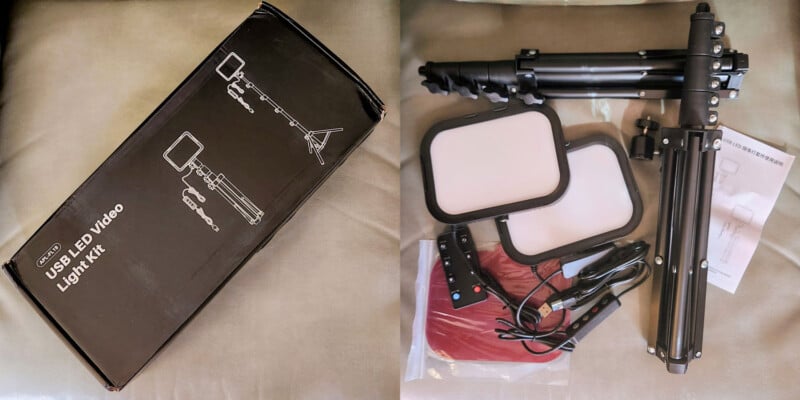
The product’s official name has “video” in it, but my main interest was to use them as easy-to-handle lights for tabletop photography. I received two kits. One contained a single light with a rechargeable battery, and Dennis wrote a separate review for that. The second kit with two lights needed to be plugged into a USB power source. Although a wall plug would have worked, I purchased a couple of power banks for portability. They can fast-charge my phones as well.
Highly Suitable for Photography
The maker, Apexel, offers it mainly for video creation and portrait fill lights, but I believe they are much more than that for many photographers. As you will see, I like them for tabletop or product photography, and Dennis will provide a segment on their outdoor use for nature and flower photography.
Flexible, Easy Adjustments With Remotes
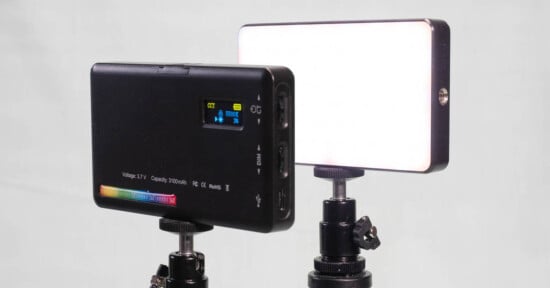
The lights can be independently adjusted with their inline buttons or with a unified remote that can control them separately. Quite convenient. The level of light on each can be stepped up or down, and by pressing another button, the light cycles through different color modes from 3200 K to 5600 K in three steps. Apexel calls them Warm Light, Warm White, and White Light. The light level can be adjusted from 20% to 100% output in five steps.
Wall Power or Power Banks
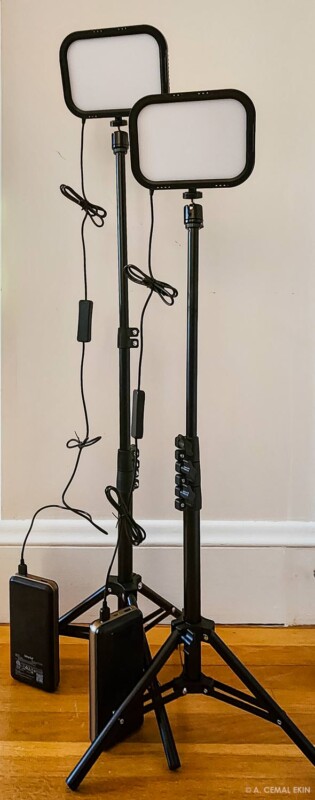
If you decide to use power banks as I did, I suggest placing them in small bags and hanging them from the lower knob of the light stand. That will increase stability by adding weight to the base and make changes in the light stand position more convenient.
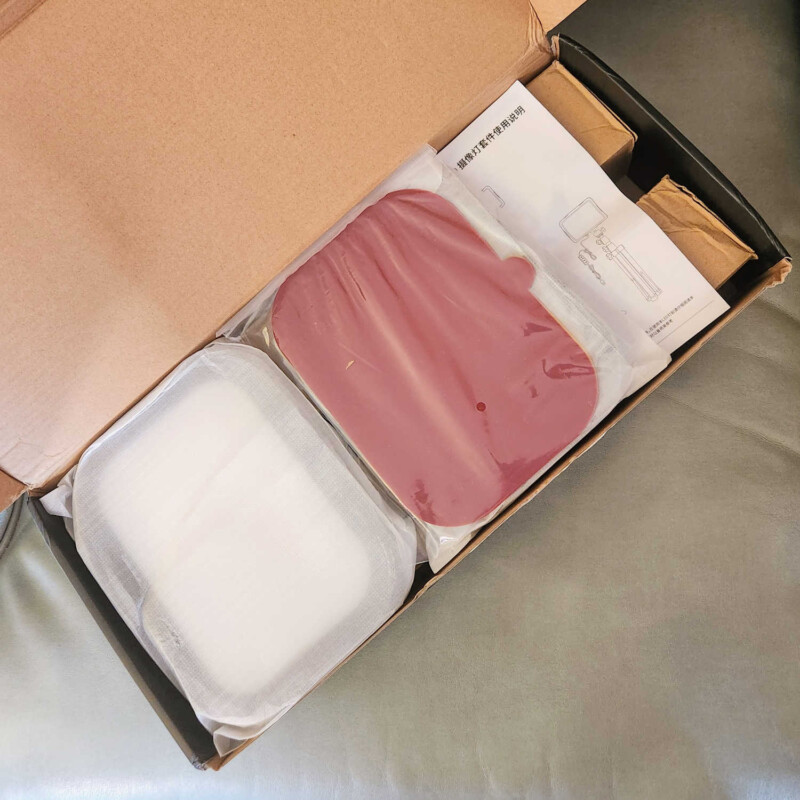
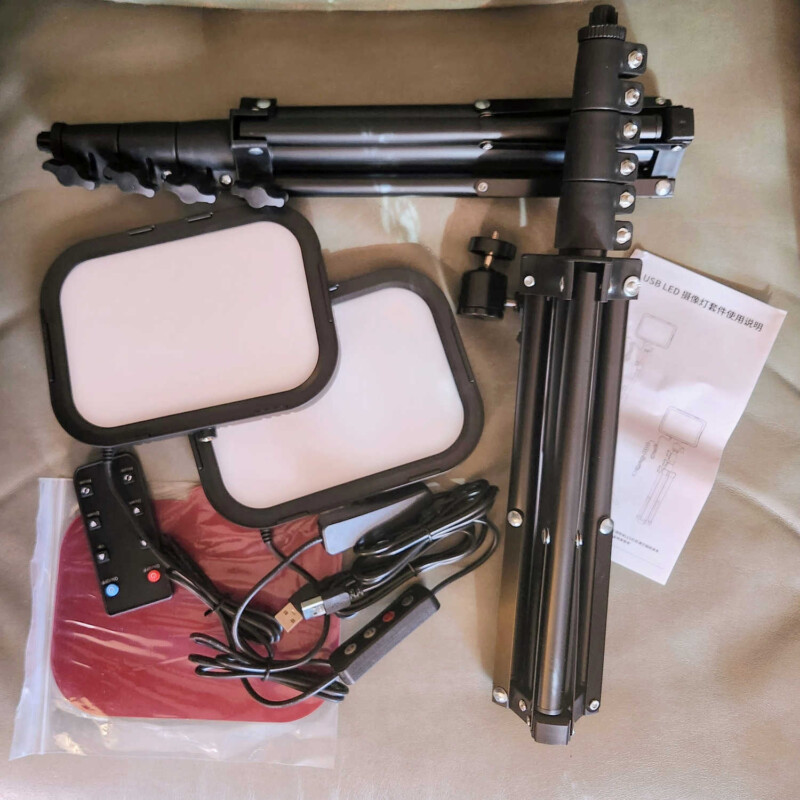
You can see the lights in the box and after they were assembled with the power banks attached below. You can learn more about the Apexel APL-FL19 USB LED Video Light Kit on their website.
Color Accuracy
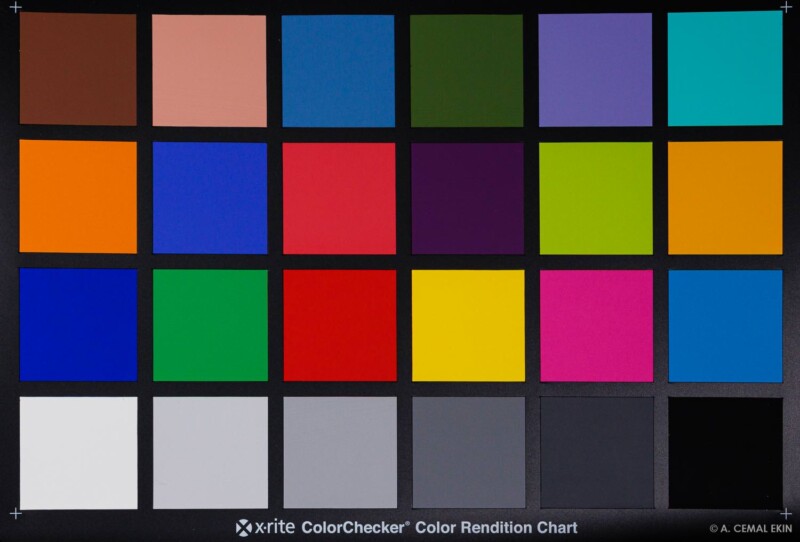
The Apexel USB LED Video Light Kit has several modes with different light tints. Additionally, they come with slide-in color gels if you like strong color effects. For my initial testing, I was more interested in the light’s ability to render daylight-balanced illumination. To test that, I set it to daylight mode by eyeballing since there is no indication on the back of the light what it is set at. It is not hard to see when the light is the whitest. Then, I put the camera to “Daylight White Balance” and took a picture of an Xrite ColorChecker.
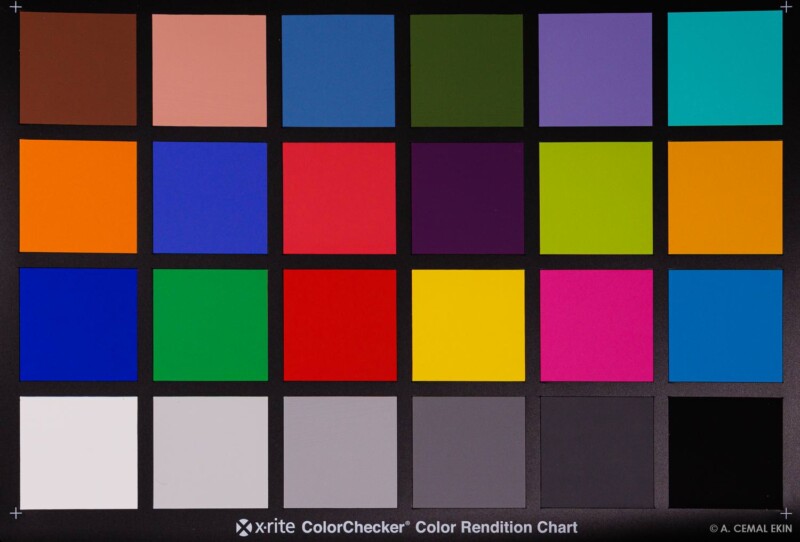
The result looked quite good, and I set the camera to Auto White Balance and took another frame. Although there was a difference between the two, it would have been hard to assess if I did not know the settings. My visual observation and checking the evenness of the third square from the left on the bottom row indicates an almost perfect white balance. The camera set on Daylight White Balance yielded slightly warmer results. See for yourself.
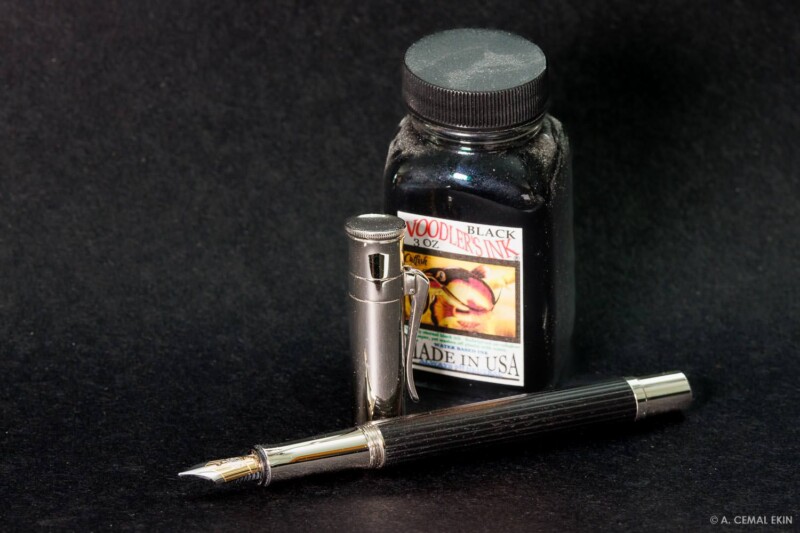
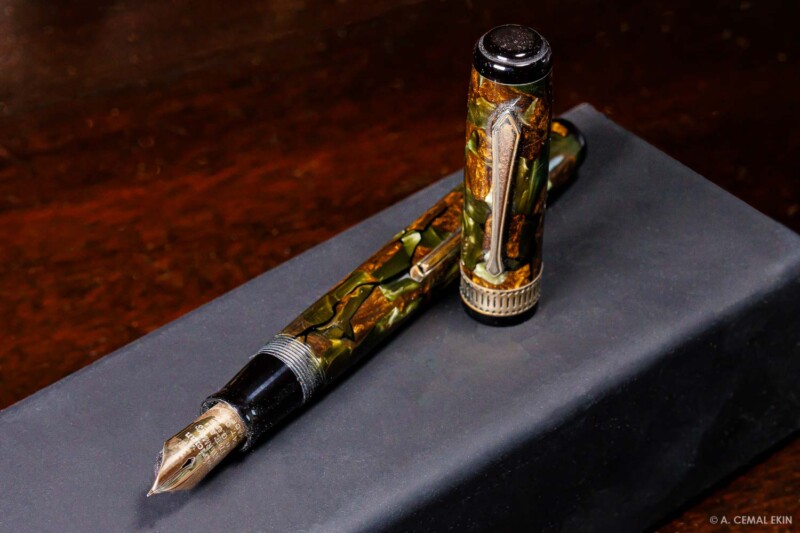
Quality of Light
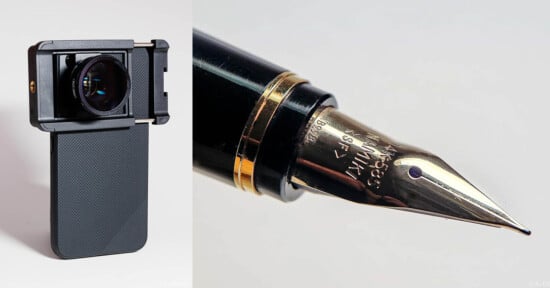
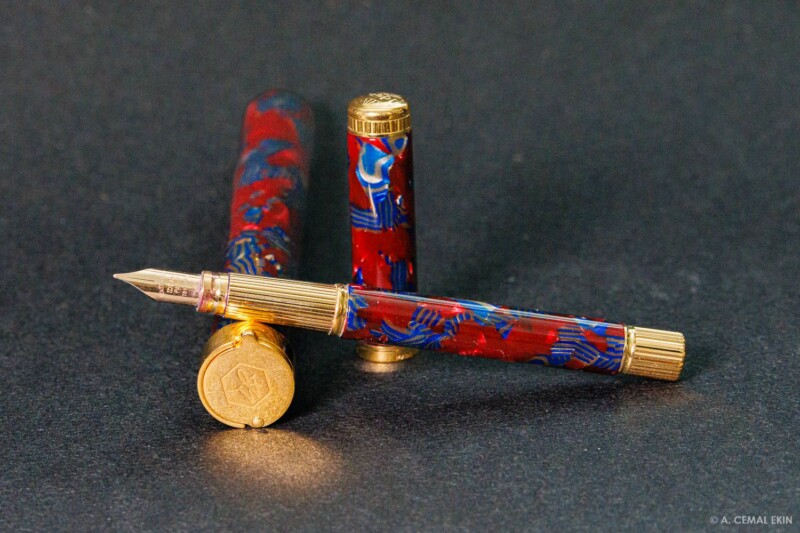
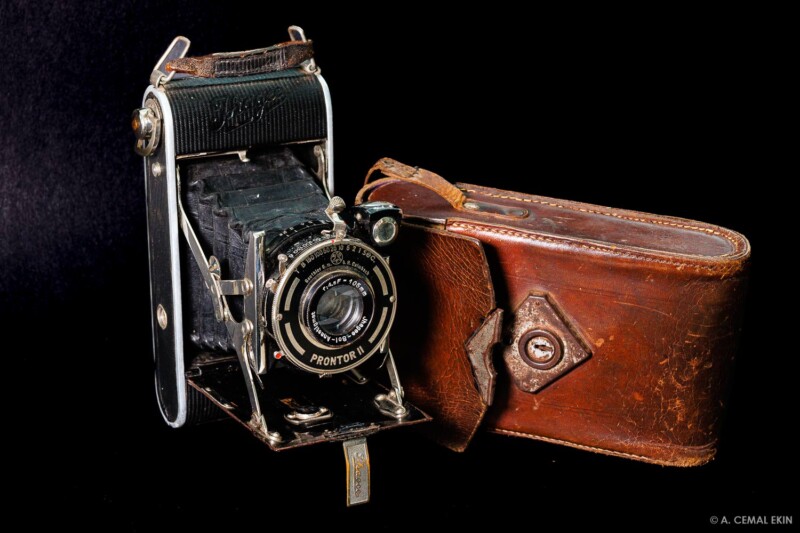
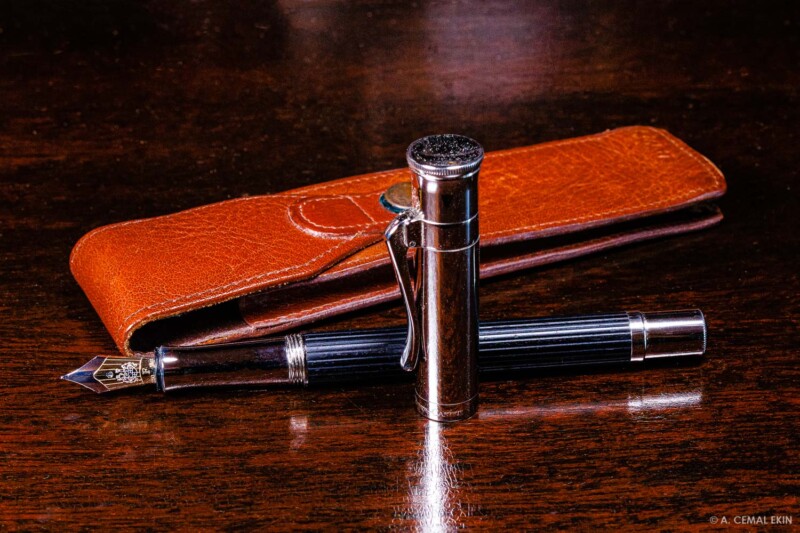
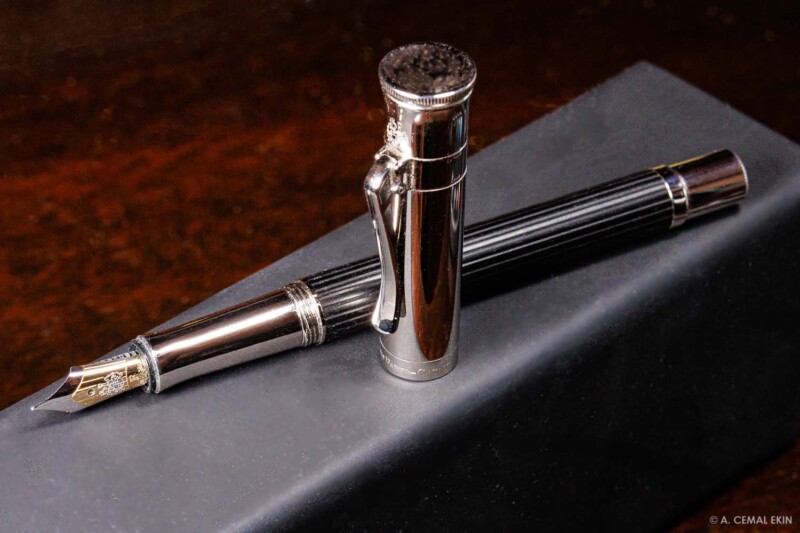
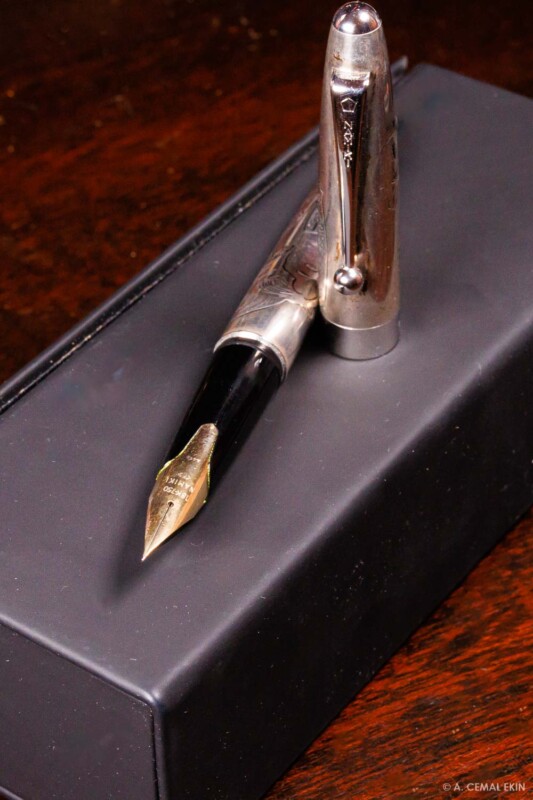
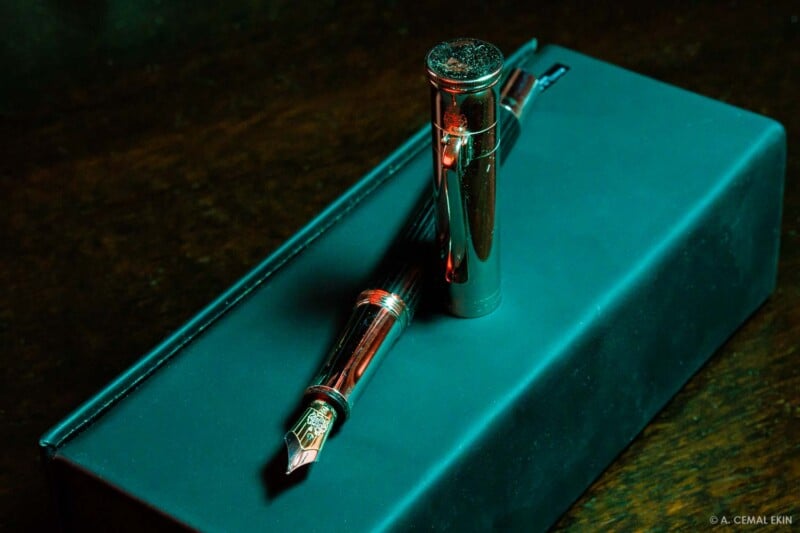
The Apexel lights have a soft diffuser built-in and render pleasant soft light on subjects. I did not use any other light modifier in front of the lights. The shadows are gentle and soft. The objects also show smooth lighting on them. I used highly reflective objects to push the lights a little, and they rose to the occasion. Yes, I tamed the highlights a little in Lightroom to render the pen nib to show its writing, but overall, the adjustments are minimal.
I was having problems with my Canon R7 kit when I took the first set of photographs. I picked the sharpest images and gently tweaked the sharpness to make them presentable. I had more in this group but eliminated some after adding the second set with my newly replaced R7.
A New Collection
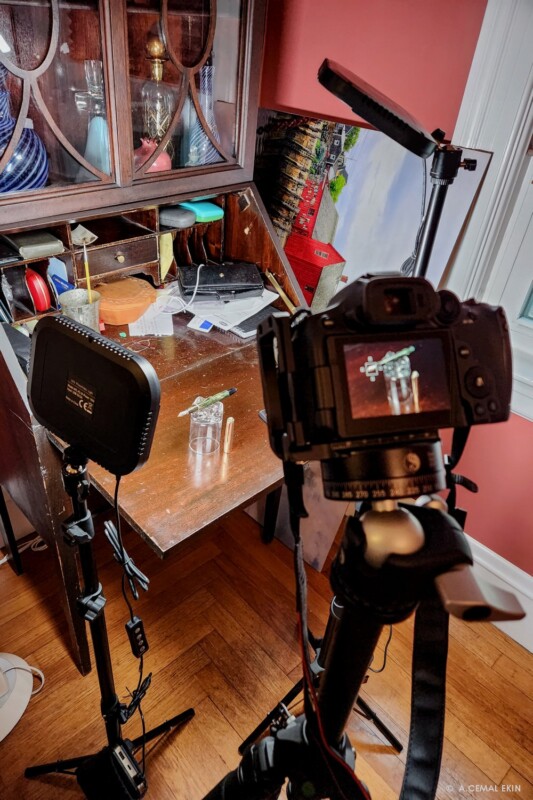
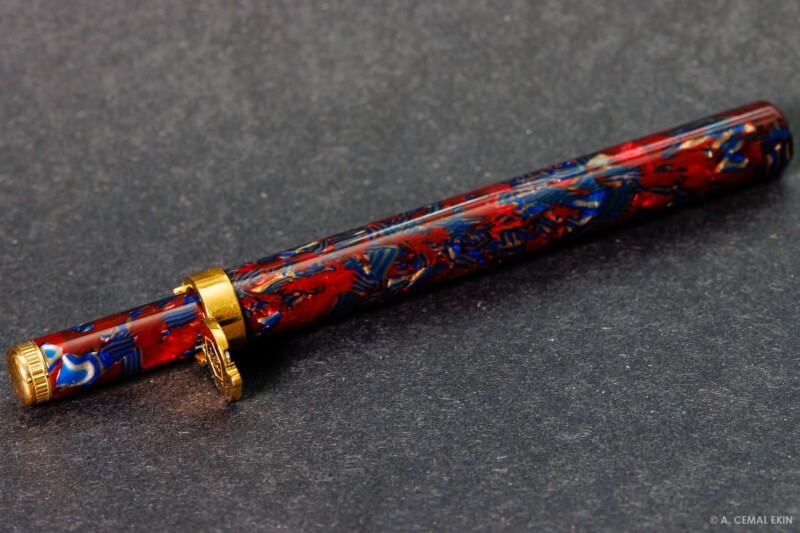
Since I resolved my Canon camera issues by getting a new R7 kit replacement for my and Jan’s old ones, I thought I would shoot a few new ones using the new gear. I used Dennis’s suggestion of putting the power banks in small bags and hanging them on the light stands. Luckily, he has also provided two bags for that purpose too!
I used the drop-down desk for its old wood surface and took a quick snap of the setup with my phone to show the lights and camera in action. The results with the new camera are remarkably different from the first bunch above and show the qualities of the lights even better as well. Here they are.
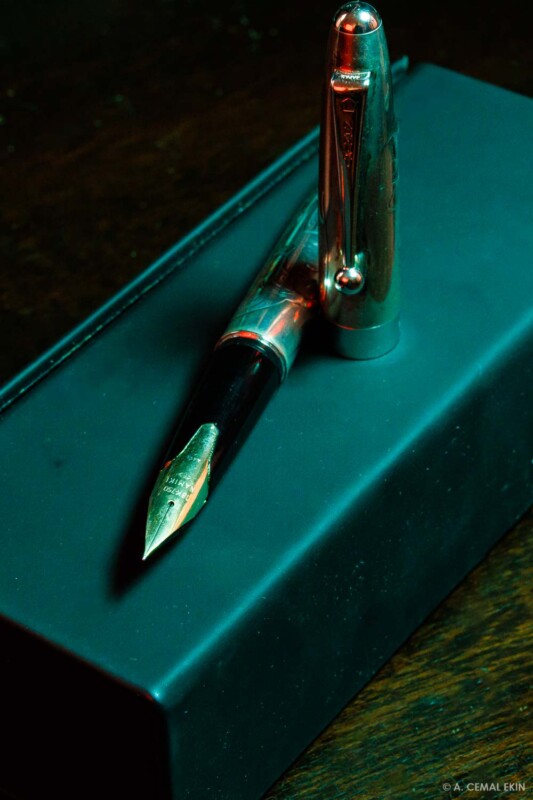
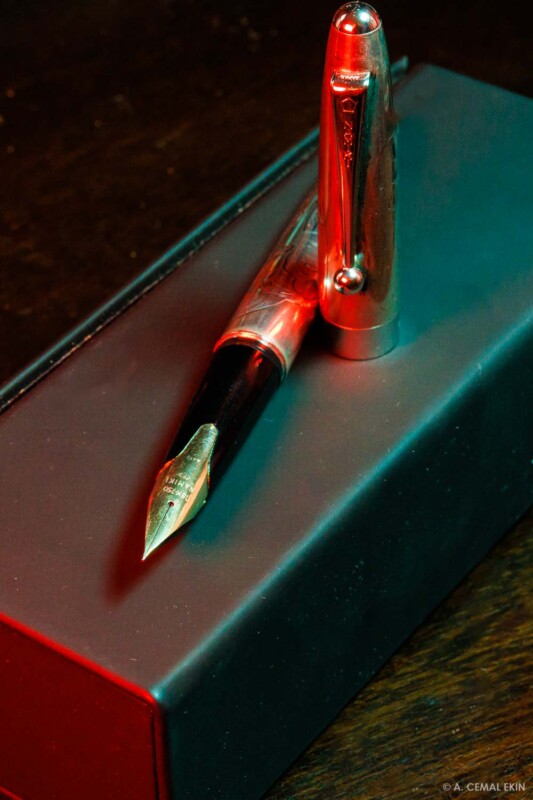
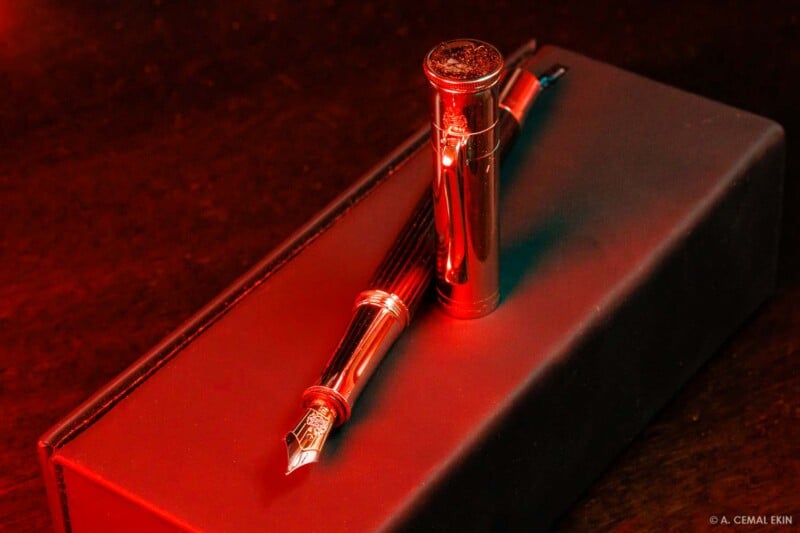
Color Gel Inserts for Effects
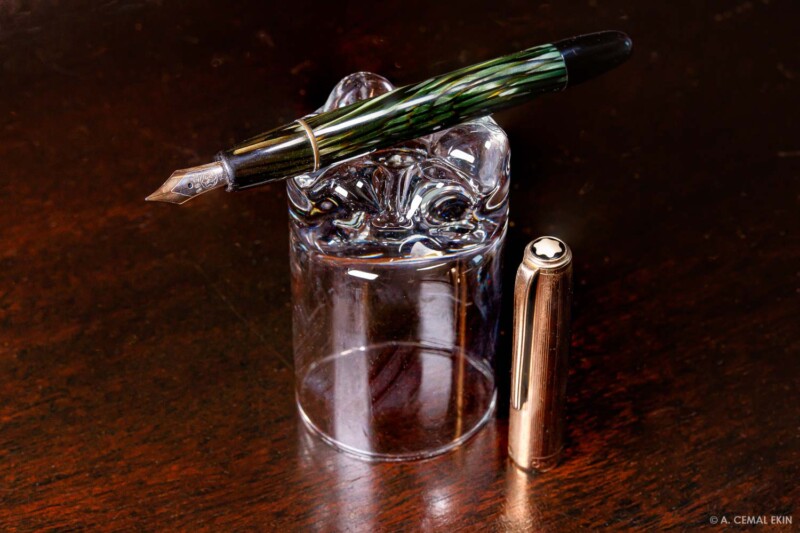
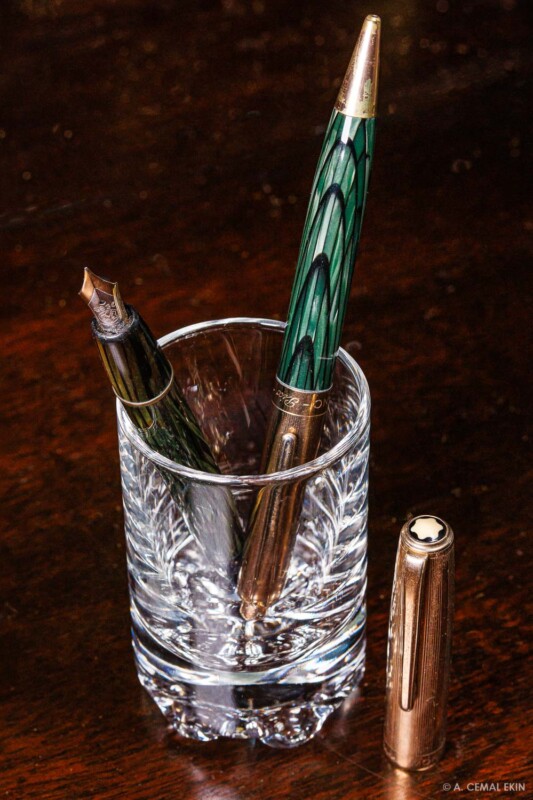
The included red, green, and blue gels can be inserted into the grooves in front of the light panels for different effects. I did a brief experiment with red and green gels on a couple of pens. It may or may not be your, or my cup of tea, but here are the results of using a varied mix of lights with colored gels. They are there if you want them.

Conclusion
Although Apexel markets it for video applications, they are highly suitable for tabletop photography. I have not tried portraits with the two-light kit. But they may be a bit on the small side unless used near the subjects.
- At its current price of $39.98, this two-light kit is a highly affordable and capable addition to your lighting setup.
- The light panels sit on three-level expandable light stands, and the ball head is easy to use.
- You can easily mount them on your more elaborate light stands using the two female screw sockets on two edges of the lights.
- Each light panel provides ample soft light on the subject yielding gentle shadows.
- The ball heads allow the positioning of the lights at suitable angles.
- Although I took a sample or two photographs with the colored gels to show their effect, those into experimenting with color will have fun with them.
- Adjusting the color and intensity is very simple with the inline or remote controls.
- I would welcome an indicator of the color setting and the intensity of the light on the back of the panels.
About the author: A. Cemal Ekin is a photographer based in Warwick, Rhode Island who has been shooting for roughly 60 years. The opinions expressed in this article are solely those of the author. Ekin retired as a professor of marketing emeritus from Providence College in 2012 after 36 years of service there. Visit his website here. This article was also published here.