Camera Metering Modes Explained
One of the many features modern cameras have is a selection of modes for metering exposure. These allow you to choose how the camera measures the brightness of the subject or scene in order to automatically adjust camera settings for optimal exposure.
Table of Contents
What is Exposure Metering?
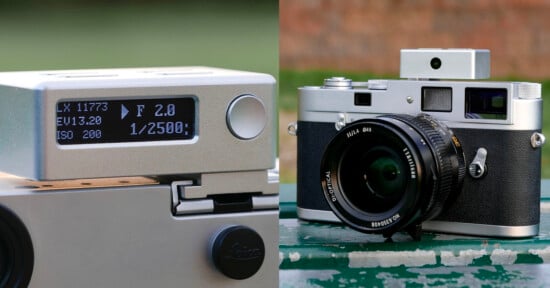
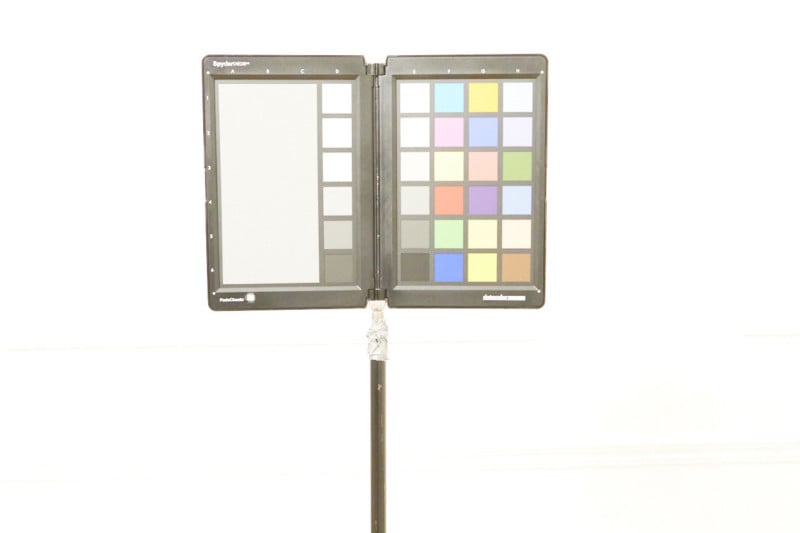
Metering is simply the camera’s process of checking the amount of reflected light in the scene and calculating the appropriate exposure settings (i.e. shutter speed, aperture, and/or ISO sensitivity) based on that information. Your camera will reference 18% reflectivity of a particular gray (AKA “middle gray”) as a normal exposure, and it will attempt to adjust exposure settings in a way such that the resulting photo will reflect this normal exposure.
While this tactic works well for a wide range of everyday subjects and scenes, there are sometimes situations in which this strategy does not deliver hoped-for results. For example, snowy scenes are notoriously tricky for the autoexposure systems on cameras to figure out — a photo of snow will generally be underexposed by a camera because it will attempt to reduce the white values of the snow to match middle gray. Likewise, a scene that is overwhelmingly black may be overexposed due to the camera trying to increase the black values to middle gray.
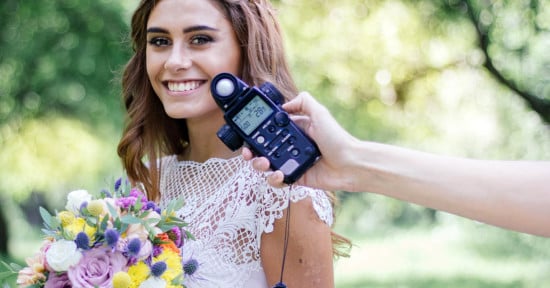
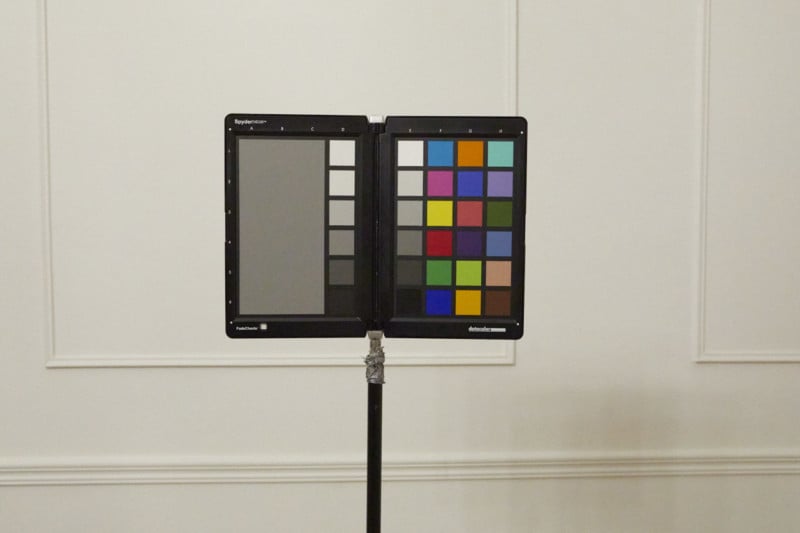
A gray card is a photographic accessory that can help photographers achieve proper exposure even when dealing with difficult lighting. It can help photographers create identically exposed images for composites, focus stacking, and other applications where several images need to be merged.
Due to the wide range of subjects and scenes a photographer may encounter, there are different ways a camera can use this standard exposure metering strategy to evaluate a scene. This is why metering modes exist. Each one tells the camera how and where it should take the reading of 18% grey from.
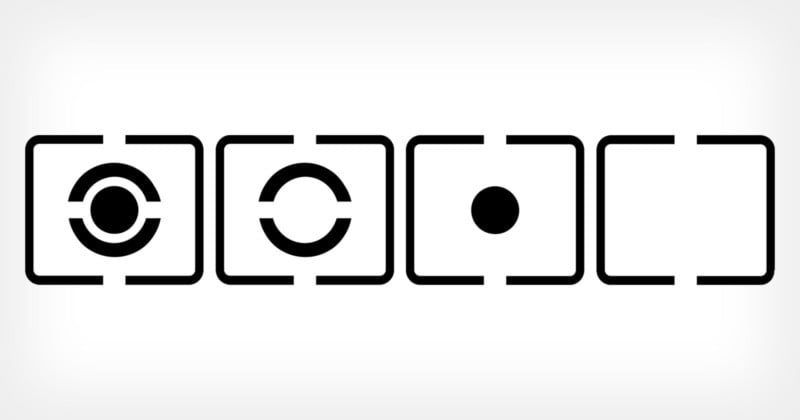
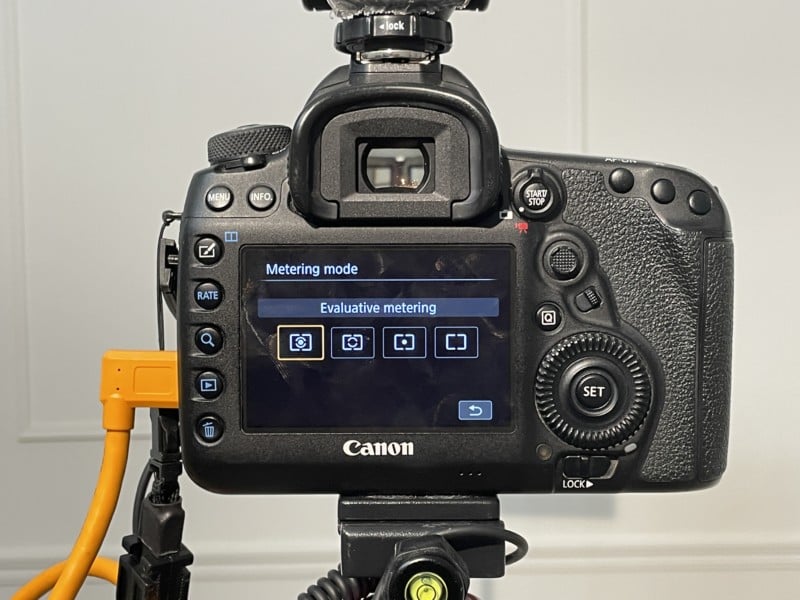
There are typically three primary metering modes found in cameras: evaluative, center-weighted, and spot. Depending on the camera brand, one may encounter other names and metering modes, including matrix, partial, highlight-weighted, multi-pattern, and entire screen average metering.
Let’s go through the options out there mode-by-mode and see what they do.
Evaluative Metering
![]()
Evaluative metering (known as Matrix metering on Nikon cameras and Multi-pattern on Sony cameras) is most popular among beginning photographers because it is the one-size-fits-most approach. What this mode does is divide the scene into a lot of squares and evaluate each of them for the presence of 18% grey (and sometimes other factors, such as color).
Rather than give all pieces equal importance, the camera slightly prioritizes the area that the autofocus is set to when calculating exposure settings in hopes of properly exposing the intended subject. The weighted average of the squares is what the camera uses for its exposure determination.
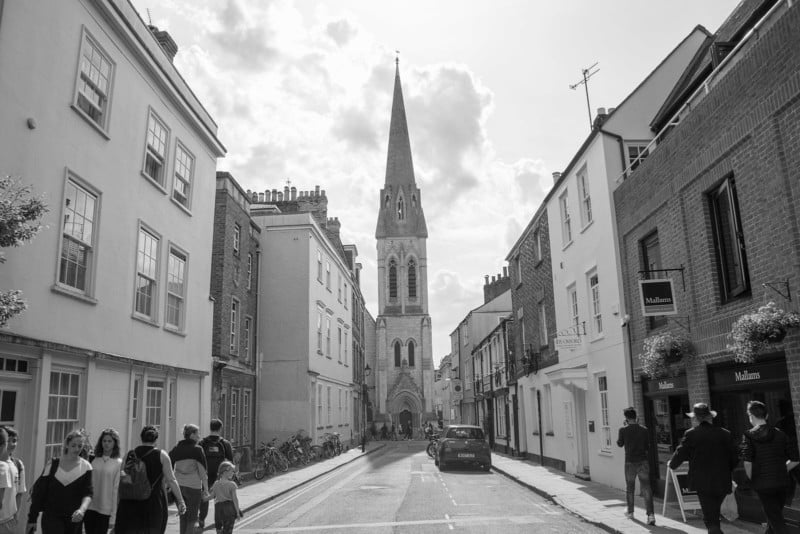
Evaluative metering is a good default option because it can be really used for most scenes and genres: anything from wildlife to portraits to landscapes to fashion. It aims to achieve a good balance between the light and dark portions of the scene.
Evaluative metering may not be appropriate in scenes with unusual lighting where the environment is overwhelmingly light or dark.
Center-Weighted Metering
![]()
Center-weighted metering mode is great for photos in which your subject is in or near the center of the frame, as this is the region the camera will base its exposure setting calculations on. It will disregard the level of grey on the edges and only take into consideration the tones in the center.
For example, if one is shooting a concert image where the surroundings are mostly black but the center is bright, this mode will help properly expose the performers on stage while evaluative may overexpose the scene.
It can also be a great option for portrait photoshoots.

Be aware that this mode is weighted towards a region in the center of the frame and is not for precisely metering based on a specific point in the scene.
Spot Metering
![]()
Spot metering is for precisely calculating proper exposure based on only the tiny area of the selected focus point. How precise may vary depending on the camera being used, but it often takes only 1.5% to 2.5% of the scene into account.
This will likely be the mode you would use for photographing the bright moon on a dark cloud-free night or a dark bush in a snowy landscape. It will meter only your small subject and ignore the rest of the scene that would cause underexposures or overexposures in broader metering modes.
Spot metering pairs well with the auto-exposure lock feature/button on cameras, which freezes exposure settings. A photographer can point a focus point at a specific location to meter from and lock in those exposure settings before recomposing for the desired composition.
Partial Metering
![]()
Partial metering, found on Canon cameras, is very similar to spot metering except it measures a slightly larger area (e.g. 6.5% of the scene around the focus point versus 2.5%).
A good application for partial metering is wildlife and nature photography, where the subject will occupy much of the frame and when the background is a lot brighter or darker than the subject.

The choice between spot and partial metering generally comes down to the relative size of your subject in the entire frame.
Highlight-Weighted Metering
Found on Nikon cameras, highlight-weighted metering will give the greatest priority to highlights in the frame to make sure those areas are not blown out.
It is a perfect solution for high-contrast images or when the photographer wants to preserve as much detail as possible in highlights, such as with performers on a stage lit by a spotlight.
Entire Screen Average Metering
Found on Sony cameras, entire screen average metering is like evaluative metering in that it will take the average of the whole scene, but it won’t prioritize any area around the focus point.
The advantage of this metering mode is that it allows you to keep exposure settings between frames exactly the same even if the subject moves or if the composition changes (without affecting the overall average of the scene).
Metering Mode is Only a Starting Point
With modern cameras having a crazy dynamic range, it may be reasonable to argue that the metering mode is less important than before because of how much easier it is to achieve a good final photo from a poorly exposed one by recovering shadow and highlight details during post-processing. While that may have some truth to it, it is still a good idea to initially get a photo’s exposure as “correct” as possible both to save editing time and to reduce the risk of clipping (overexposing or underexposing a photo to the point where detail is lost in the highlights and shadows, respectively).
If a photographer is shooting in manual mode, metering mode no longer determines the resulting exposure — the photographer is responsible for adjusting shutter speed, aperture, and ISO sensitivity while trying to achieve an exposure based on either what the in-camera light meter says or on the particular look desired.
In addition to selecting a certain metering mode for a tricky scene, photographers also have exposure compensation as a tool for arriving at proper exposure. For example, when shooting an overwhelmingly white or black scene, a photographer may increase or decrease the final exposure, respectively, using the camera’s exposure compensation feature in order to “correct” the camera’s flawed measurement based on 18% gray.
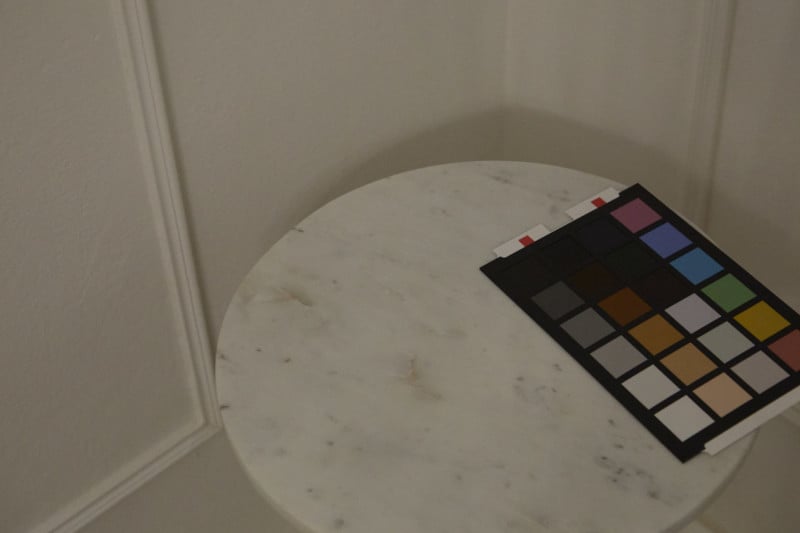
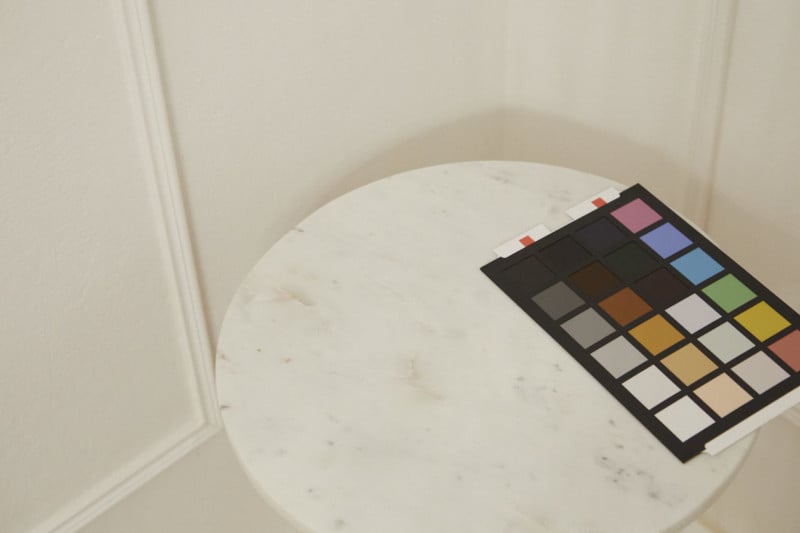
Here is an example based on a white-on-white scene:
Here is an example based on a black-on-black scene:
Conclusion
A photographer should have a good grasp not only of how to use different metering modes but also how to achieve the desired results when the camera’s exposure metering runs into limitations. As with many topics in photography, a great way to become familiar with each mode is to try it out in different environments to see how they perform.
Just to summarize, different metering modes give the photographer different degrees of control. One way to figure out which metering mode is best is by asking if there is a lot of imbalance between white and blacks in the scene being photographed.
For evenly balanced scenes, evaluative metering gives the camera almost all control in determining the best exposure settings. When there is an imbalance and photographer input is needed, use spot metering to specifically choose which point in the scene to calculate exposure based on. Other modes such as partial or center-weighted offer a good middle ground between camera and photographer control.