My Color Grading Workflow for Raw Landscape Photos in LR and ACR
Color grading is a vital part of creating an eye-catching image, especially if you’re shooting raw. There are many ways to tackle it, of course, but in this 12-minute video and article, I want to show my personal Lightroom color grading process from start to finish.
Step 1: Camera Profile & White Balance
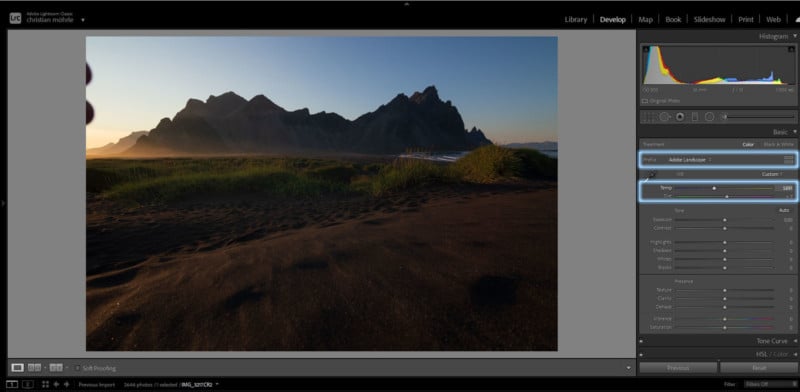
The very first thing I usually do is to change the used camera profile. For more base saturation, I’m choosing the Adobe Landscape profile, while if I want to just slightly brighten up the darkest parts of the image, I’m going for the Adobe Standard profile.
Next, I go on to adjusting the white balance. For sunsets, I love adding more temperature which results in an overall warmer image. Sometimes it might be hard to decide what exactly you want to achieve. In this case, it might help to first turn up the vibrance and saturation all the way and then adjust the white balance, to get a better feeling for the colors of the photo. Once done, turn down the vibrance and saturation again.
Step 2: Balancing the Exposure
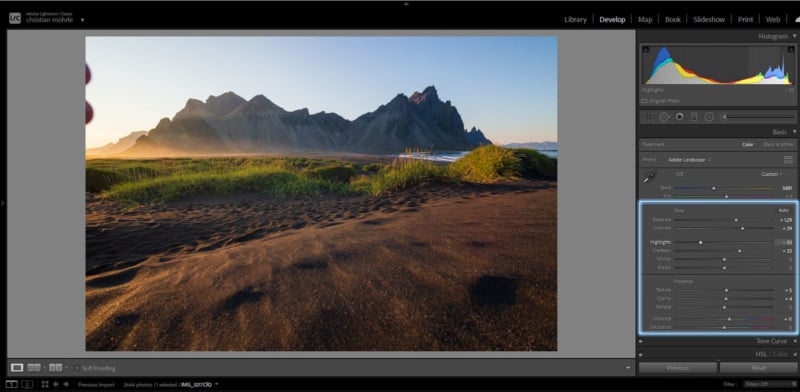
Before I can continue the color grading, I balance the exposure of the photo to get a better idea of which color themes work, and which don’t. For this scene, I dropped the highlights, raised the shadows, added a bit of exposure, and finally added some contrast. After adjusting those things, the photo still felt a little gloomy, so I added vibrance for “friendlier” colors.
Step 3: Local Adjustments
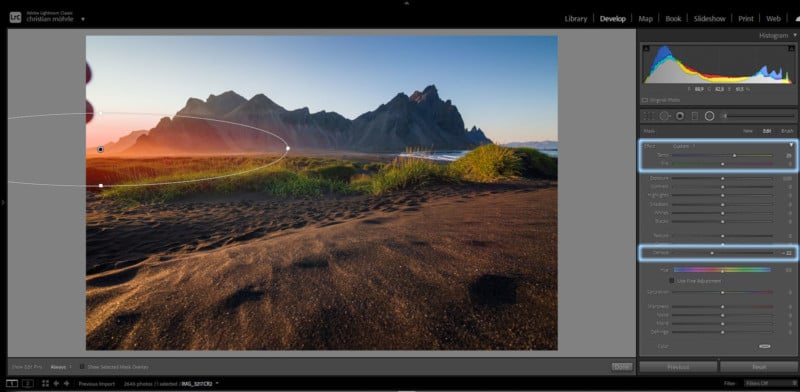
Of course, local adjustments are another vital part of the exposure-balancing process. For this photo, I wanted to make the sky just a bit darker. With a cloudless sky like this, it is super easy to do using graduated filters. I added one over the sky, roughly overlapping the mountains. However, to not change the brightness of the mountain peaks, I used a luminance range mask and specifically targeted the bright sky. Once that was set up, I simply dropped the exposure, which also gave me some more blue tones in the sky.
On the left side, there is very strong and beautiful golden hour light with a bit of fog. With the use of a radial filter, my goal was to add a little more fog and make the golden colors just a bit stronger. Adding more fog is actually very easy, just carefully decrease the dehaze amount. This adds fog, but also, we lose saturation, and it will make the area brighter. To counter the lost colors, I simply increased the white balance temperature inside of that radial filter.
Step 4: Tone Curve
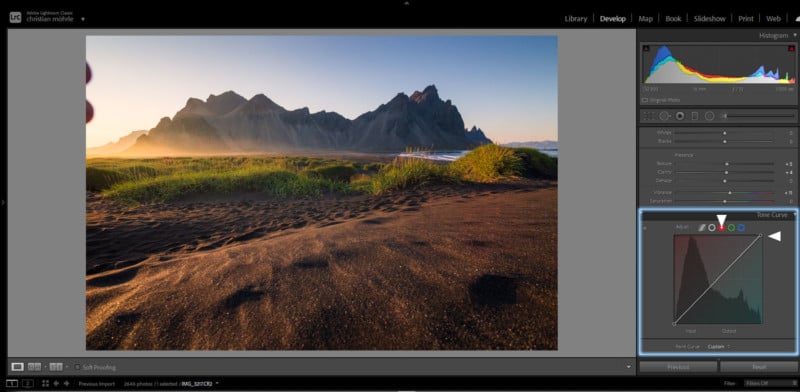
At this point comes my favorite part: the main color grading. For sunsets or sunrises, I love to add some more red/yellow tones using the tone curve. In the red channel, I very carefully drag the point for the highlights to the left (adding red tones) while in the blue channel I drag the point for the highlights straight down (adding yellow tones).
Step 5: HSL Adjustments
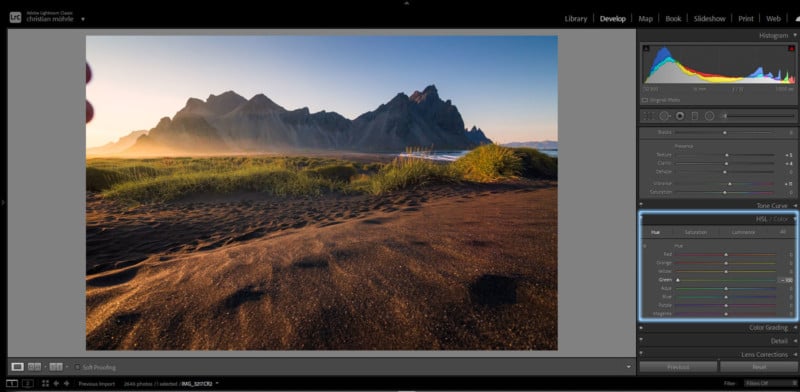
Further adjustments are made in the HSL panel. First, I take a close look at which colors might be distracting and how I can fix that. In this case, the green tones in the center were a bit too much for my taste. In the hue tab, I dropped the green hue all the way down. This gave the grass in the center a more yellow-ish look and makes everything look much more harmonic. Then, in the saturation tab, I boosted the orange and blue tones slightly. Finally, in the luminance tab, I dropped the blue luminance for a darker sky and increased the greens for slightly brighter grass.
Step 6: Split Toning
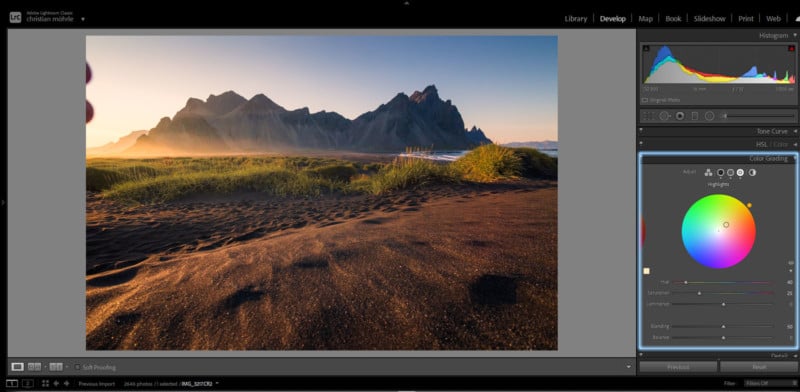
One of the more impactful changes comes in the color grading panel (split toning). For sunsets or sunrises using a warm tone for the highlights and mid-tones of the photo makes a huge difference. Boosting the saturation of those gives you very intense colors. Of course, this might not be for everyone as at this point it gets very vibrant. You can balance this a little more by giving the shadows a cold color tone.
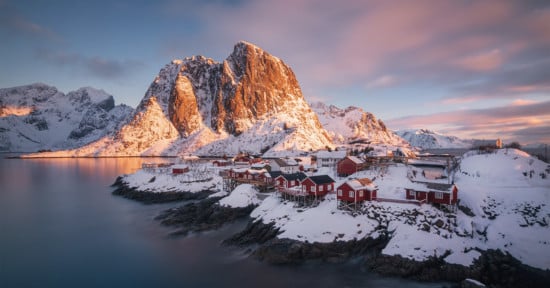
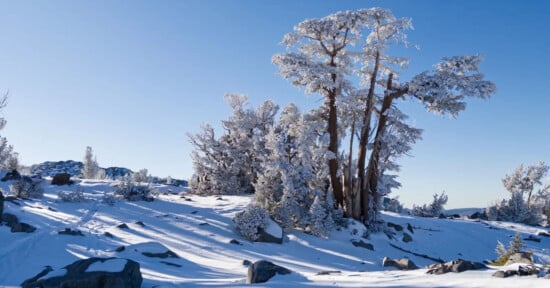
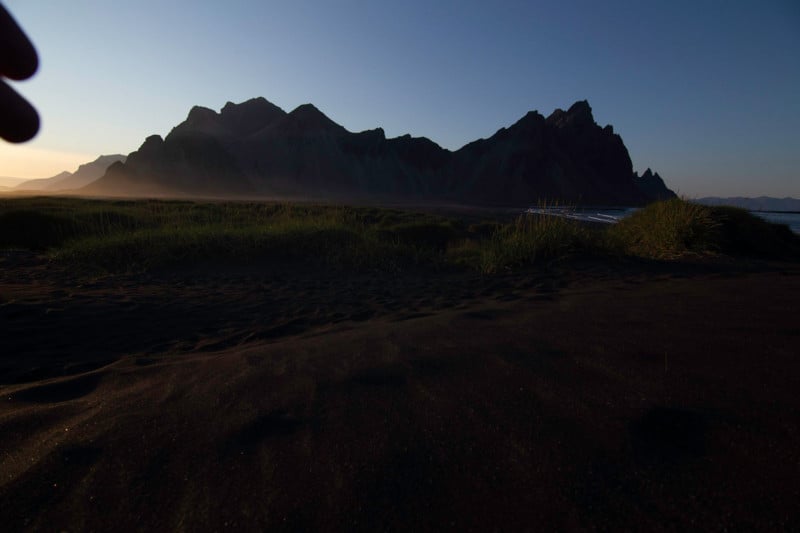
Here’s was the photo looked like before editing:
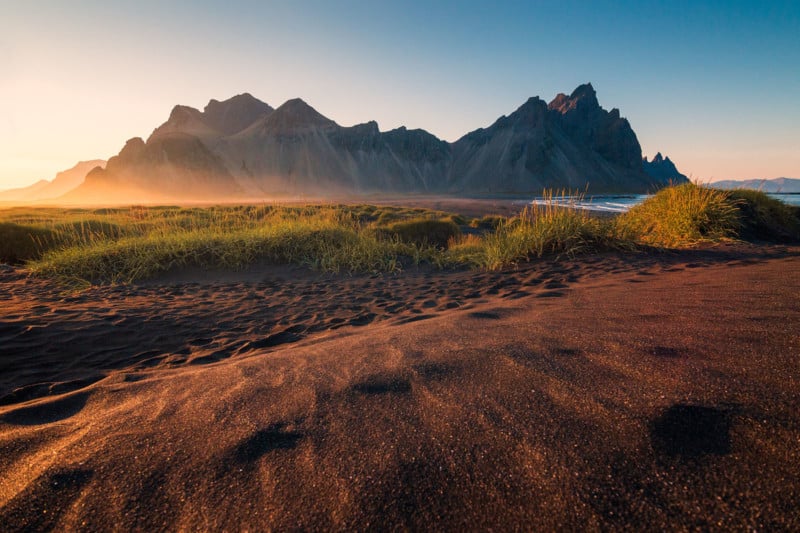
Here’s the finished photo after editing:
I hope you found this walkthrough helpful for your own post-processing and photography!
About the author: Christian Möhrle is a professional landscape photographer who has been capturing photos since 2010. Besides photography, he works as a media and motion designer for a living. For more, you can see additional videos on his YouTube Channel as well as his Instagram.