Golden Hour: When Sunlight is Warm and Photos are Magical
If you’ve been outside during a nice sunrise or sunset, chances are good you’ve heard the term “golden hour.” It’s one of the best times to do many types of photography and a beautiful time to be outside. This guide will help you understand golden hour, when it happens, and how to make the most of it through various types of photography.
Table of Contents
What is Golden Hour?
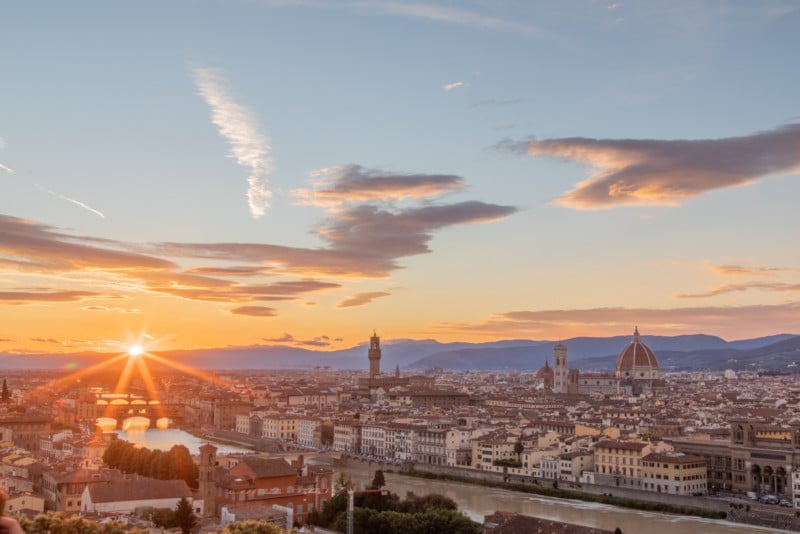
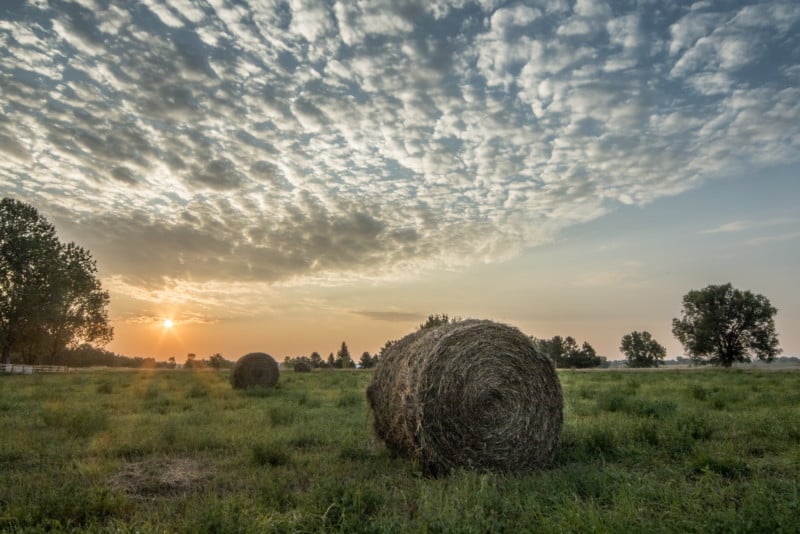
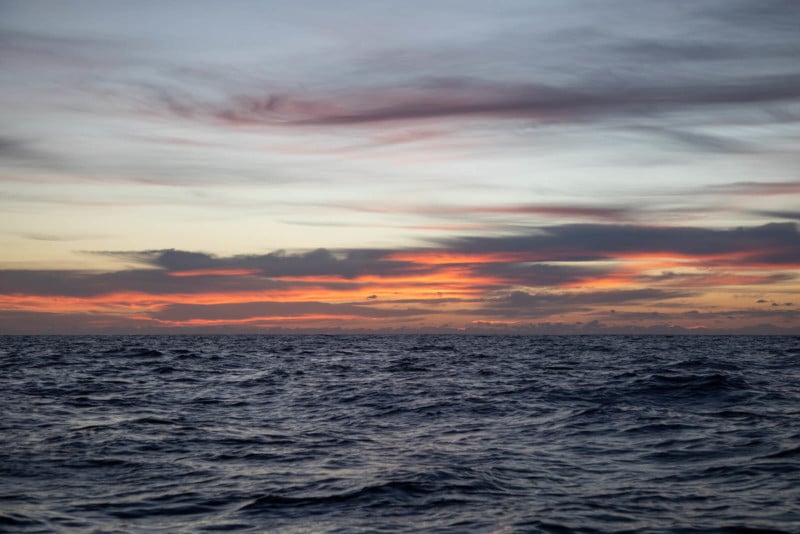
Golden hour, or magic hour, is the period of time after sunrise and before sunset when the sun is low enough in the sky to cast a soft, warm light. This is opposed to other times in the day when sunlight is more harsh and less colorful. Sunlight appears gold, orange, and red during this time, hence the name “golden” hour.
On a more technical level, light is less harsh during golden hour because the sun is low in the sky, which forces light to travel through more of the atmosphere before it reaches Earth’s surface. Since a straight line is the shortest distance to get from point A to point B, sunlight travels through the least amount of atmosphere when the sun is directly above a certain location. Near sunrise and sunset, light has to travel through more of the atmosphere to reach the ground because the sun is at an angle.
The result of this is a natural and predictable form of sunlight diffusion, which enhances the lighting conditions for portrait, landscape, and many other types of photography. During times other than golden hour, the light isn’t scattered as much because it passes through less of the atmosphere. This means that the light is more intense, creating harsh highlights and shadows, as well as difficult conditions for subjects to keep their eyes open for a portrait. On the other hand, the sun’s angle at golden hour scatters more of the light, creating a softer and warmer light.

When is Golden Hour?
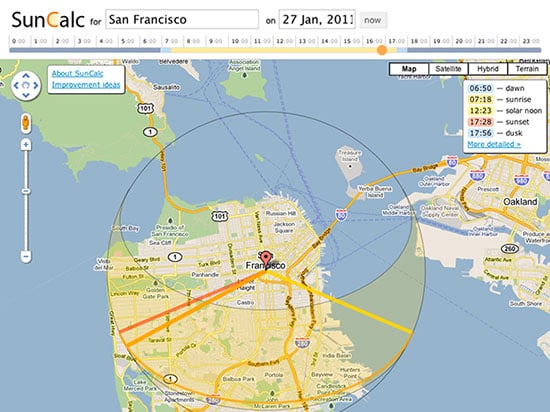
If you just want to generally know when to look for golden hour, it’s about one hour after sunrise and one hour before sunset, when the sun is up but not intense. You can find the sunrise and sunset times for your location by simply searching for them on a search engine. It’s important to note that different locations will have different sunrise and sunset times, so keep that in mind if you’re traveling.
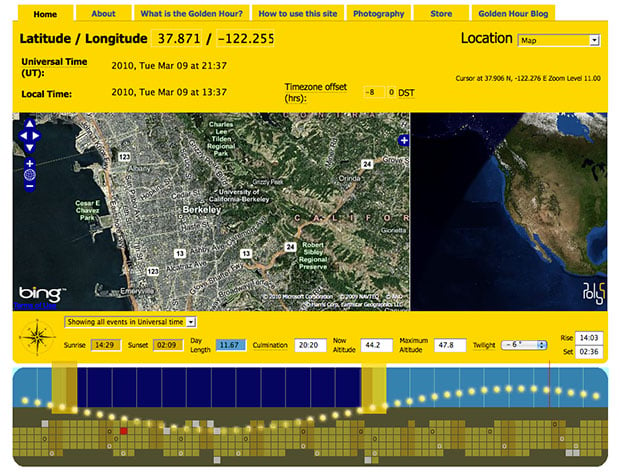
If you’d prefer to have all your info in one place, there are useful photography planning apps, such as PhotoPills and The Photographer’s Ephemeris (also a web app) that will tell you each day’s sunrise and sunset times, as well as the golden hour times that correspond with those.
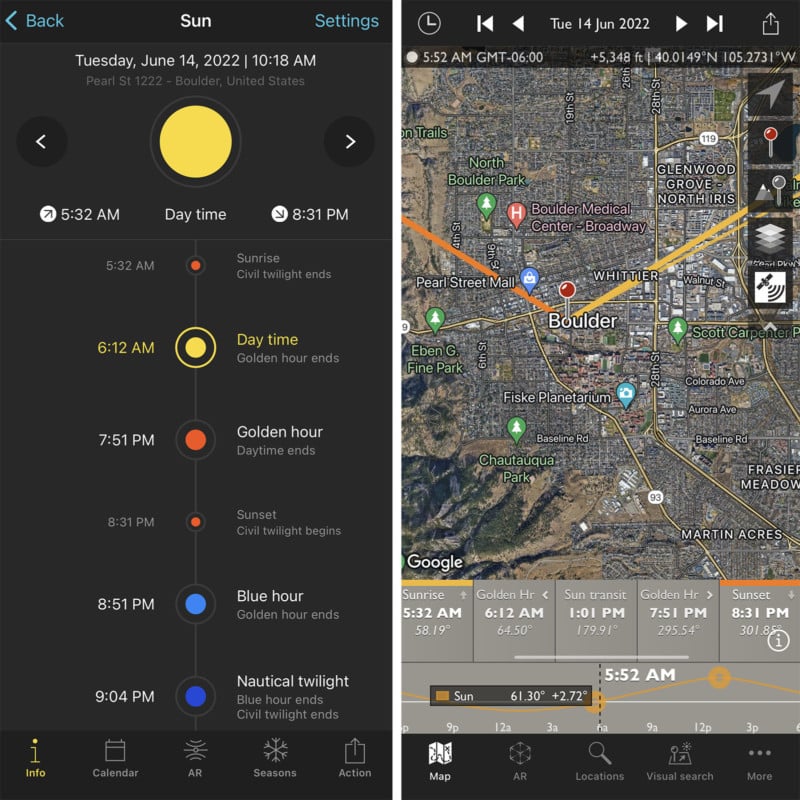
Most apps have golden hour defaulted to 40 minutes after sunrise and before sunset. They will also help you find the position that the sun will be in during those times, as well as a lot more useful information.
Keep in mind that it’s difficult for apps to take obstacles such as hills, trees, and mountains into account. The sun may set behind an obstacle earlier than the tool says the sun will actually set. To double-check, both of the above apps have augmented reality features that allow you to see where the sun and moon will be in your sky at a certain time.
Tips for Photography During Golden Hour
Once you’ve figured out when golden hour is for your location, you’ll need to know how to make the most of it. Here are a few tips for golden hour photography across many different photography genres.
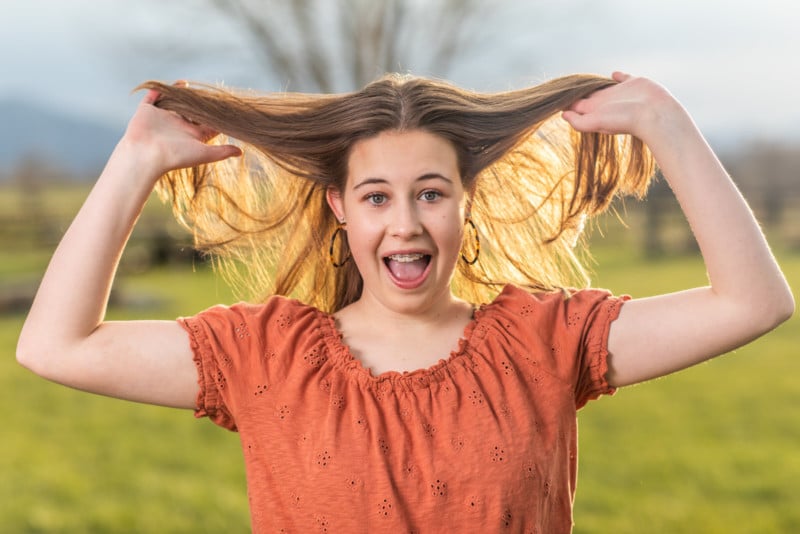
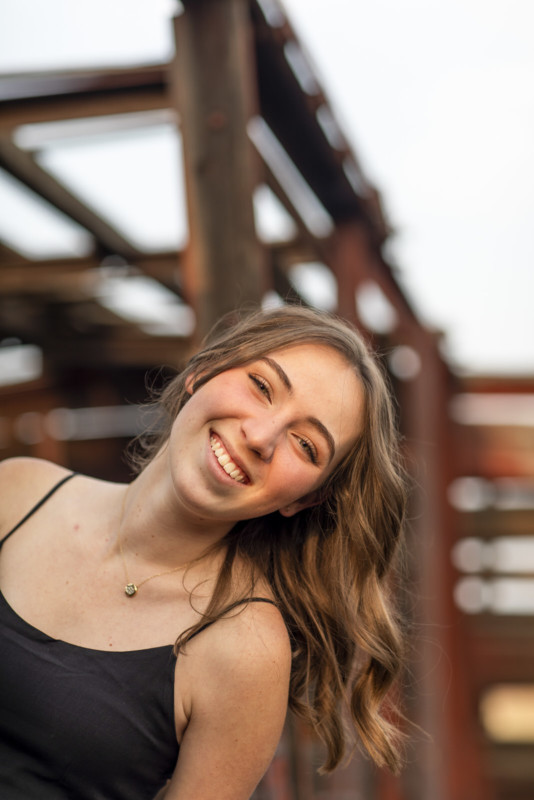
Make use of the sun’s location and angle. Since the sun is low and less intense, it’s easy to include it in your shot. For portrait photography, this might mean positioning the sun behind your subject or off to the side so that the subject is lit from behind. This can help hair pop with color. For landscape photography, this might mean making the sun your subject (just be sure to not look at the sun through your viewfinder, it can damage your eyes).
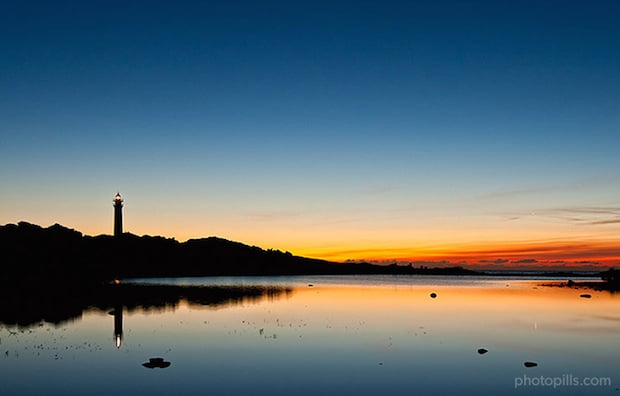
Try a silhouette. Since the sun is low in the sky, you can position a subject, whether it is a person or something else, in front of the sun and darken your exposure. This will create a silhouette, with the subject dark against a well-exposed golden sky.
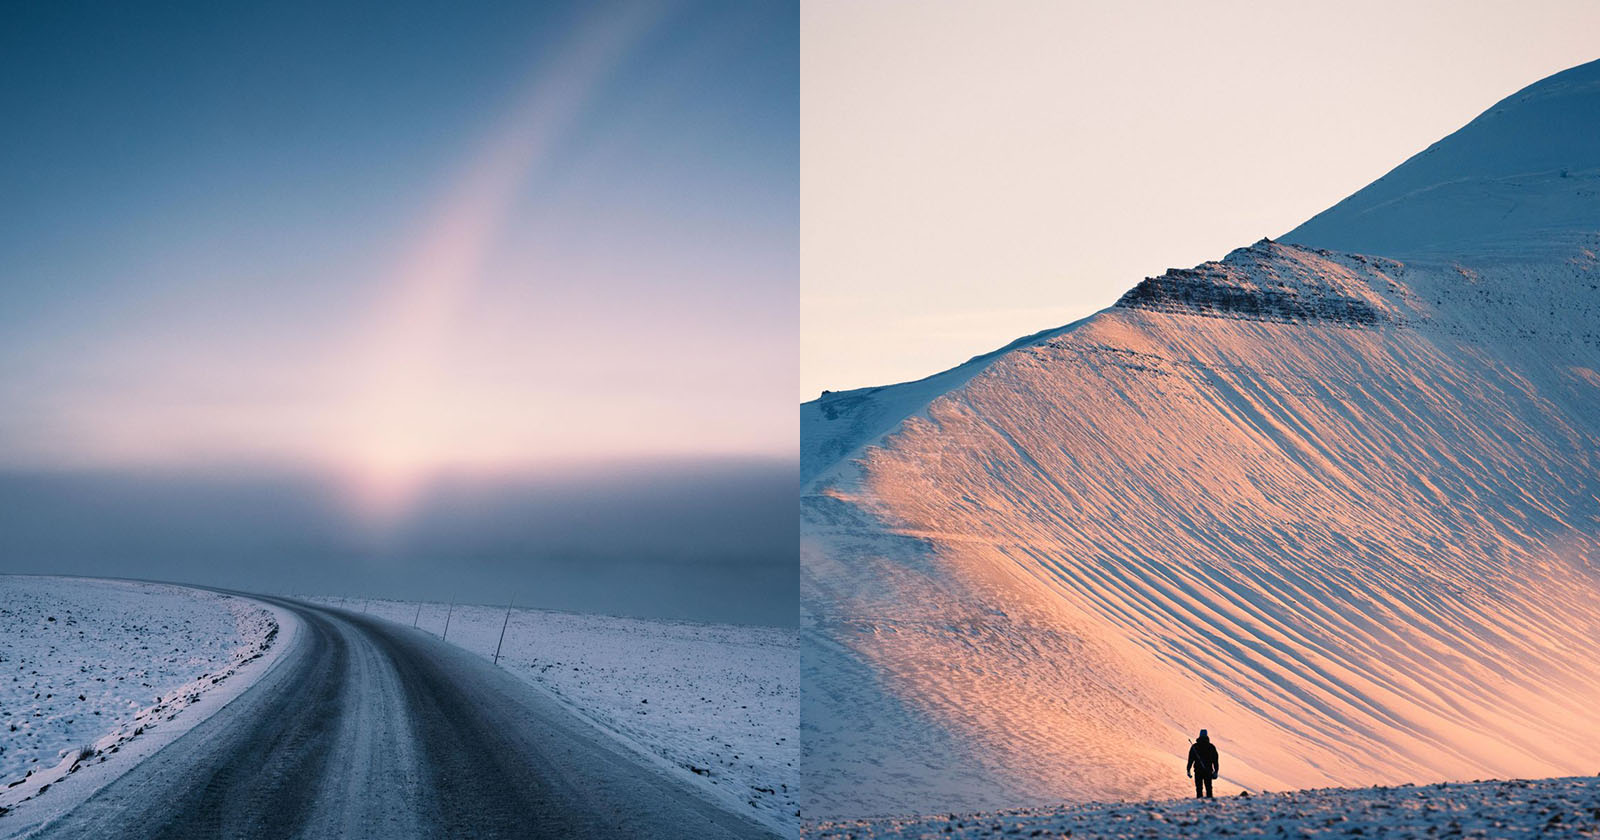
Play with shadows. Golden hour creates long, playful shadows. These can be fun to photograph on their own or with a subject.
Use a reflector. In portraits, a reflector is a relatively inexpensive tool that is very useful during golden hour. Since the sun is low in the sky, sunlight can easily be reflected back onto your subject, illuminating their face while keeping the softness of the light. This helps your scene’s light become more balanced. Another option to achieve this same effect is to use a flash with a diffuser so that the light still isn’t too harsh.
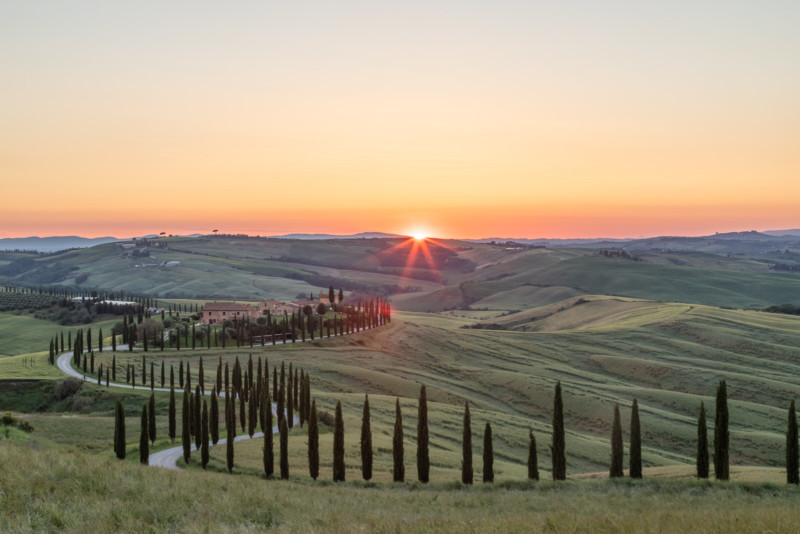
Try making a starburst with the sun. A narrow aperture, such as f/16, will produce a starburst effect using your lens. Try different apertures to experiment with intensity, and make sure to expose the scene so that you can see the details in the burst. Sometimes it is easier to partially block the sun with an object or subject so that the rays shine through.
Learn about HDR. Some cameras can’t capture all of the details of an image if there are parts that are too dark and too bright at the same time. While golden hour light is not harsh, high dynamic range photography can still be useful to capture all of the details in a scene. HDR photos are usually created by taking a few different exposures at different exposure values, and then combining the images to be able to see the detail in the highlights as well as the shadows. This isn’t always desired, but it can create stunning images when done properly.
Remember your timing. If you’re doing a portrait session, make sure that you and your client arrive early enough to your location to take advantage of golden hour. If you’re too late, you will feel rushed to get as many shots as possible while the light is still soft. Know when the sun will set and plan to have more time than necessary.
Check the weather. Golden hour requires the sun to be shining. Otherwise, the light can still be soft, but it is much less colorful when diffused by clouds. If you know you want to utilize the effects of golden hour during your shoot, make sure that the sun won’t be hidden behind clouds.
Tips for Editing Golden Hour Photography
Here are a few general tips to keep in mind when editing your golden hour shots. Editing is ultimately up to your creative eye, but golden hour shots can be even more stunning with a few adjustments.
1. Don’t oversaturate. With the added warmth that comes with golden hour, it’s easy to oversaturate your image.
2. Allow your picture to have warm colors. Golden hour produces naturally warm light, so your entire image will likely be warmer than images during different times. While too much warmth can make your picture look unnatural, expect your picture to be warmer than usual. You can make adjustments (if they’re necessary) to your white balance using a tool like Adobe Lightroom.

3. Golden hour highlights are naturally soft, so be careful about lowering them. Highlights in golden hour photos are usually important in creating a glow that can’t be replicated during other times of the day. If you’re going to lower them, do it minimally.
4. Utilize graduated filters and other more localized adjustments. In golden hour landscape photography, the horizon is often much brighter and more colorful than the rest of the image. Graduated filters in a software such as Lightroom can help evenly adjust certain parts of the image.
5. Adjust contrast to taste. Golden hour is useful because there are fewer harsh highlights and shadows than other times of the day. This allows you to capture contrast where you want it, and adjust it later while editing. You may want a high-contrast photo, with something like a silhouette, or you may want something with less contrast, like a portrait that has soft, even colors and lighting.
Other Lighting Conditions and Considerations
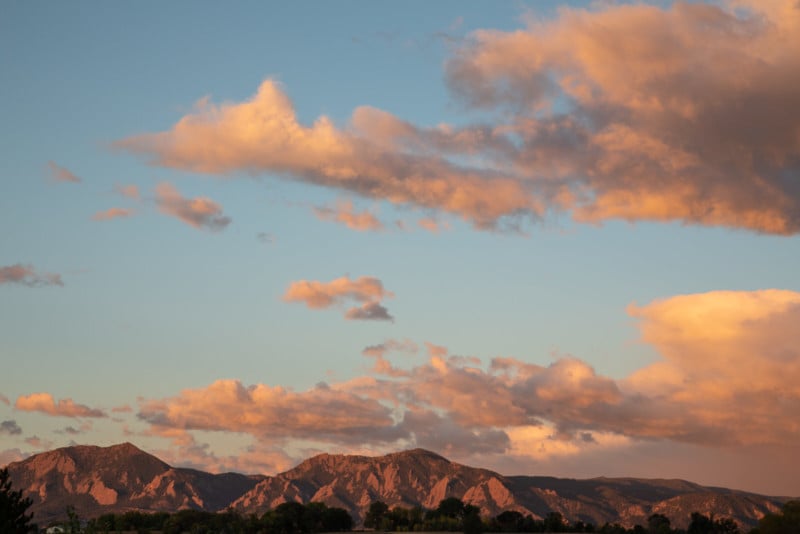
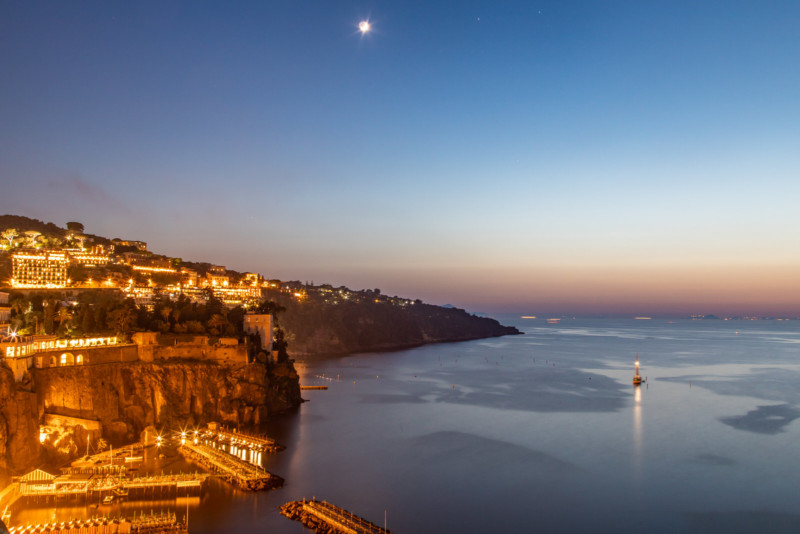
As you saw in PhotoPills, blue hour marks the end of golden hour during sunset (and the end of blue hour marks the start of golden hour during sunrise). This can be equally as interesting as golden hour, where the light is mostly blue and purple before the sky turns dark. Plus, if you’re already shooting golden hour, you may as well take advantage of blue hour.
Blue hour can be balanced with the warm colors that buildings emit to make a diversely-colored cityscape image. It can also be a great time to practice long-exposure photography since there is enough light to see details without it being too bright.
As a final note, golden hour is useful and stunning, but it isn’t the only time that you can enjoy photography. Many types of photography can be done outside of golden hour when the sun isn’t too harsh. In some places around the world, the sun is at an angle for months at a time, so just about any time is suitable for golden-hour-like effects. Clouds will also disperse light more evenly, and while it won’t be golden, a cloudy day is sometimes the best day for photography.
Golden hour has its benefits, such as soft, warm, and colorful light, but it’s not the only time that photography can be done well.
Image creditsAll photographs, unless otherwise noted, by Justin Hein.