Tutorial: How to Properly Dodge and Burn Your Landscape Photos
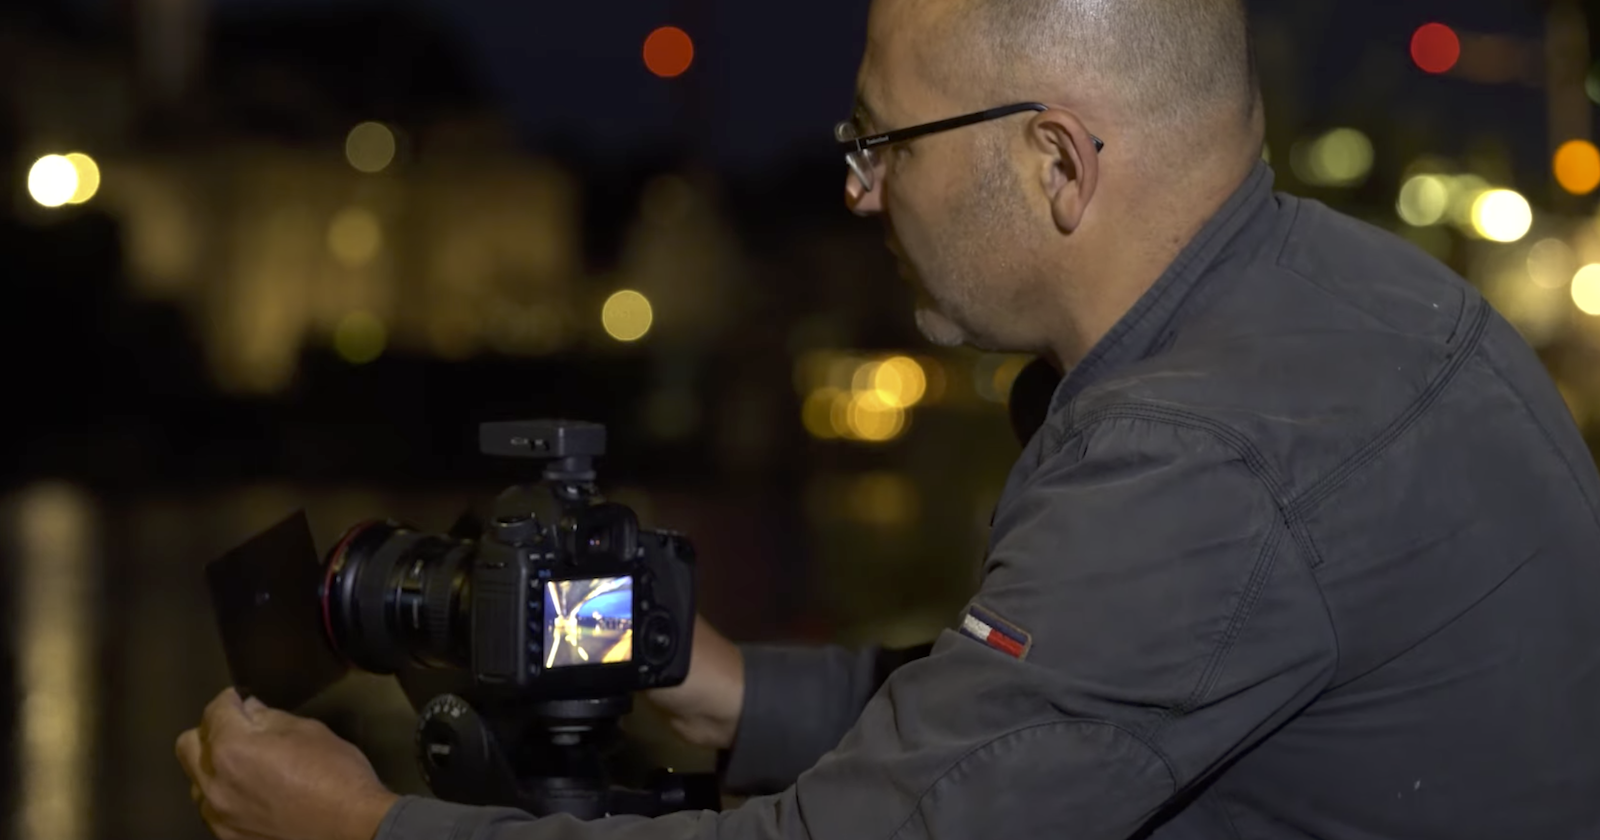
Talented landscape photographer Michael Shainblum has put together a helpful tutorial that shows you two ways to dodge and burn your landscape photos depending on how selective you want to be.
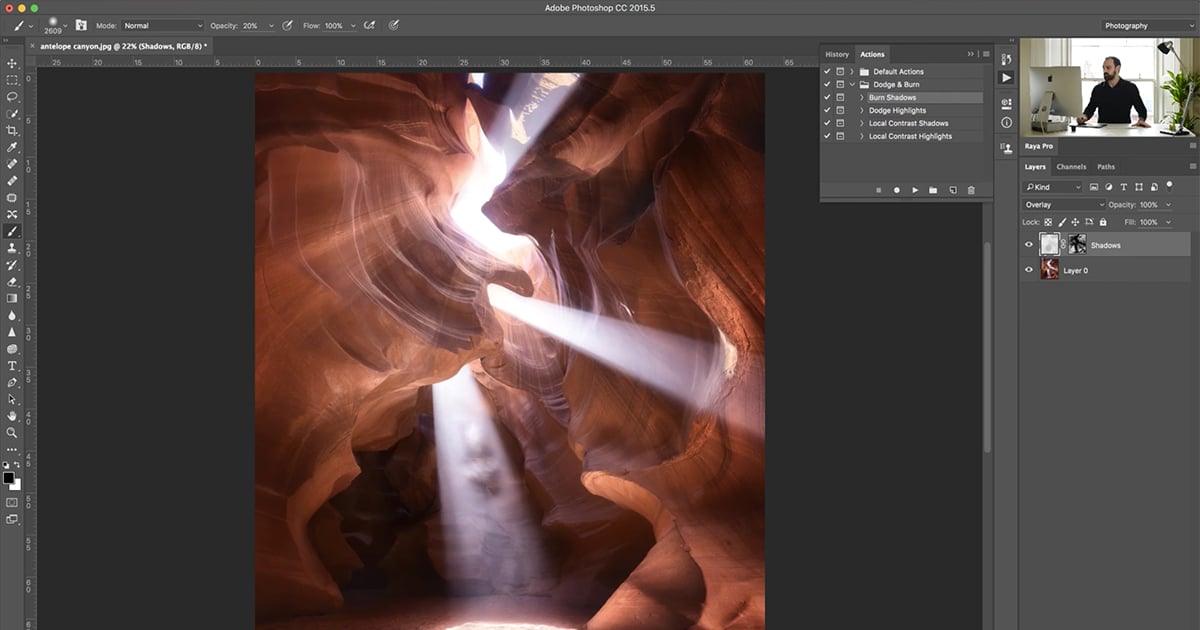
First, he shows you how to use the proper blend modes—Soft Light is recommended, Overlay for a punchier look—to paint over the highlights and shadows of your image and add some pop to your landscapes. This is the broader approach, but it works well and it won’t take you much time.
Then, he shows you how you can use a Curves adjustment layer instead of (or in addition to) the first technique to mask in the specific amount of contrast that you would like in your particular image. This gives you two levels of control—the curves adjustment itself, and the opacity of your brush as you paint over the mask—and by using multiple Curves layers, you can target specific parts of the image that need more refining.
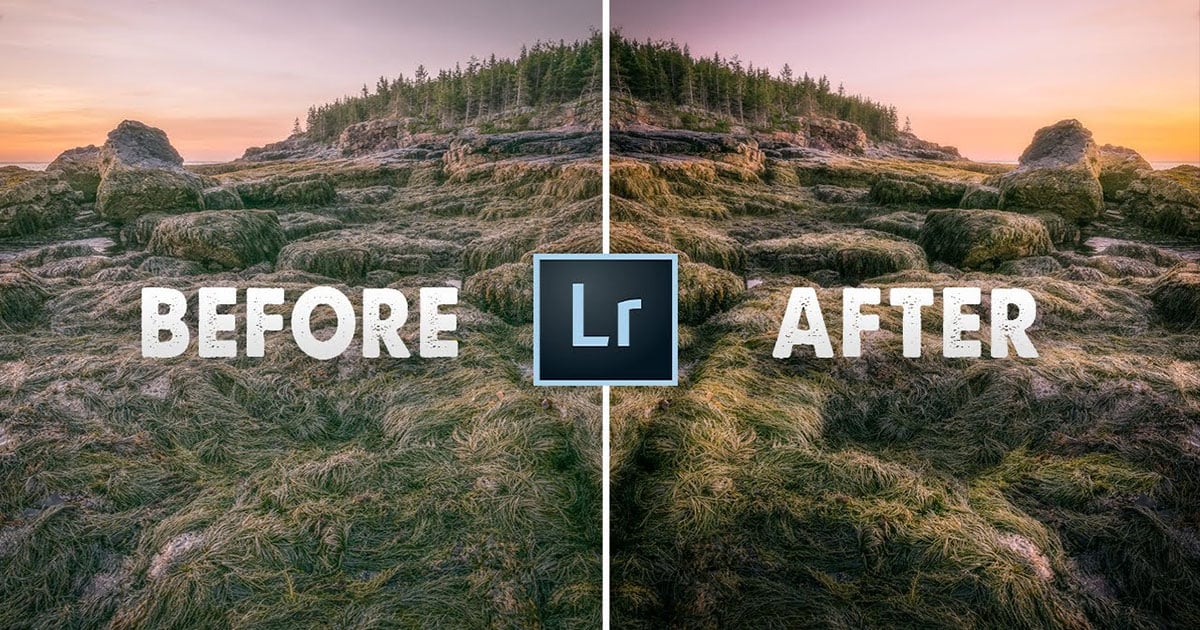
Neither technique is terribly complicated. However, if you follow these steps, the final effect on your images can be dramatic, and is well-worth the additional post-processing effort. Shainblum uses both techniques in his work, depending on the needs of that particular photograph and the quality of the light.
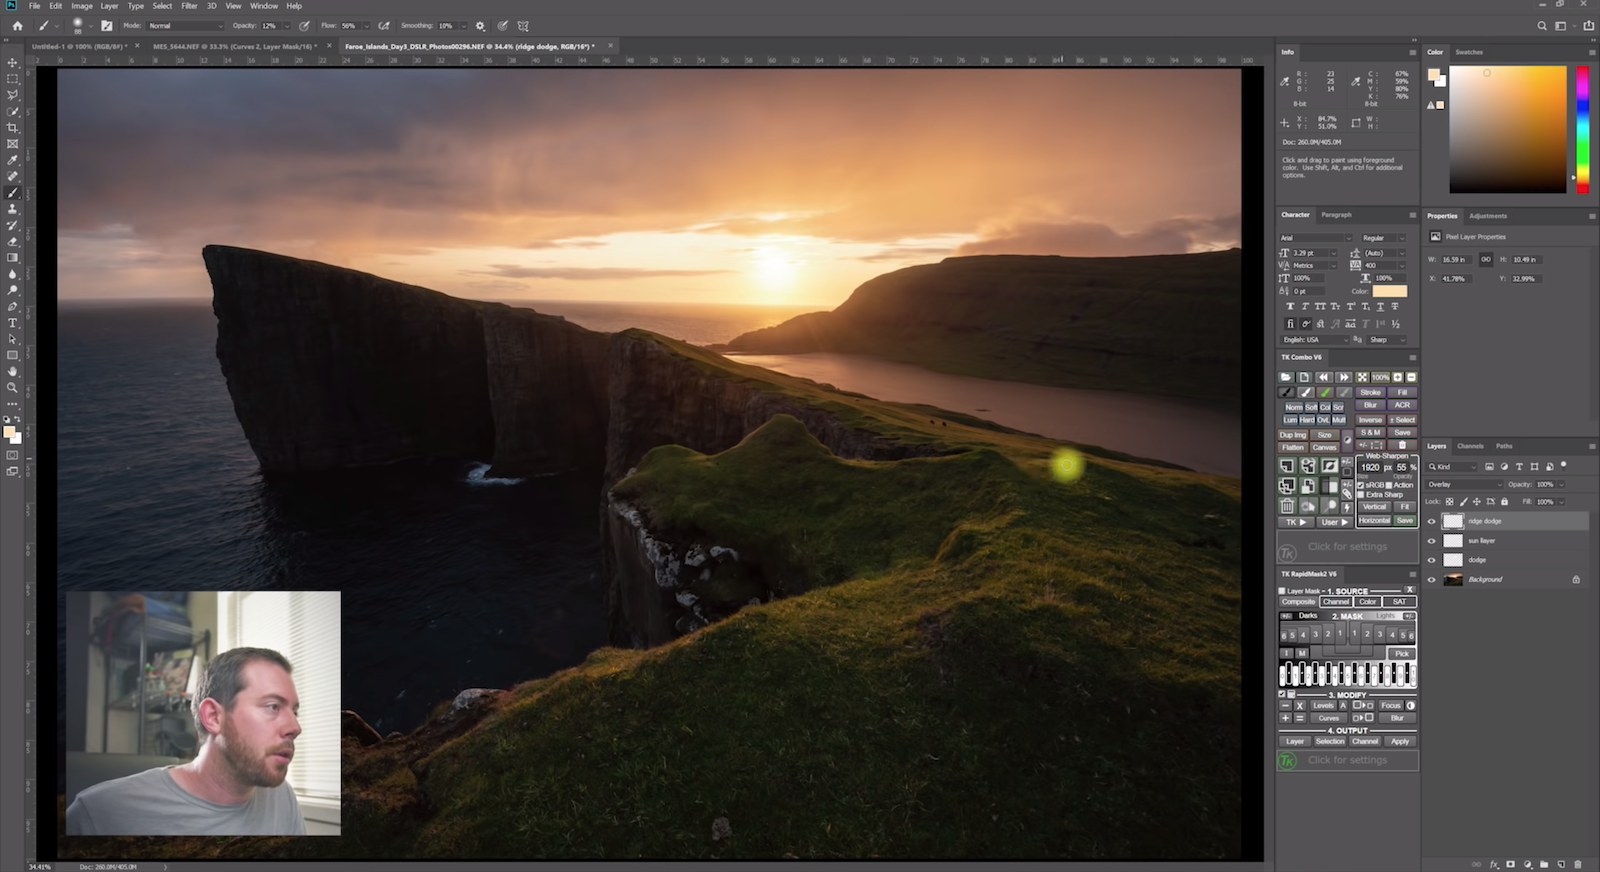
In the video, he applies these techniques to two different images. The first is a waterfall photo where there’s only diffused light without much directionality or specific color to the light. The second is a sunset shot where he shows you how he approaches dodging and burning when there’s a lot of directionality and a specific tone to the light in your image.
All of these subtleties make Shainblum’s approach to teaching dodge and burn for landscape photography more useful than many of the videos we’ve seen on the topic. Check out the full tutorial above to learn a little something this Friday, and if you want to see more from Shainblum, visit his website, subscribe to his YouTube channel, or give him a follow on Instagram.