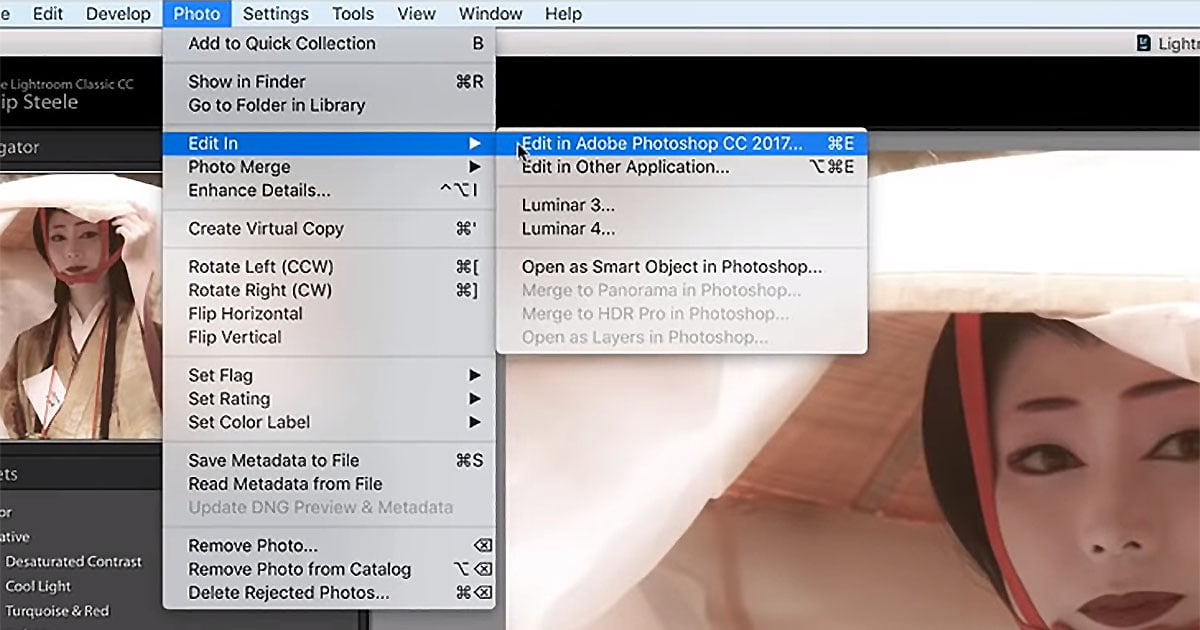
Walkthrough: How to Edit a Landscape Photo in Lightroom and Photoshop
Lots of photo editing tutorials these days focus on one specific technique or edit—how to sharpen, or how to use the HSL tool, for example. But if you’re just starting out and you need a complete photo editing walkthrough, this tutorial will take you through a landscape photo edit from start to finish.
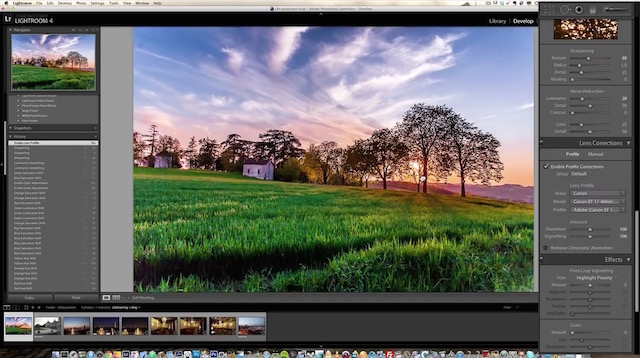
The tutorial was put together by photographer and filmmaker Peter McKinnon, and it can be broken down into three parts. In Part 1 (Start – 6:30) he shares some shooting and organizing tips you can use in the field and before you start editing your shots; in Part 2 (6:30 – 11:29) he takes you through an entire edit in Adobe Lightroom; and in Part 3 (11:29 – End) he takes you through a simple composite in Photoshop.
Not all three bits of the tutorial will apply to all viewers—I personally don’t like compositing elements into my landscapes, for example—but for someone just starting out, it covers a wide array of skills that will help get your photo editing off the ground. From getting started with rating photos to speed up your organizing, to basic image edits in Lightroom, to compositing in Photoshop if that’s something you want to try.
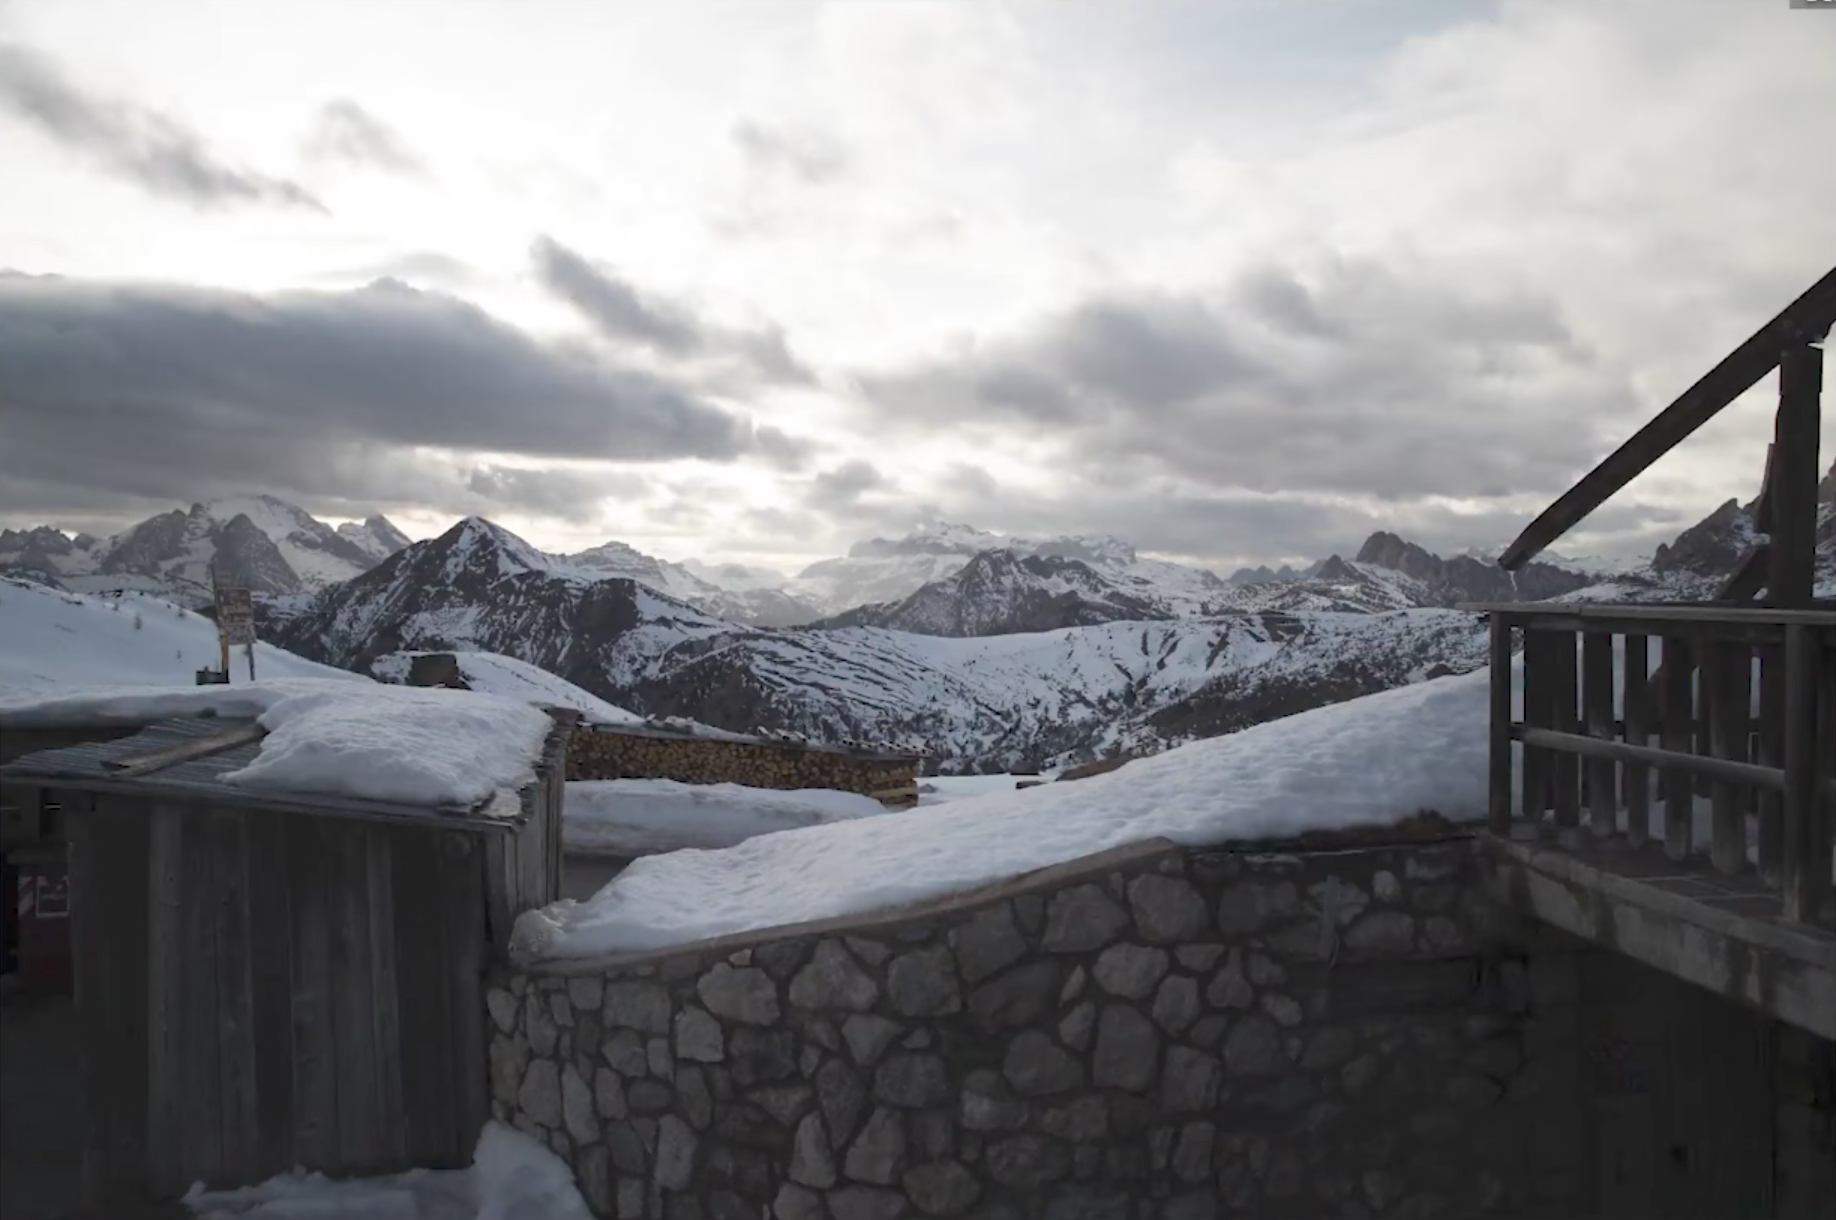
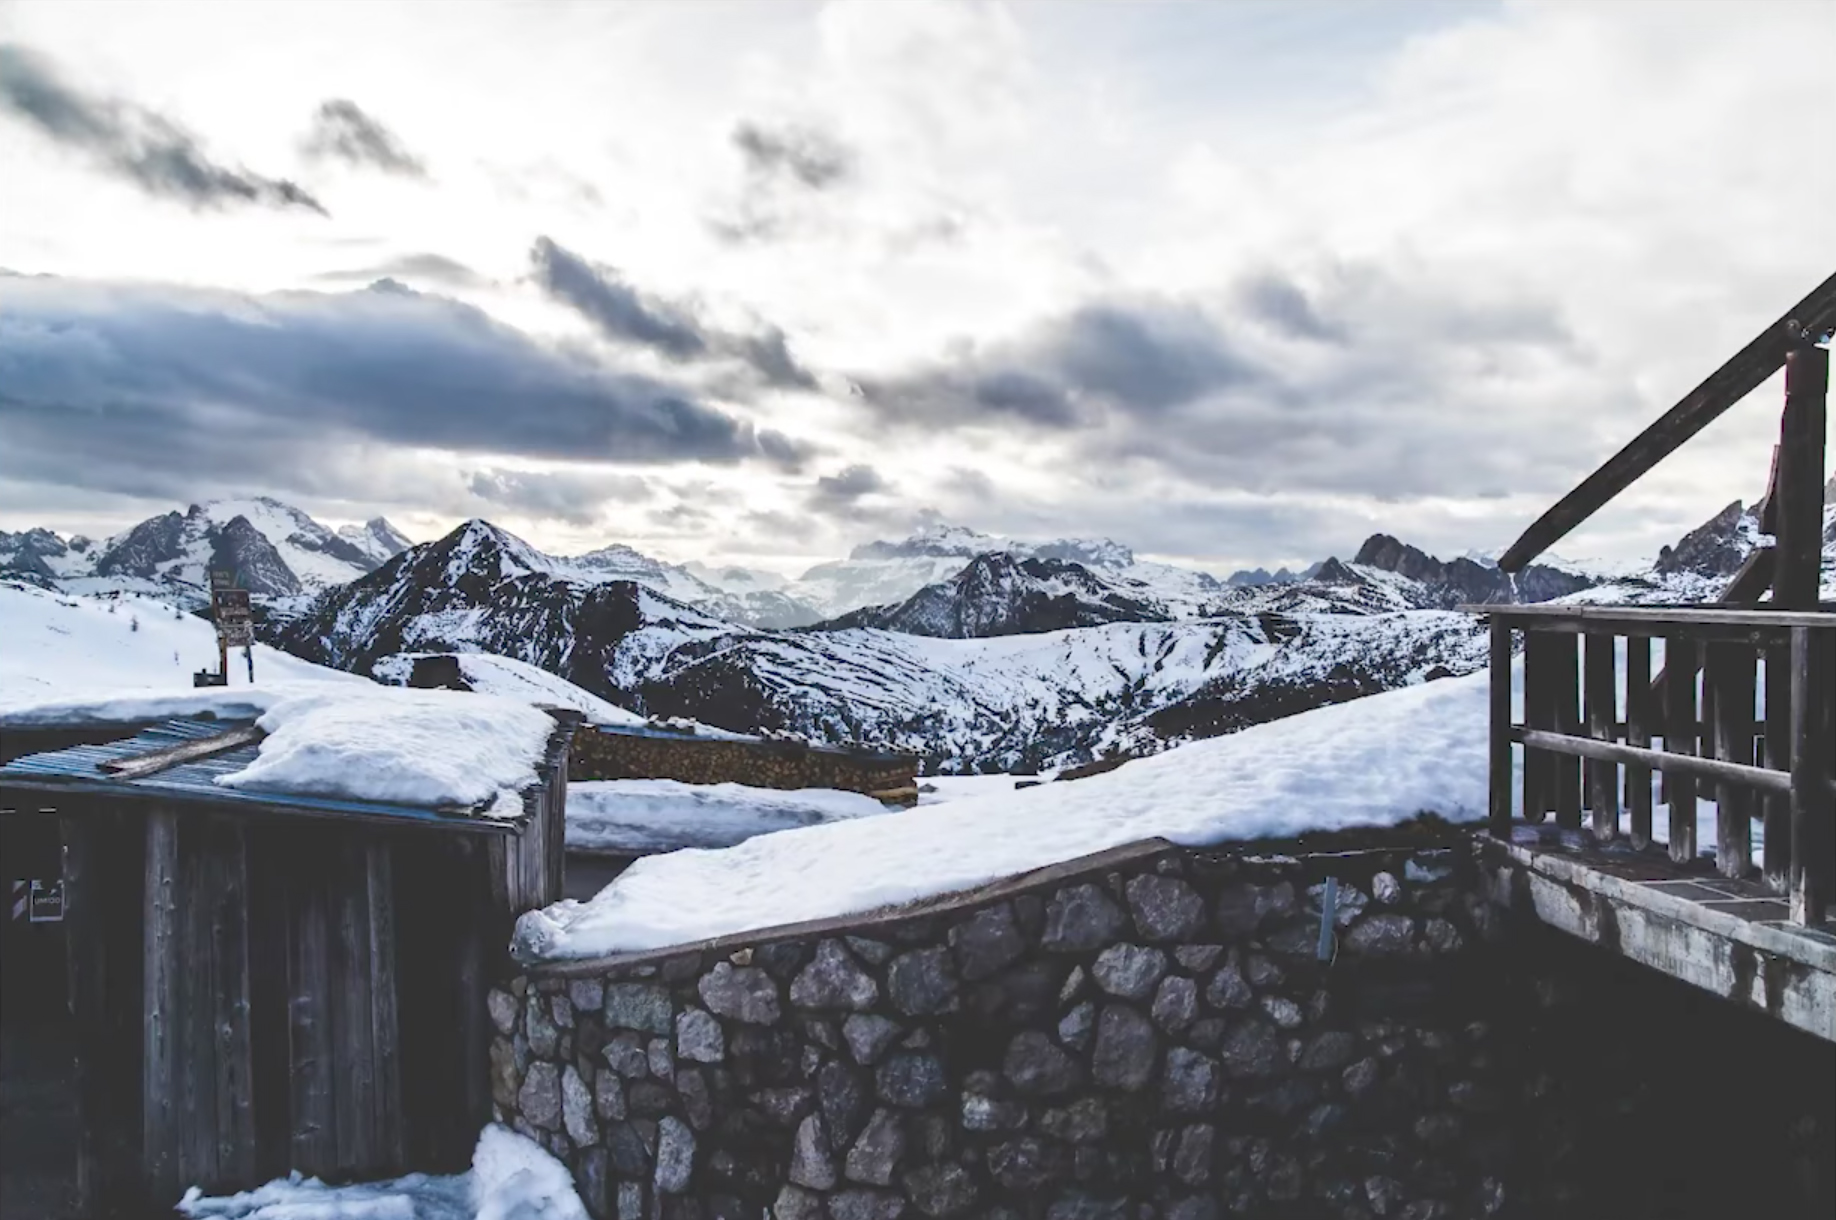
In the Lightroom section, McKinnon takes just 6 minutes to transform this photo from before to after:
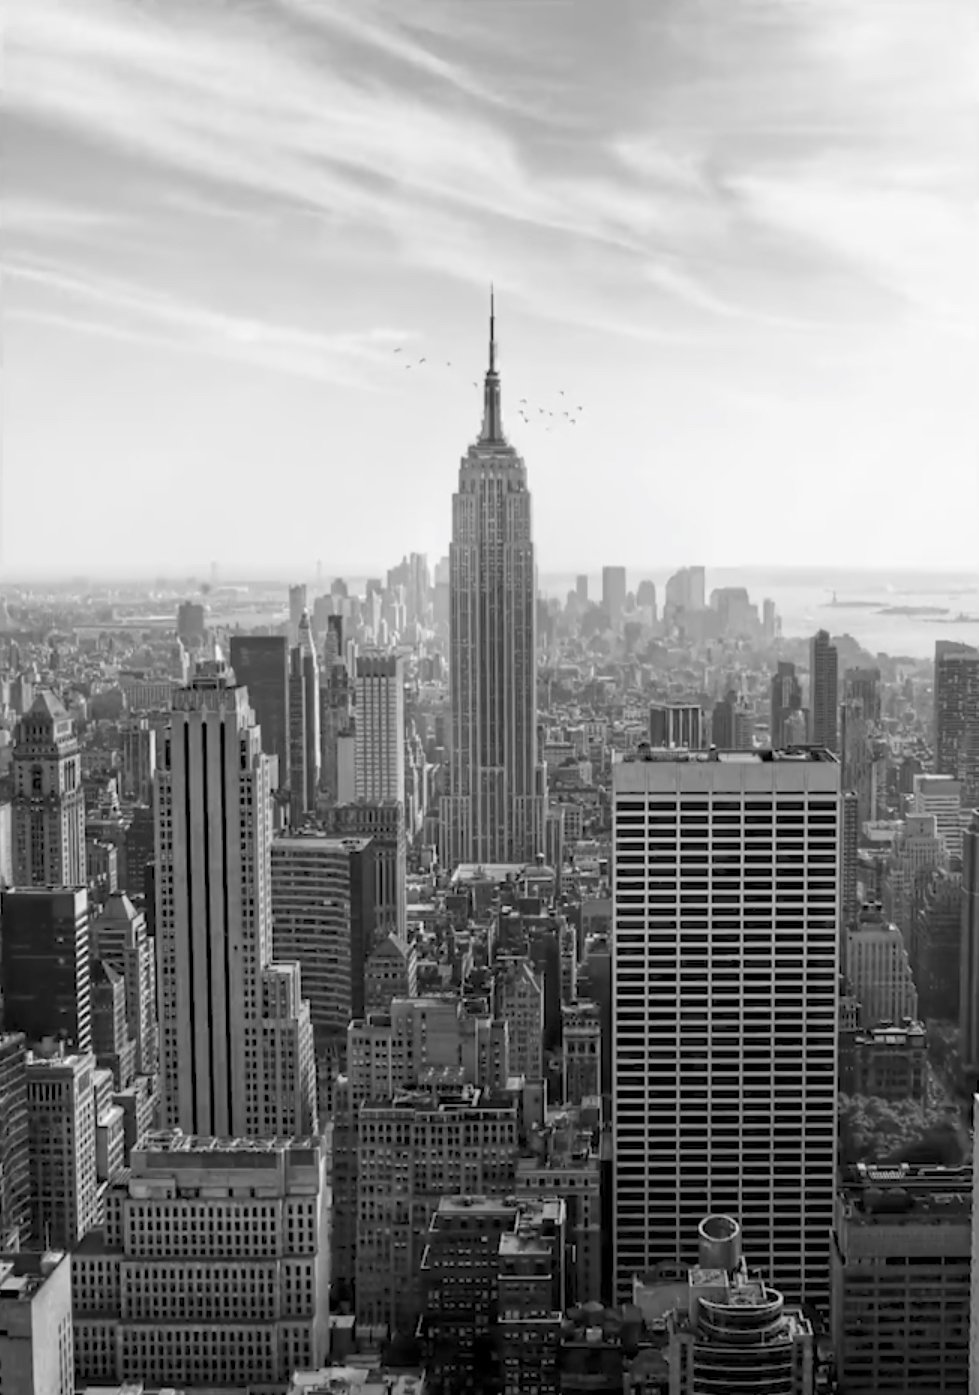
And in Photoshop, he takes a rather standard shot of the Empire State Building and makes it just a touch more unique by adding some birds into the distance:
Check out the full video to see Peter work through these images live, and if you like this tutorial he’s got a lot more tips, tricks, tutorials, and inspirational messages to share on his YouTube channel.