What it Was Like to be a Photographer in 1865
Back in 1865, if you wanted to be a photographer, you needed to be patient, determined, and a bit crazy (not all that different from today, though for different reasons). As an artist and photographer, exploring new methods and mediums is an important part of the journey.
Starting out on the first of this two day Penumbra Foundation course in New York City (taught by Lisa Elmaleh) we focused on learning the background and history of the carbon printing process, and quickly transitioned to preparing the chemicals, liquids, and paper we needed to actually make a print. I had no idea how laborious it was going to be to prepare all these materials. I won’t go through every detail because this would become a short novel, but the high-level process is laid out below.
Creating a Tissue
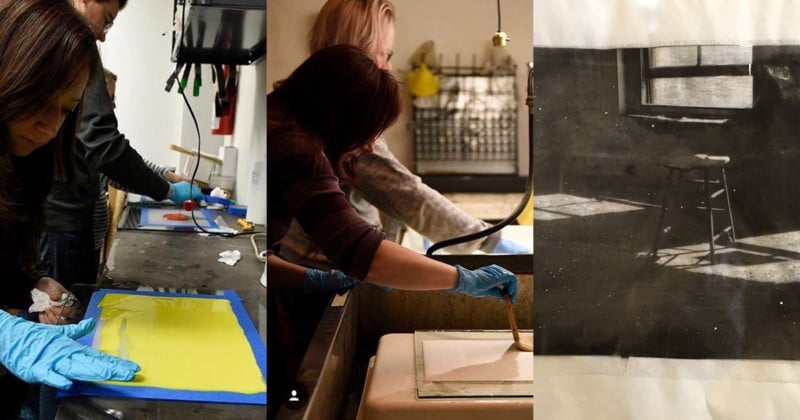
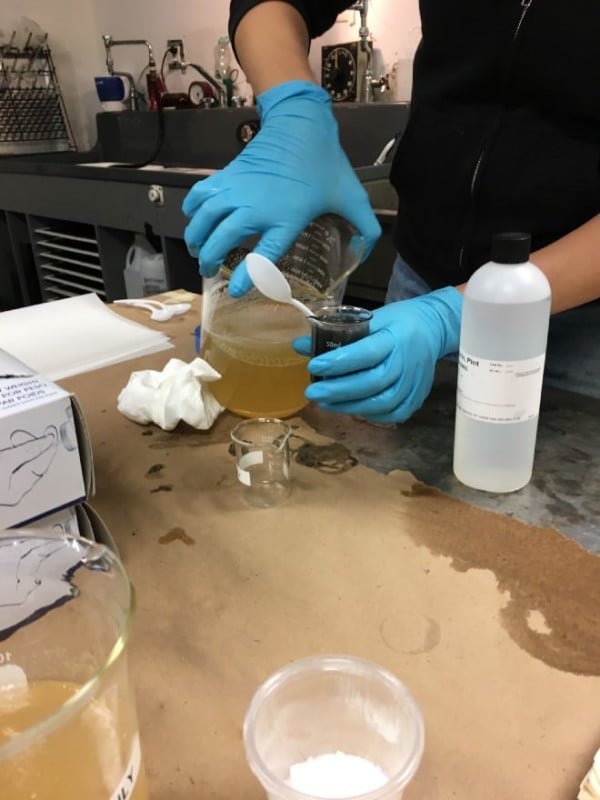
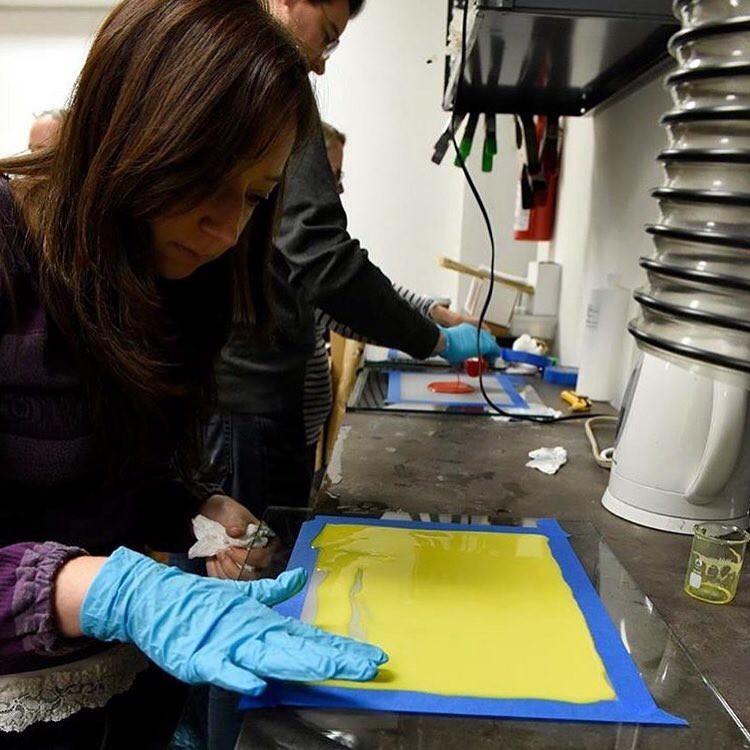
Step one was creating a tissue — in this case the tissue is a colored gelatin goo that brings color and life to the image on the paper. To start you have to mix gelatin, a bunch of chemicals (wearing gloves in a highly ventilated fume hood like you had in science class), and water colors to the gelatin. You can use any colors you want. Our class went with black, red, yellow, and blue.

Then you heat it all in the glass beaker and pour some onto mylar paper taped down to a 1/4-inch-thick glass plate to let it cool. The goal is to get one very smooth, uniform distribution of the tissue so that your print will be uniform and even. My first one was a disaster (as you can see below). I was not prepared for how quickly the gelatin cooled as soon as you took it off the heat.
I eventually got the hang of it by my fourth attempt, and then, true to my experimental artist nature, I began looking for ways to break the rules and started out by mixing different colored gelatins swirled into one tissue, which was super fun.
Preparing Your Paper
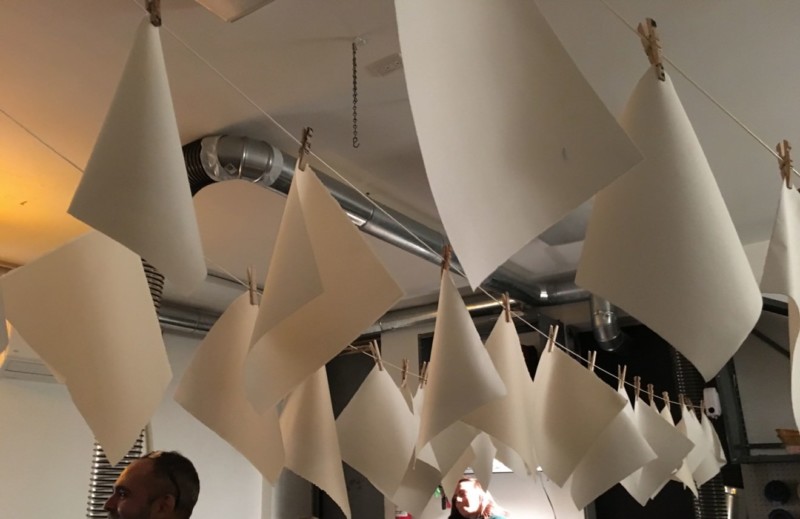
Next, we had to prepare paper to transfer the image onto. We started with hot press, 120lb cotton rag paper and cut them up into 8×11 or smaller sized pieces. Then we soaked them in warm water to prevent them from shrinking later on in the process and hung them to dry.
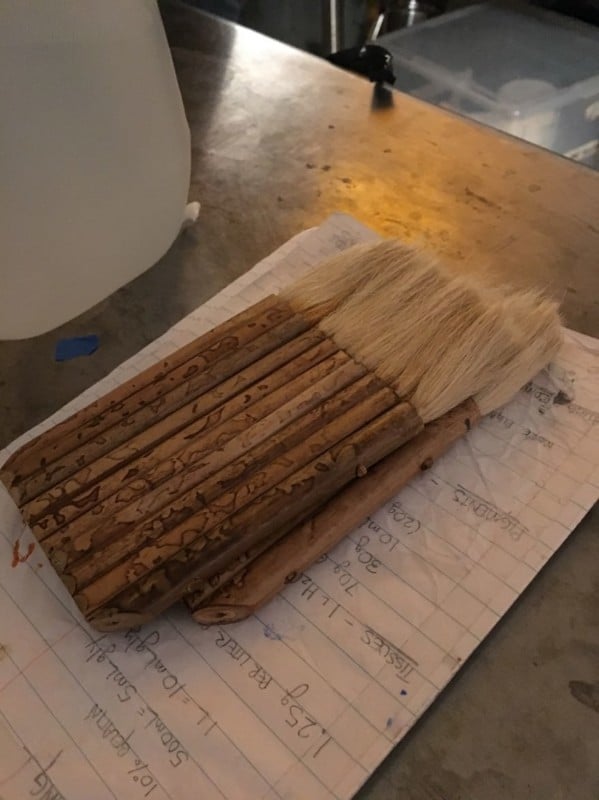
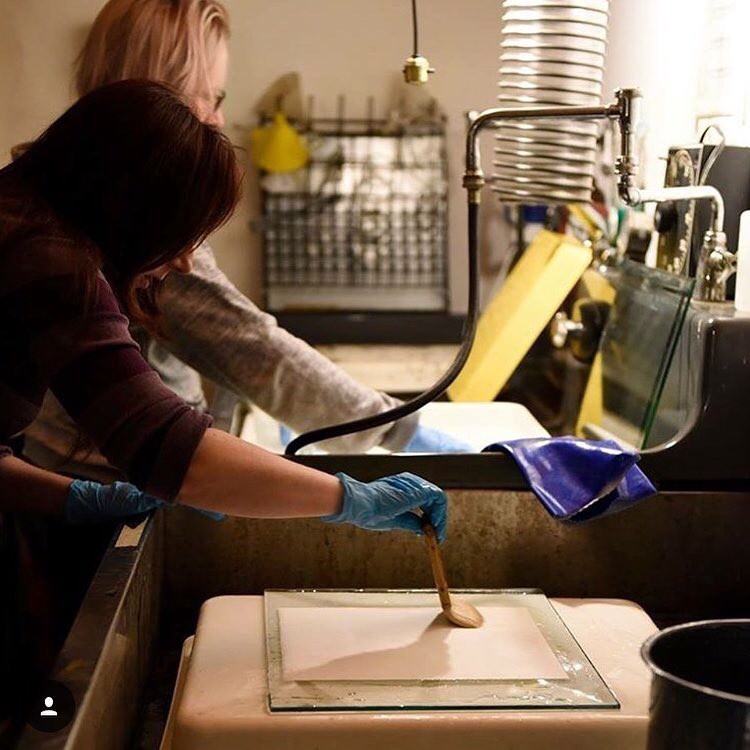
After the paper dried, we coated it in a sensitizer solution of potassium bichromate which is an incredibly dangerous chemical — tip: don’t use this unless you have been taught how to handle it properly! The sensitizing process makes sure your image transfers onto the paper from the tissue. We then used a very soft and elegant hake brush to apply the chemicals onto one side of the paper.
After we sensitized what had to be upwards of 60 pieces of paper, we squeegeed and hung them up to dry (again). That took up the entirety of our 8 hour day — it was A LOT more work than I thought it would be, and I still didn’t have any pictures to show for it.
Digital Negatives
Day two. Everyone was excited to actually begin making pictures today! We began by choosing which negatives we wanted to work with. A photographer in 1865 would have used a traditional large format film negative — but because there are many steps in the process where you could damage your negative and lose your image forever — so we cheated and used digital negatives because we could. Digital negatives are easy to make and cheap so if something goes wrong, the original image is protected and you can produce another digital negative quickly. The digital image I chose to work with first is below.
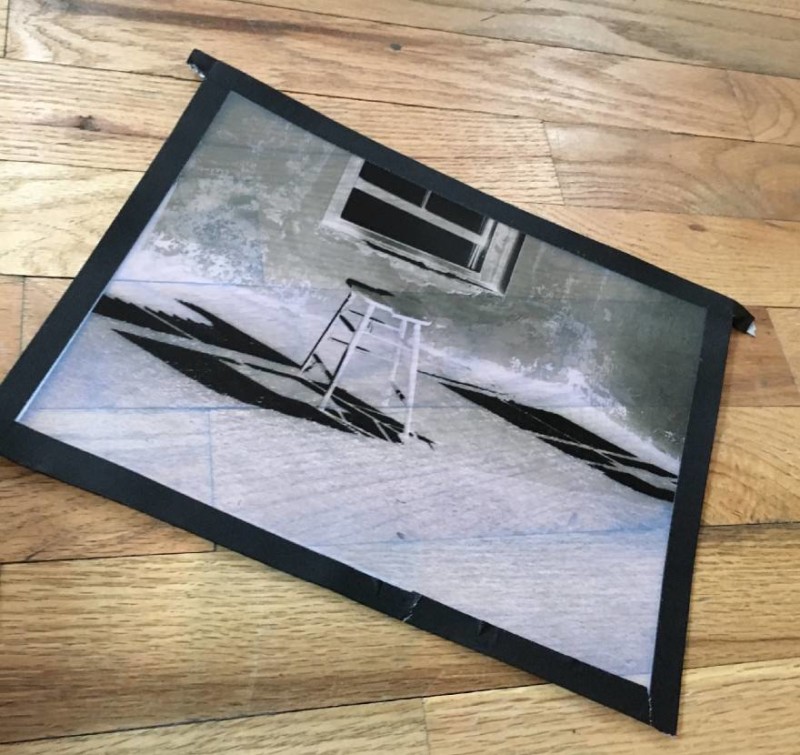
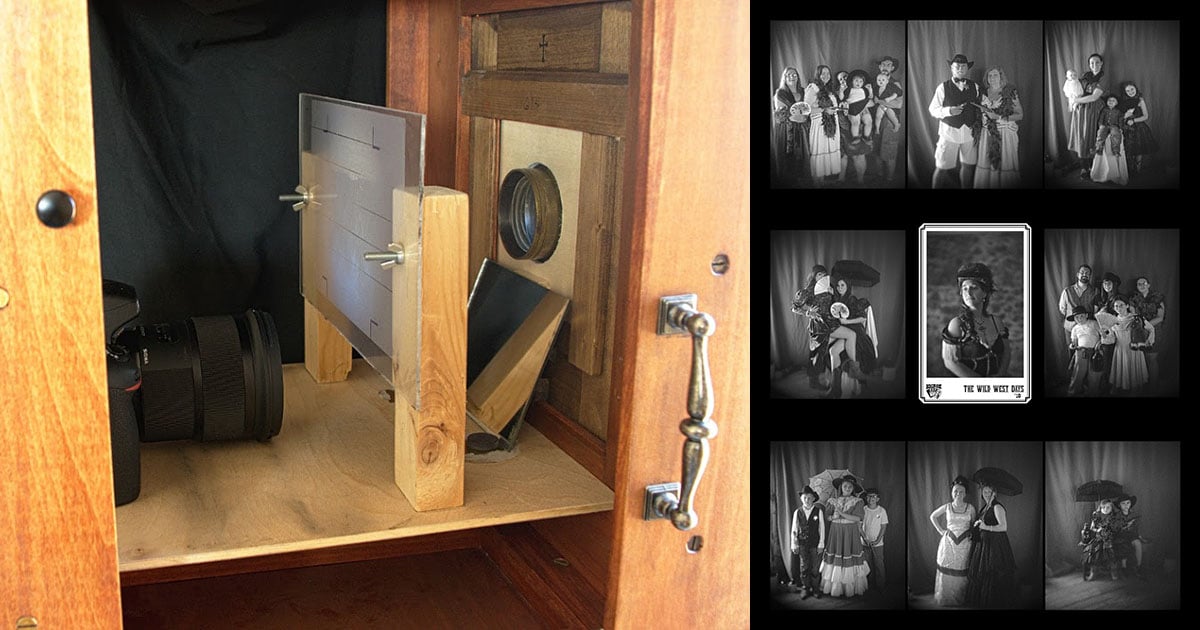
You take the negative, and place it on the sensitized paper, lock it in a press and expose it under a UV light (back in the day this would just mean putting it outside which would require a much longer exposure).
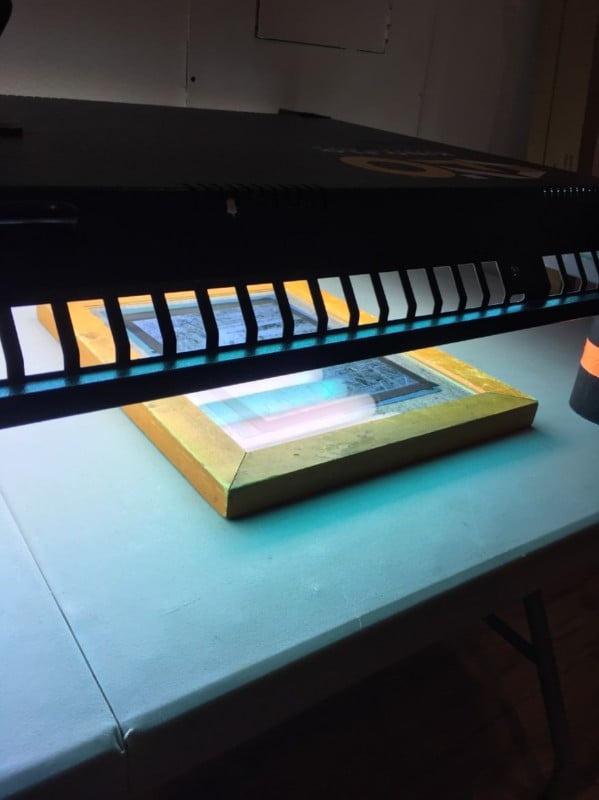
I started with a 2 min exposure as a baseline, knowing I could increase or decrease the next one as needed. Once that exposure is complete, you take the paper out, put it in cold water, place it face to face with whatever tissue you want, squeegee them together and place them in between two 1/4 inch thick glass plates. Then you put 10 lbs of weight on top of the plates to let the chemicals from the tissue interact with the chemicals from the sensitized paper that has the image on it — you let that sit for 10–20 min.
Voila
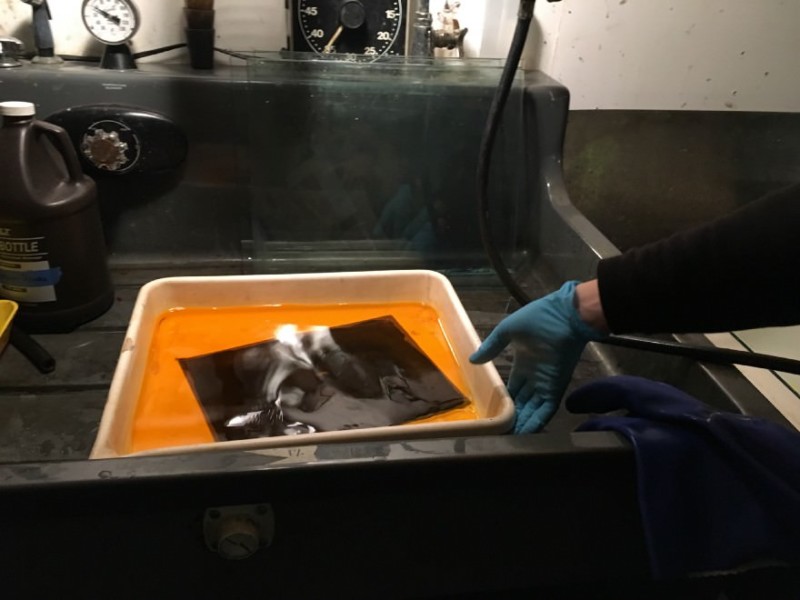
Now it’s time for the real magic – seeing if all the hard work over the past day and a half paid off, and feeling the joy of producing a real carbon tissue photograph! After preparing a very hot water bath you place your paper and tissue in the bath, and slowly, very, very, very slowly start peeling the tissue away from the paper to see your beautiful image come to life. Then you very, very, very gently clean up the image using the hake brush again to get all the extra tissue bits off.
So holding my breath, I peeled back my first tissue and you know what I saw?? Zilcho, nada, nothing — a blank piece of paper. After all that work. Sigh. I grumbled a bit and started all over again. On my second try I got an image, but I pulled the tissue back too quickly and the image pulled right off the paper and floated down the drain. By try number 4 I finally got something! It felt glorious.
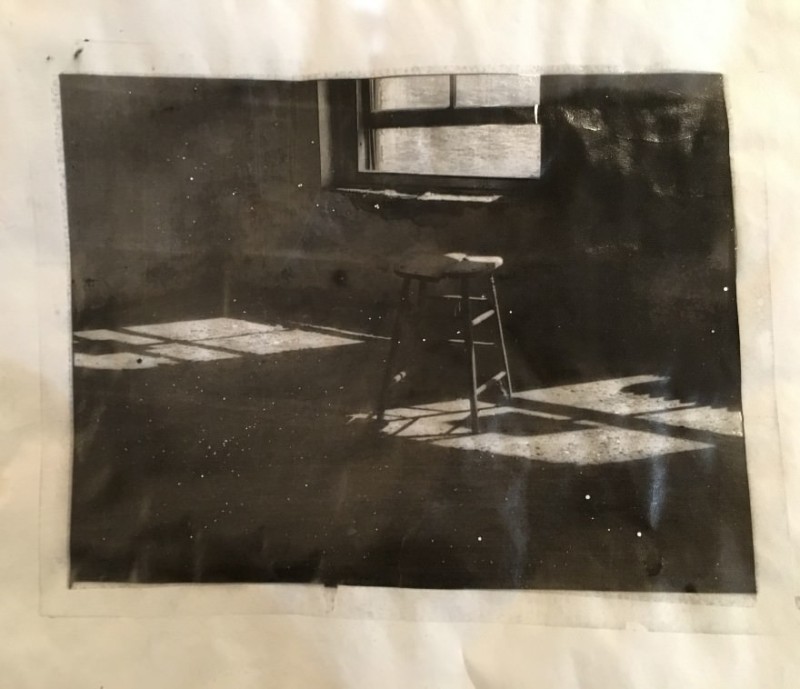
For the rest of the day we became printing machines! At one point, I switched to a picture I took while I was hiking in West Virginia when I stumbled upon a fairytale scene of light streaming through a thick forest. I created variations of it using different colors and exposure times.
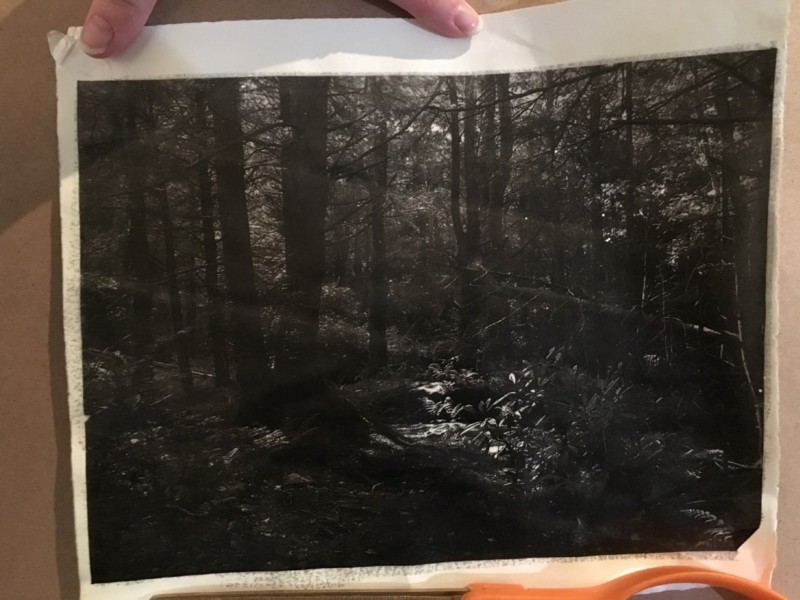
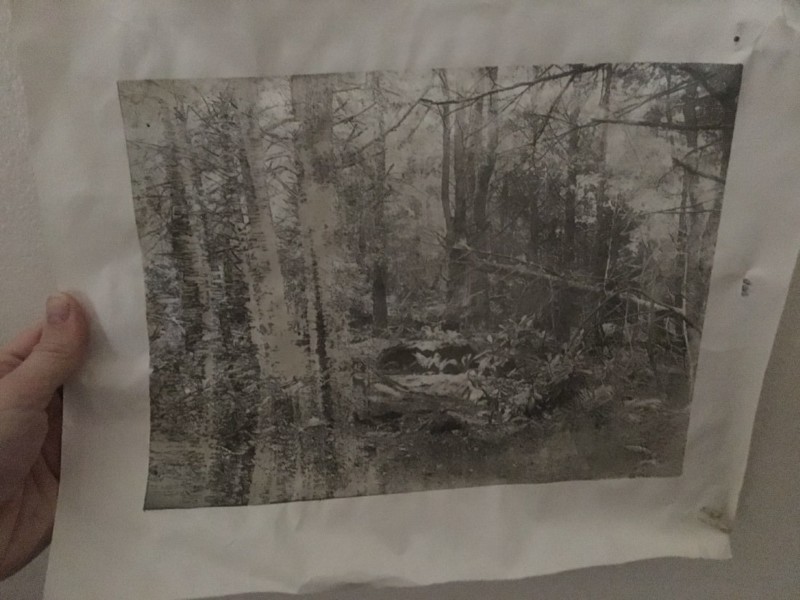
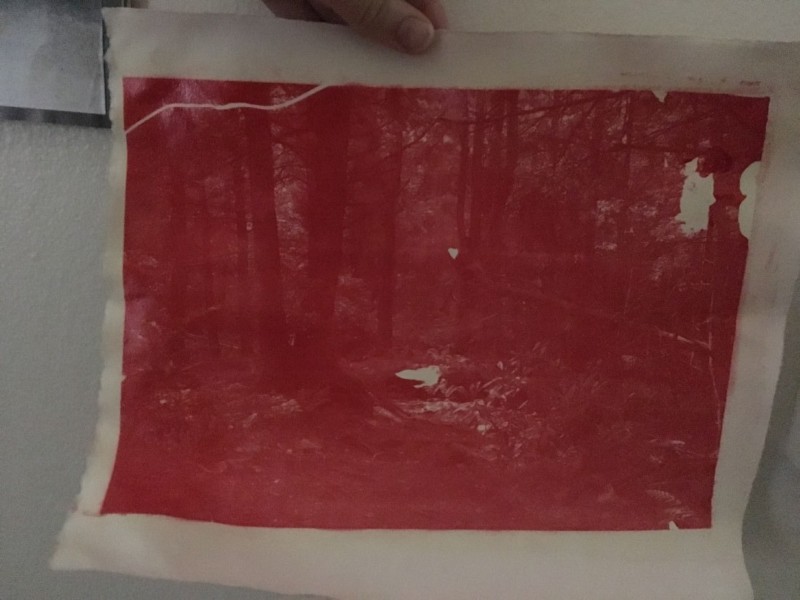
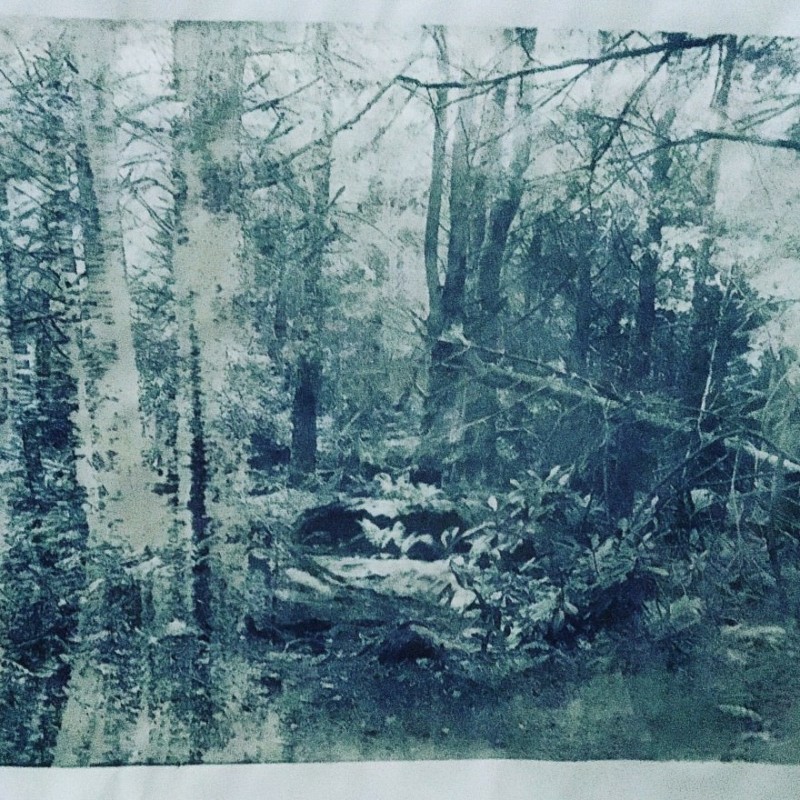
My favorite print was one of the last ones I did using a blue tissue. I have compared it to the original digital image below so you can get a feel for the difference.

While I am not sure I would continue to work with this process, I was so glad I took this class, and Lisa was great! It was a lot of work and there was a huge margin of error in almost every step — all just to create one print. But I loved the raw antique feel and imperfections that come out of each print, the ability to find and experiment with a wide variety of permutations for each image, and the chance to tap into my art in a new way.