How to Capture Heat on Camera Without Expensive Optics
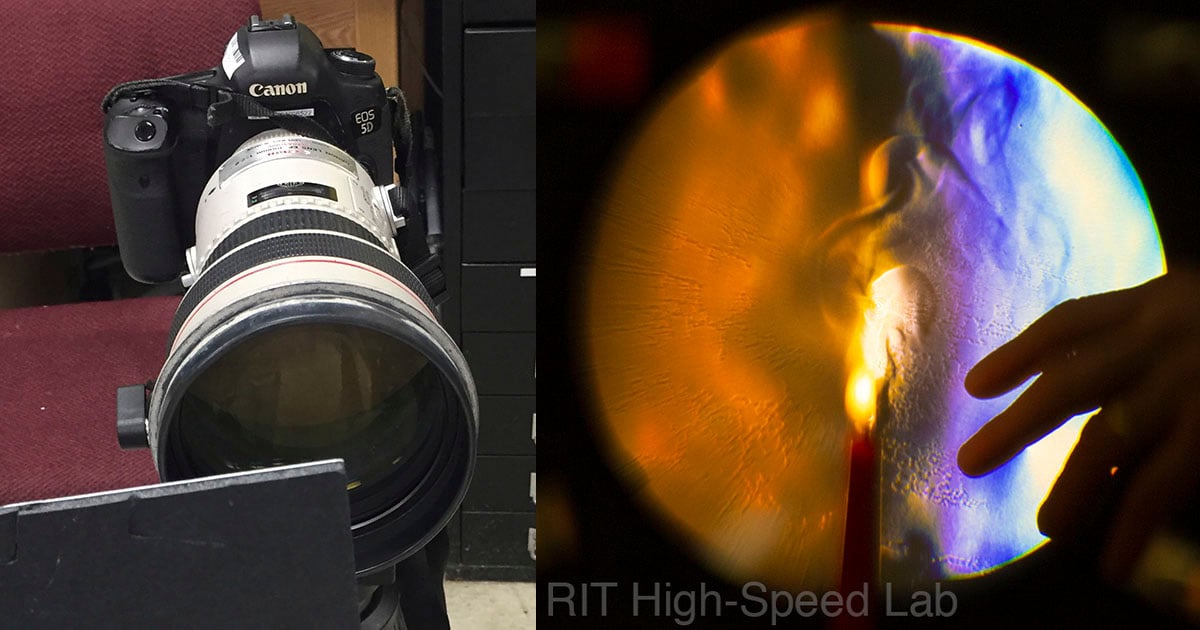
Standard schlieren imaging techniques use a large mirror to be able to visualize heat or pressure differences in air. The problem with these techniques is that they require large precision telescope mirrors that are very expensive. My lab is fortunate to have a 13-inch diameter telescope mirror; but what happens when I need to photograph a larger subject?
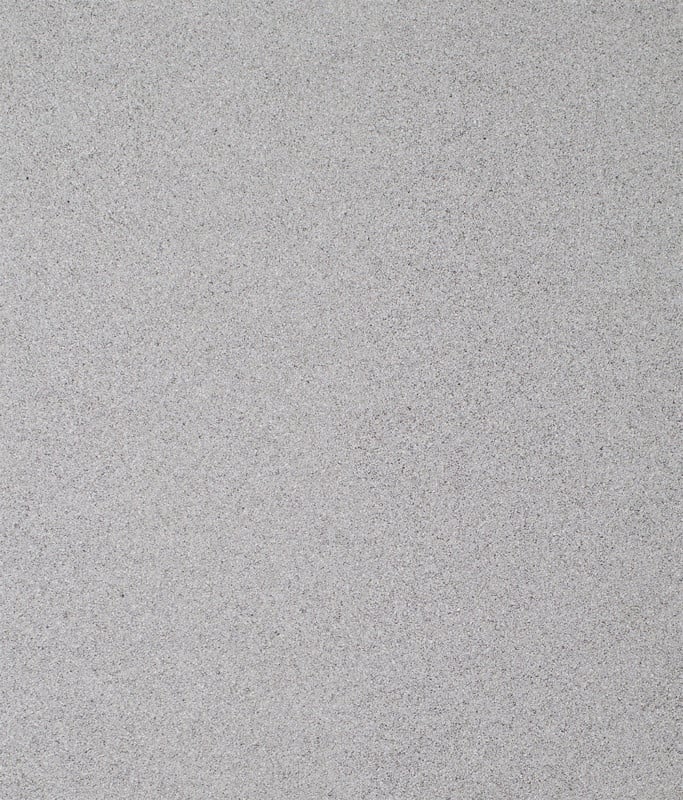
The technique of Background Oriented Schlieren (BOS) imaging uses a picture of random optical noise. The easiest way to get a large surface covered with random optical noise is to get a large roofing shingle. The roofing material we use in the lab came from a local hardware store. We were able to get a 36-ft. roll of white fiberglass mineral-surface roofing for around 50 dollars.
The surface is well lit from a single flash set to a high-speed setting. The following pictures were taken with an Einstein flash at 1/64th power setting. The camera lens is set to its highest resolution setting of f/4.0 and the focus is set to the roofing material. The camera has to be set to collect RAW images. This technique will not work with JPG settings due to the data that is lost in the JPG compression.
We are interested in optical rays that are deviated from their path by the refractive index change of the air. We are not interested in the rays that originate from the candle or the model. This is of course very different than normal photography. As quickly as possible, the two images are taken – one of the background without a heat source and the second image with the heat source.

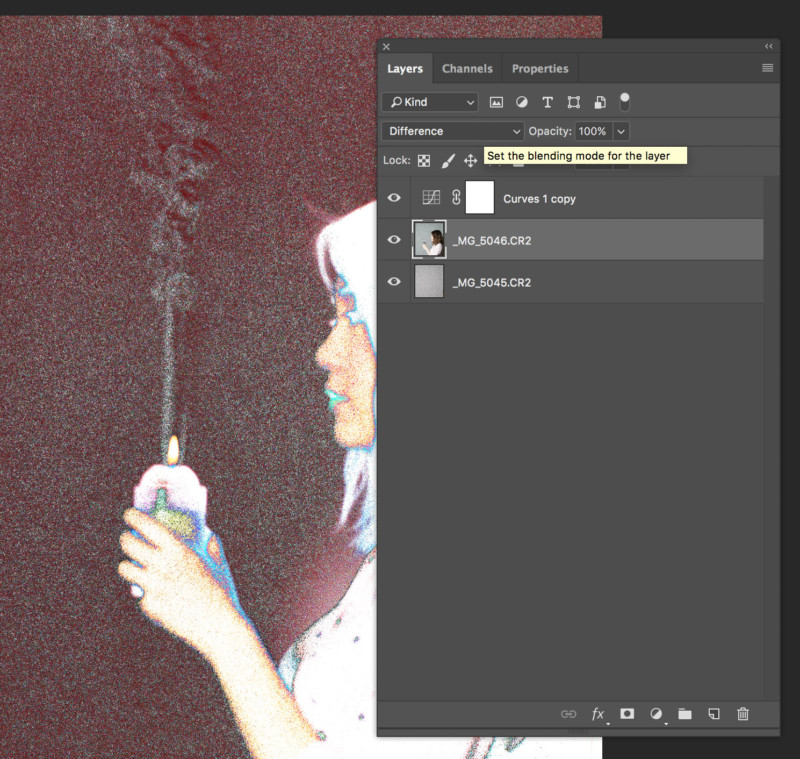
To extract the heat image (BOS) the background image is set to the bottom layer in Photoshop. The image with the heat is placed above the background image and set to difference. The next step is to create a curves adjustment layer and move the curves far to the left to make the heat disturbance visible.

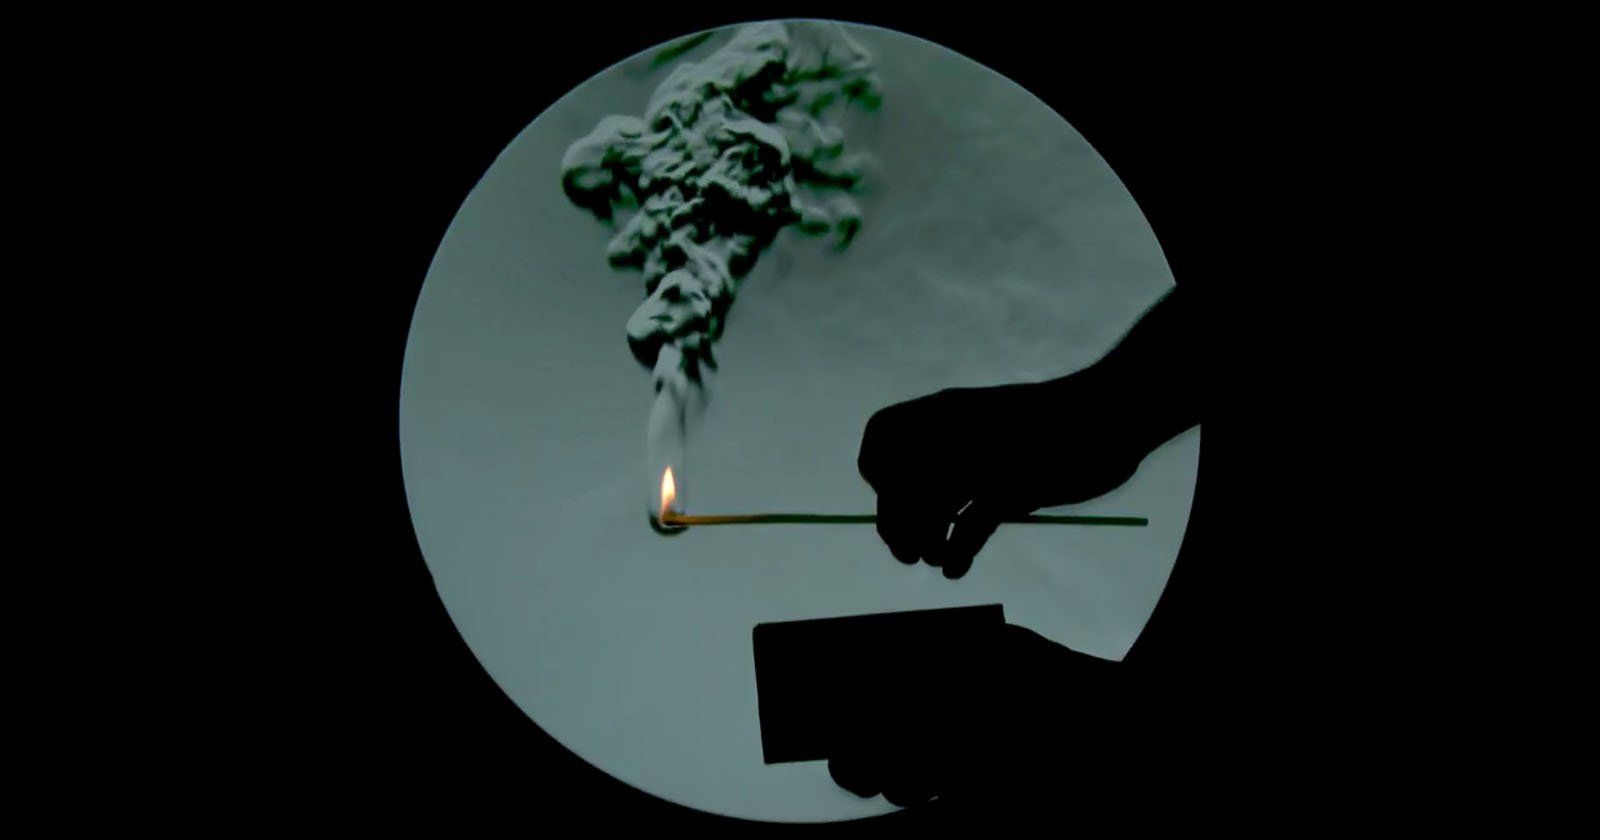
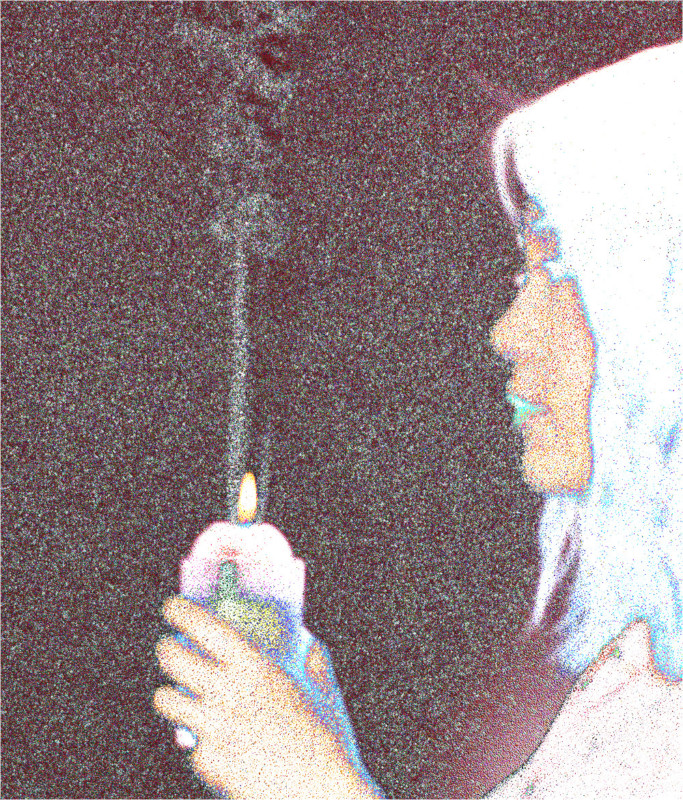
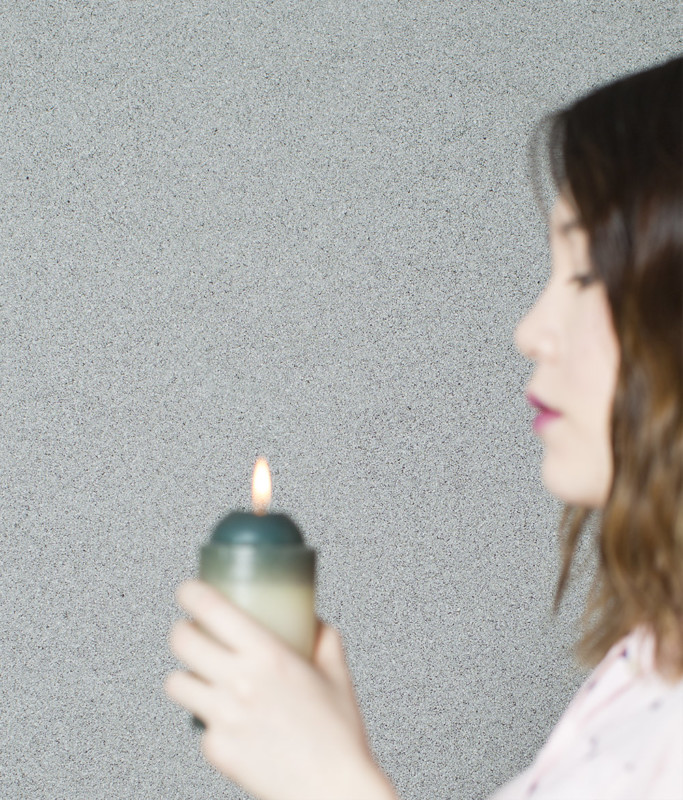
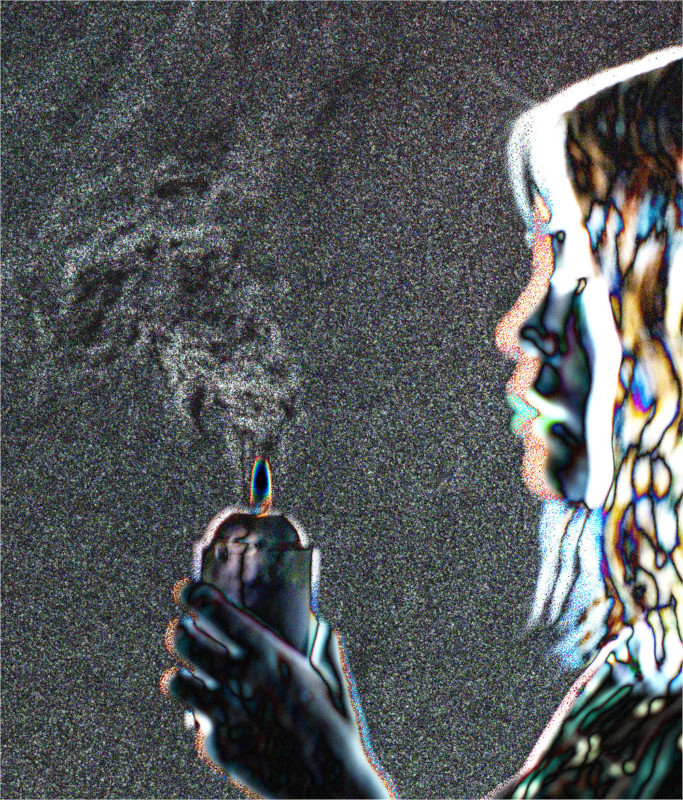
There is a second modification of this technique that allows the heat to be visible but is not so useful for scientific work since it generates a double image. This technique uses the difference between two sequential images — in this case, the student holding the candle. The student tried to hold the candle as still as possible as they gently blew air on the flame. There is a slight movement between the images.
These first two images were taken a second apart:
An interesting side note about this BOS is it does not work very well with video. Most video has a compression and uses keyframes. The video compression throws out a lot of the subtle data required for this technique. The test videos I have tried result in having strange artifacts from the video compression. If the reader has access to an uncompressed video recording they should experiment in this area.
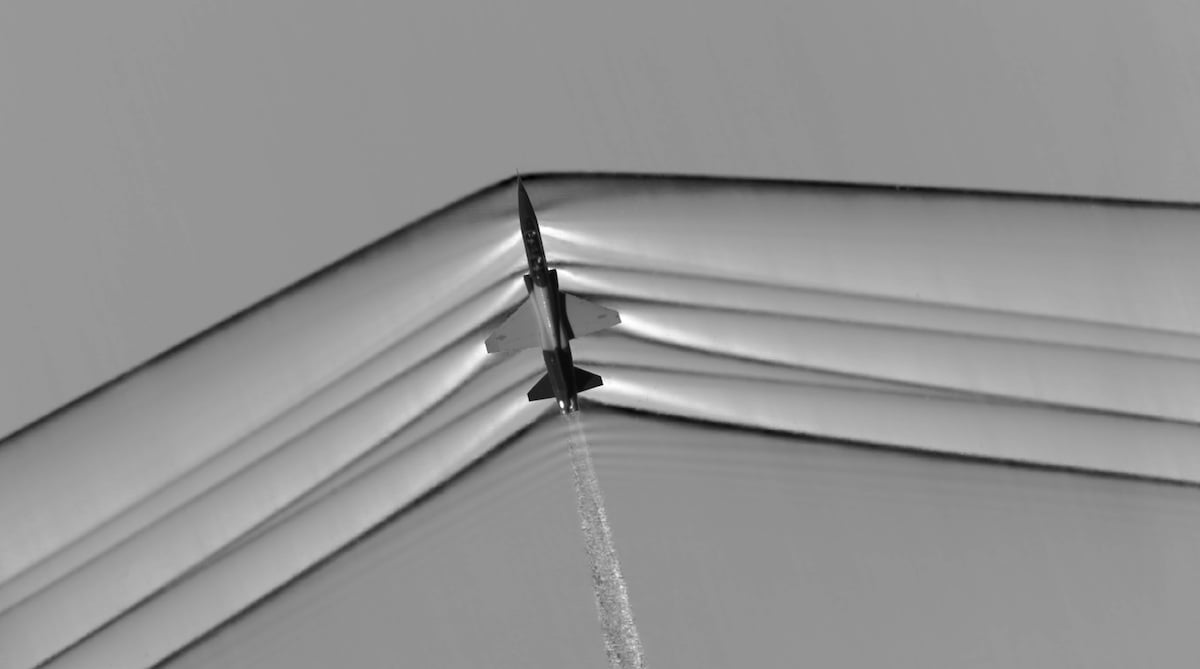
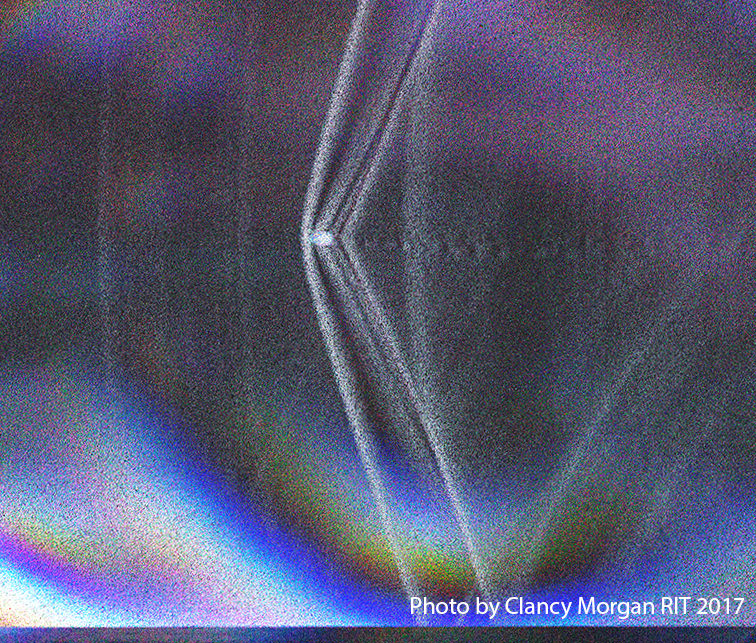
Supersonic bullets also create a high-intensity shockwave that is highly visible in BOS imaging. To test this in the lab we fired a .22-long bullet traveling at 1,200 feet per second. This is about 200 feet per second above the speed of sound and creates a nice shock wave. For this image, the .22 round was fired a few inches above a table top that had a steel plate placed on it to show the reflection of the shockwave.
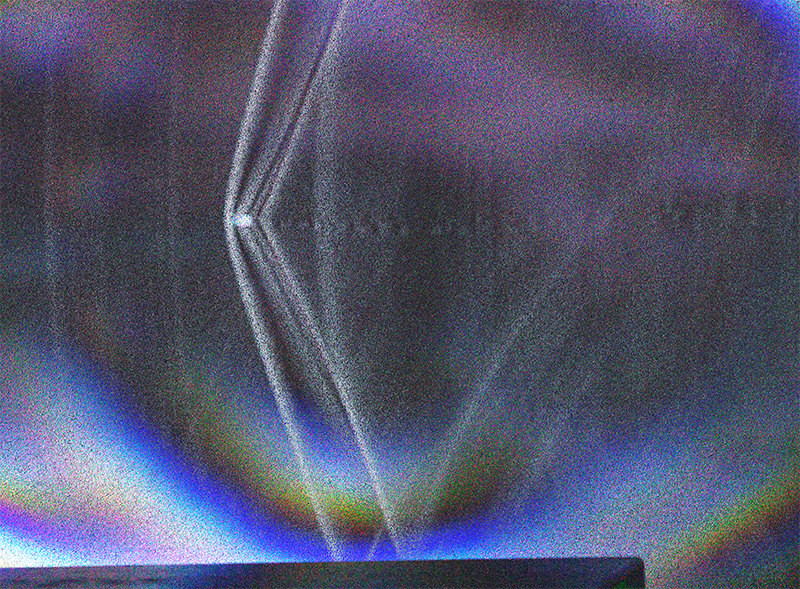
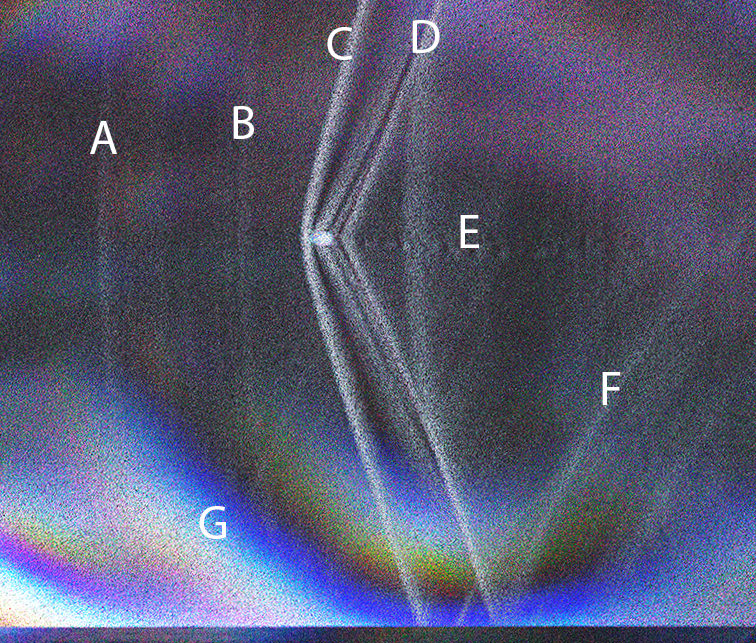
A and B are shock waves from the ignition of the gunpowder in the bullet casing. The image was taken two feet from the end of the gun, and the bullet will eventually overtake these two relatively slow shockwaves traveling at the speed of sound.
C is the shockwave from the front of the bullet, while D is created from the end of the bullet. E is the turbidity from the end of the bullet. F is the shock wave from the end of the bullet reflecting off the steel block on the table. G is the rainbow color which is an artifact from the air-gap flash not following the exact same path on the two images used to build this BOS image. The flash used here was a SPOT flash operating at 500ns durations.
Special thanks to RIT Student Clancy Morgan for allowing me to use his image for this article.

I hope the reader decides to try this technique for themselves. There are a lot of backgrounds that can be found outside that will be able to create BOS images. Sand, parking lot asphalt, corn fields, branches on trees, and leaves will all work as a background. Go out and give this technique a try.
About the author: Ted Kinsman is an assistant professor of photographic technology at the Rochester Institute of Technology. He teaches advanced photographic technology, light microscopy, and macro photography courses. Kinsman specializes in applying physics to photography. You can find more about him and his work in his faculty profile and on his website.