How to Selectively Sharpen Photos with Photoshop’s High Pass Filter
Photoshops High Pass filter can be an effective photo sharpening tool, but its effect can be too drastic for certain areas of your photo. Here’s a 9-minute tutorial from photoshopCAFE that looks at how to more effectively use Photoshop’s “High Pass” filter for sharpening.
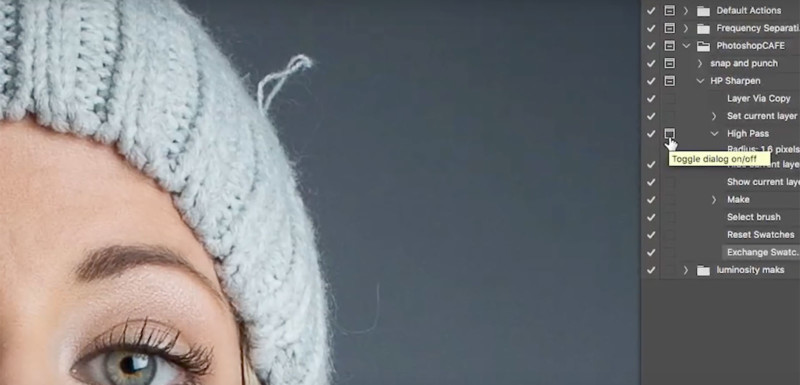
First, it is recommended that you record a Photoshop Action when setting up the layers and other settings for using the High Pass filter. This saves you a lot of unnecessary clicks every time you want to use this technique.
The initial setup involves duplicating the target layer, applying the Overlay blend mode, applying a High Pass filter to the image, and then setting up the swatches ready to start painting a mask.
Interestingly, you can toggle each step of an action to ensure Photoshop pauses to let you make adjustments. For example, toggling the step for applying the High Pass filter will allow you to adjust the radius applied each time you use it.
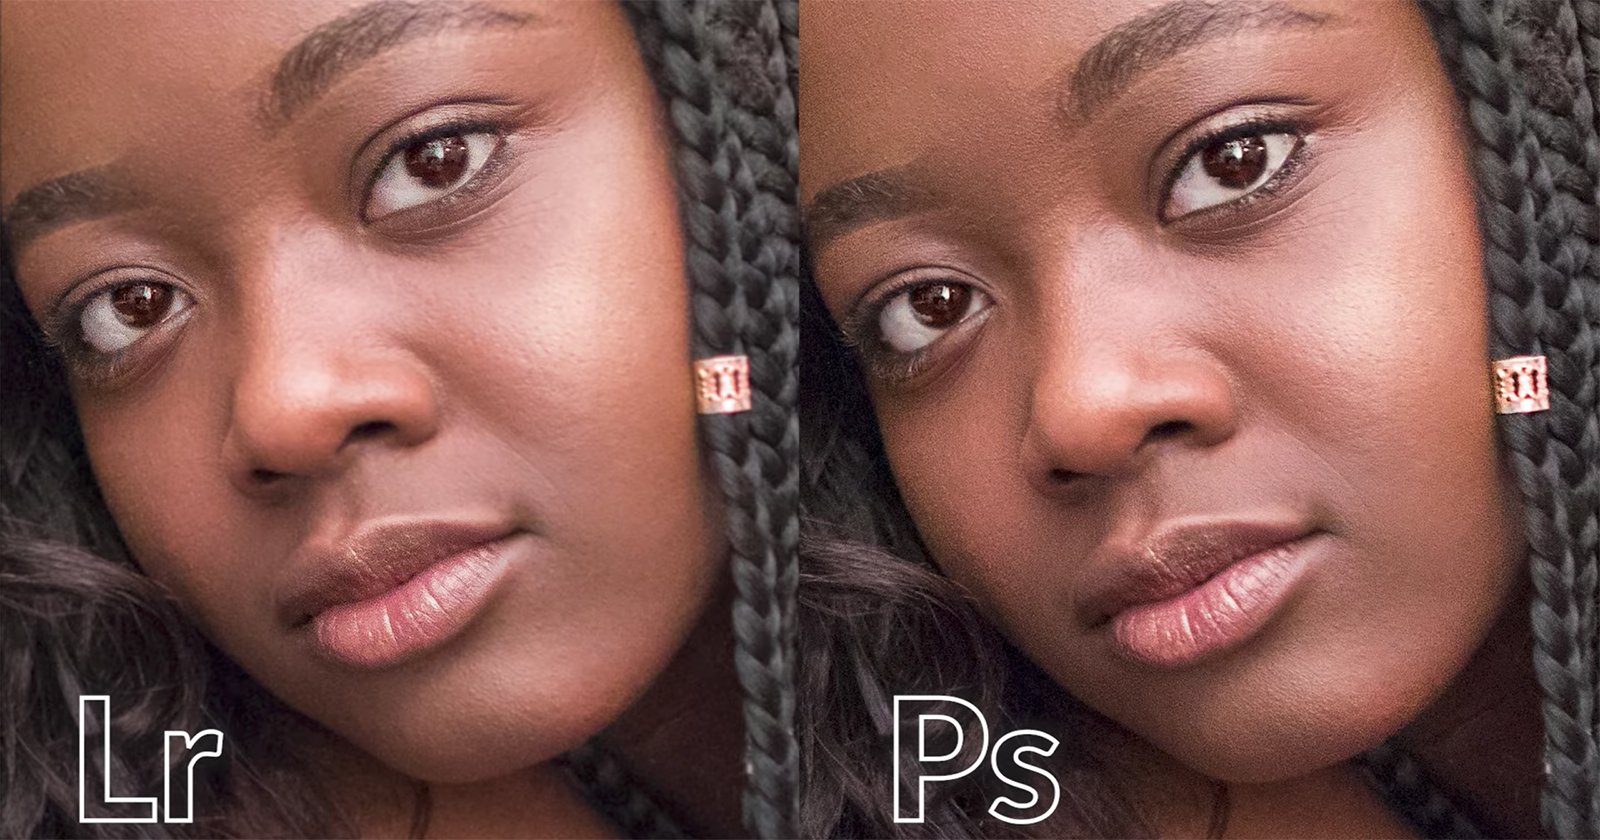
After that, you can simply paint your mask onto the image. For portrait photos, you’ll want to protect the hair and skin details from the High Pass filter, so just paint black over these particular parts of the image.
(via photoshopCAFE via Fstoppers)