How to Sharpen in Photoshop: An In-Depth Tutorial
If you’re not sure how to properly sharpen your images in Photoshop, this tutorial from the Photoshop Training Channel is a godsend—a deep dive into the most common sharpening techniques complete with an explanation of which ones are better and why.
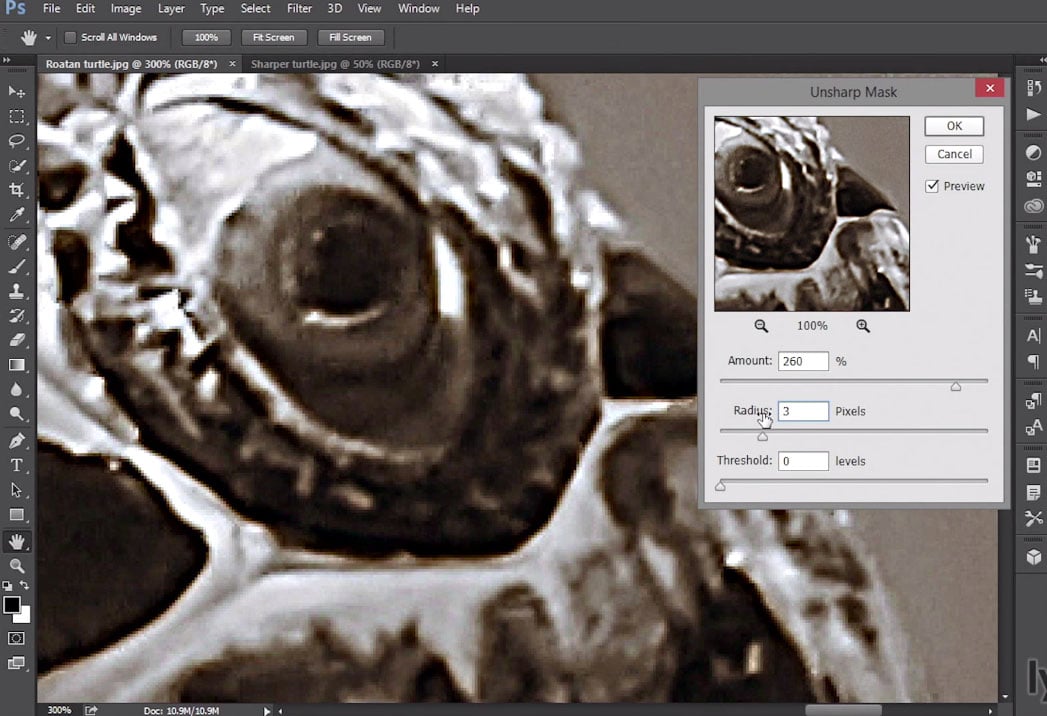
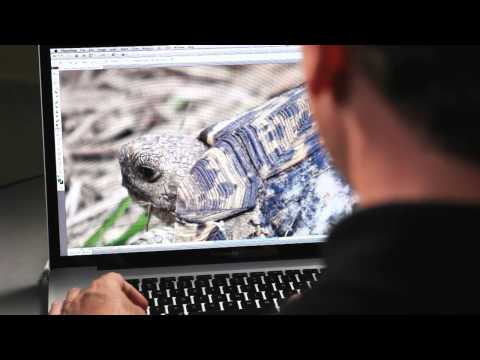
Ramirez begins by covering High Pass sharpening: one of the most common methods, but one that Ramirez tends to avoid because it’s a global adjustment. You can use a layer mask to produce a more targeted result, but overall it’s just not as subtle and easy to customize as Ramirez would like.
Which is why he suggests using one of two other sharpening methods: Smart Sharpen or, his favorite, the Camera Raw Filter.
Smart Sharpen does a great job of applying sharpening without much work on your part. It also gives you plenty of control over how the sharpening is applied, and even allows you to control sharpening in shadows and highlights individually, which can come in very handy.
The reason Ramirez prefers the Camera Raw Filter in the end, is the visual aids available while you sharpen using the sliders. If you hold down Option (Alt on Windows) while you use each slider, Photoshop will show you how and where the sharpening is being applied. This makes it much easier to visualize what changing the “Radius” or adding more “Masking” is doing to your image, and if you want even more control, there’s a blank layer mask already created for you when you’re done.
As usual, Jesus offers one of the most in-depth tutorial dives on a Photoshop topic that we’ve found. Like his fantastic blending modes overview we shared a few weeks ago, this is a must-watch for the Photoshop novice, and might teach even experienced Photoshop users a thing or two.
Check out the full breakdown up top, and if you’d like to see more of Ramirez’ tutorials, visit the Photoshop Training Channel on YouTube and subscribe.