The Simplest and Most Effective One Light Setup I’ve Ever Used
In this post I’ll be sharing the best one light portrait setup I’ve ever used. I’ll come clean right off the bat here and say that I stumbled across this little super easy lighting technique more by luck than skill.
You’re micromanaging the reflector with one hand trying to bounce just the right amount of light back into the shot, you’re scooping, flapping, bouncing and bending the damn thing around the key-light stand with one hand desperately trying to look professional. The result? Well the result for me is that when I load the images up on the laptop for review I find that half the damn shots have the actual reflector peeking in the bottom of the frame! Not good.
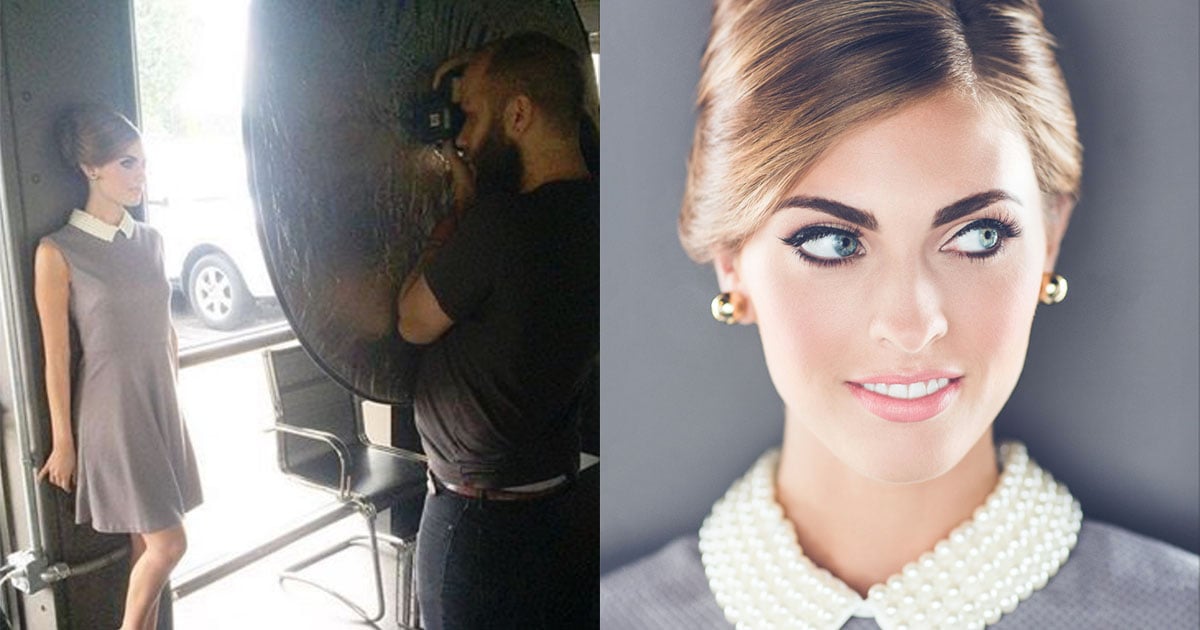
A while back I was experimenting with the reflector by bouncing back light into the shot from two hair lights behind the model pointed towards the camera. I had the reflector on a stand and I was literally holding the camera up in front of it so that the viewfinder was pressed against it and taking pictures using the blessings of autofocus alone because I couldn’t look through the lens.
It then dawned on me ‘to hell with this’ and I cut a very rudimentary hole in the middle of my reflector so I could see what was actually going on.
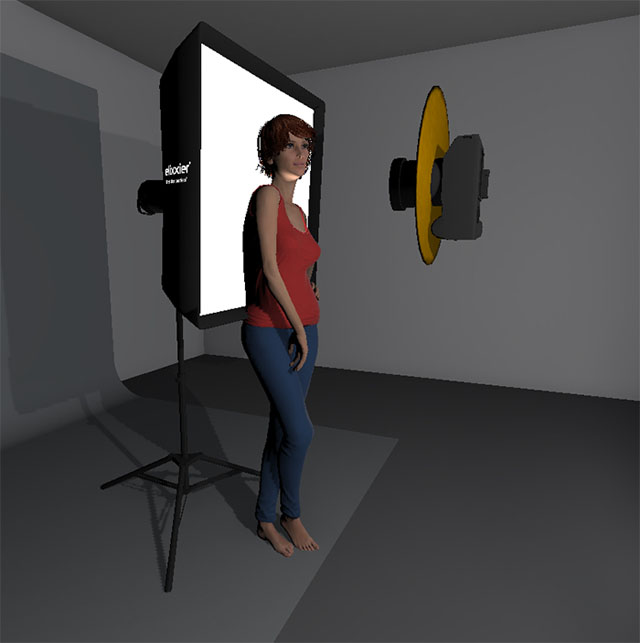
From there I ended up changing the lights around by putting a big softbox behind the model and letting my reflector simultaneously be the key-light and the fill-light. In actuality this super simple setup produces such a flattering light that its got to be one of the cheapest ring flashes you’ll ever find.
Step One: Pick a Reflector
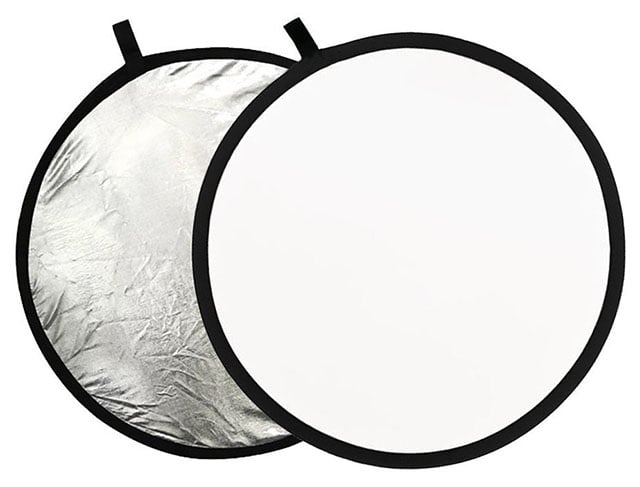
Pick yourself up a super cheap reflector of a decent size. The one that I got was a 32-inch (80cm) diameter one. I wouldn’t go much smaller than that as you want to bounce back as much light as possible. I was fortunate enough to get a reflector that had both silver on one side and white on the other. That means that I can use the silver side to get more of a contrasting look but I can also flip it over to get a far softer look to.
I managed to find mine on eBay for about a fiver. In fact heres the link to a CameraKing UK 80cm 2in1 Silver & White Collapsable Circular Reflector (and no, I unfortunately I don’t have any affiliation with the guy but I am going to message him right now and let him know you lot are coming and to ask where I can buy shares in ‘CameraKing UK’ sharpish).
Step Two: Gather Your Tools
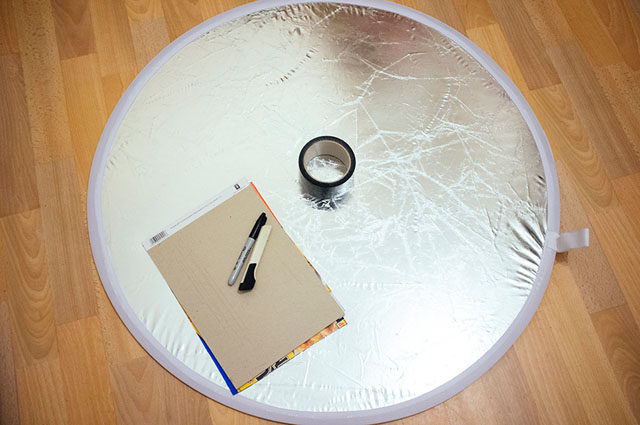
Grab yourself some real simple hobby tools like a craft knife, a thick pen, something circular to draw around (I used a roll of gaffer tape) and something like a cutting mat or cardboard so that you don’t also slice a digestive biscuit sized hole in your lino!
Step Three: Draw a Hole
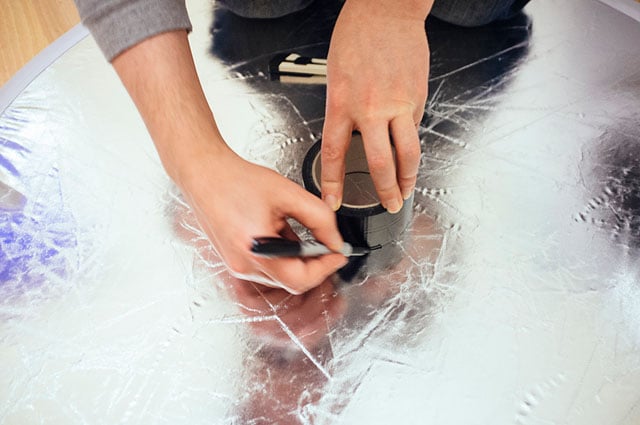
Hopefully you’ve found something of a decent size to draw a circle around in the middle of your reflector. This should obviously be larger than the diameter of your largest lens and I used a roll of gaffer tape as that seemed large enough. In actuality I might go back and find something larger and cut a larger hole so I can stand back a little and still shoot through the hole without getting the reflector in shot.
Step Four: Cut Out Your Hole
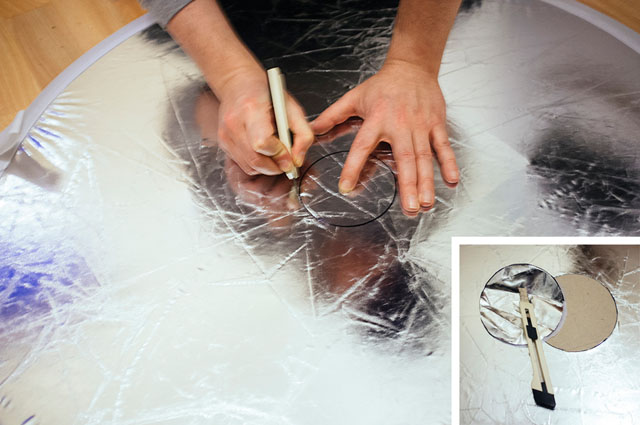
Once you’ve found something of a suitable size to draw around its time to cut that hole. It’s worth mentioning that I just plonked the hole roughly in the middle of my reflector and drew around it. I did think about placing the hole off centre so that when I shot through the reflector I could rotate it to adjust the amount of light I had coming from the top or bottom.
It’s probably worth an experiment at some point but for these shots I just had it in the centre. Place the cutting matt/cardboard underneath and simply cut the hole tracing the line you drew previously.
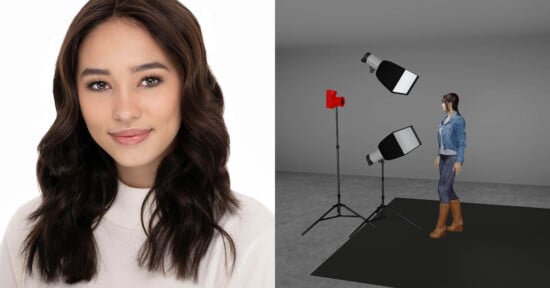
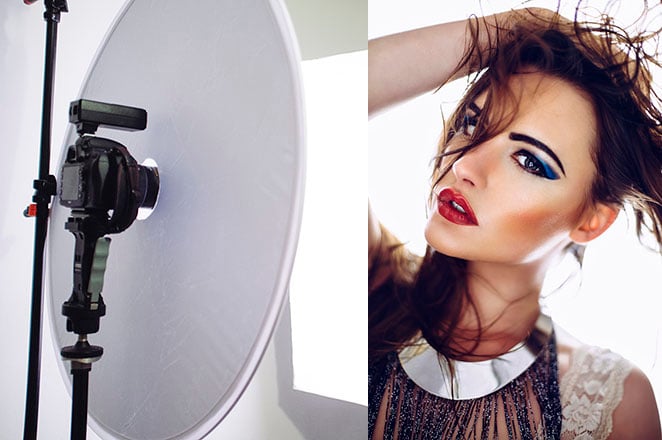
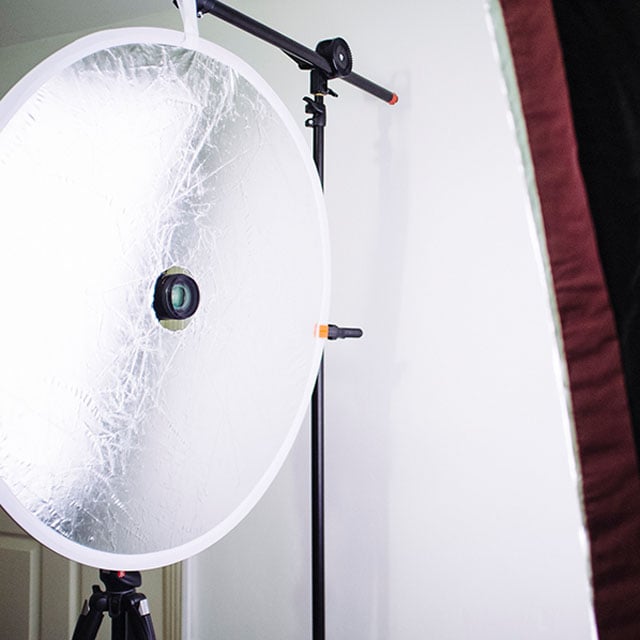
Step Five: Set Up a Softbox
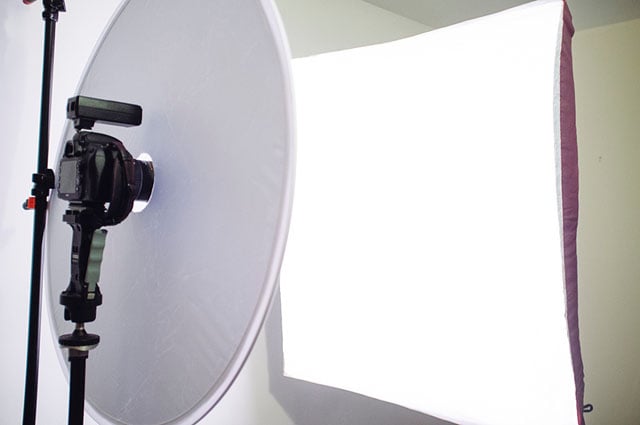
That’s it, you’re pretty much done! All that’s left to do is to set up your one light. I had a big softbox placed behind the model and then hung the reflector on a light-stand in front of her. You don’t even need to hang the reflector though really and it’s pretty easy to just hold it in your other hand. Also your lens is poking through the hole so the reflector is never getting in the shot anyway so it makes it really easy to control.

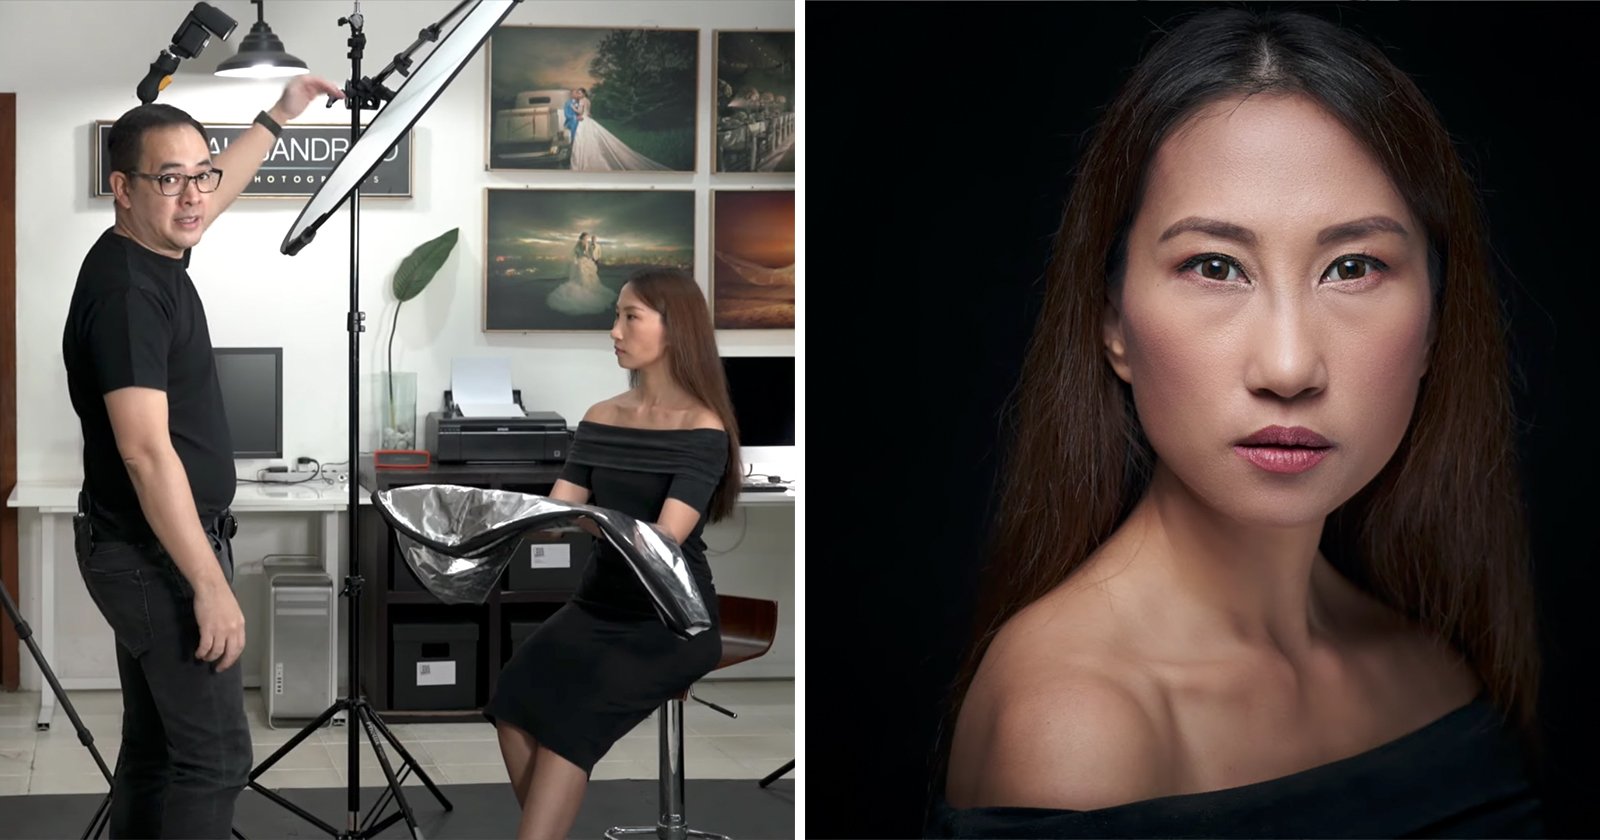
The Results
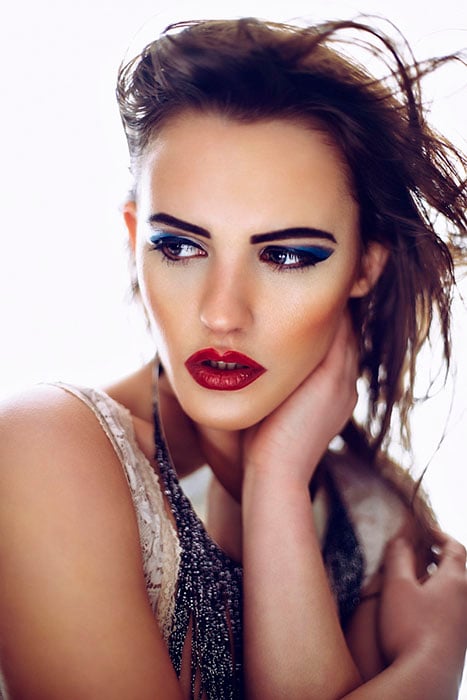
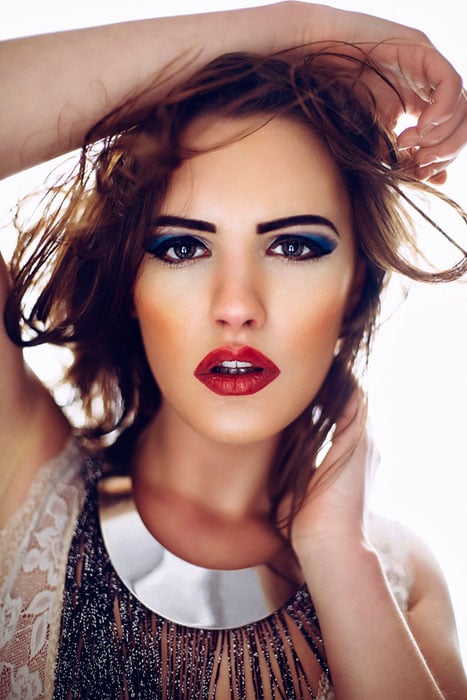
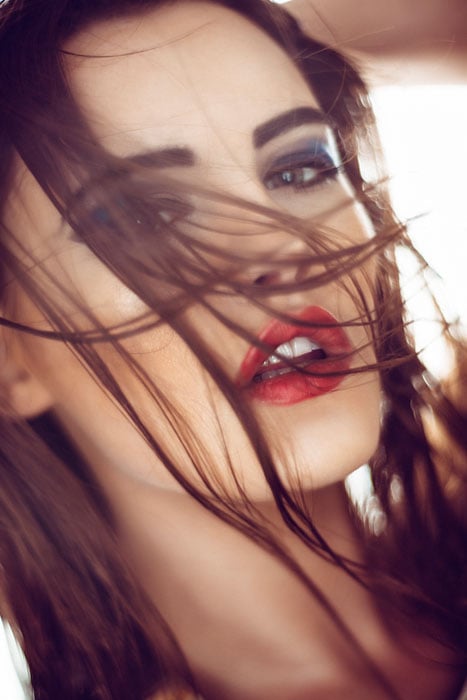
Check out some of the shots I got in literally a few minutes, I was genuinely shocked as to how stunning the lighting looked on the back of the camera straight away. The reason for this is simply just how flattering the lighting is and how that single light wraps around the model and bounces back into the shot giving the impression of the light coming from everywhere.
The softbox light bleeds around the model and cuts into her which has a visually slimming effect (especially noticeable with a shallow depth of field) and then bounces light back into her face from a source that is relatively large to her. This reflected light is coming from everywhere equally so it gives the appearance of very soft, flattering light.

Key Points to Remember
1. Use a silver or white reflector of a decent enough size to cover a half body shot. A 80cm/32in size is a good place to start.
2. Cut a hole in the centre of your reflector large enough to take the diameter of your largest lens.
3. Don’t cut a hole in your carpet.
4. The bounced light of your reflector is your key light. To adjust the exposure of this light you will have to move the reflector closer and further away until you’re happy.
5. Use an Neutral Density filter on your lens to reduce any unwanted power from your strobe and shoot as wide open as your lens will allow.
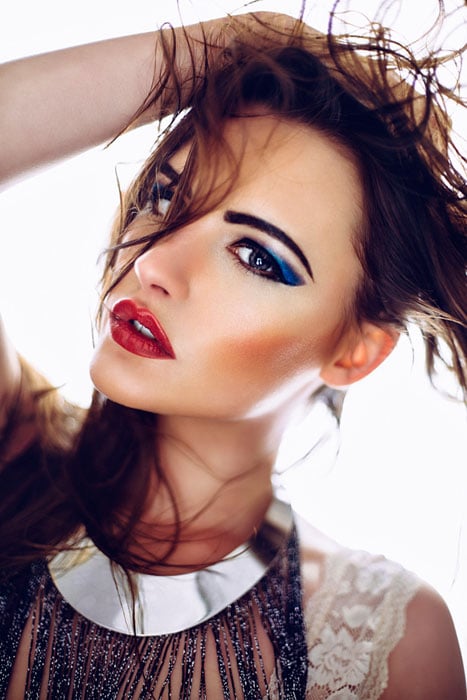
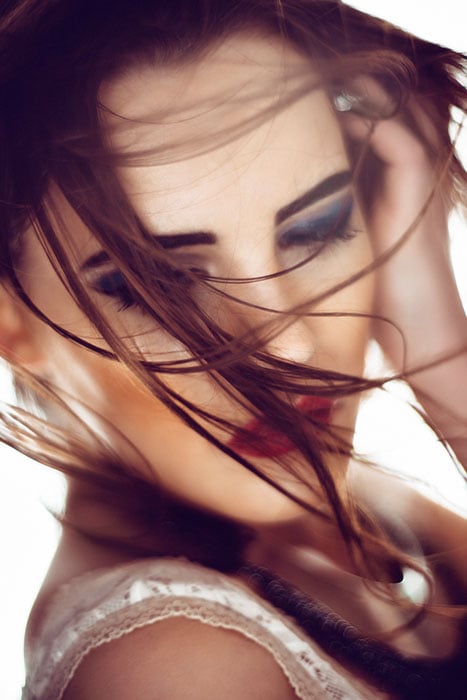
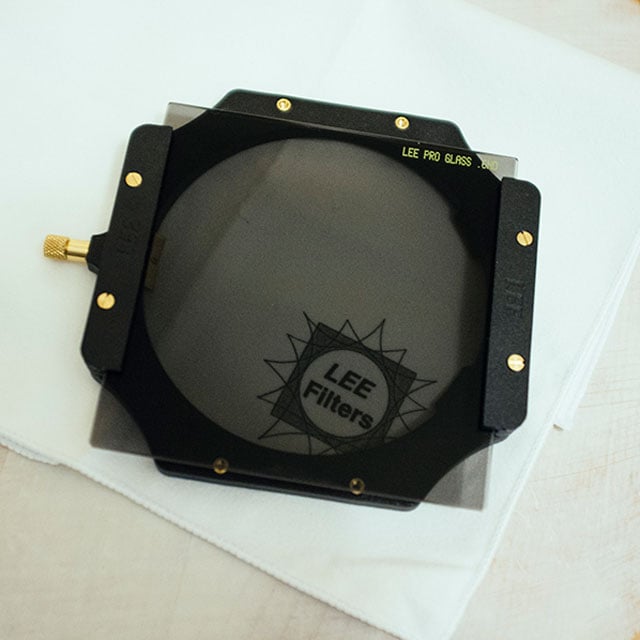
You may have noticed from these shots here that they are all shot with a very shallow depth of field which works particularly well with this type of lighting. I was able to shoot at low apertures with my 500w strobes because I also had a LEE Filters ND filter on my lens.
A lot of studio strobes are so powerful it’s sometimes difficult to shoot wide open when using them but by using neutral density filters you’re able to reduce the amount of light entering the lens and shoot at f/1.8, f/2, etc. to get some beautiful looking shots. This one was a ND 0.6 which stopped 2 whole stops of light from entering the shot. If you’re a studio strobe user and want to start using faster lenses to get these effects, then an ND filter is smart accessory to get.
Instead of an Neutral Density filter for your lens you can also purchase ND filter gels for your strobes to. This gives you greater flexibility with individual lights rather than reducing all light entering the lens. If you’re interested in getting some then Neutral Density gels then they are included in my ‘Utility’ Gels pack here.
Interested in learning more? Check out one of my workshops to learn a whole host of different lighting tips and techniques.
Editor’s note: Earlier today we shared a similar article by photographer Nick Fancher on cutting a hole through a reflector, but Fancher uses different lighting setups.
About the author: Jake Hicks is an editorial and fashion photographer based in Reading, UK. He specializes in keeping the skill in the camera and not just on the screen. You can find more of his work and writing on his website, Facebook, 500px, Instagram, Twitter, and Flickr. This article was also published here.