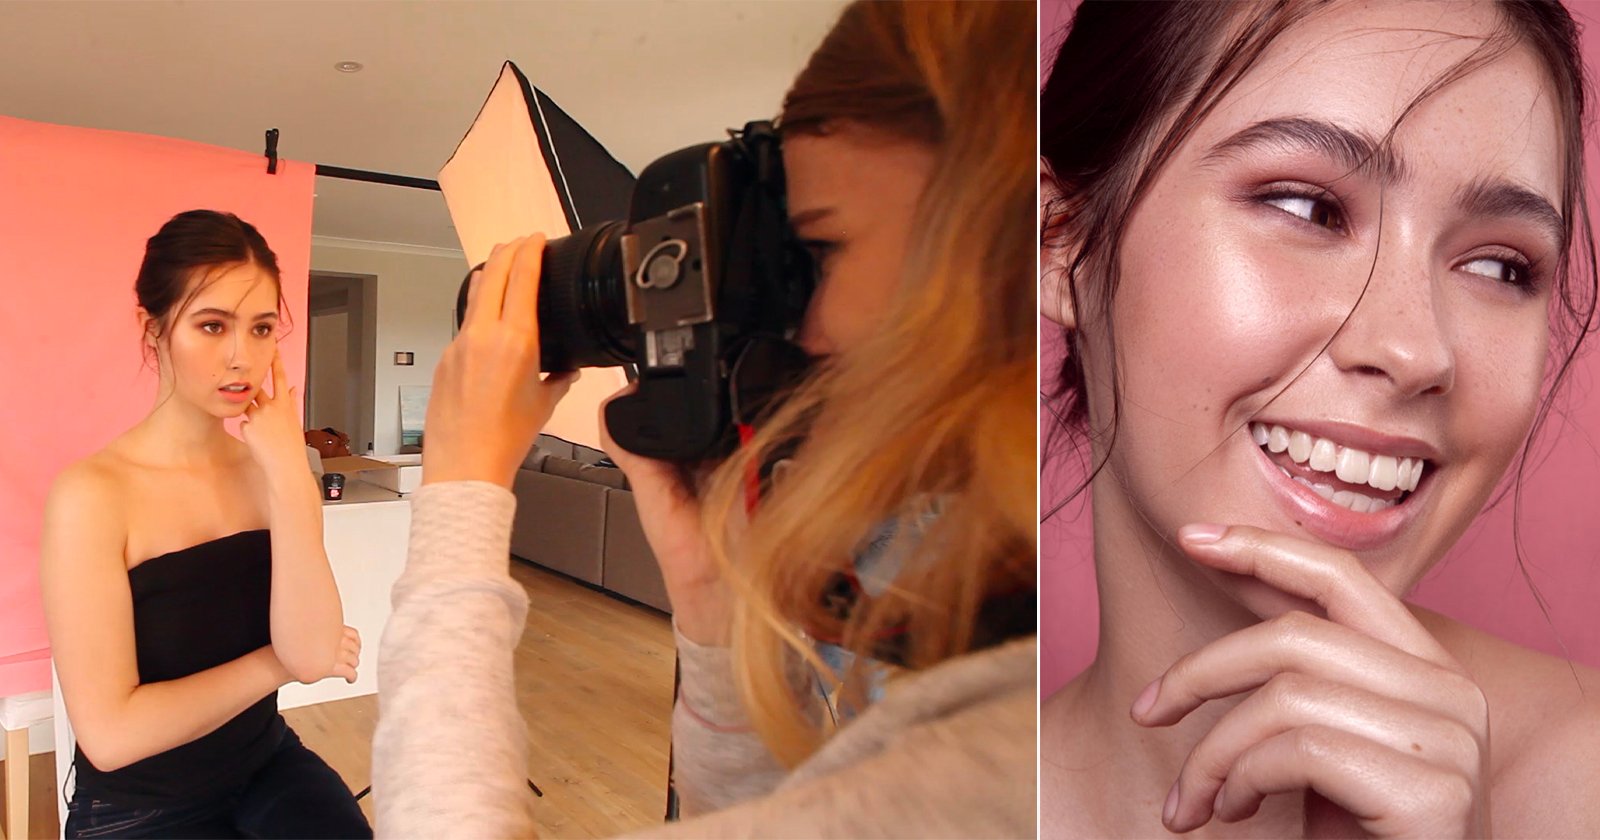
5 One-Light Modifier Setups: Portrait Lighting in 10 Minutes
In this article and video, you’ll get five one-light studio setups, and we’re going to do it in less than 10 minutes. I’m using a Profoto A10 for this setup, but you can use any flash. I’m also going to limit our modifiers to just the basics, so we’ll mainly use an umbrella. For all of our setups, I’ll give you other options, regardless of what I’m using.
Setup #1: Rembrandt Lighting
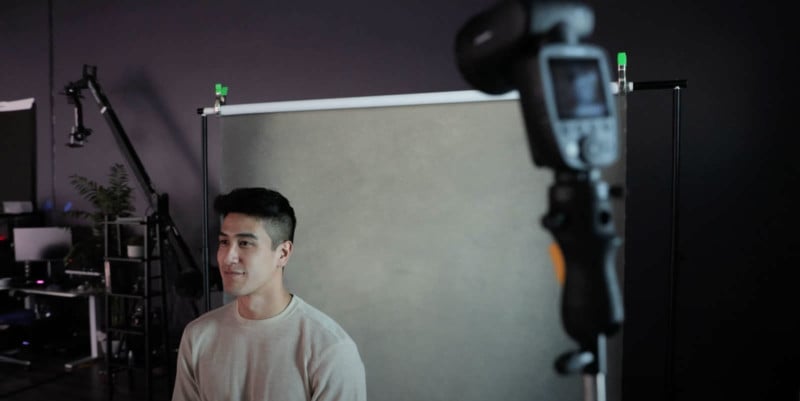
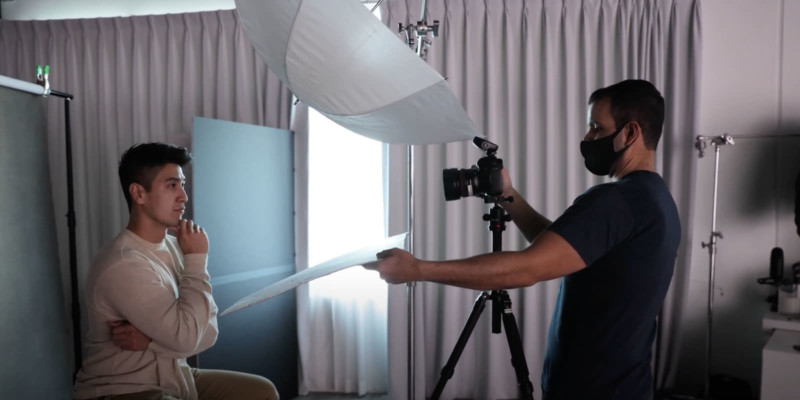
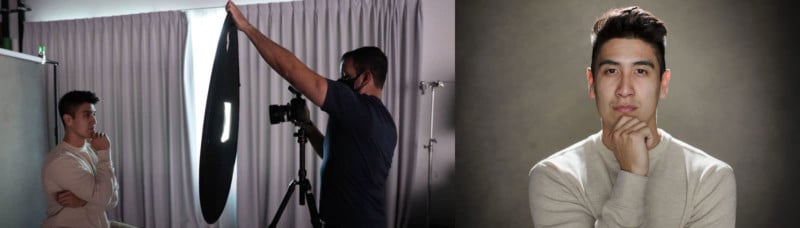
One of my favorite setups is for Rembrandt lighting. For this setup, you’ll need to place the flash at an angle so that the light falls mainly on one side of the face with just a bit of light reaching the far side of the subject’s face, usually in the shape of a triangle (see the image above).
Here’s a simple trick for this setup. Ask your subject to look straight into the camera and then place the light in a spot where, from the light’s position, you can only see a small portion of the far side of your subject’s face (see image below).
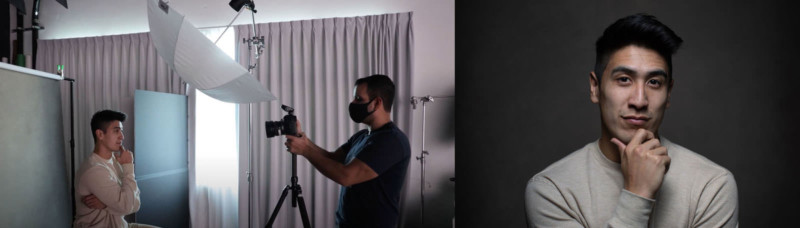
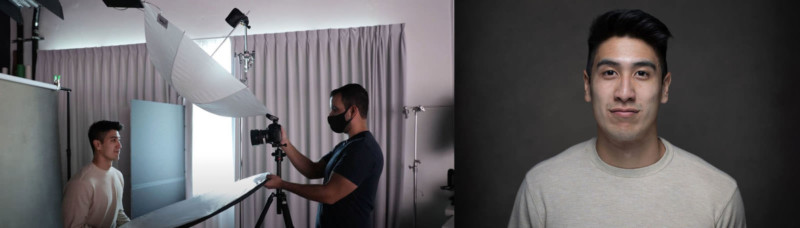
From there, simply add the modifier onto your light source. I’m just using a standard shoot through umbrella, which you can find on Adorama for around $10. For my camera setup, I’m using a Canon RF 50mm f/1.2 lens. I’ve set my exposure (1/200, f/4, ISO 100) so that if I take a shot without any flash whatsoever, my image comes back completely dark. I’ve cut away all the ambient light, meaning the only light you’re going to see in the image is coming from the flash that I’ve added.
As a reminder, Rembrandt lighting is characterized by a little triangle highlight on the far side of your subject’s face. You can control the size and placement of that triangle by just simply adjusting the face position. If you want more of the highlight, turn the face a little bit more towards the light source; if you want a little bit less of the highlight, turn the face away from it.
Also, if you want to fill in the shadows, you can use a v-flat (ours is from V-Flat World) to bounce light back onto your subject. These are fantastic modifiers to have in the studio, but if you don’t have one, you can use a 5-in-1 reflector with the white side facing the light source. Of course, you’ll need a stand for the reflector as well.
Setup #2: Paramount or Butterfly Lighting
This next lighting setup is often called Paramount because Paramount Studios often used this setup when photographing their actors and actresses. It’s also called butterfly lighting because of the little butterfly shape that it creates in the shadow just below the nose.
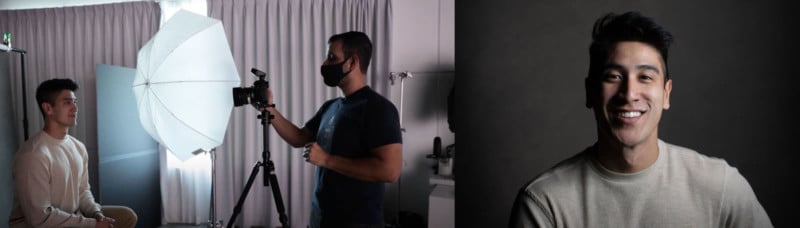
To use this setup, place the flash directly above your subject’s head at a downward angle. I’m using the same umbrella from the previous setup. This setup is simple and it does a great job of highlighting the hair, as well as contouring the cheeks and the face. Just remember, you may need to (and probably should) experiment with the height of the light source to ensure that you’re getting fill light into the eyes. If you’re not getting enough light into the eyes, just lower the light a bit.
Setup #3: Clamshell Lighting
Grab yourself a reflector and add it to the previous setup to get clamshell lighting. Have your subject hold the reflector around waist-high, or they can set it on their lap if seated.
We started with the silver side of the reflector facing upward and you can see that the light bounced off of it and filled in all the shadows while also adding quite a bit of catchlight. You can control this in one of two ways: First, bring the reflector up closer to your subject’s face; the closer it gets, the more light is going to fill into the face (move it farther away for less light). The other way we can control the light using this setup is by simply using the white side of the reflector.
If you don’t have a reflector, grab a bounce card or anything any white – a piece of foam core, poster board, or whatever you have. Bring the reflector up close to your subject, direct them into a pose, and capture the shot.
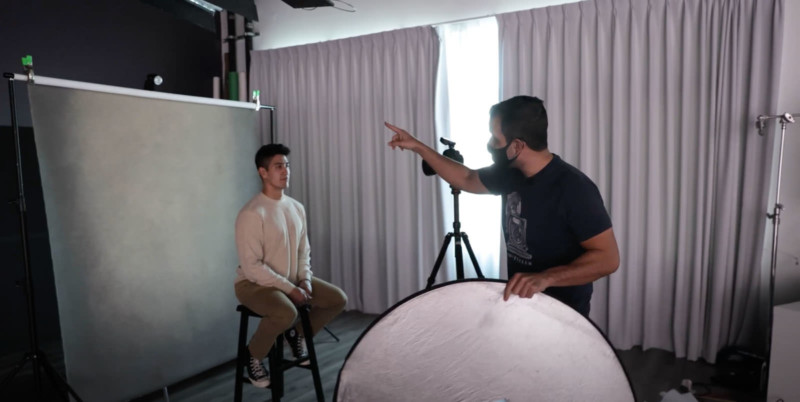
Setup #4: Square Lighting

With a square lighting setup, we’re essentially filling light from all angles. In addition to the umbrella and reflector, I’m going to use v-flats on both sides of my subject. If you don’t have v-flats, grab two reflectors and hang one on each side with a primary light at the top and a third reflector on the bottom.
An actual, professional square lighting setup can cost thousands of dollars. This is a very simple and effective way of doing the same thing without all the gear. The cool thing about the square setup is it does a really great job of filling shadows for the entire face. It creates a very flattering overall look, great for headshots.
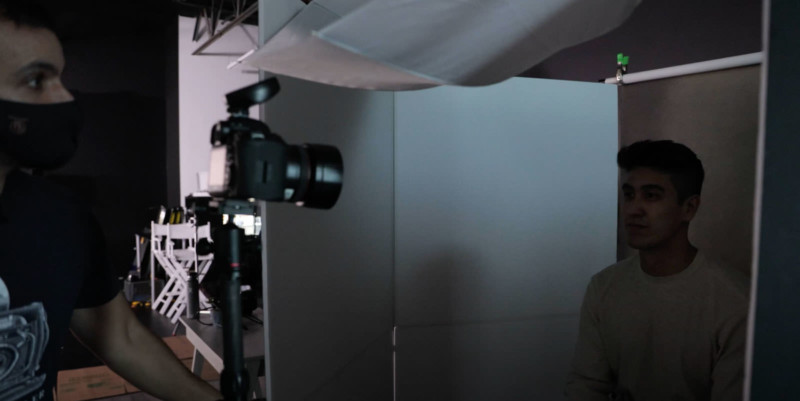
Setup #5: Backlit Flat Light
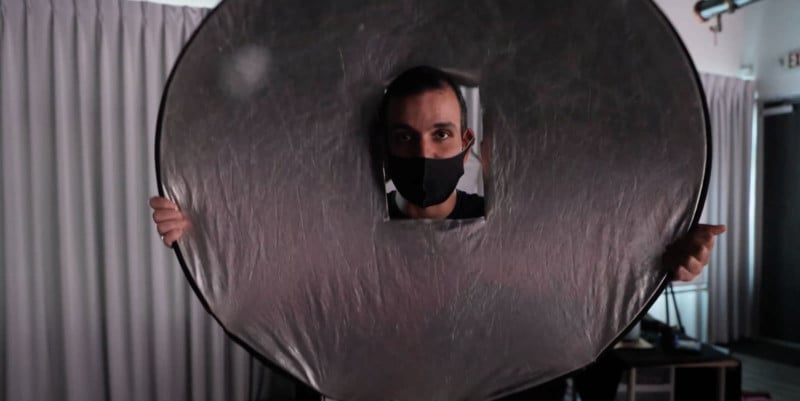
For this setup, you’re going to grab a reflector and, brace yourself, cut a hole right in the center of it. If you’re worried about the price, these things cost around $30. Hopefully, you can swing it.
I’ve placed a flash right above my background (see the image above), essentially creating a two-light setup using only one light. I angled the flash down to skim right over my subject’s head and bounce off of the reflector and onto my subject’s face. The resulting light resembles a square light setup but with a hair light falling from behind the subject.
You can handhold this setup yourself while capturing the shot, but I’d recommend getting a reflector stand if you plan to use this setup often. They’re quite inexpensive and will prevent you from throwing out your arms while you’re shooting.
We hope you enjoyed this article/video on 5 one-light setups for capturing portraits.
P.S. If you’d like to dive deeper into lighting, check out our Flash Photography Training System over at SLR Lounge, which is part or our full library of Premium workshops.
Be sure to catch our next episode of Mastering Your Craft on Adorama’s YouTube channel next week! If you want to catch up on all the episodes, make sure you check out our playlist!
About the author: Pye Jirsa is a wedding photographer based in Southern California and the co-founder of SLR Lounge. The opinions expressed in this article are solely those of the author. You can find more of Jirsa’s work here. This article was also published here.