How to Build and Use DIY Strip Light Modifiers for Speedlights
Do you enjoy making your own lighting gear instead of spending hefty fees for commercial products? Here’s a 10-minute tutorial by photography instructor Joe Edelman on how to build and use your own strip light modifier for under $25.
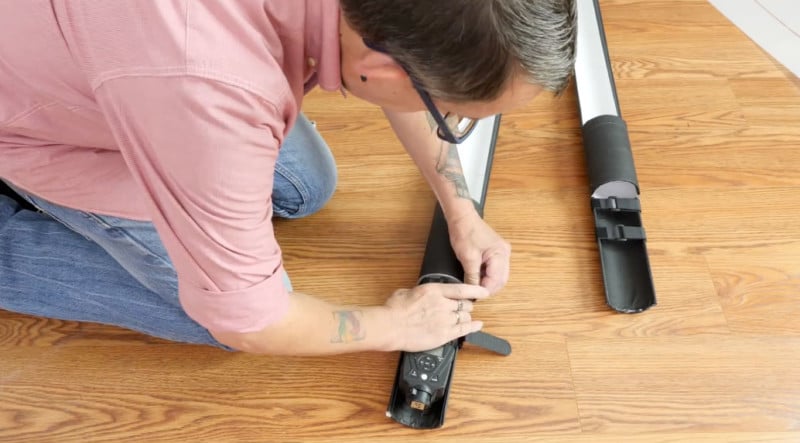
With this DIY model, you are able to mount it either vertically or horizontally while still retaining access to the controls.
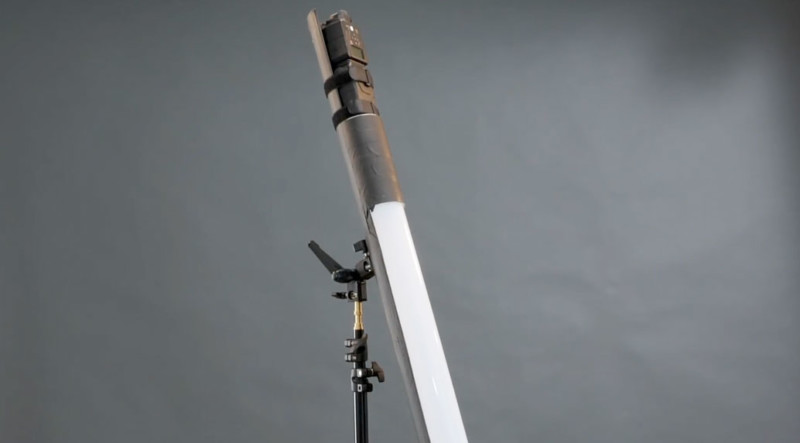
To create it yourself, you’ll need the following:
- 3″ x 60″ Kraft mailing tube with end caps ($4.81)
- 1″ x 12″ Hook and loop cable tie down straps ($1.09 each)
- 24″ x 48″ sheet of white translucent plastic film ($10.36)
- Tripod screw holder adapter ($1.99)
- Flash speedlight umbrella holder ($4.33)
- 1″ flat washer
- 1/4 20 x 1″ screw
- Jigsaw / table saw / sharp utility knife
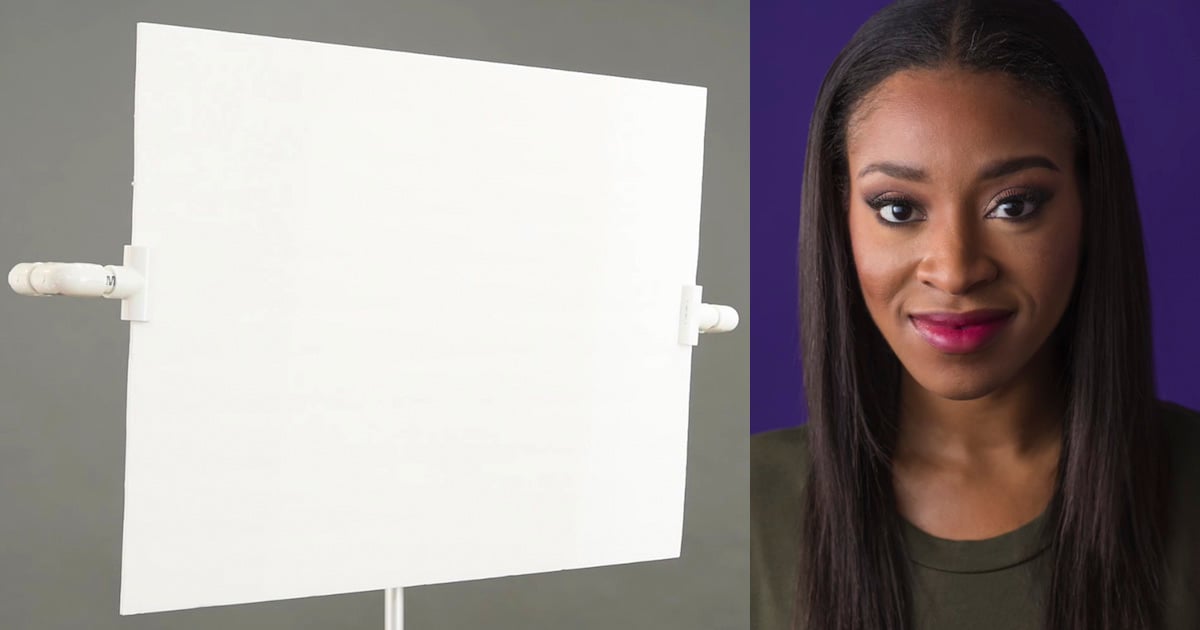
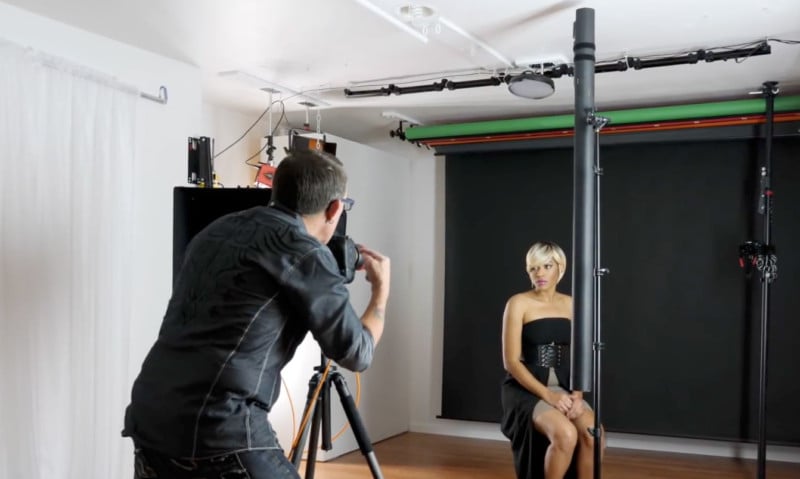
The video also includes some great tips for how to actually use the strip light in the studio.
For example, with the strip positioned on the right (and with the majority of the strip at a height to ensure light falls from above) a very nice portrait can be taken with just a single light source.

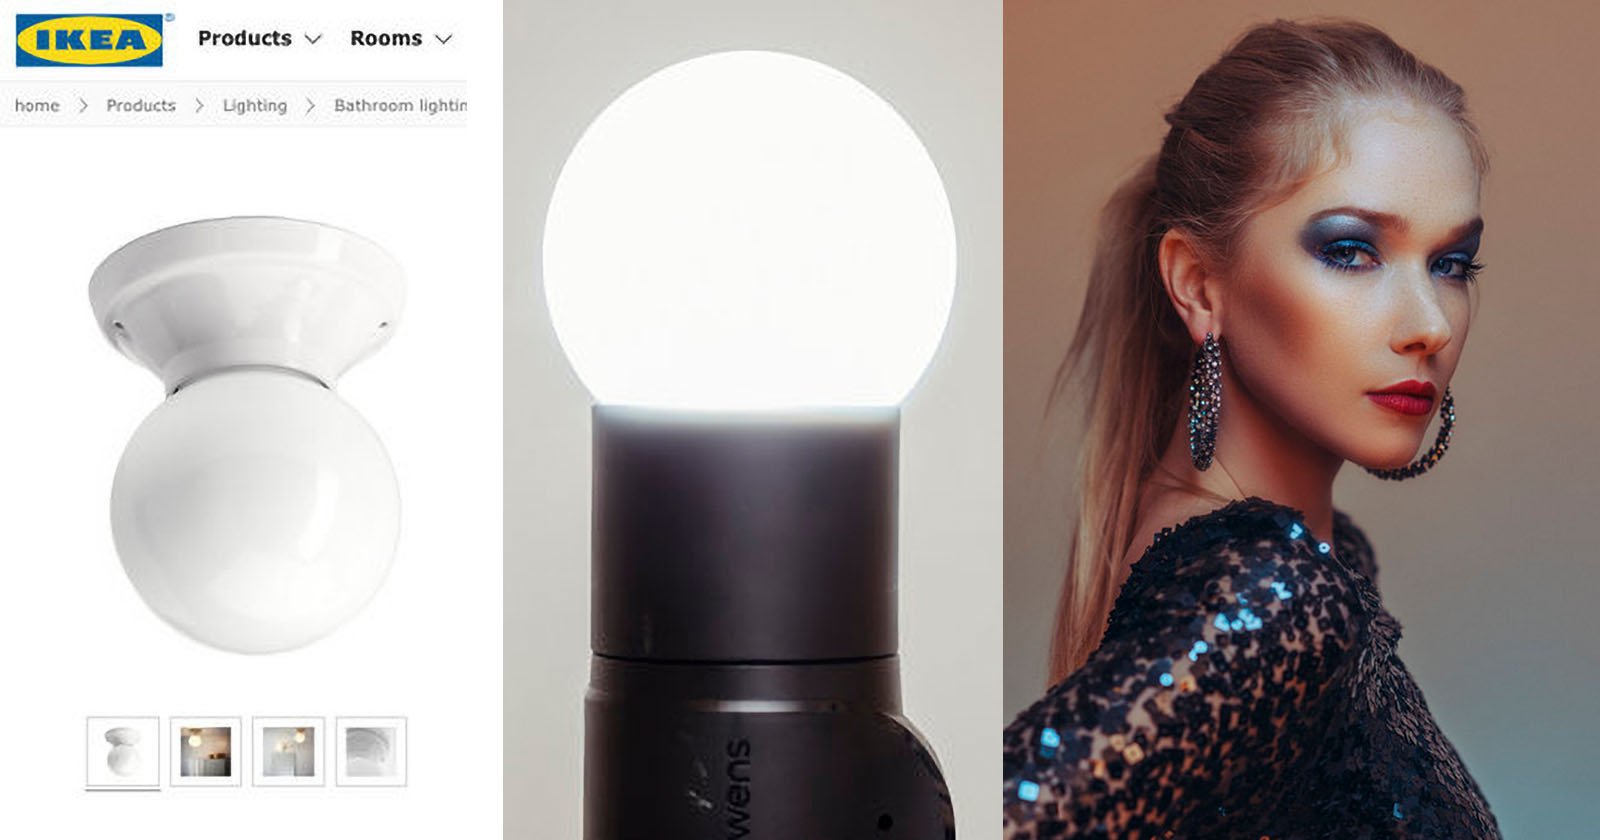
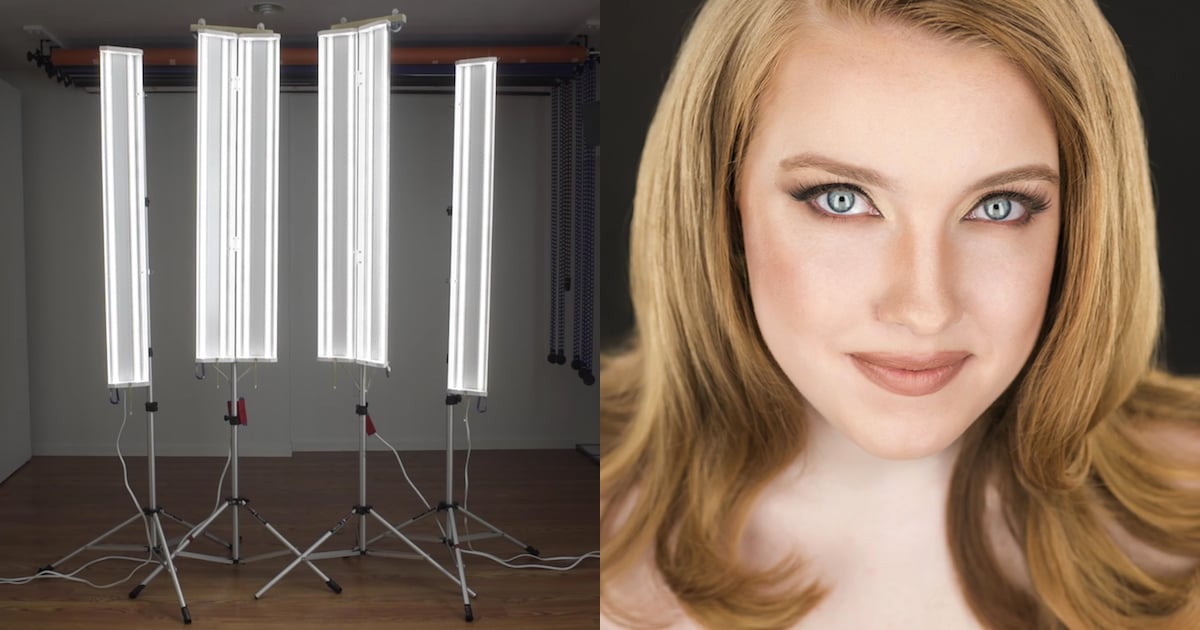
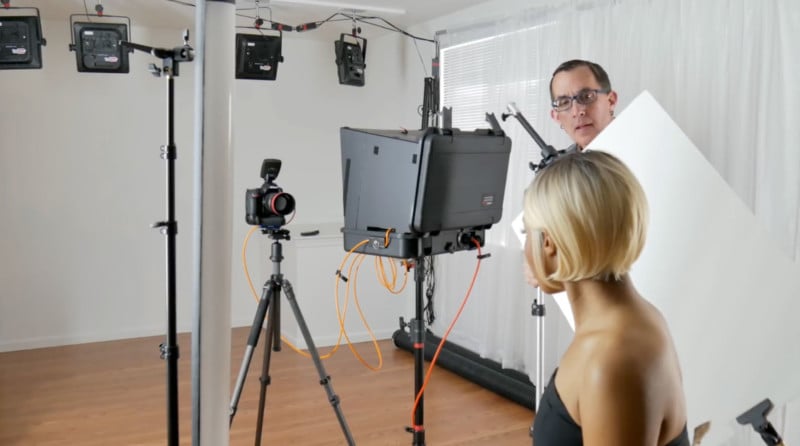
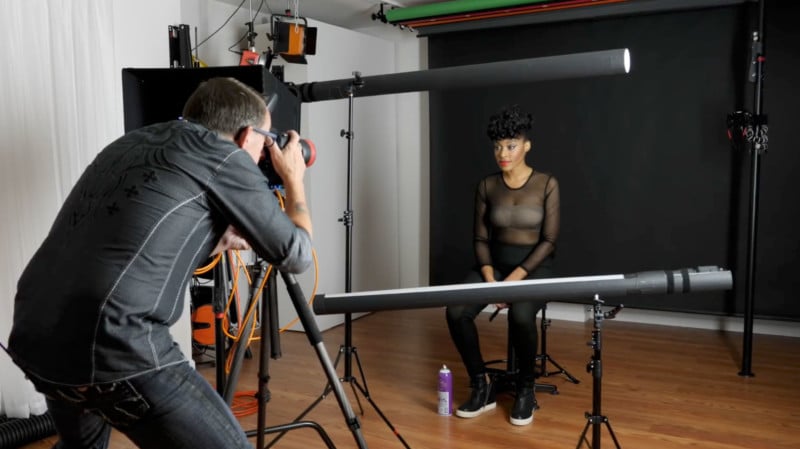
Here are some other examples of different setups, as well as the resulting images:


Check out the full video above for a more detailed walkthrough on building and using this type of strip light. You can also find more of Edelman’s videos through his YouTube channel.