A Primer on Speeding Up Your Photoshop Workflow with Actions
Adobe Photoshop serves as an important process in many photographer’s daily workflows. Whether you are fine-tuning your shots from a wedding or simply touching up a photograph of your cat, Photoshop can help you bring your mind’s visualizations to life. However, you may be utilizing more of your time than needed if you employ repetitive actions without the use of macros.
Understanding the Action Window
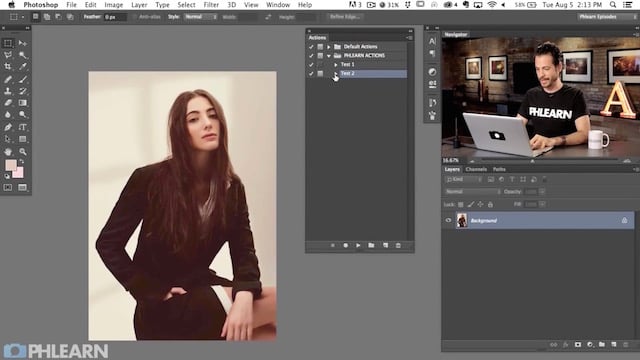
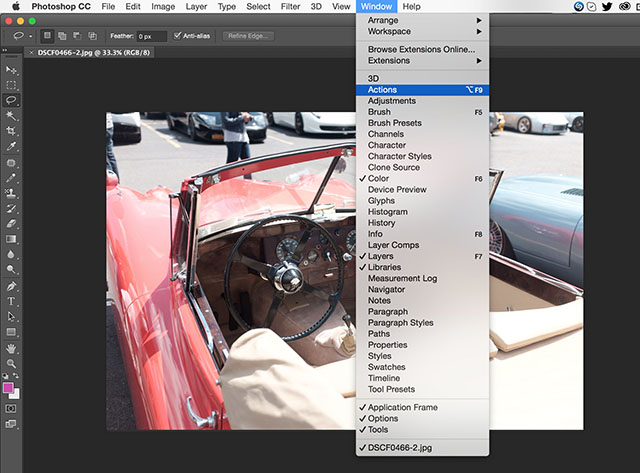
Let’s start with a basic understanding of how to create a simple macro before delving deeper into more advanced tips and tricks. We begin by making sure that the action tool is visible. The action tool icon is a ‘play button’ that shows up on the right-hand side of the screen. If it is not visible, you can head to the ‘Window’ menu at the top of the screen and select ‘Actions’ from the dropdown. Alternatively, you can use the hotkey “Ctrl-F9” (PC) or “Command-F9” (Mac).
Once the action tool is available, click on it to reveal the small action window. The window itself has two modes of display: standard mode and button mode. To ensure that you are in standard mode, click the small hamburger button in the upper left hand of the action window and make sure that ‘Button Mode’ is not checked.

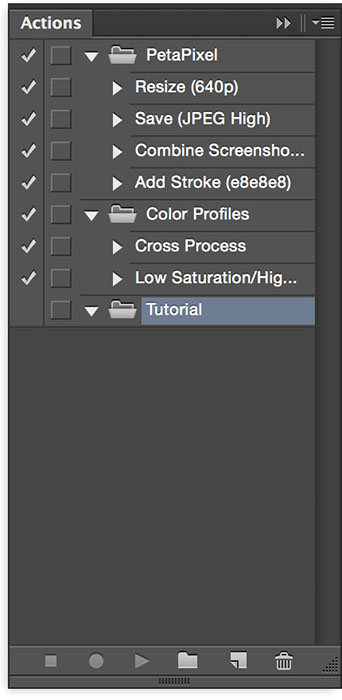
You will notice six buttons at the bottom of the action window; going from right to left they include a trash button for deleting created macros, a ‘new action’ button for creating new macros, a ‘new set’ button to create folders for your macros, the play button to execute a macro, the record button to program a new macro, and the stop button to stop recording a macro.
Creating a Basic Action
Let’s start by creating a new folder to store our two tutorial actions that we will be creating. Select the ‘new set’ button we previously mentioned; feel free to name the folder to your heart’s desire. The two macros that we will be creating include one that will allow us to instantly apply a set style to an image while the other will enable us to quickly save a file with our ideal settings.
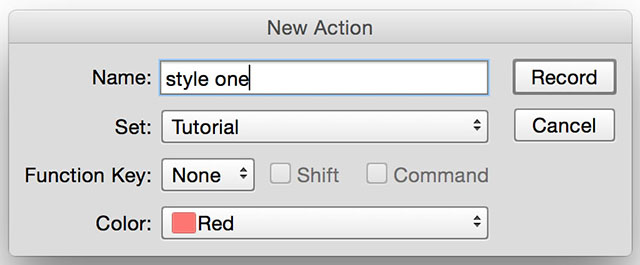
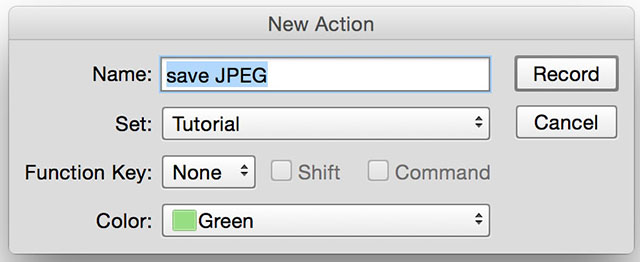
Open a photograph you would like to work with in this example. Once the photo is open, click on the folder you just created within the action window and select the ‘new action’ button. A popup will appear asking you to name the new macro; let us call it ‘style one’. You will also see that you have the option to ensure that it is placed within the correct set (or folder). Two additional options allow you to map the macro to a keyboard shortcut and select a color. For now, choose the color red from the drop down menu.
Once you have named and set up your action’s settings then select the ‘Record’ button. Everything from this point on will be recorded, so make sure not to hit any buttons that are not intended to be selected.
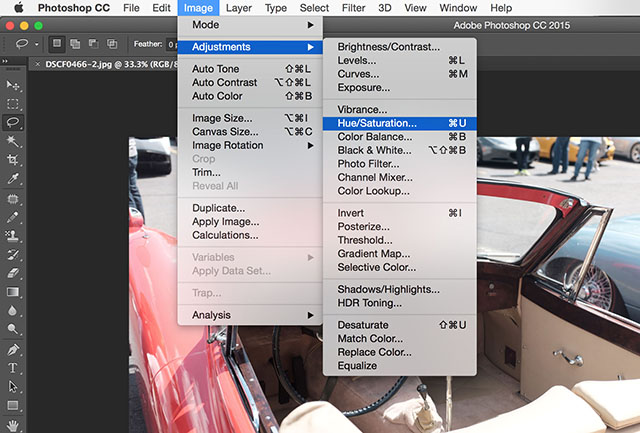
With the action recording, head to the ‘Adjustments’ sub-menu under the Image menu at the top of the screen. Within the adjustments sub-menu select the ‘Hue/Saturation’ option – set the saturation to ‘-50’ and hit ‘OK’. Next repeat the same process, but select the ‘Brightness/Contrast’ option – set the contrast to ‘+50’ and hit ‘OK’. End the recording of the macro by hitting the ‘stop button’ within the action window.
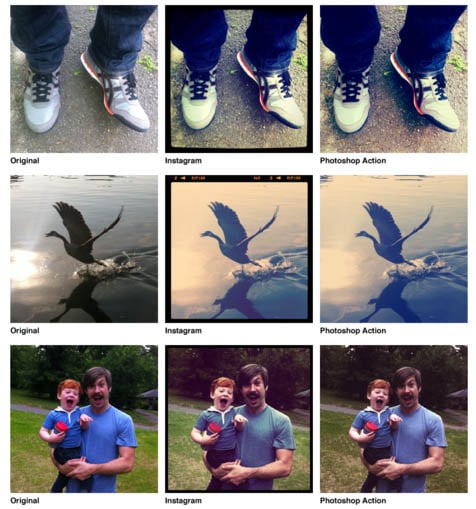
You will notice that your macro is now saved for playback. Close the photograph we were just working on and open a brand new (and different) image. Select your newly created macro from the action menu and press the ‘play button’. You will notice that your image will instantly be applied with the settings we previously recorded. If you check the ‘History’ list in Photoshop, you will find that the settings we employed before have been instantly applied with the push of a single button.
An Additional Example
You have created your first Photoshop Action – congratulations! Let’s create one more, so that we can easily save the image without having to navigate through the save menu each time. Begin by selecting the same set we used before and hit the ‘record macro’ button. Name this macro “save JPEG” with the color set to ‘green’ and then begin recording.
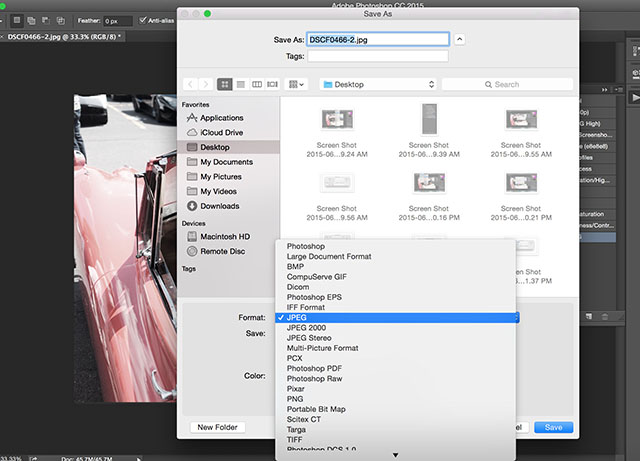
Once you are recording, head to the File menu and select the ‘Save As’ option. Keep the file’s default name, but change the ‘file type’ to JPEG and alter the destination to your desktop. Hit the save button and, when prompted, choose to save your file with ‘high’ quality settings. Now that you have saved the test file, stop recording the macro. Congratulations, you have created your second macro that will save a file to your desktop as a high-quality JPEG.
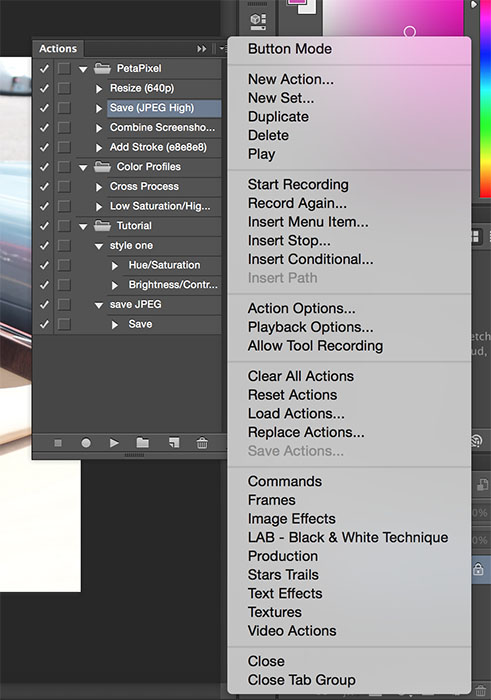
Now that you know how to create basic macros let’s take a closer look at the information within the action window. You will notice that the set you created has a drop-down arrow next to it allowing you to view the actions you have stored within it. You can also click the drop-down arrows next to the macros themselves to see each step involved in its execution.
Customizing Your Actions
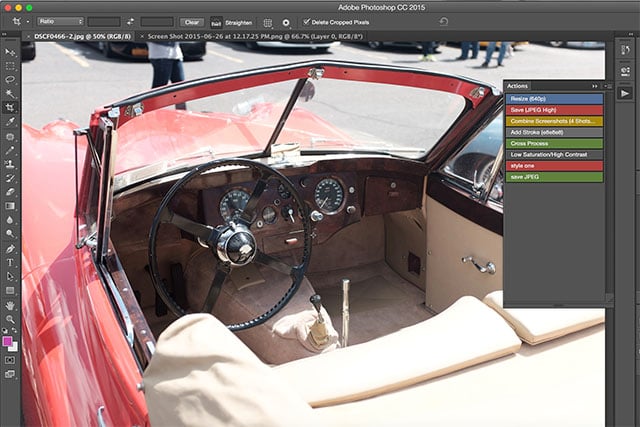
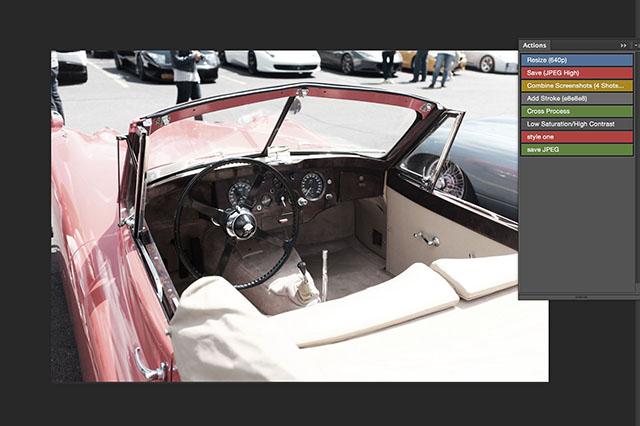
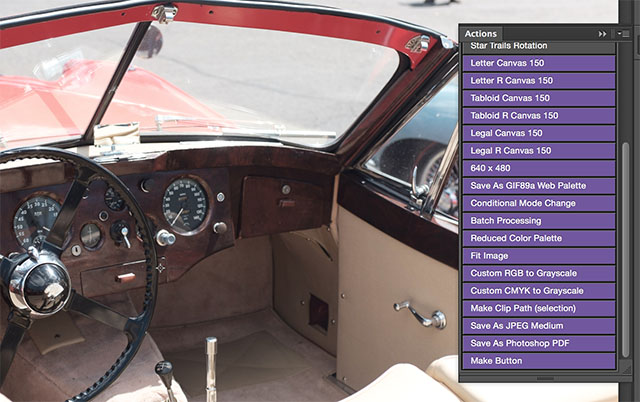
We can make the available actions more pleasant to the eye by selecting the hamburger button in the actions window and selecting ‘Button Mode’. Notice your actions now appear as simple to press buttons in the colors we previously selected.
Let’s switch back into the standard mode by unchecking the ‘Button Mode’ option. Highlight the ‘style one’ macro and head back into the hamburger menu. You will notice some redundant choices that enact the same options we previously utilized. However, you will also see a number of new options for getting a bit more involved with your actions. Most notably will be a list of options to insert paths, stops, menu items, and conditions into your existing actions.
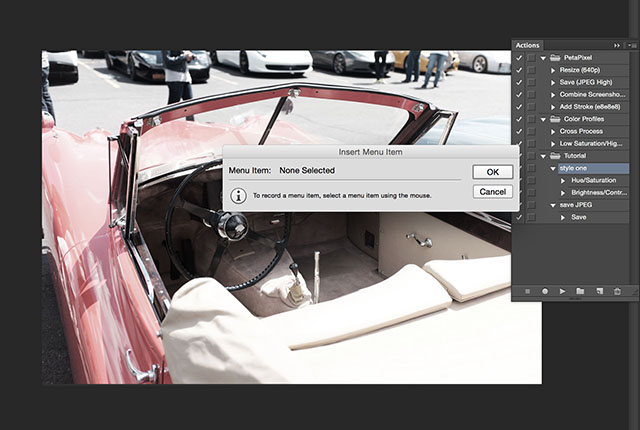
The menu item selection can be used to add a menu command to your action, while the path section can be used to insert a new complex path such as what is created with a pen tool. Inserting stops will allow you to create a ‘pause’ in your macro so that you can carry out commands that might not record exactly as you wish, then continue with the rest of the macro’s instructions.
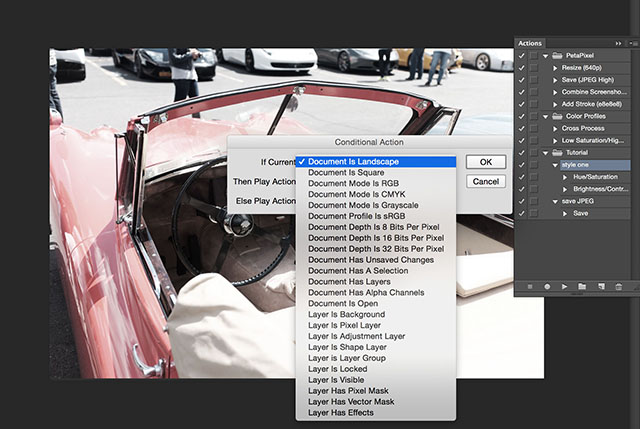
The conditional menu option will allow you to set certain situations in which your macro will run. You can even choose to have a different set of commands played if your exact condition is not met. For example, maybe you only want a macro to play when the document is in landscape, employing this option will allow you to setup that rule.
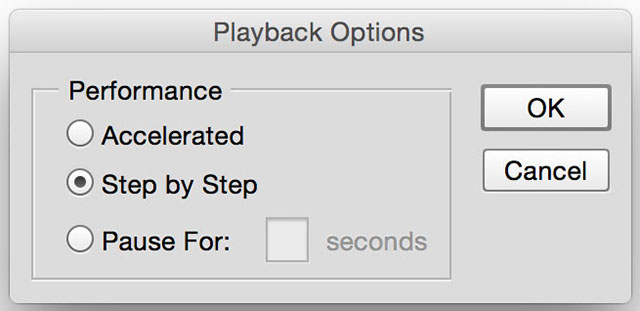
Lastly, let’s take a look at the ‘Play Back’ menu option. This button enables you to select how fast your action will execute. By default, the action is set to play at an ‘accelerated speed’, meaning that you do not see each step, but instead simply view the outcome. You can change this option to ‘Step by Step’ if you want to watch each adjustment made in real-time. Lastly, there is a “Pause For” option that allows you to select a pause time between the execution of each command.
Looking further down the menu list, you will see a number of pre-created actions that you can play with. Different sets that are automatically packaged with Photoshop include preset commands, frames, image effects, black and white techniques, star trails, production commands, text effects, textures, and video options. There are some quite useful actions included. If you decide to use any of them, be sure to switch to default mode so that you can take a closer look at exactly what commands are executed.
Actions are a very powerful tool that enable you to get your work done faster than ever before. Every day I use macros while working to quickly arrange mobile phone screenshots, save files with web optimized settings, and more. Once you begin to utilize macros in your workflow, you will find yourself more productive than ever before.