Neat Trick: How to Customize Your Lightroom 5 ‘Splash Screen’ Image in Less Than a Minute
Here’s a really neat little customization trick that Adobe are allowing you to do if you’re using Lightroom 5 or newer. You know that splash screen that pops up when you first open up LR, the one with all the developers’ names on it? You can now replace that image with one of your own in just a couple of quick steps!
The tutorial was created by Craig McCormick of Destructive Pixels for our good friends at F Stop Lounge, and the process couldn’t be any simpler.
Step 1: Create a new splash screen image. This can be a JPEG or PNG, and can be as large as 900 x 600px.
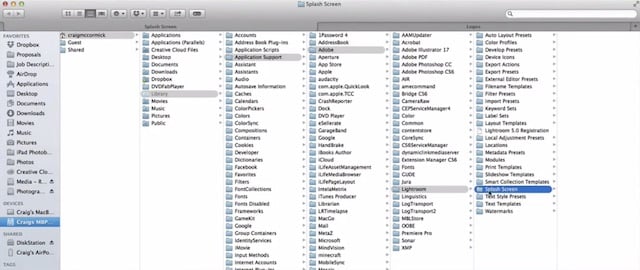
Step 2: Find or create your splash screen folder. This will be found at Users/[username]/Library/Application Support/Adobe/Lightroom/Splash Screen if you’re a Mac user, or Users/[username]/AppData/Roaming/Adobe/Lightroom/Splash Screen if you’re using Windows. If there’s no Splash Screen folder at that address, no worries, just create your own like Craig did:
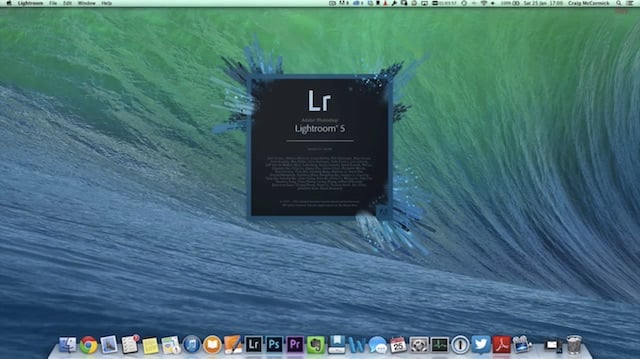
Step 3: Add your image to that Splash Screen folder… and that’s it! You’re done. The splash screen should go from this:
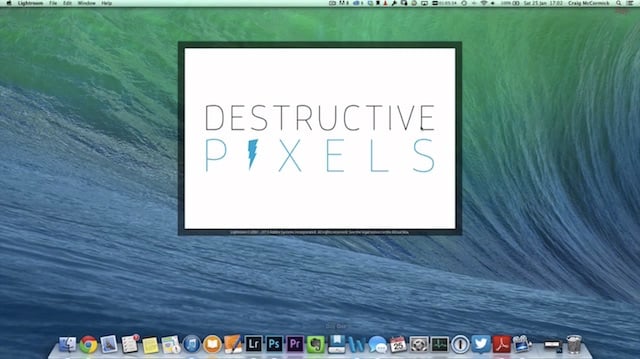
To something custom:
Check out the video above to see the process in action for yourself. And if you’d like to see more from Craig, head over to his website or give him a follow on Twitter, Facebook or 500px.