Long Exposure Photography of a Moving Car at Night Using a Carbon Boom
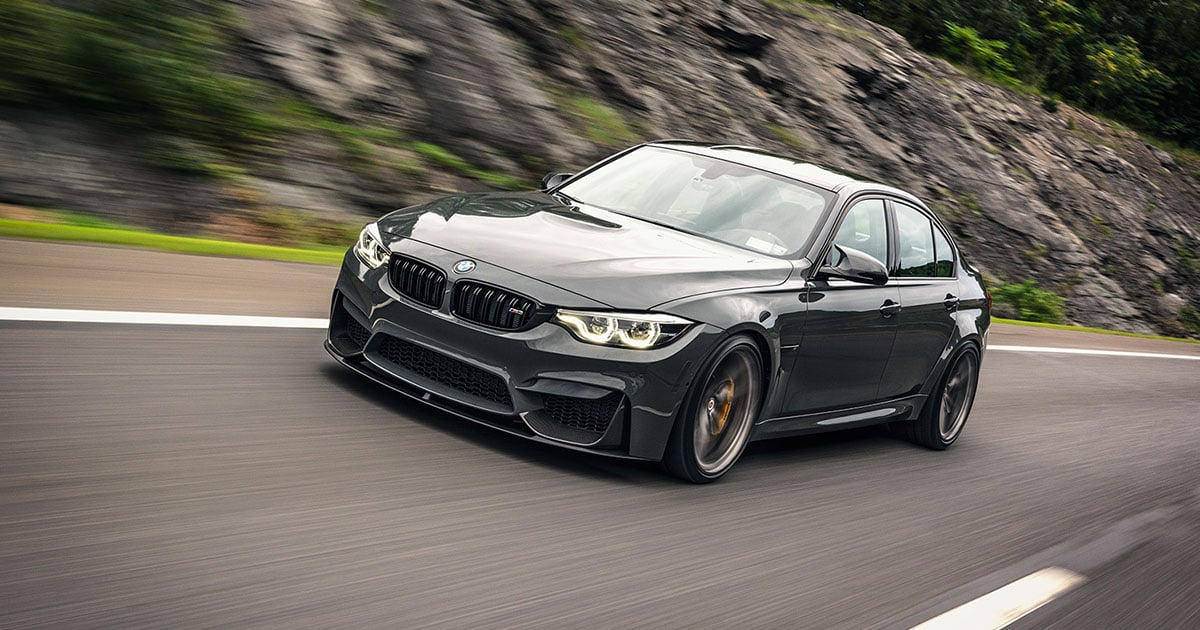
I have a passion for automotive photography at night, but for the most part I’m forced to shoot static images. Long exposures require a stable support for your camera and that’s only achievable when everything’s locked down — including the car. Sure, light painting, traffic trails and even the occasional star trail all help to introduce dynamism to static automotive images but sometimes there’s no substitute for shooting the car whilst its moving.
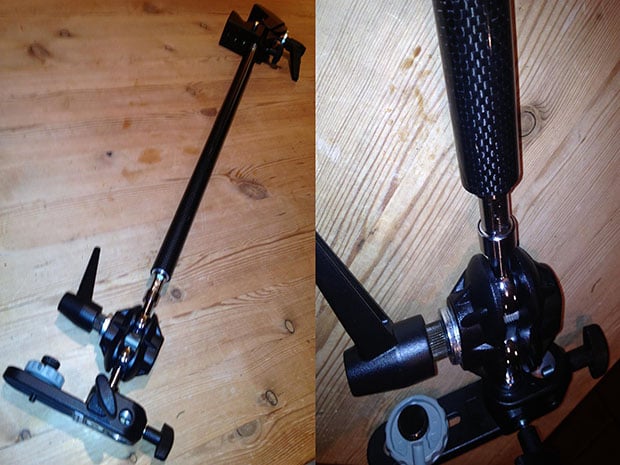
When I heard of the carbon product Car Camera Rig, I got in touch with Justin from the company to arrange a field test. Could we combine the techniques of rig shots with long exposures and come home with a decent image? I set my expectation at one minute. Could the product deliver?
Even when you’re not exploring new territory there’s always interest in rig techniques so we arranged for Paul from Strong Island Media to join us and film the night’s activities. We drank some coffee, chatted with some jolly nice policemen, had a lot of laughs and as you’ll see, we came away with an interesting result.
The aim of meeting was to trial the rig. You’ll hear me say on the video we weren’t looking for a killer shot, so I should probably point out why we did things the way we did. Justin and I live 180 miles apart so the location was about half that distance from each of us. It was unscouted so I didn’t know the lie of the land until we got there. We got to within a couple of miles of a place I’d seen online (thanks, Google Maps!) and I spotted this newly built residential road complete with tungsten street lamps, a massive working difference to the sodium vapor lights I’d been expecting.
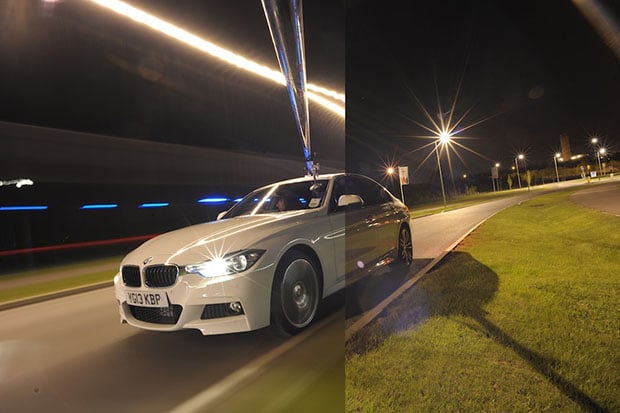
The ambient lighting was all on one side of the car so I set up the continuous modeling lamp of a flash head to fill in the shadows on the side of the car visible to camera. You can see the difference this lightpainting made by comparing the moving/ static elements of the composite image alongside.
The road had a slight slope allowing the car to roll rather than needing to be pushed. Rolling the car backwards was just a factor of which way the image was composed.
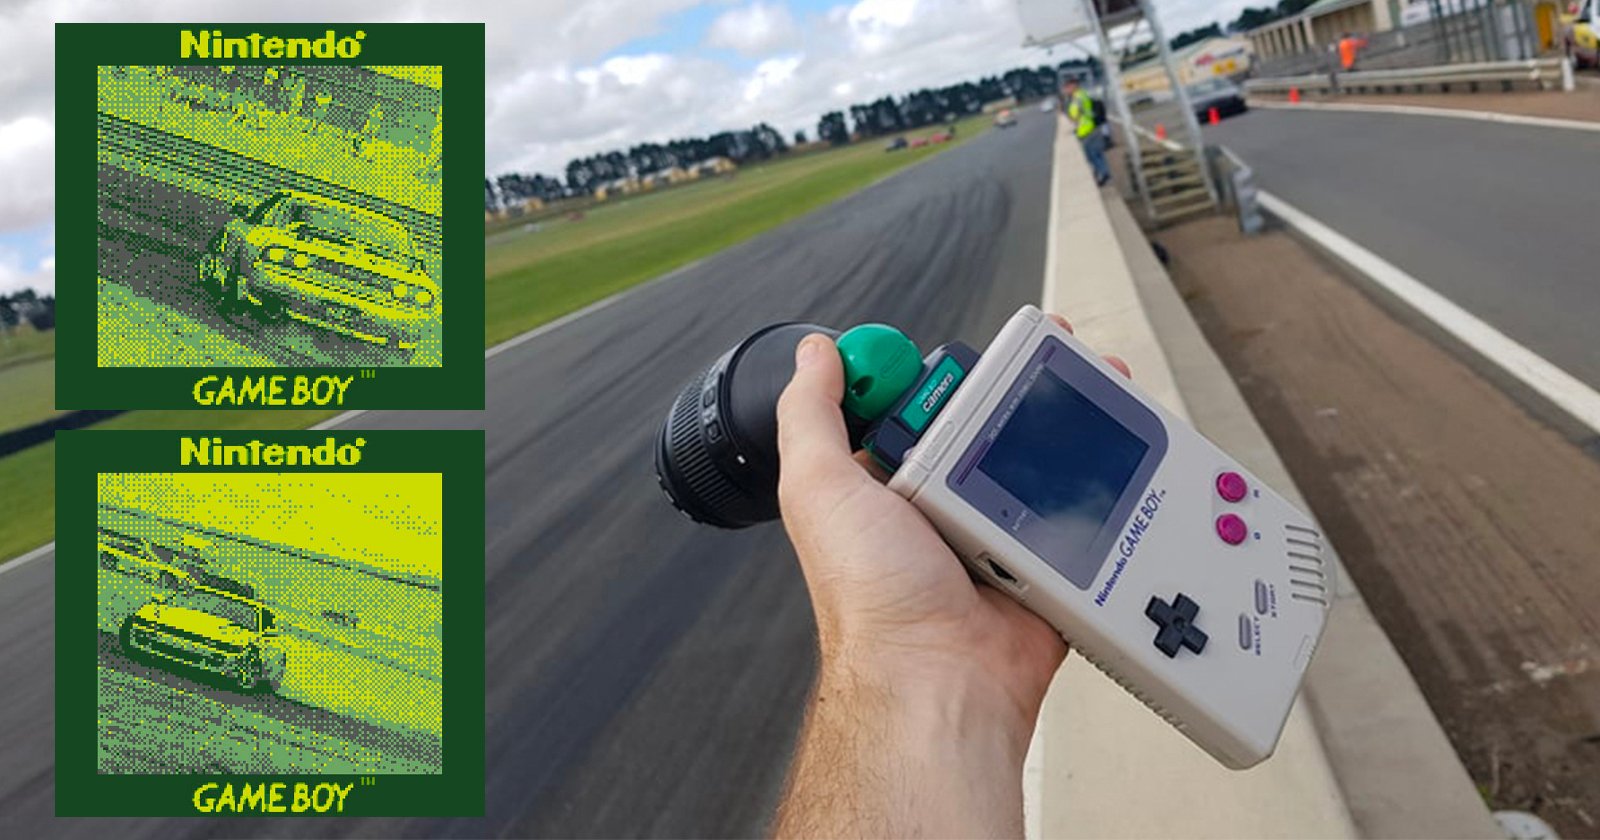
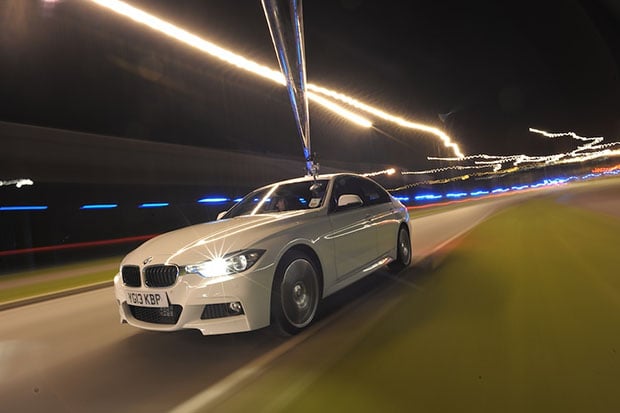
What you’re seeing in both the video and the main image on this page is an original JPG straight from the memory card. By posting the image in its unedited version you’ve got the chance to pixel peep to your heart’s content (full res here).
Of course you’ll find a little bit of softness around the far edges of the car at 100% viewing size but remember we set out to evaluate under extreme conditions, introducing several factors to deliberately extend the shutter speed. With some juggling of the ISO speed and aperture settings we could have created an identically exposed shot in 20 seconds. Imagine how much sharper that would have been!
So, even at this extreme the files are just about useable straight from the camera. However, with commercial automotive work it’s really common to undertake a lot of retouching and PP and that’s another area where the carbon rig excels. We only made a handful of frames on the night but without fail they all align neatly from image to image. Using this rig throughout a lighting composite, for instance, would streamline the amount of work required in PP and that’s got to be a good thing.
About the author: Andrew Whyte is a long exposure photographer based in Hampshire, United Kingdom. You can connect with him through his website, Facebook, and Twitter. This article originally appeared here.