Why I Ditch Extra Gear and Travel Light as a Photographer
Ditching extraneous gear pays dividends when you’re traveling — and not only the ones you might expect.
Suppose you’re booked for a photo shoot in a foreign country. Because you’re not allowed to be in a foreign country to conduct work without a work permit, you have two options. You can get a work permit, which takes time and money, or do what I do: travel with a minimal gear kit to avoid suspicion.
Not only is it easier and cheaper to do it on the sly, but travelling light (pun mildly intended) also helps you avoid checking bags.
I’ve shot in Brazil, Japan, Tanzania, Jordan, and Iceland and not once needed to check a bag. By knowing the full potential of my gear, I can enter any scenario with confidence that I can get the shot.
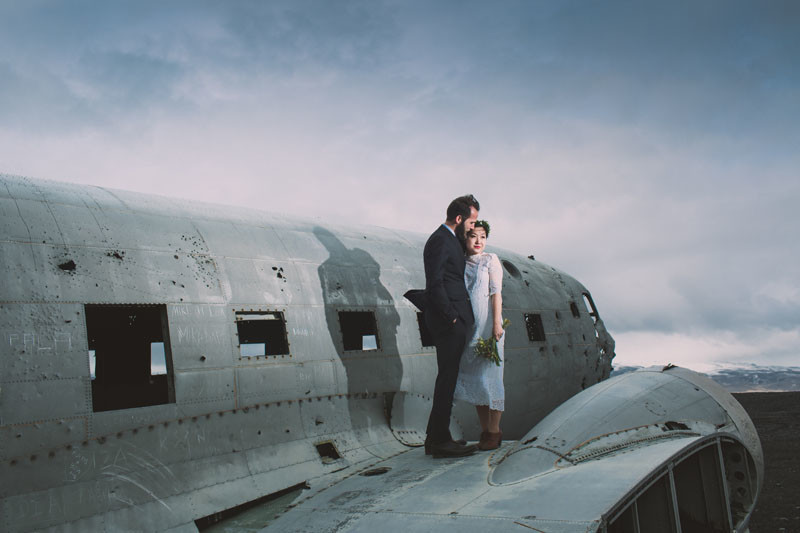
In the photo below, for example, by zooming in my flash to 105mm and powering it up to 1/1, I had enough light output to back the light off the bride and groom. Doing so allowed the spread to light them from head to toe, while I was still able to shoot at f/8, bringing back detail in the sky, thus adding a bit more drama to the already dramatic Icelandic landscape.
Airlines allow you to have one carry on and one personal item, like a computer bag—which means essentially two bags. All the gear I need fits neatly into my Lowepro Flipside 300 bag. Typically, I pack two camera bodies, two prime lenses, two flashes, memory cards, several sets of AA batteries, and my 13-inch MacBook Pro.
For all intents and purposes, the Flipside is my computer bag. Then I fit in a compact light stand (I use a LumoPro LP605, which is 19 inches long but expands to 7.5 feet) and sometimes an umbrella, along with my clothing and toiletries, into a duffle bag.
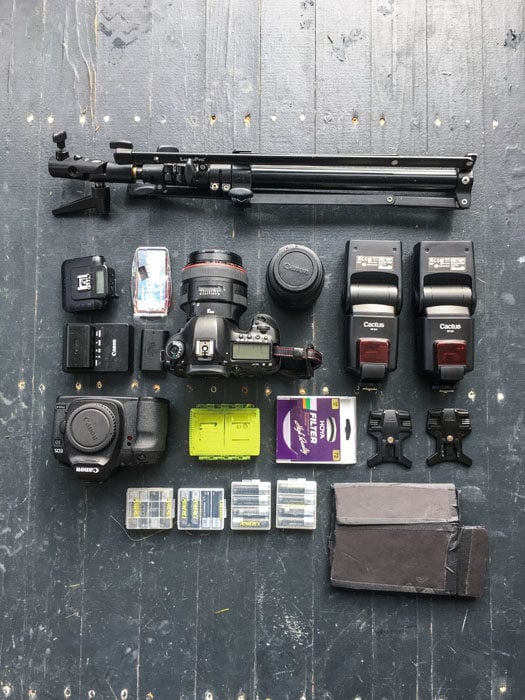
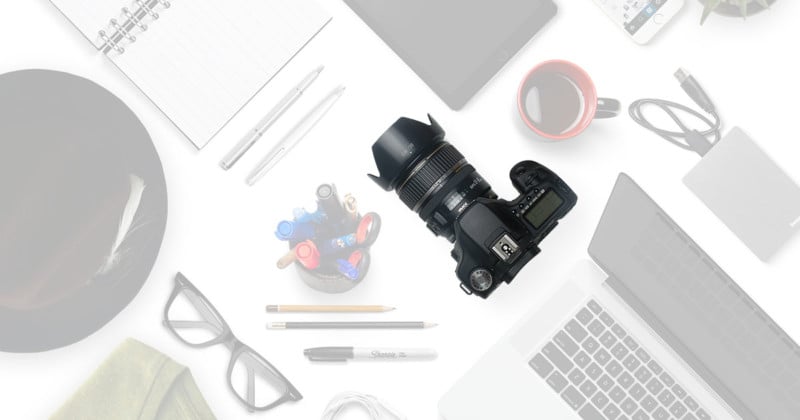
Above is my travel kit. It includes a Canon 5DIII body, a backup 5DII body, Canon 85 f/1.2LII and 35 f/1.4L lenses, two Cactus RF60 flashes and transmitter, several packs of Powerex AA batteries, memory cards, a gel kit, DIY barn doors, a star filter, and light stand. I can even squeeze my 13-inch MacBook Pro in there.
All my gear fits neatly into a Lowepro Flipside 300 bag, which easily stows in any airline overhead compartment.

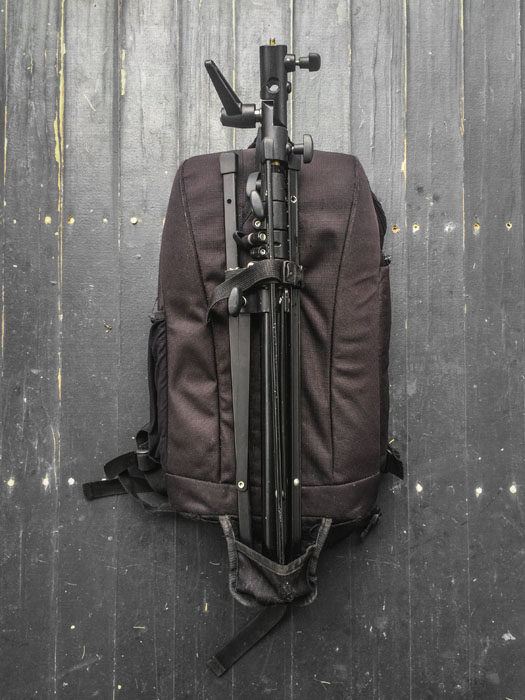
Here’s my pack locked and loaded for run-and-gun photography:
For a trip to Tanzania, I needed one more piece of gear. During my time there, I conducted two half-day Help-Portrait events. At these charitable events, photographers donate their time and often work with makeup and hair stylists to provide free, quality portraits for those who couldn’t otherwise afford or even have access to these services.
This time, I was working alone with no team to help me nor any local print labs to accommodate my needs. I needed to print on location, so I brought a Canon Selphy printer, which prints borderless, archival 4×6-inch prints in one minute, along with enough ink, paper, and envelopes for 300 portraits. (I still didn’t need to check a bag.)
During my time in Tanzania, I put on two Help-Portrait events. This was my setup on the first day:
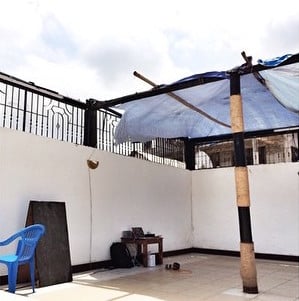
My first session was held in a roofless church near an abandoned rock quarry, where the poorest of the region lived and worked. The church’s thatch roof had recently burned in a lightning storm, and the only shelter from the scorching sun that we had was under a tattered tarp that covered about ten feet of the corner of the space. That’s exactly where I set up my laptop and printer and where I conducted the shoot.
I didn’t even need to light it, because light was so soft under the tarp. Plus, the bright sun was bouncing off the tile floor about five feet from the subjects, which made for a fantastic catch light in their eyes.
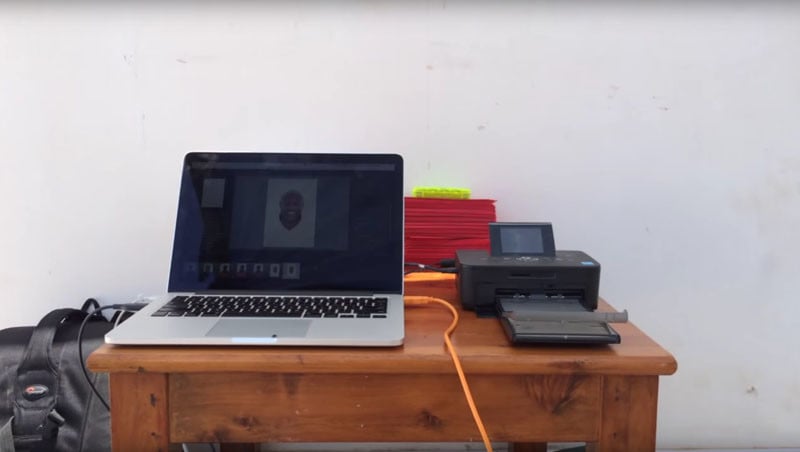
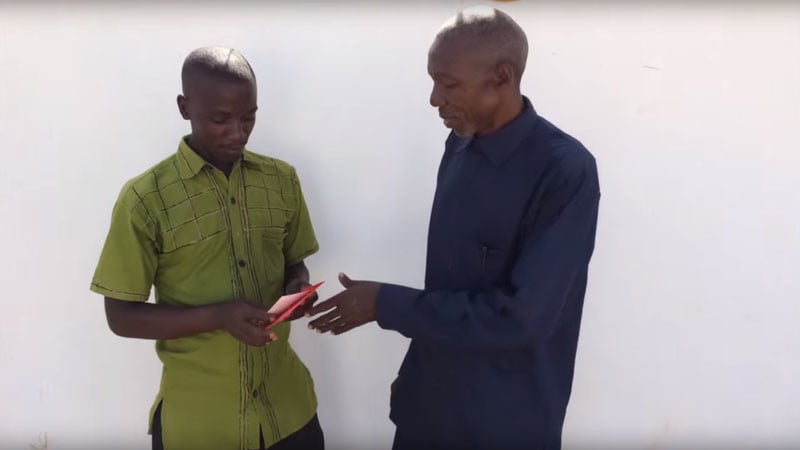
I brought a 15-foot TetherPro cable with me and shot tethered to Adobe Lightroom. (I’ve since switched to using CaptureOne when shooting tethered— less crashing.) Lightroom was set up so that it would apply a custom preset, color grading each image, before printing it out. I had an eight-year-old assistant tearing the tabs off the prints and putting them in an envelope for the waiting subjects.
We didn’t even need to advertise what we were doing, because after we photographed the first wave of curious bystanders, they went home with their prints in hand and quickly returned with their friends and family who wanted ones of their own.

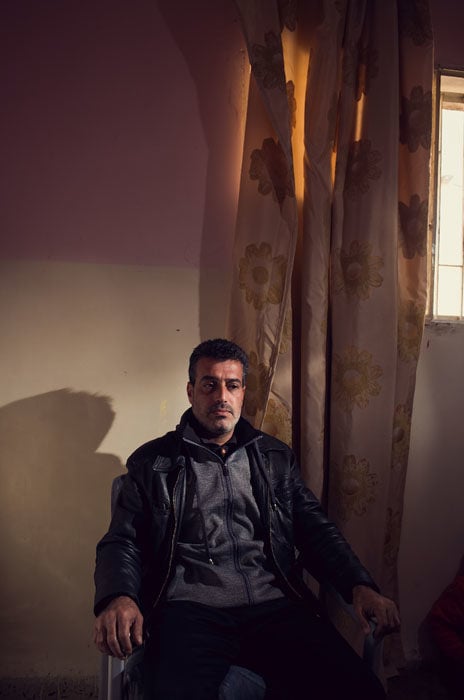
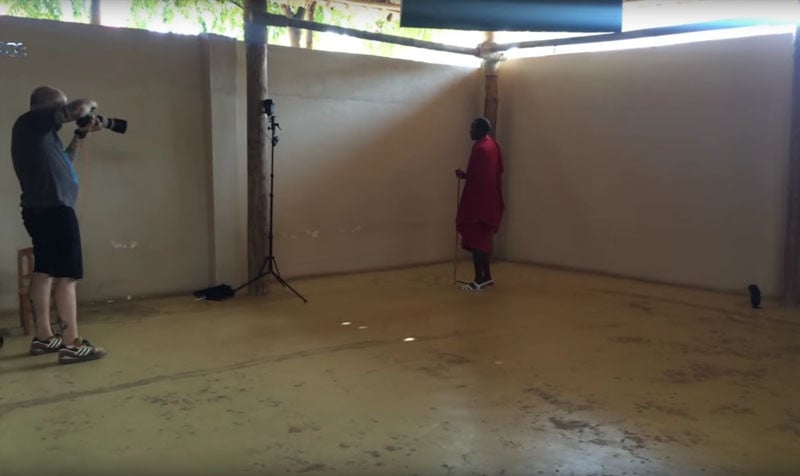
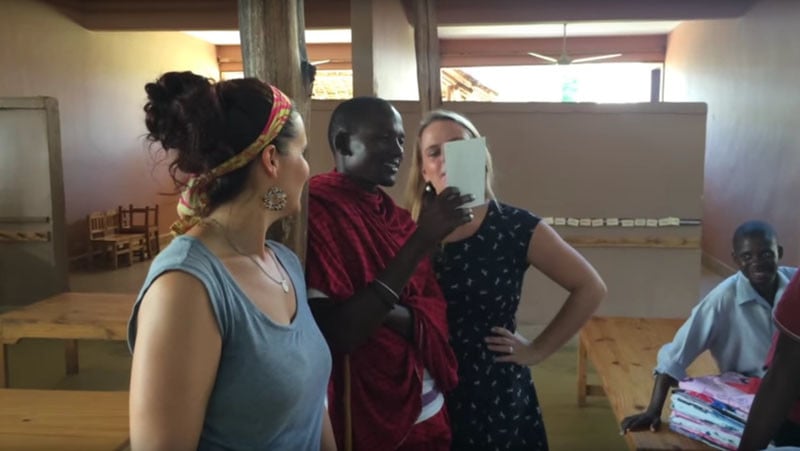
The second Help-Portrait session was held a few days later in a school. This allowed me to work with a totally different group of people than those from the quarry. It was in a darker room, so I needed to light it this time. Even though I had traveled with an umbrella, I didn’t even need it.
As you can see below, I bounced the main light off of a cream colored wall, which made for a larger light source than an umbrella could produce. I also had a background light, flanked into the back wall.
The second Help-Portrait event was held a few days later in a school. The room was much darker, so I used my two flashes to light these portraits. The main light was bounced off the wall to the left of the subjects, and the background light was bounced off the back wall to the right of them.
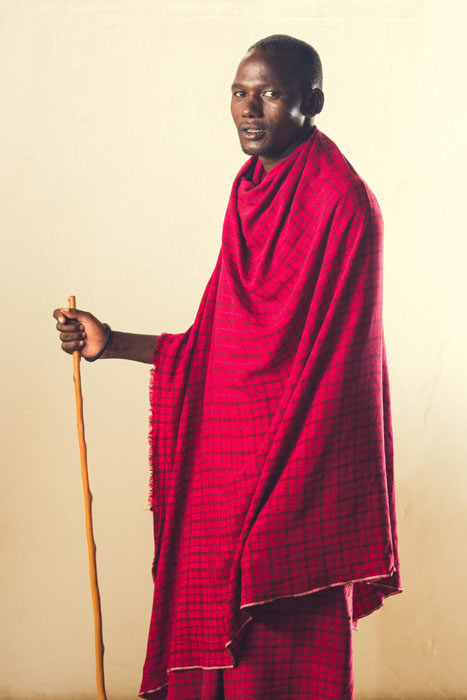
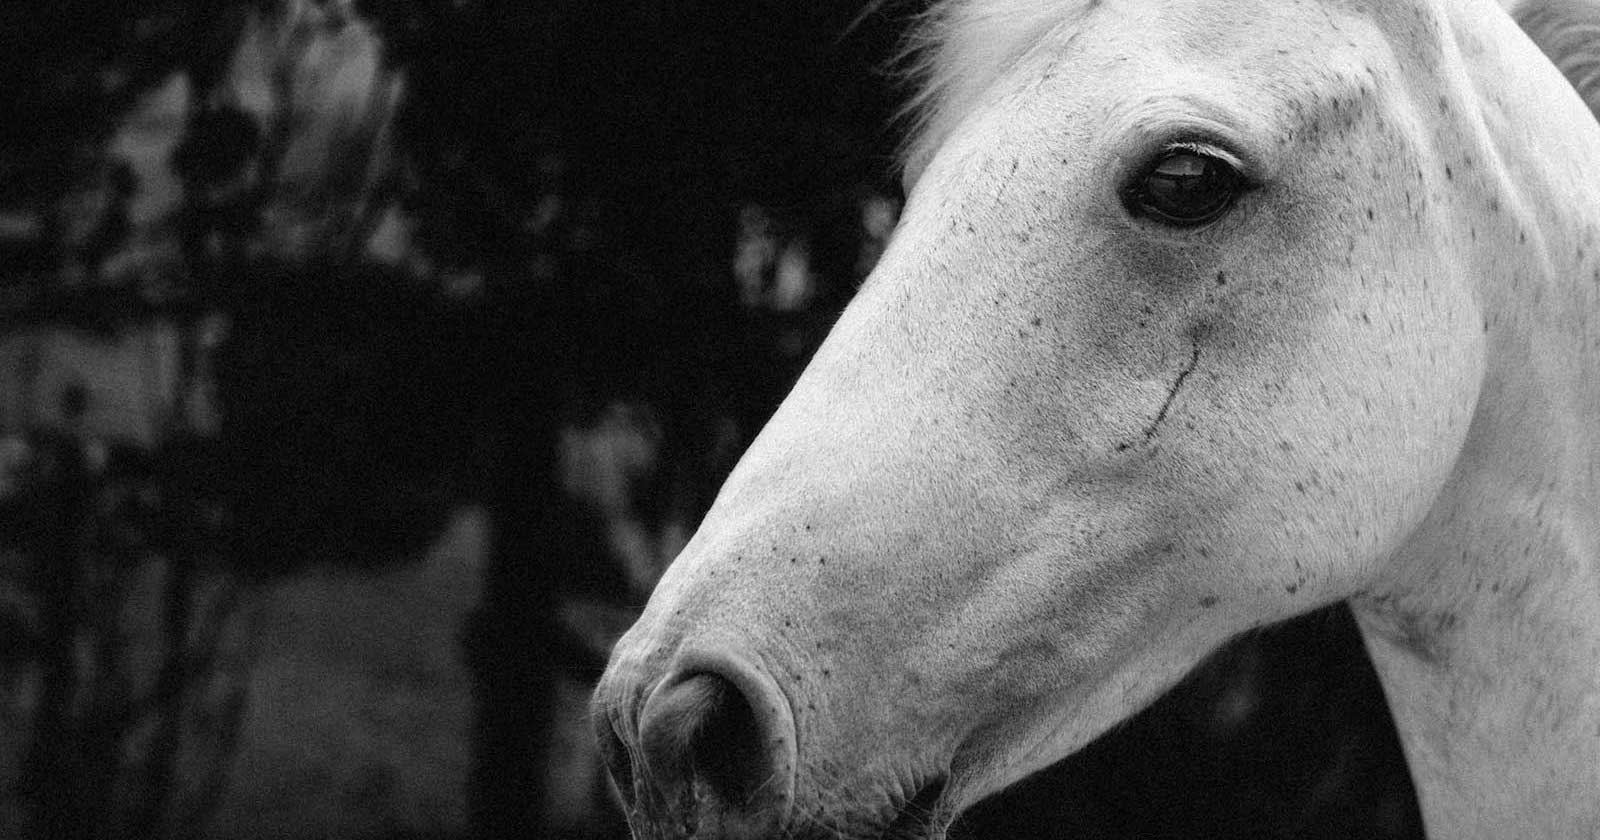
This result is considerably more dramatic than the soft-light portraits of the first day, but feels just as polished. As you can see below, the Masai guard, who had never before been photographed, was pleased with the result.
If you enjoyed this post, check out Studio Anywhere 2, a new book that guides photographers in the art of shaping light using minimal gear.
About the author: Nick Fancher is a Columbus, Ohio-based portrait and commerce photographer. You can connect with him on Facebook here. You can also find more of his work and writing on his website and Instagram.