From Prep Work to Post-Processing: An In-Depth Star Photography Tutorial
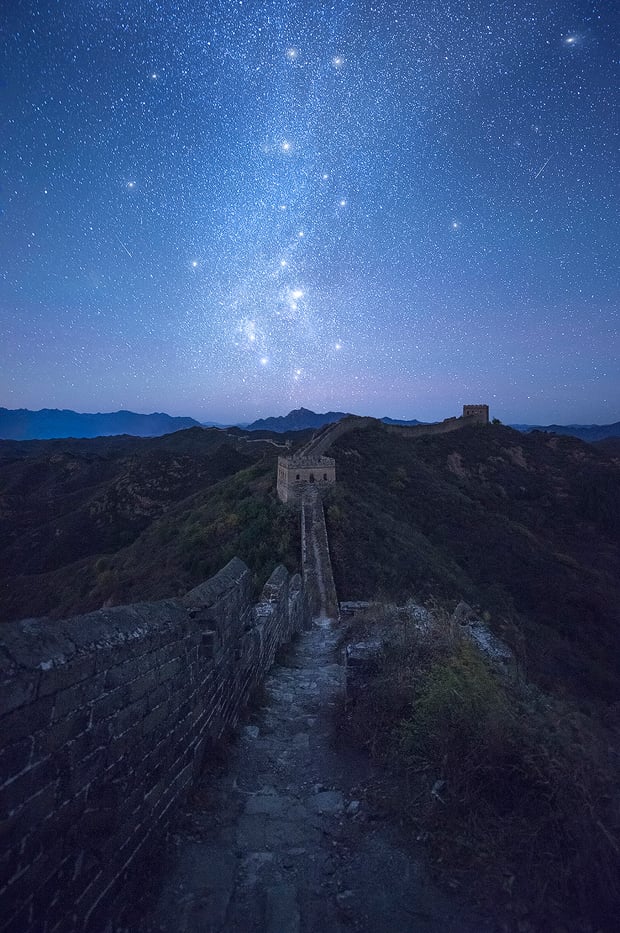
As a photographer, there is nothing more intriguing to me than the unknown. What’s out there and where will it lead me on my next adventure under the stars?
Upon taking my first photo of the stars, I came to realize it wasn’t even close to replicating what was in the skies above me. Nothing man-made will ever be perfect. There are always improvements to be made in the never-ending journey to replicate what nature has been producing for billions of years.
With practice, however, I was able to break down the physics behind capturing high quality star shots and start to produce some nice results. Over time, I’ve been able to perfect this recipe with actions and inputs in my camera; and, with words and knowledge, teaching others to capture this beauty on their own. With that in mind, here is my tutorial that will teach you how to take some awesome shots of the Milky Way and night sky.
Before the Shoot
Any time I’m planning an adventure to take some star photos, there are a few tasks that must be done beforehand in order to increase my chances of success:
1) The first thing I always do is check the weather and the moon phase. If the skies aren’t clear or the moon is in the sky there isn’t a chance of getting nice Milky Way shots.
Keep in mind that you can still get some great star shots when the moon is out. I often shoot under the moon, but the ambient light it produces doesn’t allow the Milky Way to show up brightly in your pictures. There are some great smartphone apps and computer programs such as Photographers Ephemeris and Photopills that will easily allow you to check moon phase for a given date, time and location.
2) The second thing I do is check Blue Marble Light Pollution Map and find some dark locations to explore the night sky. After which I switch over to a program called Stellarium that allows the user to visualize how the stars, planets, Milky Way or any other object will move through our sky.
The main reason I use this program is to pre-visualize where the Milky Way will be in the sky and at what time. This also allows me to line up stars in the sky with locations I’ve scouted on previous trips. You can download Stellarium for free on your desktop or pay a few dollars for it on iPhone & Android phones.
3) Another thing that is very important is having the proper photography equipment. There are three major pieces of gear that I highly recommend as “must haves” if you want to take nice looking star photos:
- A sturdy tripod: I currently use a Really Right Stuff TVC-34L Versa Series 3 Tripod with BH-55 Ballhead and Nikon D800 L-Bracket, which does the trick really well. There are also some other setups out there with different price points and name brands that will work just as well.
- A camera with manual mode functionality that shoots in RAW format: To provide ultimate control over exposure time, aperture and ISO, this is the only way to go.
- A wide angle lens that is able to shoot between 12-30mm full frame equivalent.
There are also some other items that are not 100% necessary but highly recommended, such as a full frame camera, a timer/remote and a lens with a very wide aperture. With regard to wide aperture, I’d suggest shooting with a lens that has an aperture between f/2.8 and f/4 for best results. I haven’t found shooting with lenses that are wider works much better because it’s very hard to focus an f/1.2 or f/1.4 lens at night.
I, personally, shoot with a Nikon D800 camera and Nikkor 14-24mm f/2.8G lens for all my star shots. I also provide a list of different great star photography cameras and lenses of different makes and price points at the bottom of my Free Star Photography Tutorial on my website.
During the Shoot
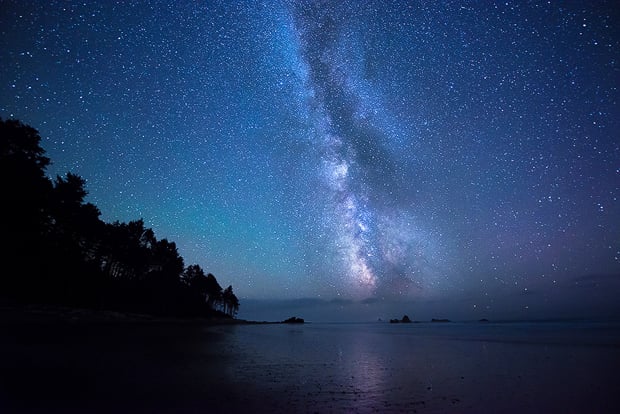
As discussed earlier, you need a clear night and a dark sky to get some great Milky Way shots. If you end up at a location to shoot and can’t see the Milky Way when looking up at the stars, you might as well move along and find a dark place; because your camera won’t capture it much better than you can see it.
Taking high quality Milky Way photos is all about letting the most amount of light hit your camera’s sensor in the least amount of time. Your goal should be to keep your ISO as low as possible and your pictures noise-free while still taking a well exposed shot.
Selecting an Aperture Value
I prefer to use an aperture of f/2.8 for my star shots. Anything at or below f/4 will work well, but remember that you want the most amount of light to hit your lens in the least amount of time, so wider is better.
Focusing Your Lens
I focus at infinity for my star photos, but sometimes use focus stacking to achieve full depth of field. Stars are so far away that even shooting at f/2.8, focusing at infinity will allow you to capture sharp star pictures.
I prefer to focus my lens at infinity during the day time and mark an area on my lens with a pen so I know exactly where to turn it. This lets me easily focus at infinity at night as well. You can also focus on infinity at night by trial and error, but it takes much more effort. There are some other tips & tricks on night focusing and focus stacking in the tutorial on my website.

Selecting Exposure Time
The first thing we need to do is select our exposure time. Reference my 500 Rule Chart below while reading the following paragraph. You can also click on the chart, which will allow you to download it from my website and keep it in your camera bag for reference. The 500 Rule is calculated using full-frame sensor sizes, but can be adjusted for crop sensors as well using my chart.
CAUTION — READ ME: For those of you that are not shooting with full-frame cameras, make sure to take this into account. I have provided a chart that gives a few common sensor sizes and their maximum exposure times. This will also help you understand how the rule works.

I now introduce the 500 Rule, some may call this the 600 Rule, but I find 500 is more conservative allowing you to take a sharper image of the night sky. Keep in mind the 500 Rule is only a baseline/rule of thumb and you may have to increase or decrease your exposure time per the following rules as you shoot:
- Keep in mind a longer exposure picks up more light, which in turn means you will see stars that are further away from our planet. On the other hand, light sources closer to our planet will appear brighter at longer exposure times.
- To obtain the maximum exposure time your camera can shoot without getting visible “trails” behind your stars, take the number 500 and divide it by the focal length you will be shooting at. This is only a rule of thumb, so adjust as needed to make sure you’re capturing the best shot.
- I always like to remember that if I take a picture and see star trails in it, I can decrease my exposure time a few seconds until they go away. That being said, if I take a picture and it’s not bright enough, I can increase the exposure until I start to see very small star trails. In doing this simple exercise you can nail down the maximum exposure time your camera can take a picture at a given focal length without exhibiting star trails.
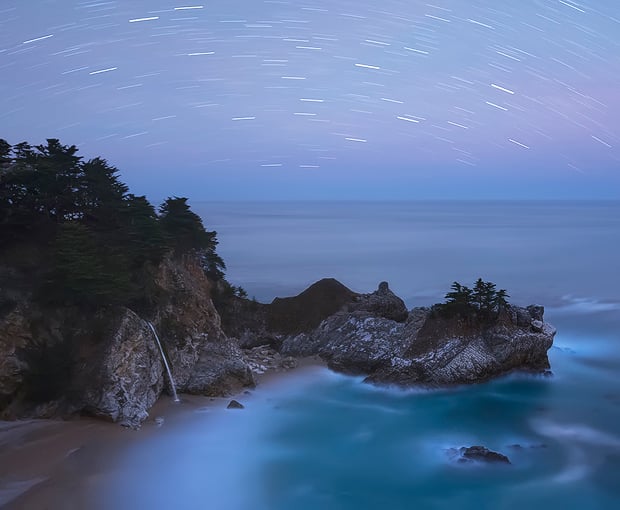
Once you have these concepts in your head, it becomes very easy to select exposure time for Milky Way photography or star trail photography. Experimentation is key to getting a good shot.
Selecting ISO Settings
Next, we need to review ISO settings. In the digital age, increasing your ISO allows your digital film/camera sensor to become more sensitive to light — picking up more light on the camera’s sensor in less time. The more you increase your ISO, the more noise your picture will exhibit. It’s always best to increase your camera’s exposure time first and select ISO second since exposure time won’t degrade picture quality. ISO will!
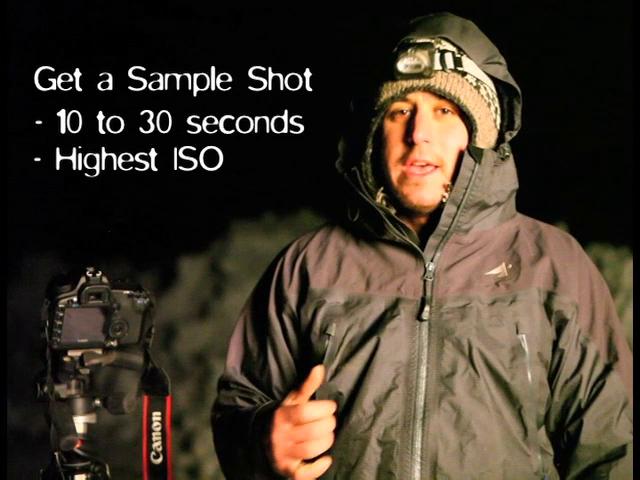
After selecting exposure time per the steps above, start with an ISO of 800-1500 and take a practice shot to see if your photo is bright enough. If it’s not bright enough, increase your ISO values until it is. This is the one place where having a full frame camera will help because it will allow much higher ISO values with less noise. Also, note that your photo doesn’t have to be overly bright. You are shooting at night, and to keep things natural the photo should be dark, but the Milky Way should be visible.
Experiment with ISO values until you find something that’s bright enough, but doesn’t provide too much noise. I usually shoot between ISO 2500 and ISO 5000 on my Nikon D800 for Milky Way photos. I leave my high ISO noise reduction on normal and my long exposure noise reduction off.
Post Processing
I choose to use Lightroom 4 and Photoshop CS6 to edit my RAW files; however, Adobe Camera RAW will work just fine as well.
Lightroom 4 and 5 are great for basic RAW file conversion. This includes color correction, basic luminosity control, contrast, sharpening and noise reduction. Experimentation is always key if you want to find the best settings that work for you. To make life easier on you, I’ve also made some Under the Stars Lightroom 4 & 5 Presets that I use to process some of my star shots. These 40+ presets will bring out the stars and make the color pop at the click of a button.
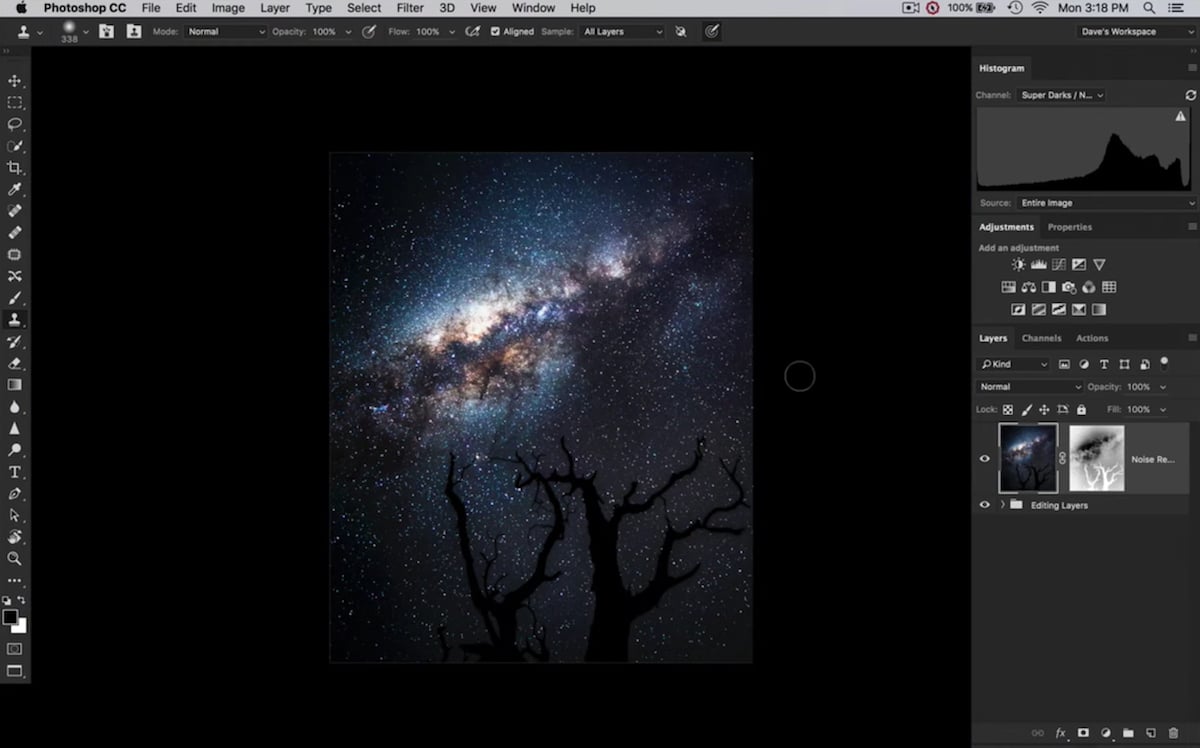
After finishing in Lightroom, I move into Photoshop CS6 where I use luminosity masks to achieve ultimate control. In doing so, I increase the brightness of the stars while leaving the dark areas of the photo untouched. These masks can also be used in reverse to select dark parts of your photo for noise reduction while leaving the bright parts alone.
After using luminosity masks, I also perform some more color correction, sharpening and texture methods, along with a few more tricks to really make the photos come to life. I’ve put together post-processing tutorial videos showing these steps and my entire Milky Way photography workflow from star to finish, which you can find at www.LearnStarPhotography.com.
Hopefully you’ve enjoyed my star photography tutorial. You can find even more tips and details in my Free Star Photography Tutorial over on my website, or by following me on Facebook, Google+ and 500px.
About the author: Dave Morrow is a Travel Photographer, Workshop Instructor & Word Slinger with a passion for travel, the truth, and all things strange.