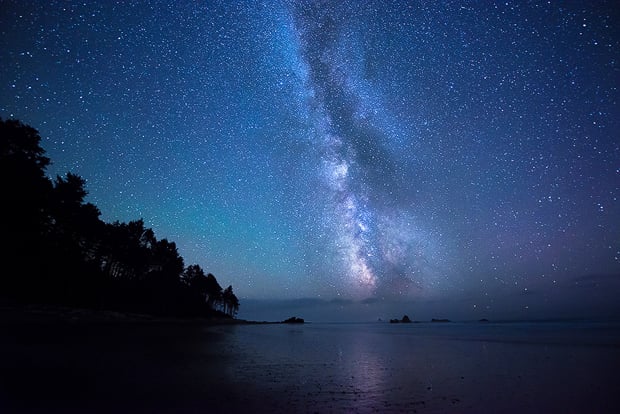
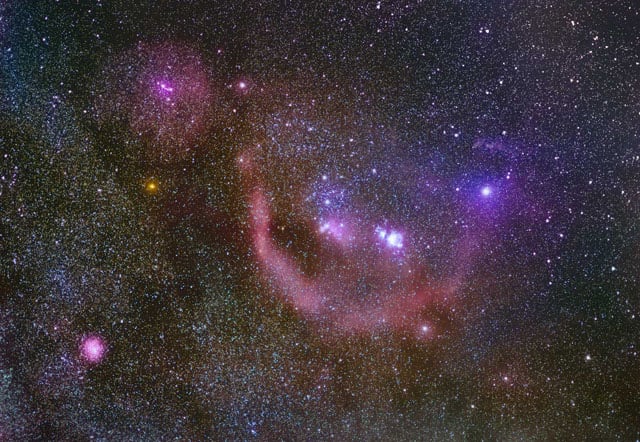
A Simple, Effective Noise Reduction Technique for Night Sky Photos
Noise reduction for night sky photos can be tricky, because the algorithms at play often reduce the sharpness of your stars while removing noise in the darkest parts of the sky. In this video tutorial, photographer Dave Morrow shows you how to avoid this issue altogether using a simple, effective editing technique.
Morrow created an in-depth, step-by-step, written tutorial for this same process at this link, but the video does a great job of walking you through each step.
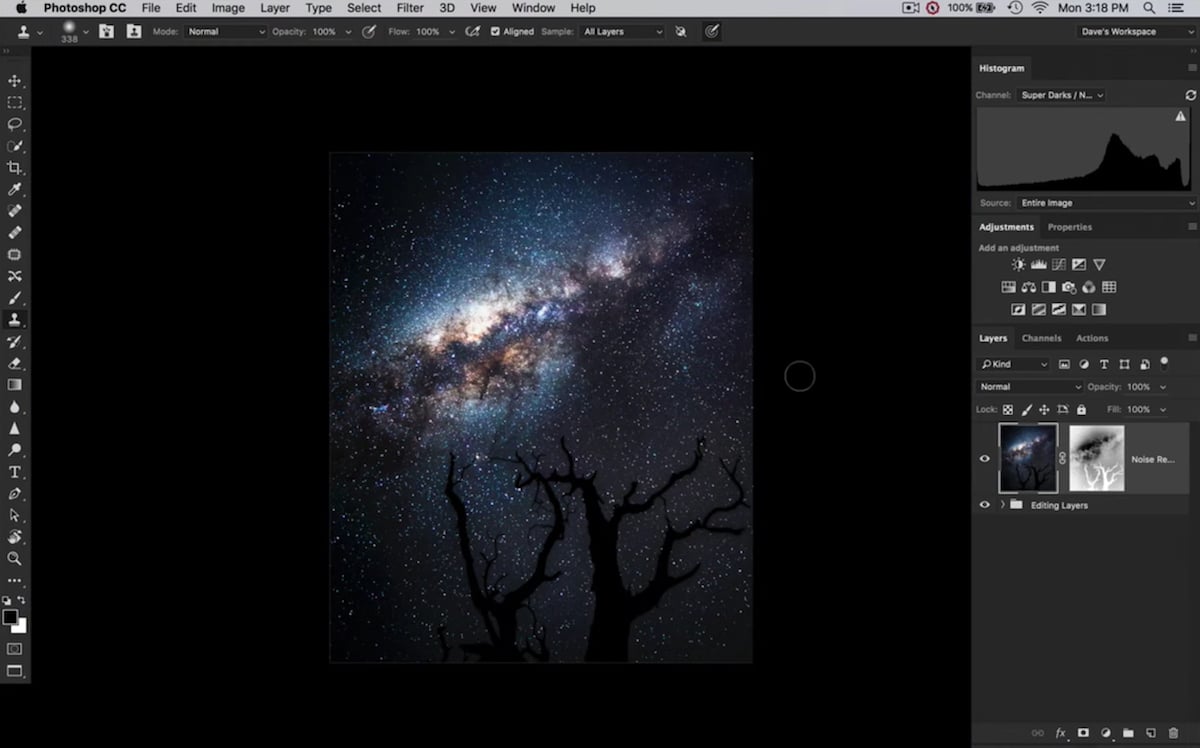
It’s really quite simple. First, you create a fresh layer (and remember, noise reduction should always be the last thing you do). Then you create new luminosity channels, progressively selecting out darker and darker parts of your image.
Then, when you’re done, you can use a noise reduction program like Nik Define on the layer you created in the first step, and apply your newly-created luminosity mask to that layer so the noise reduction algorithm leaves your stars alone and only attacks the darkest part of the image.
Using the technique, Morrow is able to keep the stars just as sharp after noise reduction as they were before it—not something you could get if you simply run Nik Define by itself and move on.
Check out the video above or the full written step-by-step on Morrow’s website for yourself to learn this technique. It’ll make a nice addition to your night sky post-processing tool chest.
(via ISO 1200)