A Guide to Studio Lights in Photography
![]()
If you’ve decided to take the next step in your photographic lighting and purchase some studio strobes, then you will need to ask some questions about what kind of images you’ll be creating in the studio and what the best lighting for those particular subjects is.
Table of Contents
Considerations When Choosing Studio Lighting
Budget: How much money you have to spend on lighting will automatically start to narrow down some of the choices that you have available to you. You will be amazed at what is to be had even for modest budgets.
Subject Matter: What are you going to be shooting? Portraiture will dictate a different type of lighting than compared to food or product photography. If you’ll be shooting groups of people then you’ll need more than one studio strobe. If your passion is fashion and beauty photography then you’ll need a system to which you can attach different light modifiers too.
Studio or On Location: If you’re planning on being a photographer who will go anywhere to photograph, then portability and power will be another consideration when purchasing. You want to make sure that you can easily transport your equipment and that it can be set up at the various locations you’re going to be shooting in. You may want to consider if the strobes are AC or battery-powered, and sometimes both, because in some locations, like industrial photography, you may not have the luxury of accessing AC power or have cables strung about that could be a safety hazard.
Continuous Lights
Continuous lighting was often the first type of photographic lighting that photographers used when they created studio portraits. The lights they used were similar to the ones used by the movie studios of the day.
![]()
Equipped with Fresnel lenses and barn doors, the photographer could create sharp directional lighting often referred to as ‘film noir lighting’ or as it’s called today, low-key lighting. You’ve seen that look used in movies like Double Indemnity (1944), and Casablanca (1942).
Today you can find complete continuous lighting kits that come with stands, modifiers, and even a backdrop.
With this type of light, you can see the effect your lights are having on the subject and you can adjust your lighting and see the effects immediately rather than having to take a shot to confirm your setup. If you are planning on doing video work as well, the continuous light source will cross over to that medium very well.
Fluorescent Continuous Lights
There are different types of continuous lights. The first one we will discuss are fluorescent lights.
Some disadvantages of the lights are that you’ll have to make an effort to adjust your white balance to match the color temperature of your lights. The units use CFL bulbs (Compact Flourescent Light) and, although they are balanced for daylight, you’ll still have to be careful with your white balance, but CFL with a daylight balanced bulb gives you a good starting point to work from.
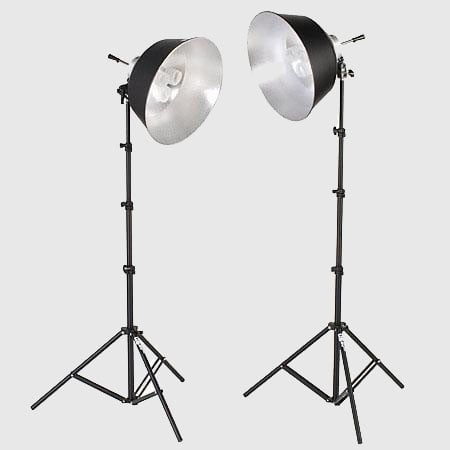
You will have to use a higher ISO as the bulbs do not put out the same power as a studio strobe. This means your shutter speeds will be lower so you’ll have to make sure your camera is on a tripod and you’ll have to open your lens to a wider aperture. You’ll have to make sure you have a fast lens that can handle it.
Another disadvantage is if you’d like to use them outside it is much more difficult to see the effect of continuous lights because of the competing daylight.
![]()
LED Continuous Lights
LED (Light Emitting Diode) lights are becoming very popular today. They can be a less costly way to begin studio lighting. There are manufacturers like Aputure who make units that look like monoblock strobes and they allow you to attach light modifiers, like umbrellas and softboxes to them giving you more control over your lighting.
For tabletop subjects, there are even LED light panels that can mount on a stand which are great for product photography. Some will even allow you to change the color of the LEDs so you can add a dramatic atmosphere to your subjects.
The disadvantages are they are not as bright as a studio strobe or speedlight so you’ll need a higher ISO and a fast lens and they are no good to you outside when trying to combine with daylight. If they are not already balanced for daylight, you’ll have to work on your white balance to get the correct color. Many are also battery powered and LEDs drain them much faster than any other kind of lighting.
Tungsten Continuous Lights
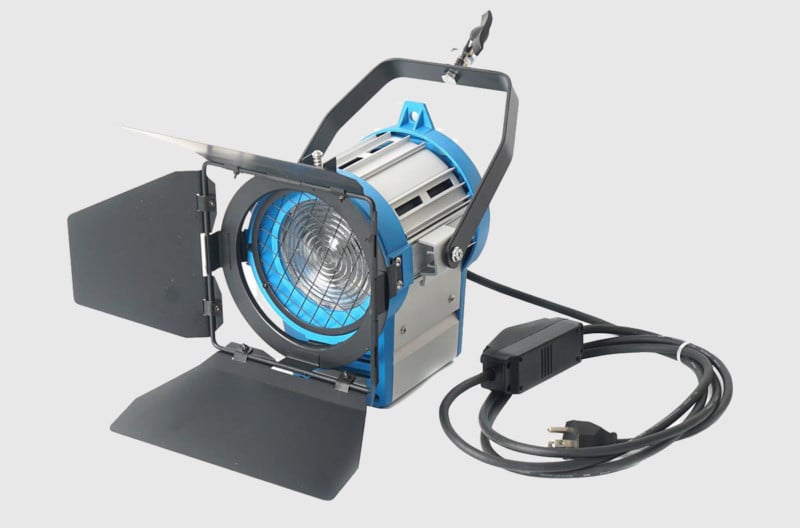
The last type of continuous lighting is tungsten. These are incandescent bulbs like you use in your home except their wattage will be much higher on the order of 250 to 500 watts or more.
These types of lights are not difficult to find and they are much brighter than other continuous light sources. You’ll also need a dish reflector with possibly a set of barn doors to control where you direct the light.
The one big disadvantage of tungsten lights is that they burn very hot. You have to be careful when touching them and moving them around so make sure you let them cool or use a protective glove.
Due to the heat they generate, it’s also impractical to put a light modifier, like an umbrella or softbox on as you’ll risk it catching fire.
The other problem with them is the color temperature they burn at, which is around 3200K. Tungsten lights can give off a color cast when not properly color balanced so you’ll have to adjust accordingly.
![]()
Like any other incandescent bulb, they don’t last long and can break easily.
Continuous Lights: Pros and Cons
Pros
- Often very affordable
- Light you can see in real-time
- Easier for beginners
- Can be used for video in addition to photos
Cons
- Can burn very hot (particularly tungsten) and be a fire risk
- White balance can be tricky and depends on bulb
- Lower power output
- Often a fixed power output (especially with lower-end products)
- Not ideal for outdoor shoots
- Battery drain (LED)
- Color cast issues (tungsten)
- Life span and fragility (particularly tungsten)
Speedlights
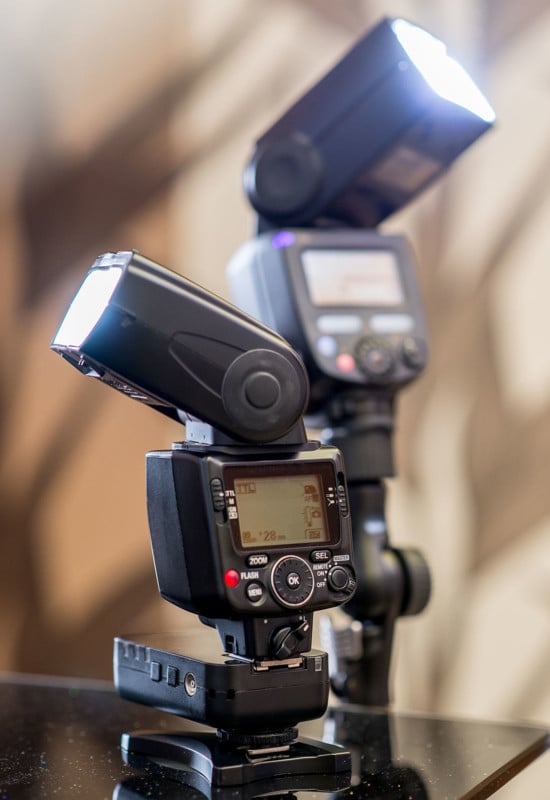
When I first started doing studio photography, all I had were a couple of speedlights. These were Vivitar 285HV flashes that I used on my camera’s hot shoe or a flash bracket. I invested in a couple of light stands and attachments so I could mount the flash on the stand and attach an umbrella.
I liked using those flashes because they had the capabilities to vary the power from 1/16, 1/4, 1/2, and full power making them very controllable. Now with the speedlights sold by Canon and Nikon, you have even more power and control settings available to you.
![]()
If you already have a speedlight all you’ll need is a stand and a modifier (umbrella, softbox, etc.) then you’re ready to start.
The advantages of this type of lighting are (1) portability so you can take them on location should you need to, (2) there are no white balance issues (provided your camera’s white balance is set to flash lighting), and (3) they are easy to power with AA batteries.
Some of the disadvantages of using this system are (1) you don’t have a modeling lamp so you can’t get a preview of the effect of your light on the subject matter, (2) they use AA batteries, depending on the power setting you use, the batteries can drain quickly, and (3) as the battery power begins to wane, it will take longer between flashes as the unit charges back up.
Speedlights: Pros and Cons
Pros
- Cheaper than higher-end light types
- Small size and low weight
- Easy to pack and take anywhere
- Versatile and can be used for wide range of shoots
- Can usually adjust power output
- Easy white balance
- Generally powered by ubiquitous AA batteries
Cons
- Can’t see a preview of the light
- Not suitable for video purposes
- Batteries can drain quickly
- Recharge time increases as batteries wane
Monolight Strobes
Once you start developing a regular clientele and are using flash for lighting your subjects often you’ll probably want to upgrade to a proper set of studio flash units. These systems come in two styles: monolights and pack and head systems. Let’s take a look at monolights first.
![]()
Monolights or monoblocks, as they are sometimes referred to, are all in one unit in that they are self-contained with both the lamp and the power supply. Many need to be plugged into an AC outlet, but there are also models that feature rechargeable batteries for increased portability and flexibility.
You can easily dial in the power to get the correct aperture you want to use for your subject and they are very portable allowing you to use them in and out of the studio.
Many of the manufacturers sell the units individually or in sets of two, three, four, or more which allows you to start small and grow your system as your studio work grows. You can also get all the latest modifiers like umbrellas, softboxes, beauty dishes, and more.
The other thing you’ll want to consider when purchasing them is the maximum power that each one can put out. Many of them come in 200, 500, 600, and 1000Ws output power. Which one you’ll choose will depend on the subject matter you’re trying to light. If you are lighting big spaces or very large subjects (like a car), you’ll want to have more power available to you. My rule is always, to buy as much power as you can afford.
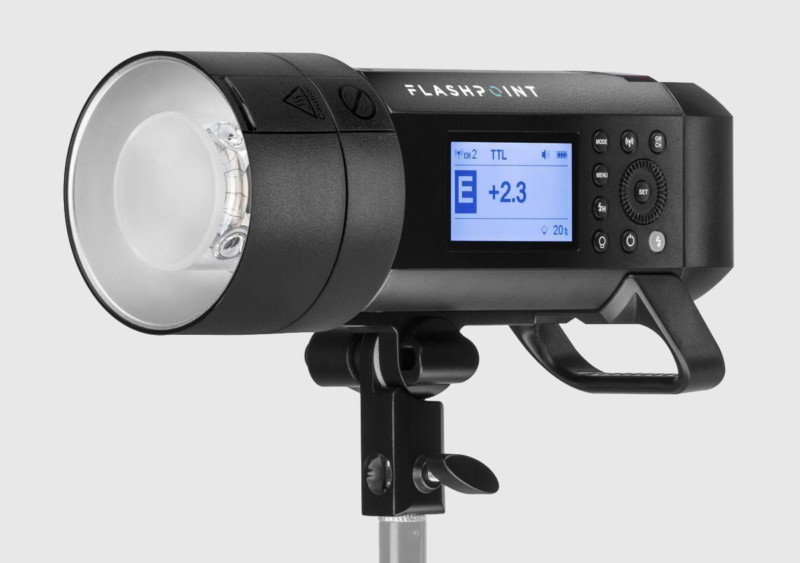
Although they are portable, a disadvantage of transporting these units is that you’ll need a serious case to carry a few of them around.
If you planning on using a boom stand with your monolights, you might find that they will become very tippy and won’t be supported by the boom stand because some of them can be very heavy. If you have multiple monolights in your lighting kit, you will have to go to each one individually to change the power and if the stand is up beyond your reach, you’ll have to lower them to reach the controls.
Of course, the advantages of cost, portability, and variable power settings make them one of the best models to get started in studio photography.
Monolight Strobes: Pros and Cons
Pros
- A good option for starting a first studio
- More powerful compared to speedlights
- Wide range of power outputs
- More portable compared to pack and head
- Generally less expensive than pack and head
Cons
- More expensive than continuous lights and speedlights
- Size and weight makes transporting tricky
- Stability on stands can be an issue
- Need to reach monolight to adjust settings
- Will need to service whole unit if any part fails
Pack and Head Strobes
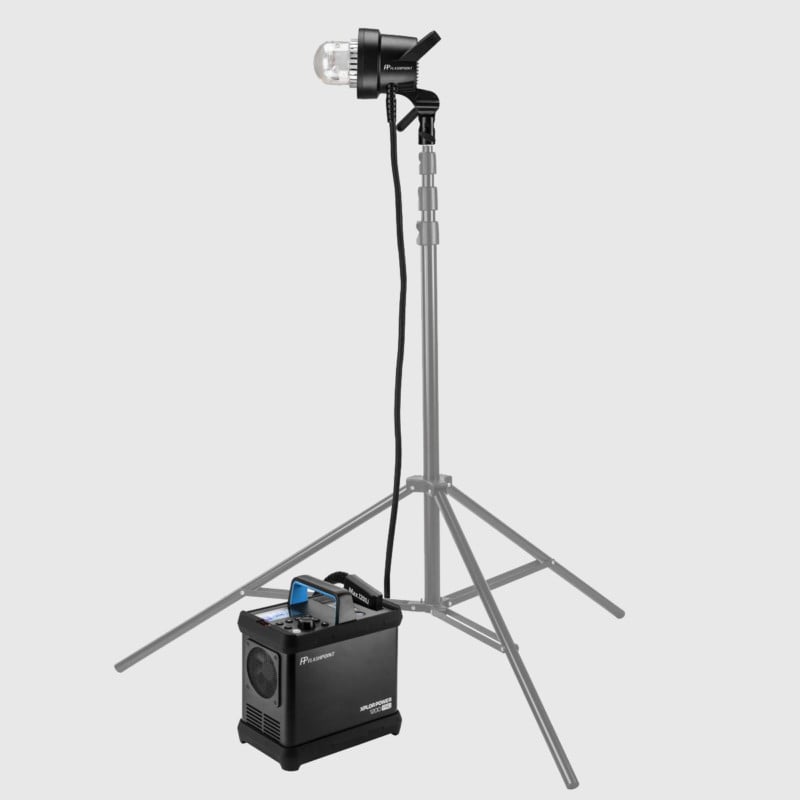
Another type of studio strobe that is used in pro studios is the pack and head strobe. These flashes have a large pack that sits on the floor and your flash heads plug into that providing the power and the output control to the various heads. These are usually the costliest of all the studio lighting systems.
The fact that the flash head is separate from the power supply makes it lighter and not so top-heavy when it’s mounted on a stand. This is great when you are using a boom stand as I mentioned previously.
The first disadvantage is that they are a big budget item that might not be practical for the beginner in the studio. Although they are portable, you will have to have a large travel case to put the power pack and the flash heads in along with more cables than you would have with a monolight. These cables can be a disadvantage as they could become a problem on the studio floor so you’ll have to take measures to secure them so they are not a tripping hazard.
A great advantage when it comes to portability is that many of the packs are also equipped with a battery allowing you to shoot almost anywhere. There is also a myriad of light modifiers available for these units.
With a separate power pack, you can control each light in your setup from one spot as opposed to going to each monolight strobe and adjusting their power there. As I wrote in the previous section, reaching the controls when the light is high up can be annoying.
Pack and Head Strobes: Pros and Cons
Pros
- Powerful with fast recycling times
- Smaller and lighter head is more stable on stands
- Flexibility in shooting anywhere
- Control multiple lights from one pack
- Can replace individual component if it fails
Cons
- Usually more expensive than monolights
- More parts to deal with than monolights
- Cables can be a tripping hazard in studios
Accessories for Studio Lights
When you are considering getting your first set of studio flashes, you should reflect on some of the accessories you might need.
First off, I recommend a set of wireless remote triggers. These make triggering your flashes, either monolight, speedlight, or pack lights, much easier. Yes, some of the monolights come with infrared trigger units on them, but sometimes in a multiple flash setup depending on where they are placed about the subject, the infrared triggers may not pick up the flash. With a remote wireless system that isn’t a worry because it uses a radio signal to trigger them. A popular model of these is made by PocketWizard.
The most important accessory that you’ll have to invest in with a studio flash system of any kind is a handheld light meter. One of the more popular manufacturers is Sekonic. The price range varies depending on the features that you’ll need, but they all do the one basic thing you’ll need and that’s meter the flash when you test fire it.
Of course, there are the usual accessories and light modifiers you’ll want with your studio flashes like umbrellas, softboxes, beauty dishes, grid spots, and snoots. Cases to transport your units are a great investment. It will keep them safe when transporting them and organized.
I hope this high-level overview helps you in choosing studio lighting for your studio work. My advice is to ask a lot of questions at your camera store and also browse through the other educational photography articles that will help you get up and running. For a deeper dive into different types of speedlights and strobes, read our article on flash types from 70W to 4800W.
Image credits: Stock photos from Depositphotos