How to Hack a Game Boy Camera to Use ‘Real’ Camera Lenses
My name is David Windestal, and in this video and article, I will share how you can hack and modify a Game Boy Camera to mount serious camera lenses in order to shoot amazing lo-fi photos.
Table of Contents
An Intro to the Game Boy Camera
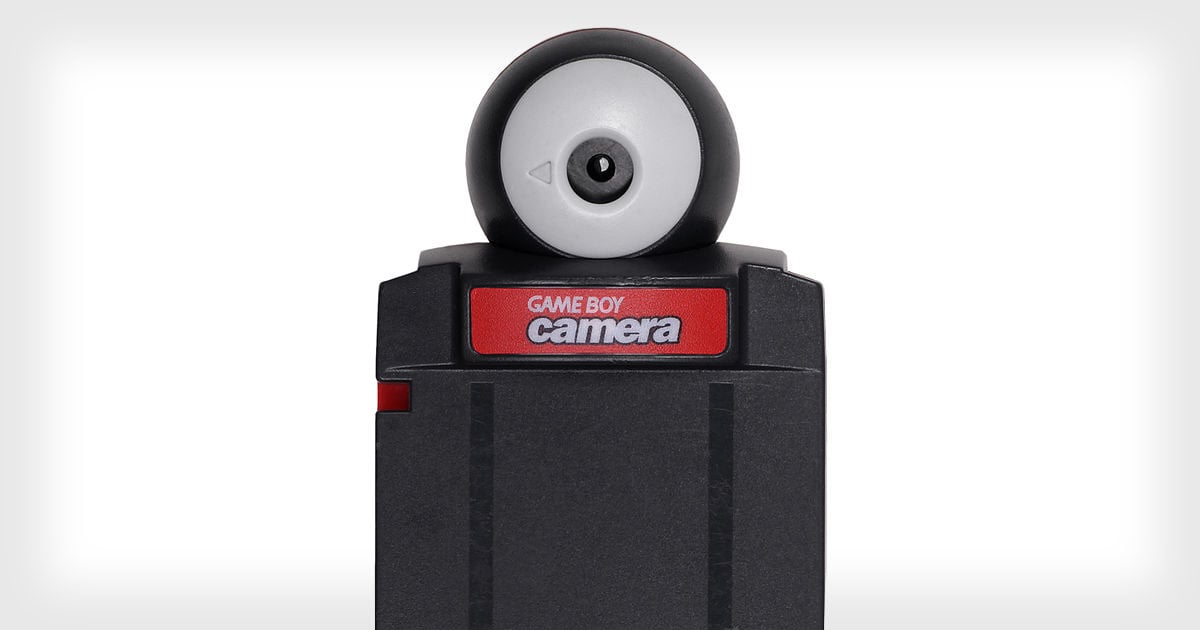
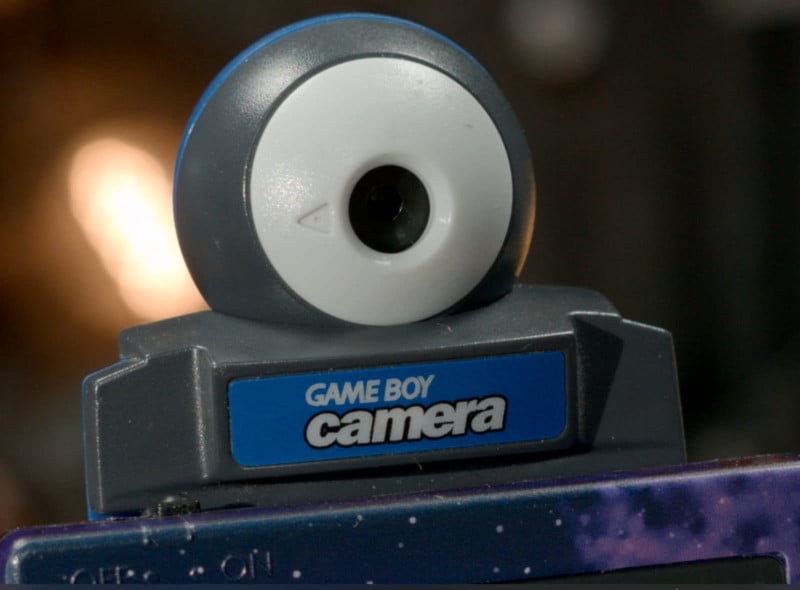
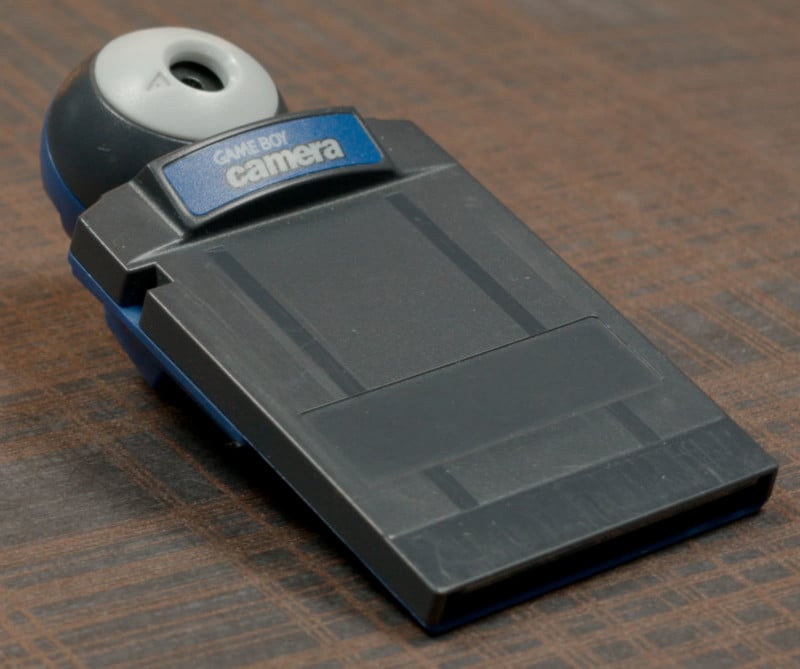
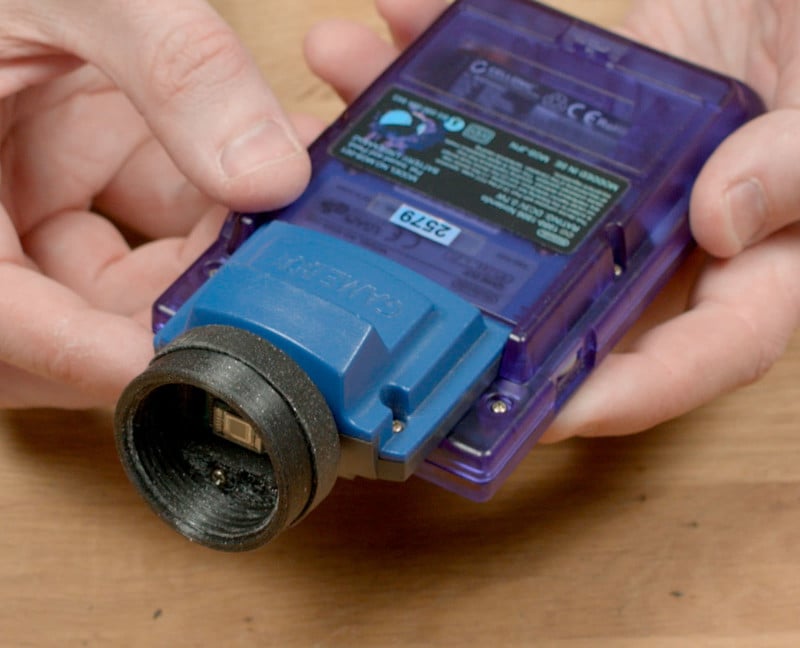
This is a Game Boy Camera. A device that turns any Game Boy into a camera.
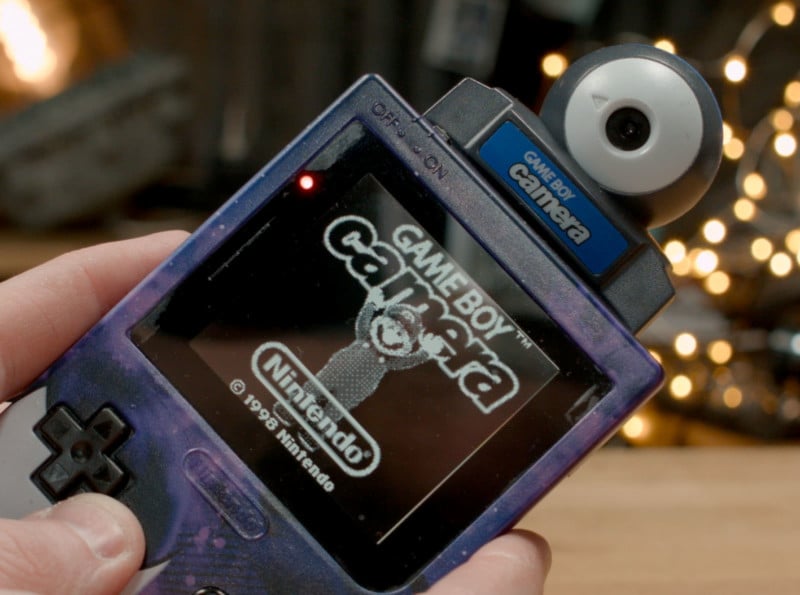
Released in 1998 and retailing for $50 (equivalent to $85 in today’s money) it was the smallest digital camera on the market at the time.
It works just like any other game for the Game Boy, it just slots into the back. And just like that, you’ve turned your handheld gaming console into a fully-fledged point-and-shoot camera. It was brilliant as the Game Boy’s large screen was used as the viewfinder.
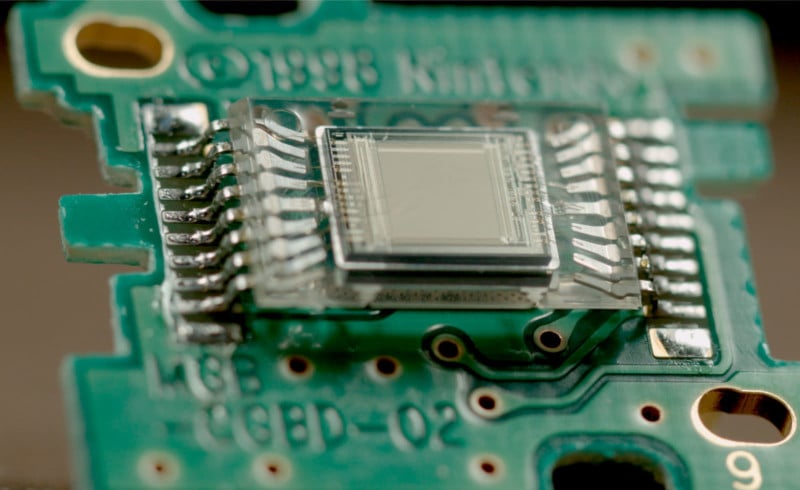
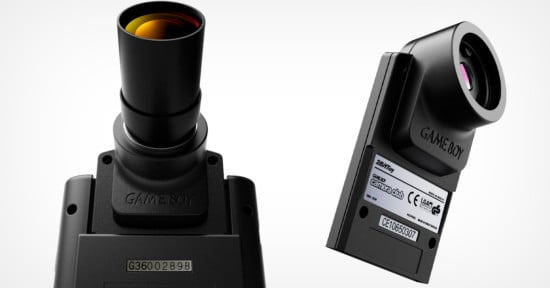
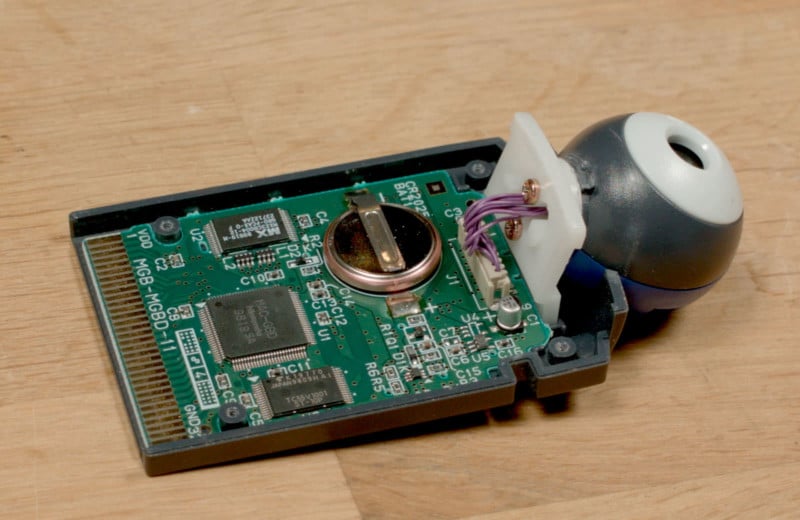
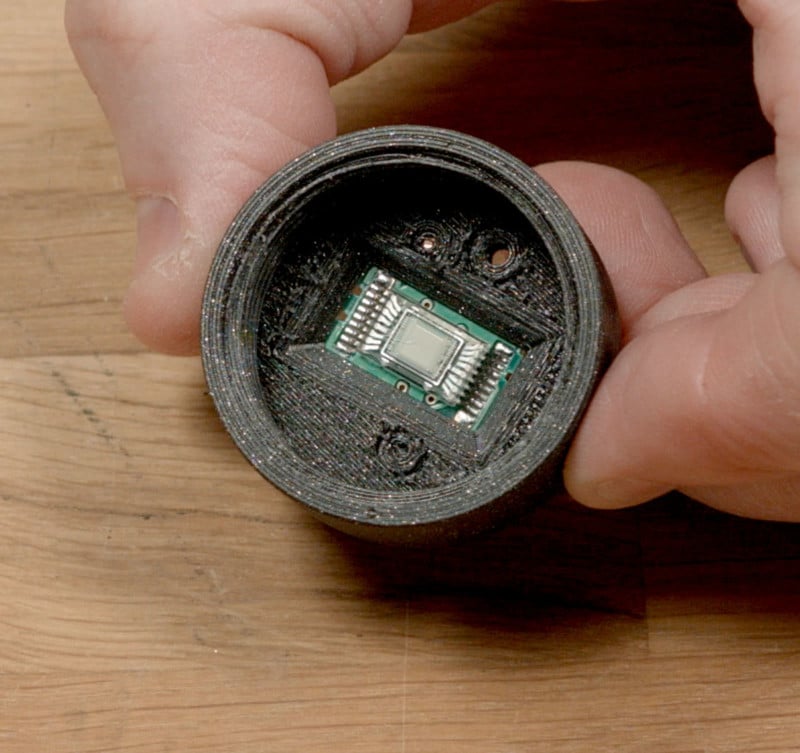
This is the sensor in this beast of a camera. It’s a 14 kilo-pixel (0.014 Megapixel) 1/4″ CMOS sensor. It captures 128x128px images, which are cropped and stored as 128x112px images. The Game Boy Camera can store up to 30 of these pictures. There was no way of getting these images of the camera off the camera and onto any other digital storage media at the time (There is now though, more on that later), once you had 30 pictures you had to delete old ones. The only way to get images off the cartridge was to use this amazing accessory:
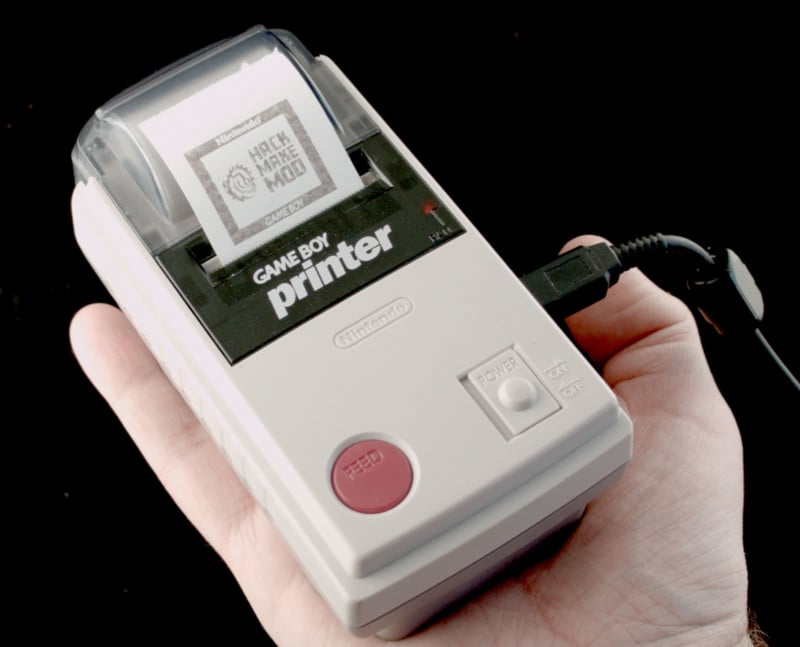
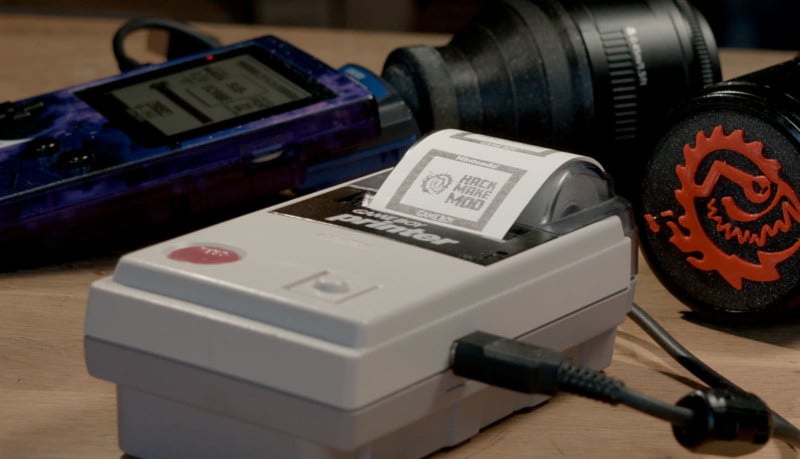
The Game Boy Printer. An ultra-portable thermal printer that produced postage-stamp-sized prints right there in your hand and it was powered by batteries!
I bought this Game Boy Camera in 1999 when I was 12 years old with my birthday money.
I’ve always loved it. I found it in a box recently and started playing around with it. It oozes charm. The images are so unique looking. You can instantly identify if a picture comes from a Game Boy Camera. There really isn’t anything like it. It’s super easy to take pictures with it, bad pictures that it. Taking good ones is a bit of a challenge.
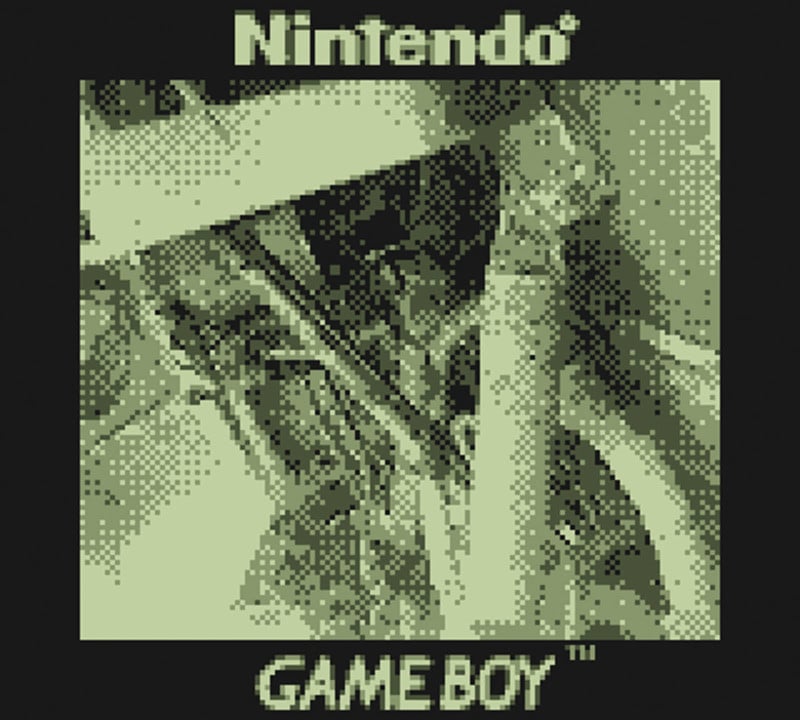
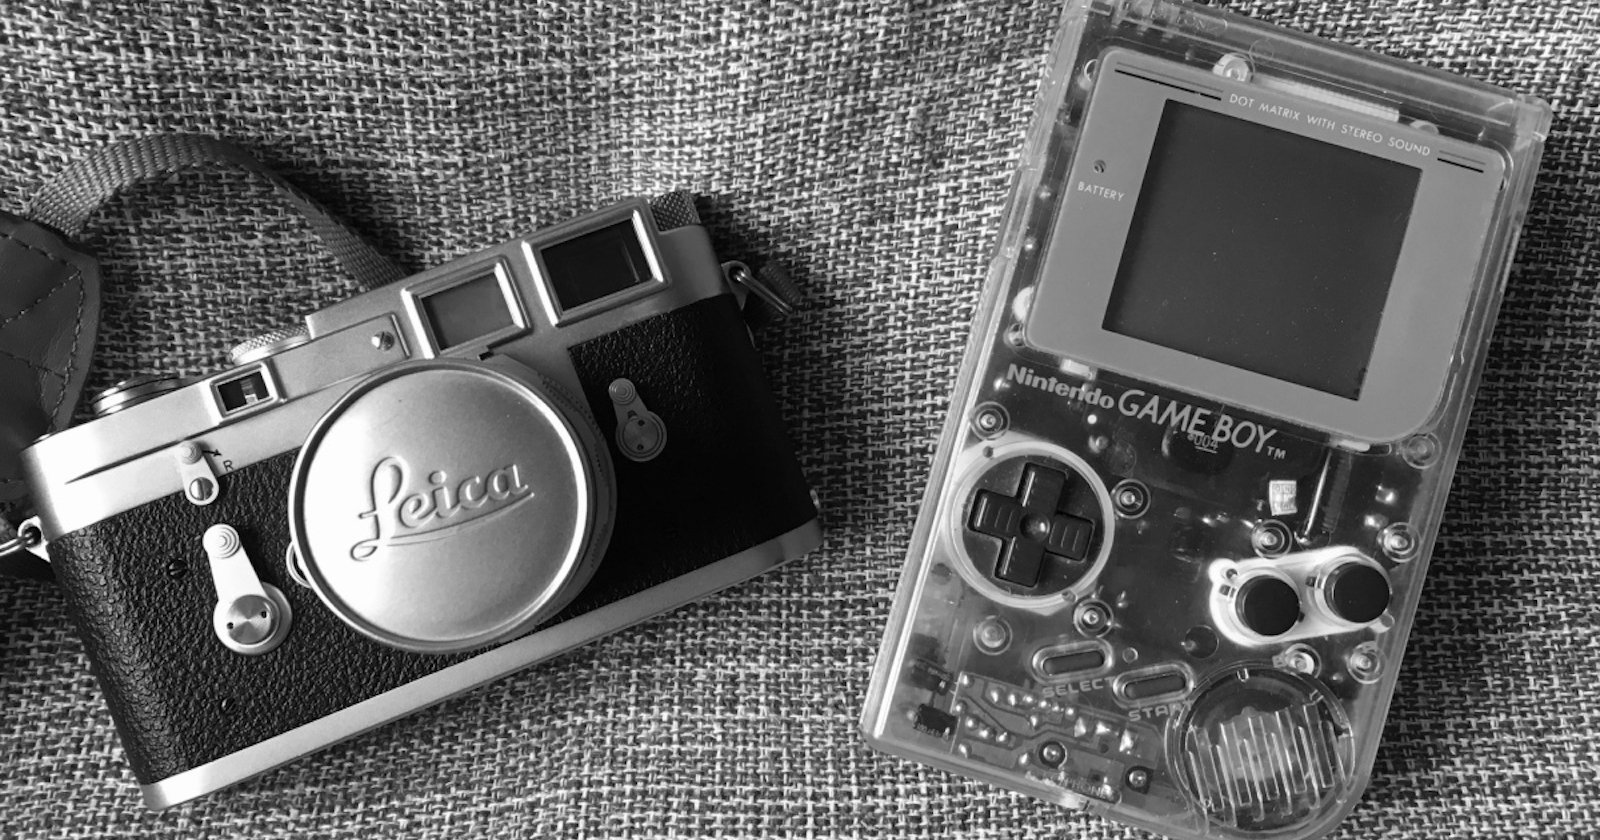
The photos are low resolution and have a color depth of 2 bits, meaning the camera can produce pixels of black, white, and two shades of grey.
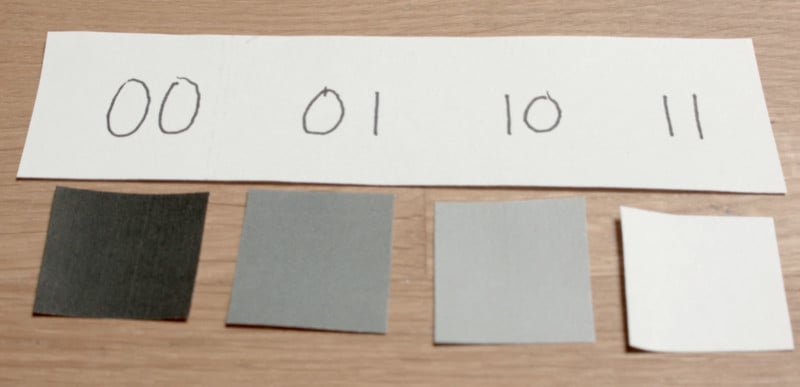
For comparison, a modern camera operating in 10-bit color space can produce over 1 billion different shades of color. The Game Boy Camera makes proper lighting a necessity to get images in which you can tell what they portray.
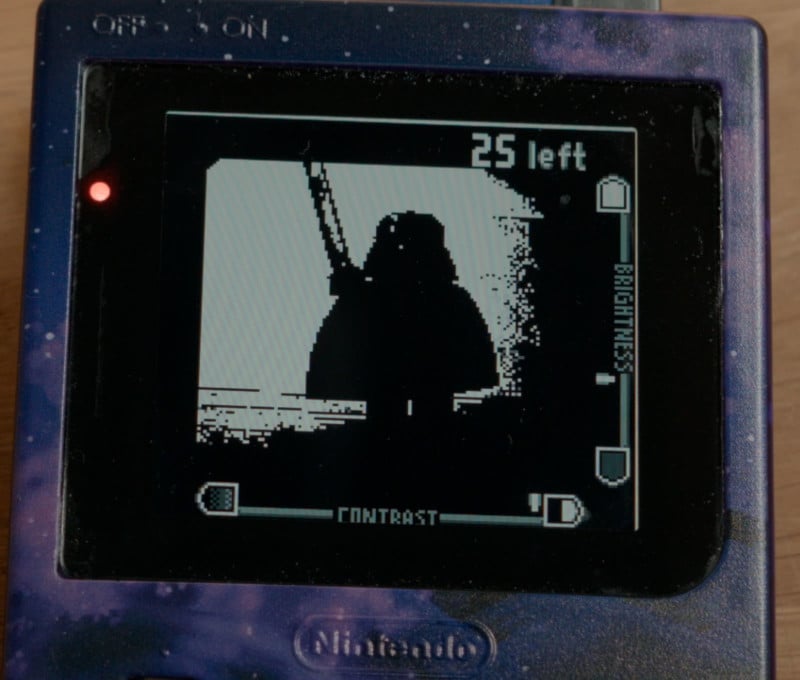
Also, the only settings you’re able to make in-camera is to change the brightness and contrast, both of which are applied on top of the auto exposure feature (which you can’t turn off btw). So there is no way of locking in exposure or anything similar. Making things even more difficult/challenging.
Using Big Lenses on the Small Camera
So why use this camera in 2022? It’s the limitations that are appealing. How much can you express and convey with a 0.014-megapixel image in black, white, and two shades of grey? It’s the challenge of taking the absolute coolest pictures possible with this technology, pushing it to the limit.
And this is what we’re going to attempt to do! Now I have two goals in mind.
I want to take a picture of the moon. I want the moon to take up as much of the frame as possible while still capturing the whole thing.
I also want to take super close-up photos aka macro photography.

Both of these require me to fit different lenses to the Game Boy Camera, so I’m going to make a quick swap system that allows me to change between different lens mounts quickly. Since the moon is waning I’ll start with the mount for this lens:
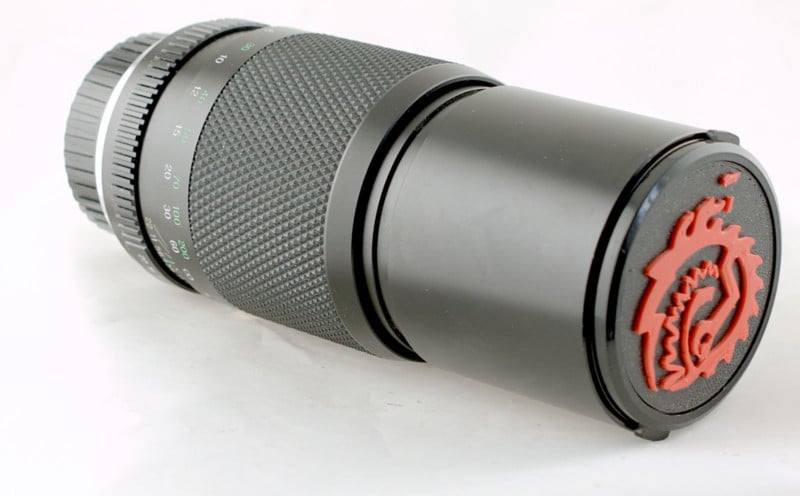
It’s a Pentax-K mount Chinon 300mm f/5.6 vintage lens I got real cheap from an online thrift store. For what I paid for it, It’s crazy good glass.
So why did I choose a 300mm lens? As I mentioned earlier, I want as much of the moon as possible to fill up the frame without it being cropped.
If you’ve done any DSLR photography with a 300mm lens you know that it’s quite a bit of zoom, but it’s nowhere close to filling the frame with the moon.
So why would it be able to fill the frame on a Game Boy Camera? It comes down to sensor size.
This is the size of a “full-frame” aka 35mm sensor on the left next to the size of the Game Boy Camera sensor on the right:

As you can see it’s pretty tiny compared to a full-frame sensor. It’s about 1/11th of the area.
Placing this in the center of the image circle you can see that only a small part of the image projected by the lens actually is captured by the sensor.
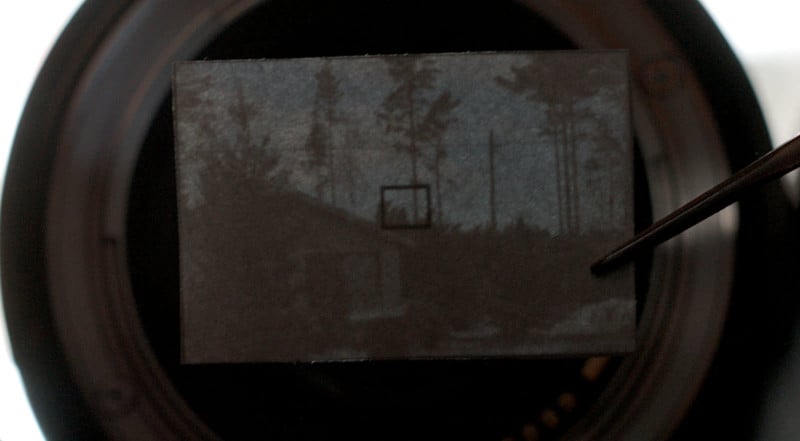
The smaller sensor basically sees this 300mm lens as a 3200mm lens. This is known as “crop factor”. The smaller the sensor the smaller portion of the image produced by the lens is captured by the sensor. It’s ”cropping the image”. The sensor in the Game Boy Camera has a crop factor of 10.81x. This means that to get the same level of zoom on a full-frame sensor you would need a focal length 10.81 times as long.
Now time for some math. The moon is about 3475km in diameter and the distance from earth varies between 356600km and 406600km. If you stand on the face of the earth and look up you can imagine that the night sky you can see is 180° wide. Using the small-angle approximation angle formula the moon will take up 0.49 to 0.56° of the night sky.
The field of view of a camera in degrees can be calculated with this formula 2 arctan * (sensor size / (2 * the focal length of the lens)).
The shortest side of the image sensor that is captured on the Game Boy Camera is 3.15mm. So 2 arctan * (3.15/(2*300)) = 0.6°
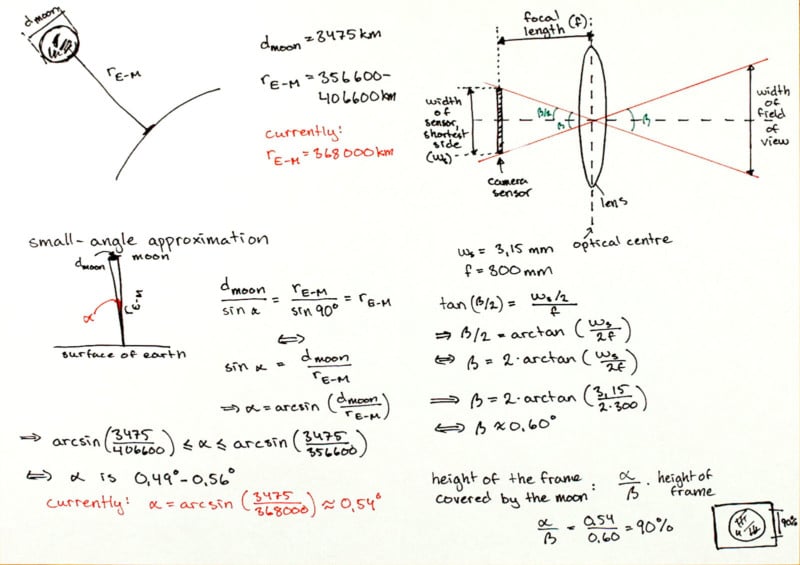
At the time of shooting this video, the moon is 368000km away from the earth, which comes out to 0.54°. Meaning that 90% of the height of the frame would be covered by the moon. Which I think would be perfect as 100% coverage would be very difficult to frame.
All good so let’s get started designing a mount for this lens!
Creating a Custom Lens Mount
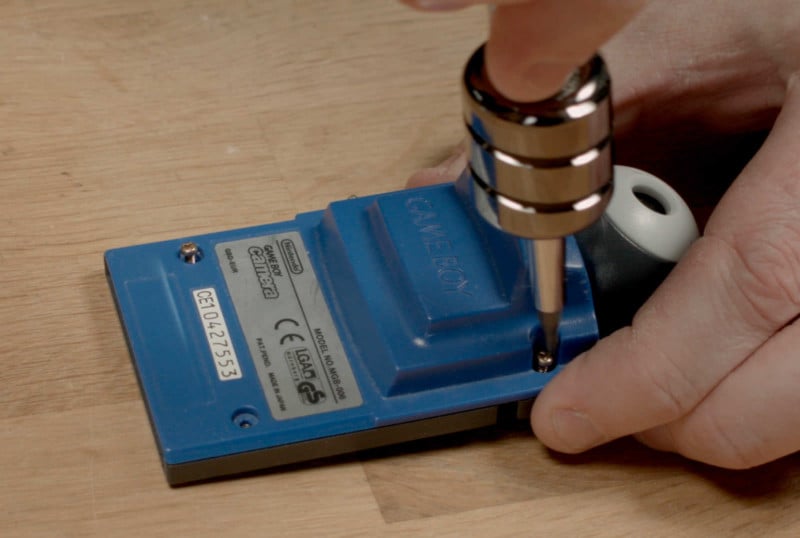
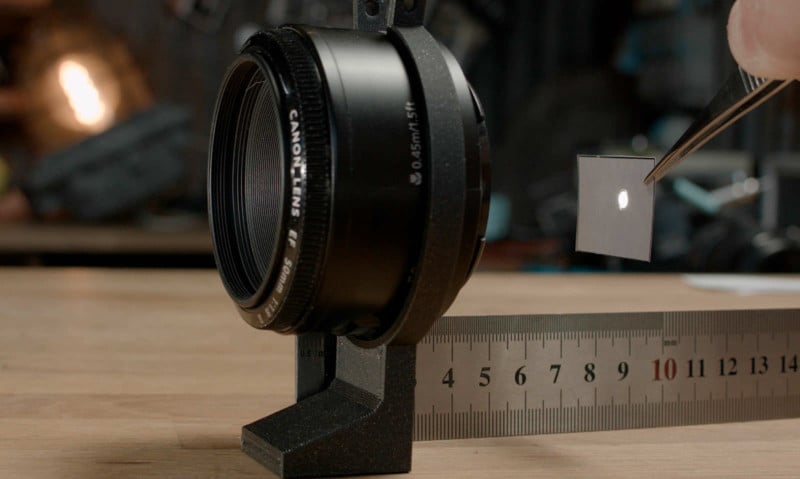
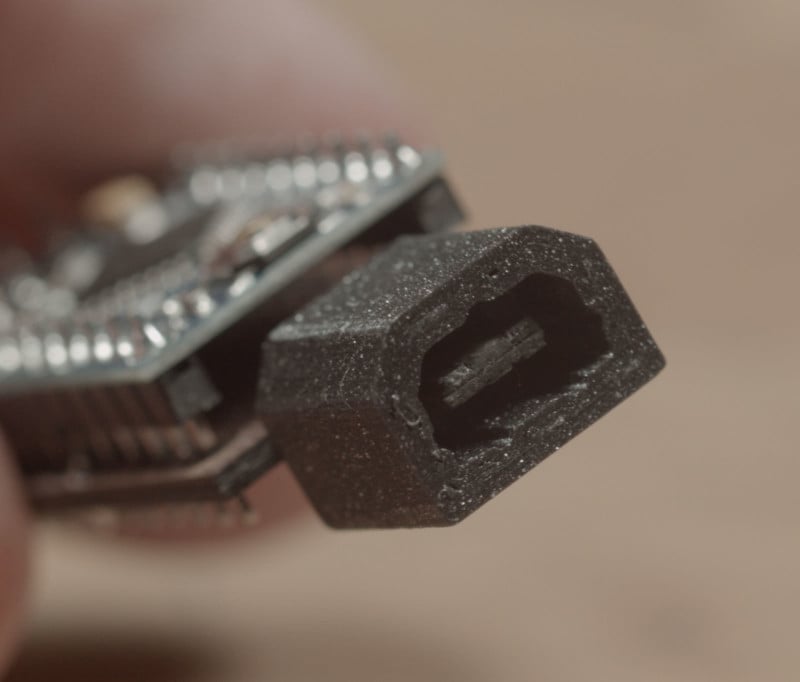
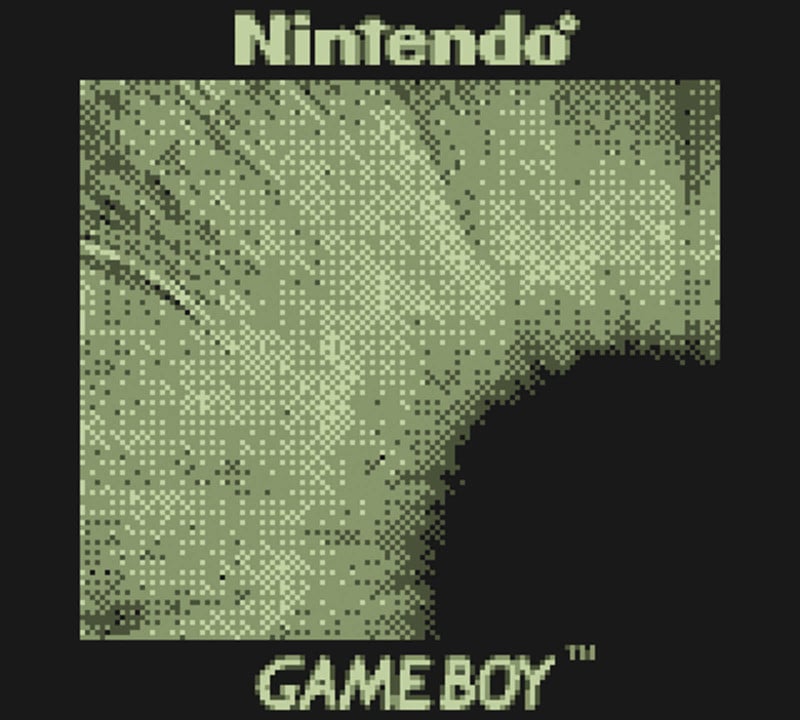
While taking the camera apart I noticed this pretty big scratch-looking thing on the sensor.
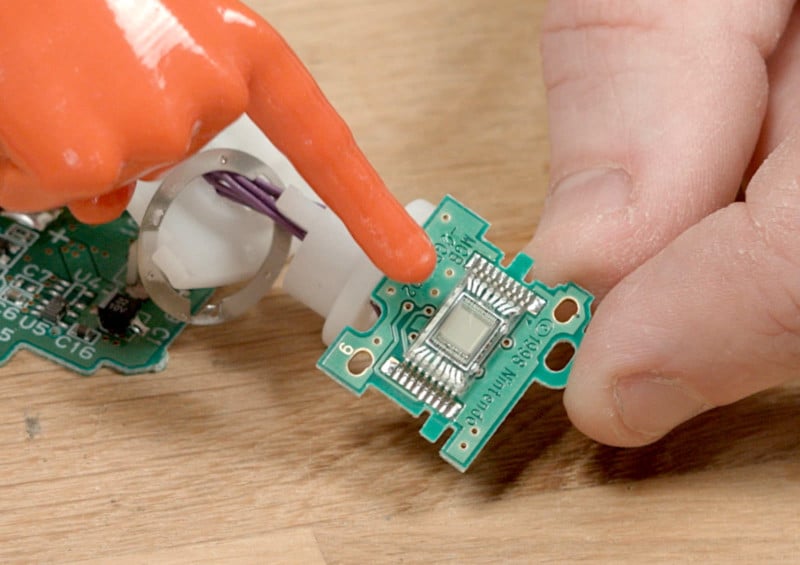
Except, when looking at it closely, it doesn’t look like a scratch but rather a deformation in the casting of the top of the sensor. Here take a look under the microscope.
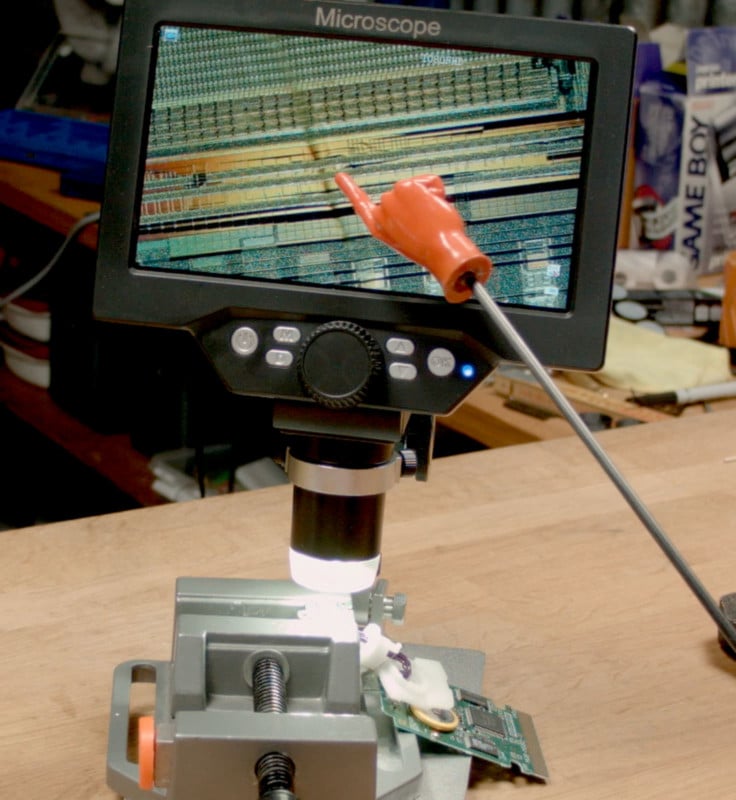
I wonder how this passed quality control. I’m not sure where I put the receipt nor if they have a 25-year warranty. I guess I have to live with it. We’ll see how much it shows up in the pictures. Maybe I can work around it.
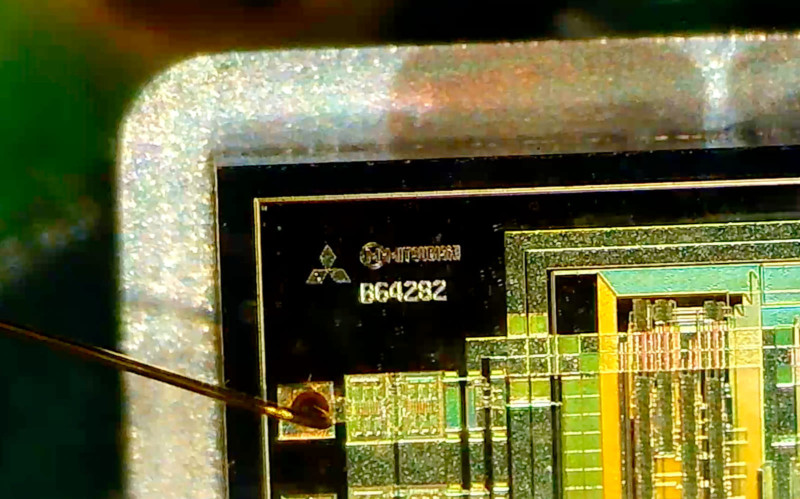
The sensor was made by Mitchubitchi. That’s cool! I didn’t know they did electronics like this. After some googling, I found the datasheet for the sensor. It’s the M64282FP. They call it the Artificial Retina LSI. “This device can detect an image and process the image simultaneously as human retinas can” 16usec to 1 sec exposure time and 1 lux low light capabilities. Impressive! Link to the datasheet.
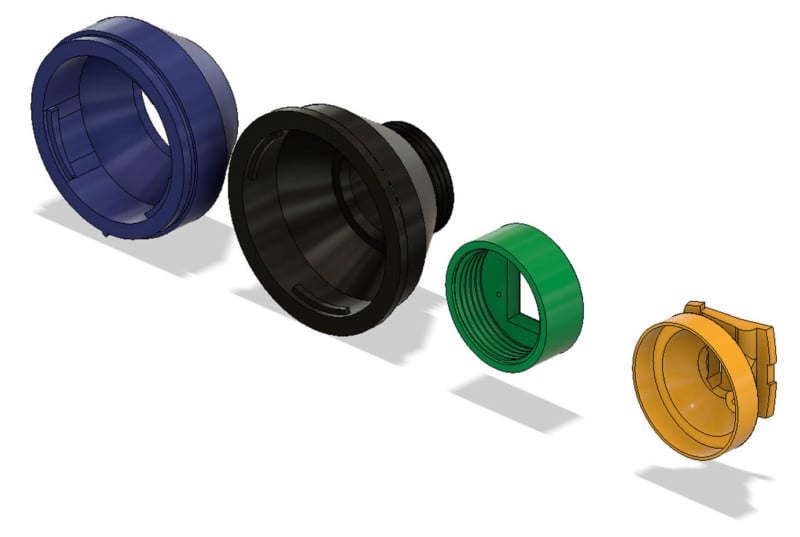
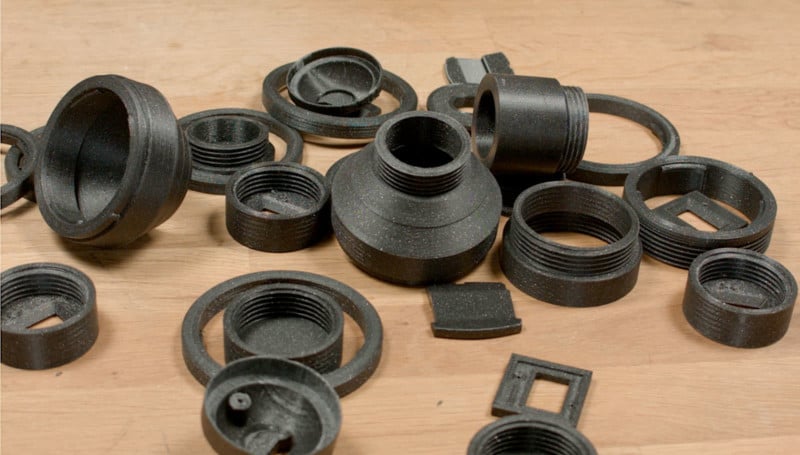
Let’s design a 3D printable mount for the sensor and make a quick swap lens system.
I’ll be using the CAD/CAM software Fustion360 for making these parts. The criteria I set for myself for this design were to do no permanent changes to any original parts of the camera so that I easily can restore the camera to its original state and only use original screws, no inserts and only 3D printed parts.
Note: If you are interested in the design files, you can download them here.
The first part I made was the part that gets clamped down between the two cartridge shells.
This design will not be able to swivel or anything fancy like that. It’s going to be fixed angle to be as stiff and strong as possible. I then added the ball shape as precisely as I could to get a tight fit against the opening and then a cup that will accept the sensor holder.
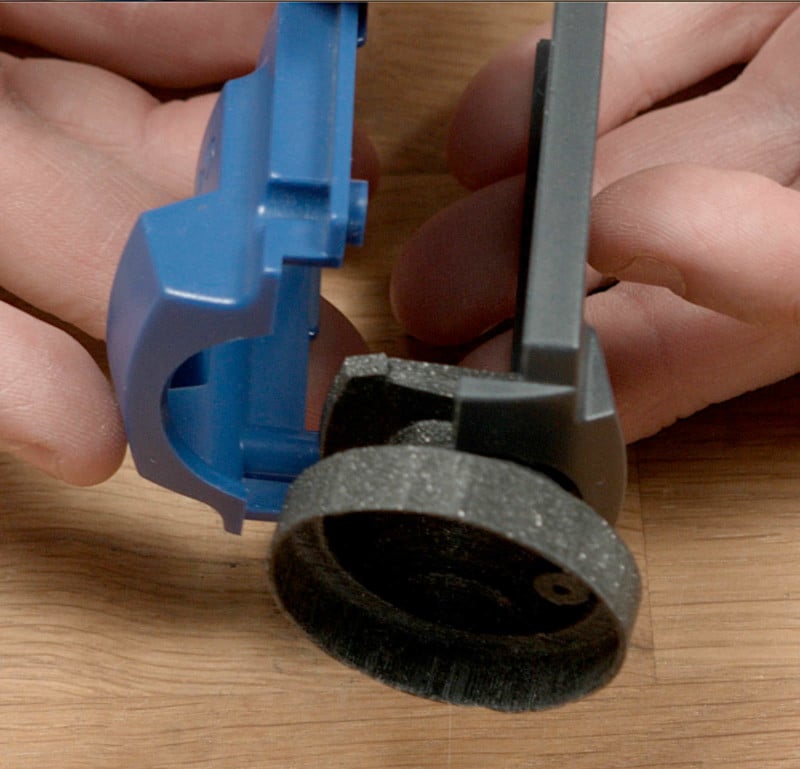
Speaking of which, is designed like this: The sensor screws into the back using the original screws. A screw for retaining the sensor holder in the cup prevents it from rotating.


On the front of the sensor holder is an M33x2mm thread. This is used to mount different lens adapters. There are quite a few turns on the thread as it will eliminate any light leak. Threads this size are pretty easy to print if you have a decently tuned printer. A general tip regarding threads. Always end the male thread before the female thread and create a relief at the top. This will ensure that the top surfaces of both parts register against each other and lay flat.
Depending on how well your printer is tuned you will need to add some tolerance to the threads. The easiest way to do this is by using the push-pull command and reducing the size by 0.05mm for a well-tuned printer and 0.1mm for a not-so-well-tuned printer. At least that is a good starting point. You could do this to both male and female threads but I usually only do it on one of the two.
I always choose to do this on the thread that I will print the fewest of as then I don’t have to do it on all other threads I make after this. In this case, I’ll do it on the sensor side as I’ll print a bunch of different adapters.
Next, we need to talk about flange distance. A lens is designed to focus at a specific point behind the mount.
Different lens systems have different distances. Like Canon uses 44mm and Nikon uses 46.5mm. The Pentax-K mount is 45.46mm. I doubt I’ll be able to hit that exact number with this many pieces connected together, so I did the next best thing. I made it adjustable. I added an M58x2mm thread to the front of the adapter which I then can fine-tune the flange distance with the camera running to perfectly hit that 45.46mm. Once I have it dialed in I’ll add a tiny drop of glue to prevent it from moving.
Since there is so much thread engagement there won’t be any light leak from this joint either. One thing to watch out for is light leaks around the 3D-print-to-lens interface. I highly recommend printing the flange adapter surface against the bed of the printer to make sure it’s completely flat. If you do that you shouldn’t have any issues. Also, use a black filament and plenty of walls on the prints to prevent any light from finding its way to the sensor.
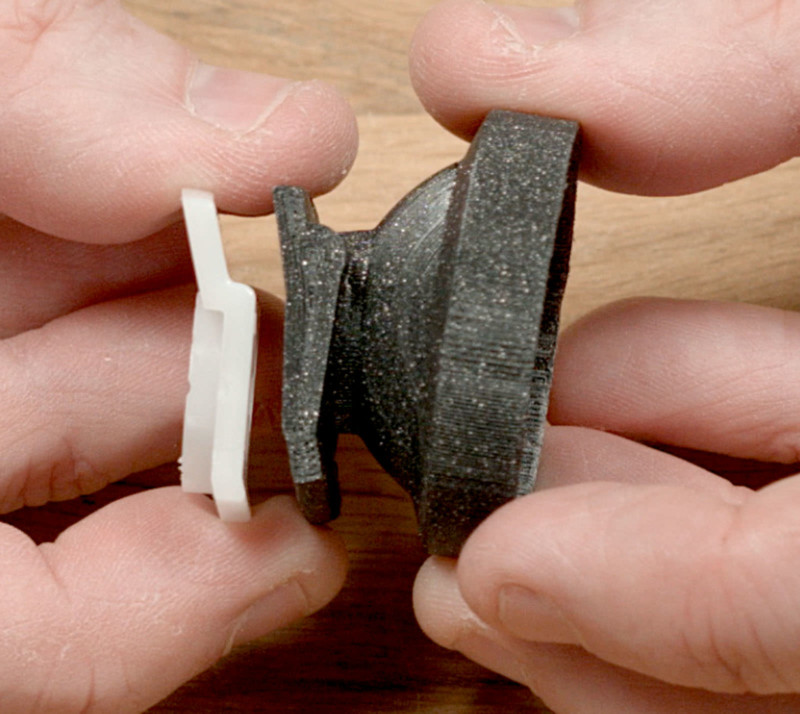
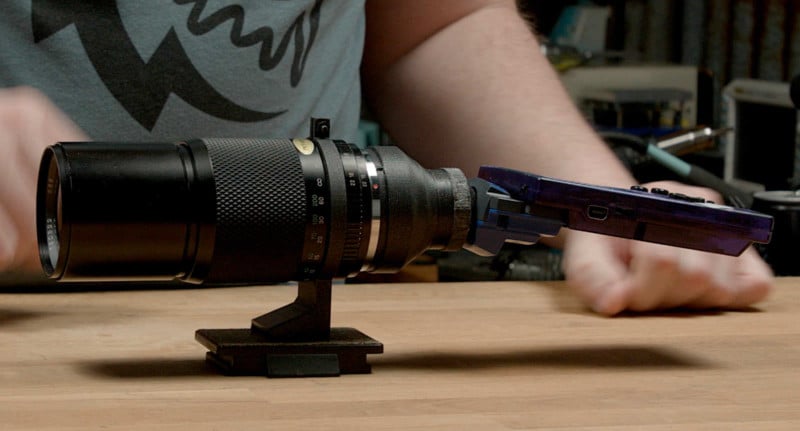
I also printed this little lens tripod adapter. I want as little stress on the Game Boy Camera cartridge as possible and the Game Boy is much lighter than the lens. This way the center of gravity of the setup is also really close to the mounting point, which reduces stress.
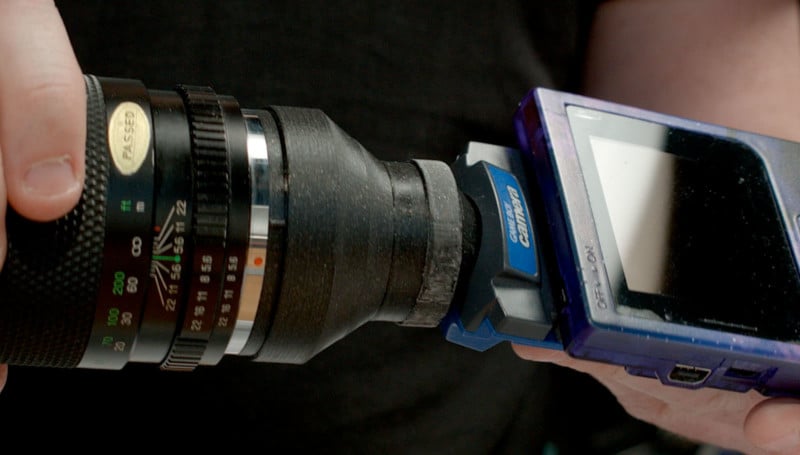
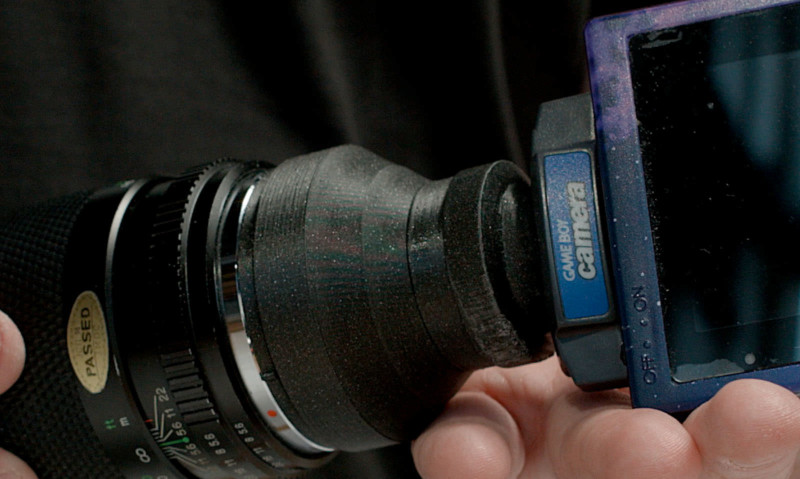
This is how it turned out:
Photographing the Moon
Let’s see how much zoom this thing has.
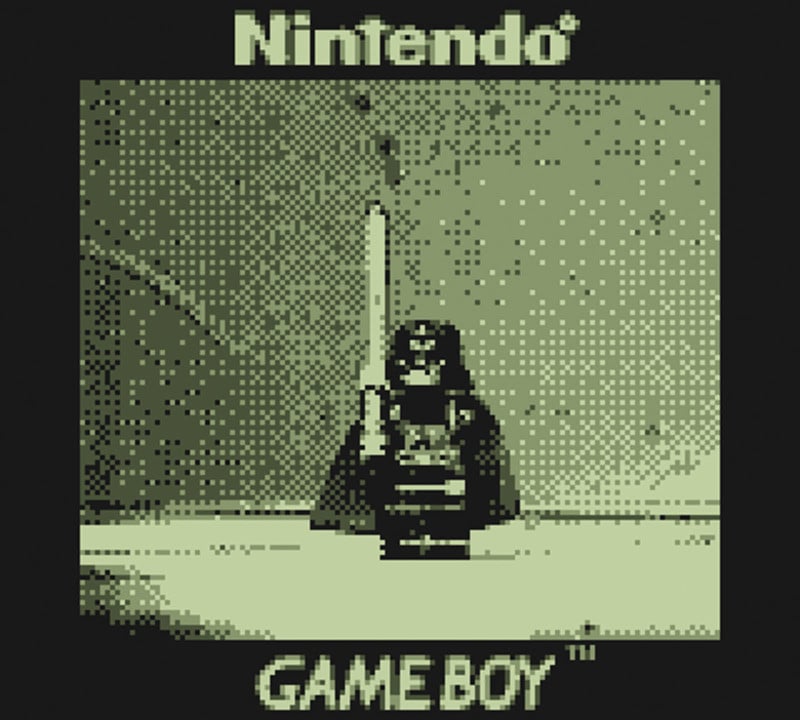
This is a LEGO figure that stands 43mm tall that I put at the other end of my house, 13 meters away. That is a pretty crazy amount of zoom! I think I’m ready to photograph the moon.
At 10 pm that night started heading out to the field. The snow is a lovely 30cm deep. 10 minutes of walking later I’m out on the field. I look around and where the heck is the moon? Turns out it doesn’t rise until Midnight. Sigh. Didn’t even think about checking that before setting out. Back we go. Wait two hours. Walk out again. This time I could see the moon through the trees while walking.
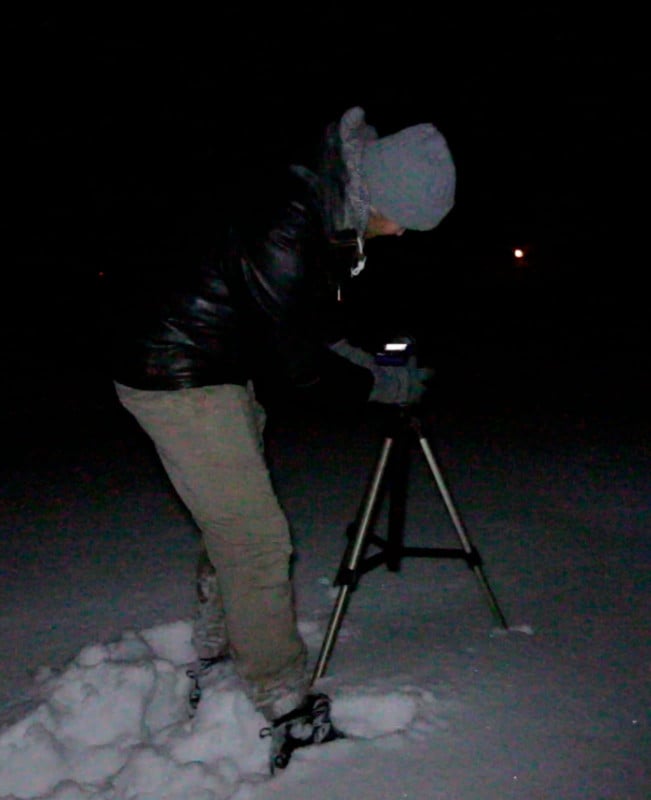
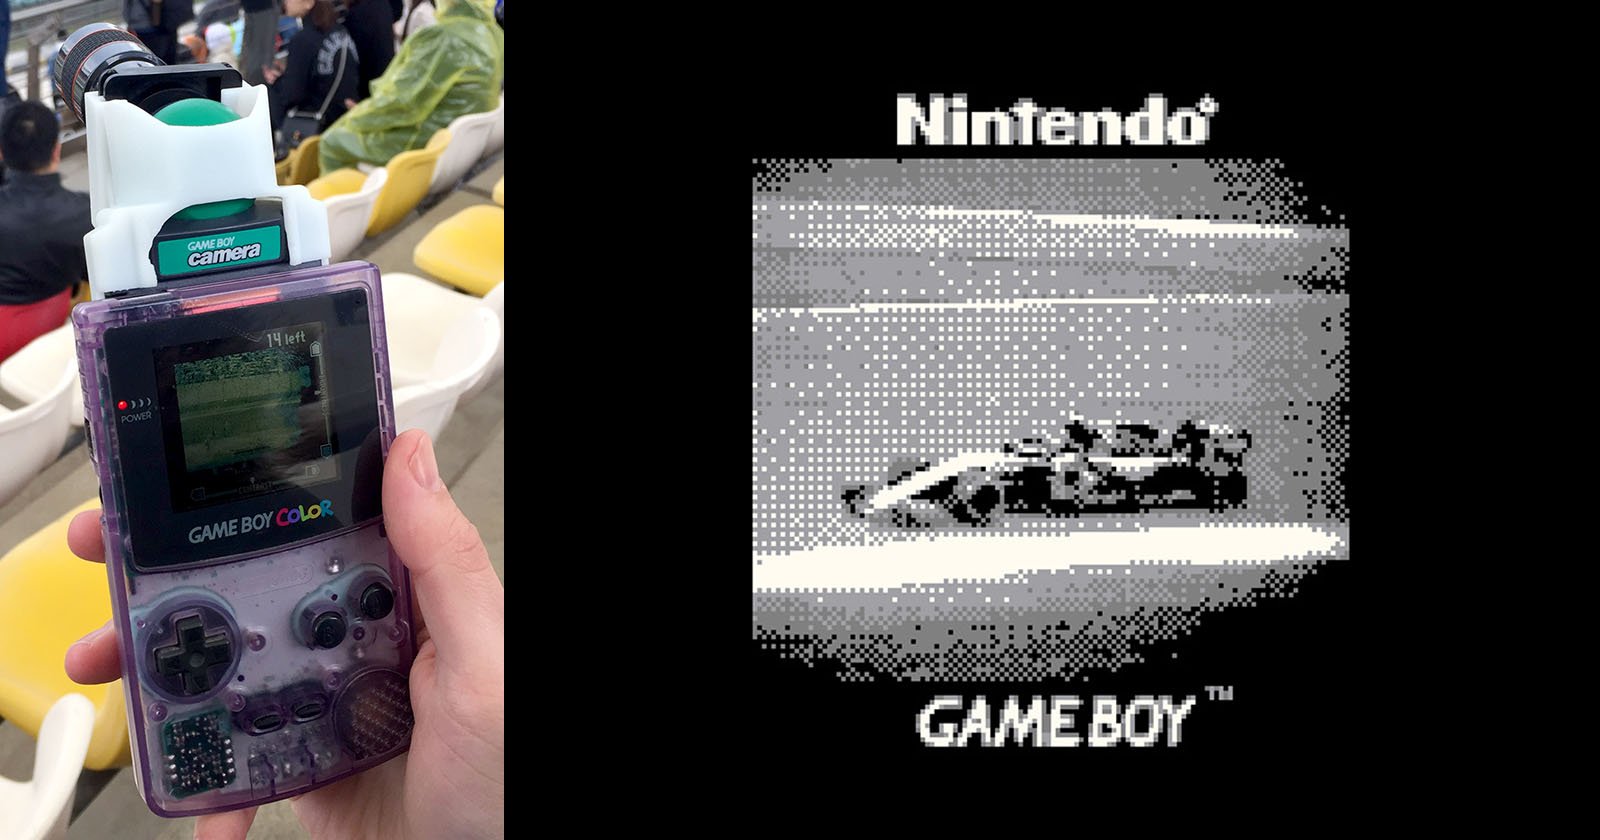
When it’s this dark the FPS on the Game Boy Camera goes down to 1 or 1/2 a frame per second, making aiming and focusing quite the challenge. It took like 5 minutes to even find the moon and then it takes a solid 30 seconds before it’s done setting the auto exposure. And then I need to focus.
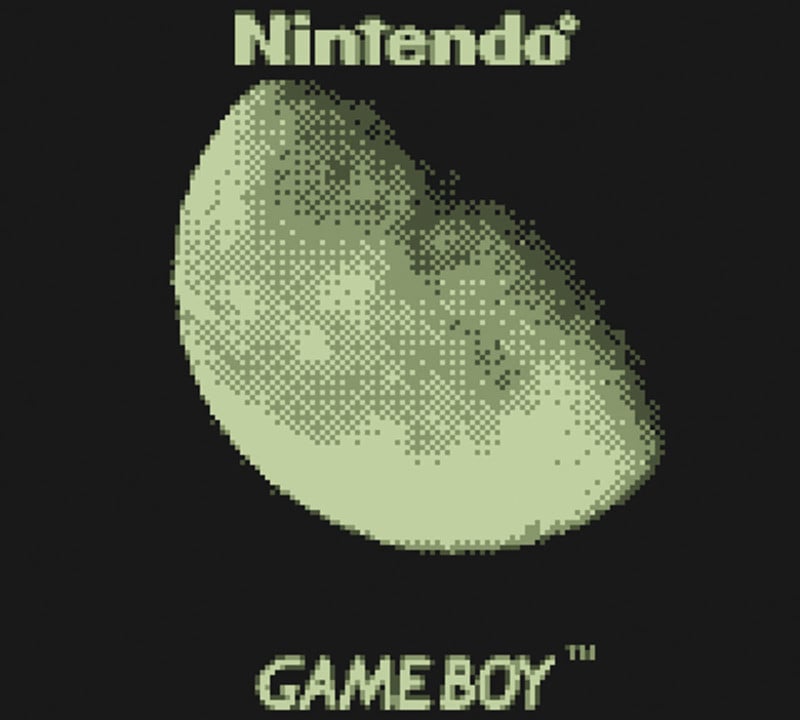
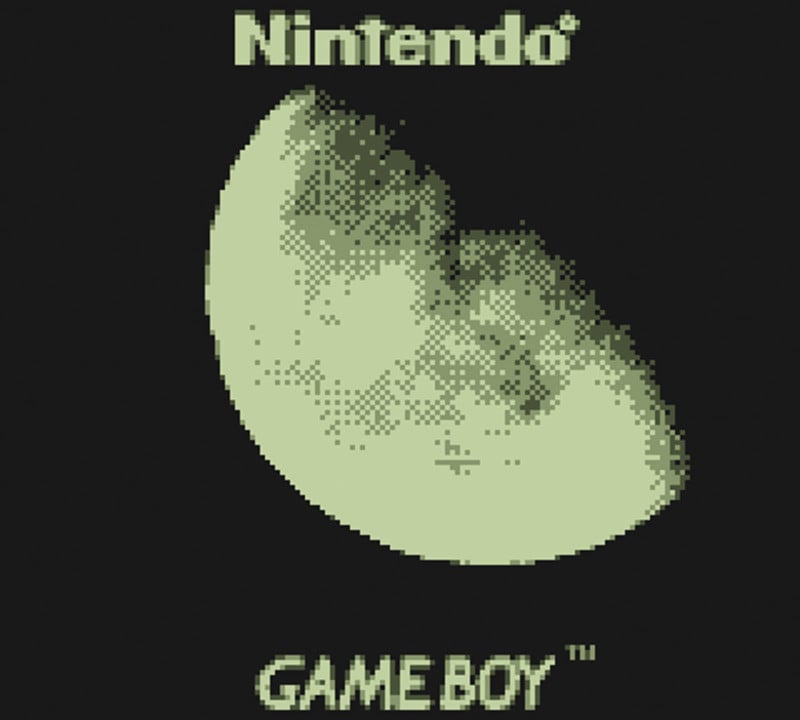
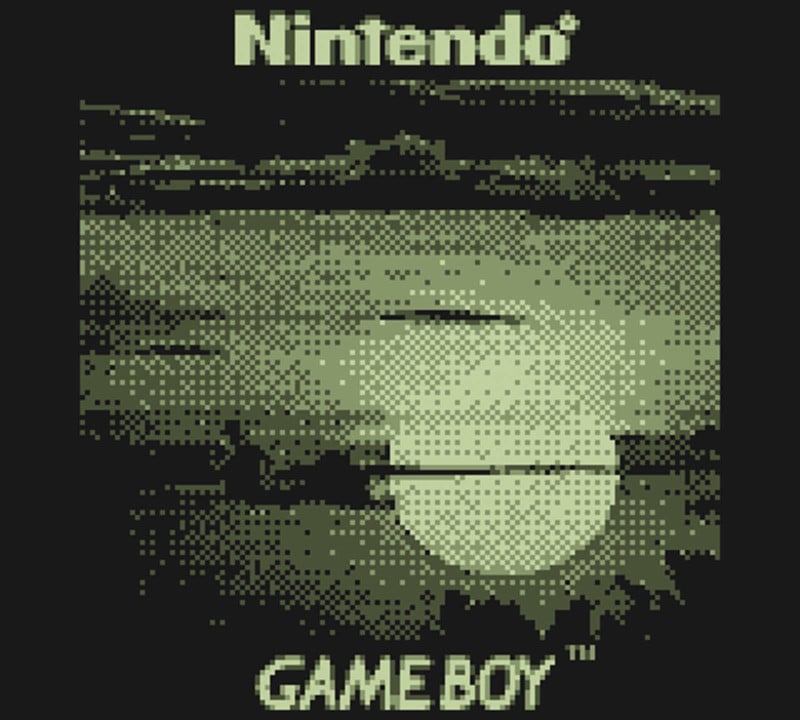
It looks like my math was correct as the moon is filling up the whole frame. It’s pretty crazy how quickly the moon moves in the frame at this level of zoom. While the camera is setting the auto-exposure the moon has moved far enough that I sometimes needed to reframe the shot.
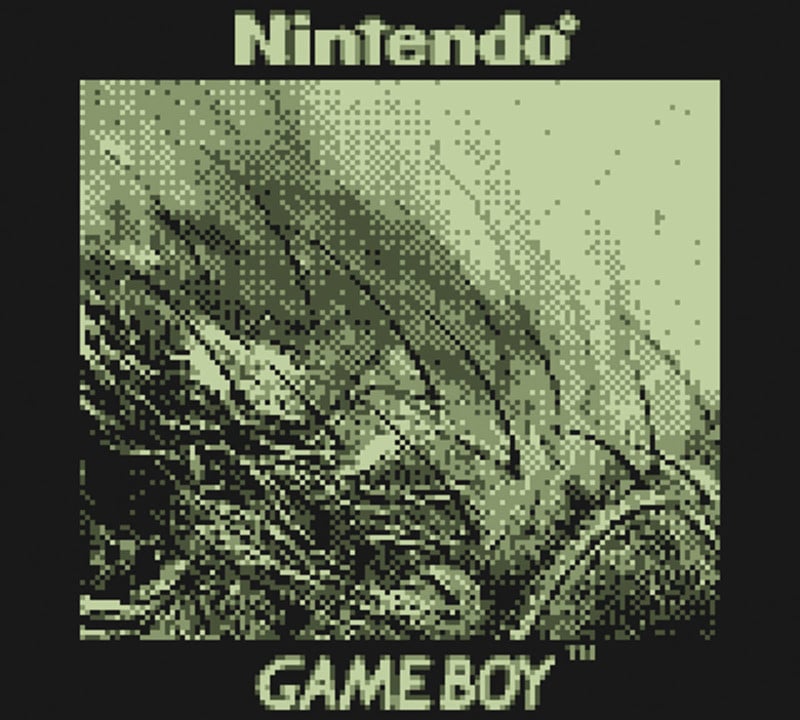
After the auto-exposure did its thing the FPS did jump up to perhaps 5 making things a lot easier. Just breathing on the tripod would shake the whole thing though. Luckily since the FPS was so low you could hit the A button real quick and it would save the frame it was currently displaying which was drawn 1/10th of a second earlier, making it possible to get sharp shots. And man, just look at these pictures I managed to capture!
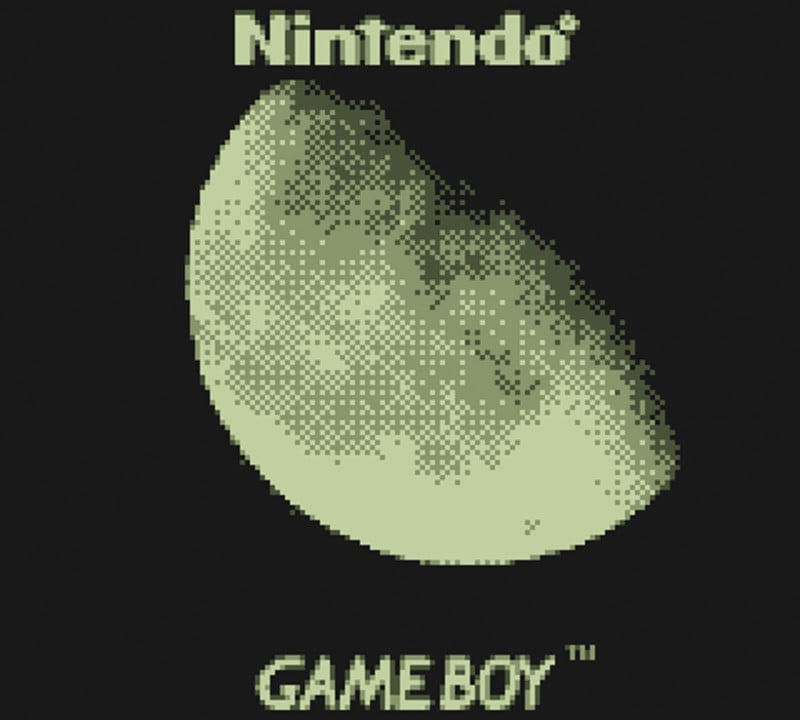
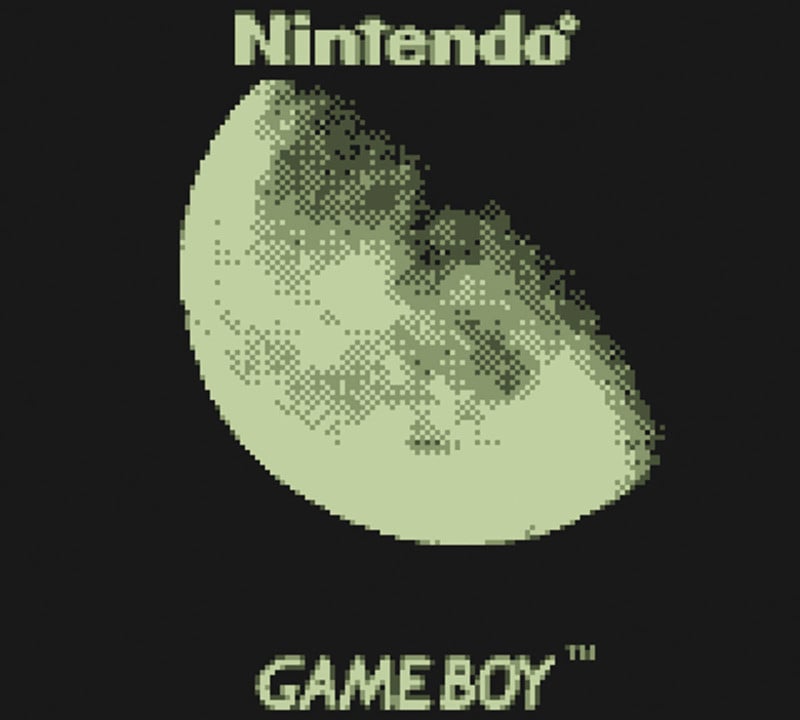
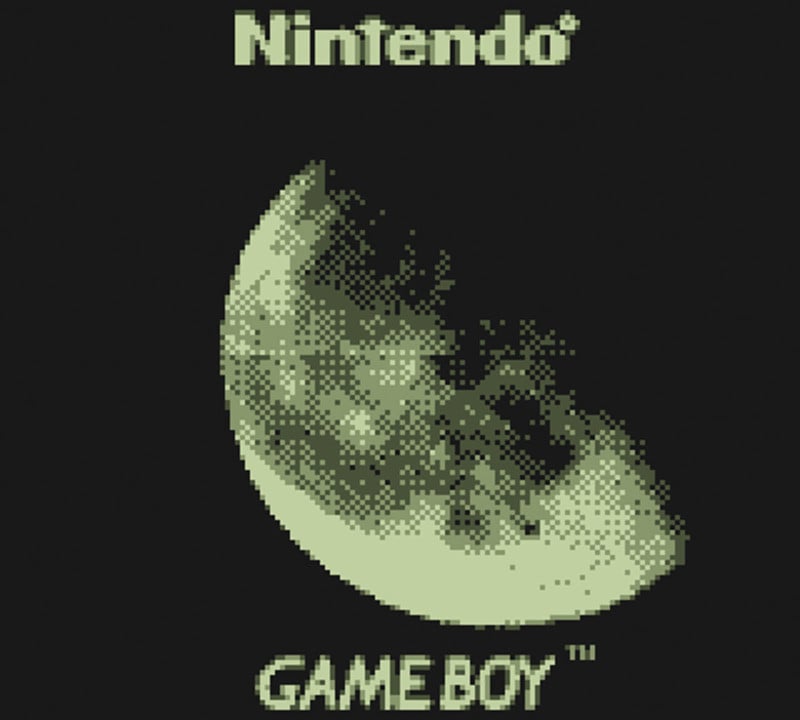
During some pictures, some clouds passed by and made things look really cool. Remember this is a picture of an object 368000km away taken with a toy camera from 1998.
Transferring Photos from the Game Boy Camera
But wait you might say. Didn’t you say there was no way to get the pictures off the Game Boy Camera earlier? Well, luckily we live in the future and there are solutions available now. They come in two categories, the ones that pretend to be a Game Boy printer and the more sophisticated ones that directly read the data from the cartridge.
The first one is really cheap and easy to DIY for a couple of dollars but is slow and a bit cumbersome to use, and the second one is around 50 bucks to buy but really easy to use. It literally shows up as a removable drive on your computer and you can just drag and drop the pictures onto your hard drive.
Being both cheap and don’t have the patience to wait weeks for delivery, I went with the DIY solution. I even have all the whopping two components needed at home.
Those components are an Arduino and a Game Boy Link cable.
If you have a knockoff cable or one that you don’t care about you can simply cut one end off and solder it straight to the Arduino. Mine is an original cable and I don’t want to dedicate it to this project, so I’m going to make a custom PCB that will double as a connector, using a freaking laser.
I only had 0.8mm copper plated FR10 board at home so I cut a top and a bottom board and will stack them together later to get the 1.6mm thickness that the middle section of the Game Boy cable needs.

Note: All the design files are available here in EasyEDA format.
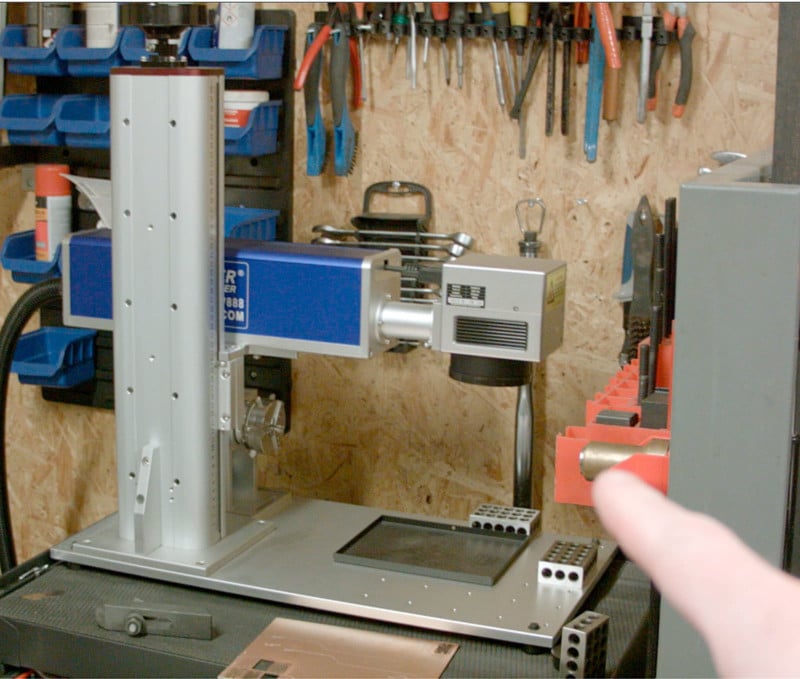
I’m using a 50W Raycus Fiber laser fitted with a 110mm lens. It works in the 1000nm wavelength making it excellent for cutting metals. The focused spot size is incredibly small which makes this type of laser deliver all its power into a very small area compared to a CO2 laser which further aids the cutting ability, but also the capability of making very tiny markings.
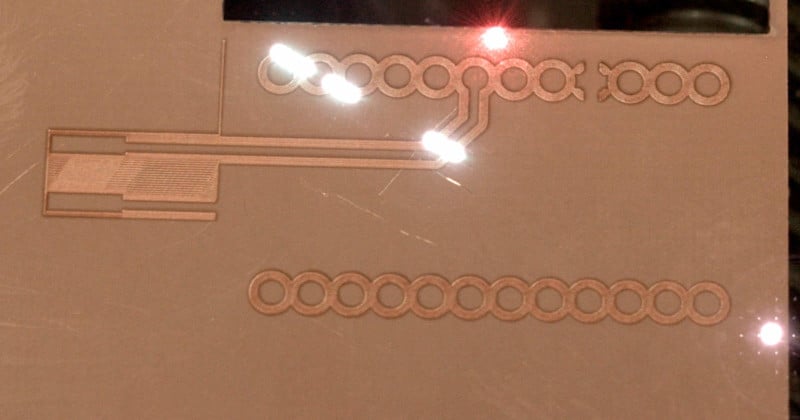
They are incredibly fast as they use a tilting mirror to aim the beam whereas a CO2 laser moves a heavy gantry around. Max speed is around 7 meters per second! Which is silly fast.
The downside is the very limited size of the work area. But it compensates for this by sounding freaking amazing.
Here are the finished boards. The settings I used when cutting weren’t optimal so the pads that aren’t connected to anything thus had very little surface contact with the board kind of fell off. But the rest of the board turned out well enough for this application.
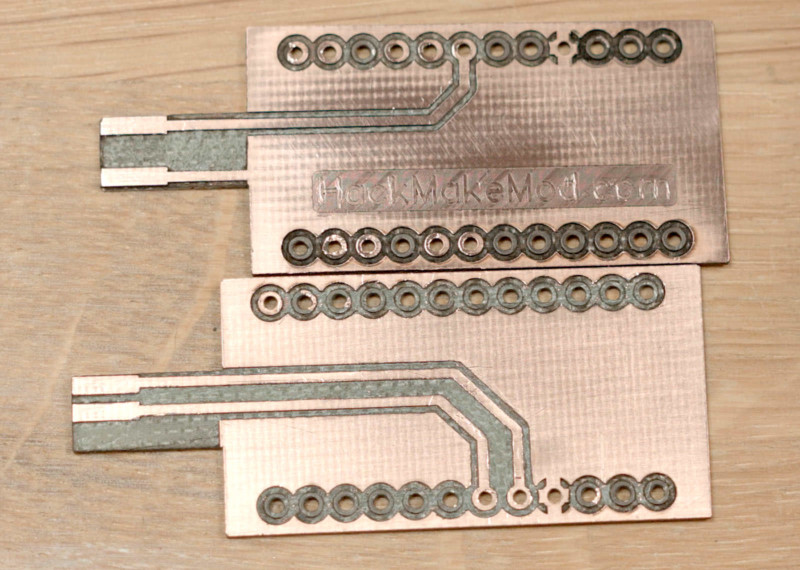
Now bare copper tends to make bad connectors as copper oxidizes quickly and the surface becomes non-conductive. So to extend the life of this connector I’m going to tin it using solder. It’s not the best solution, but it’s going to last much, much longer than bare copper.
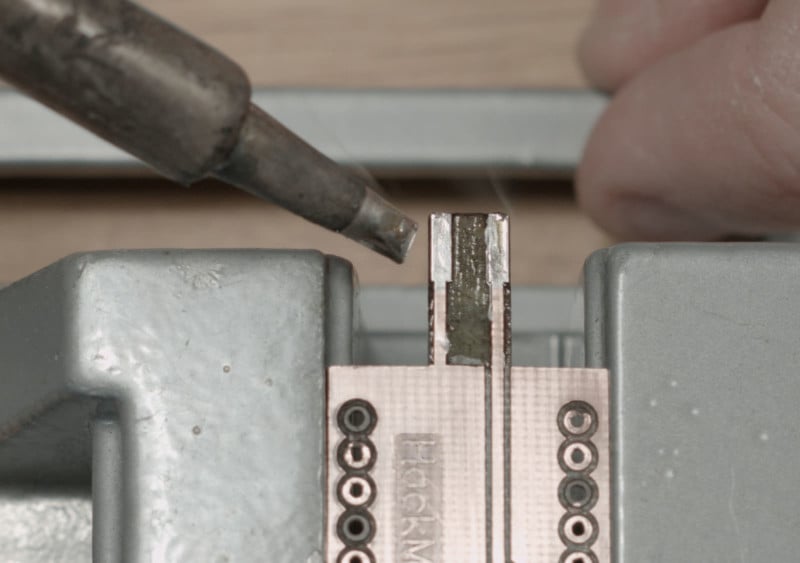
I used this flux in gel form, which turned out to work great. A super-thin layer of solder is all that is needed so I removed any excess using a solder wick, then cleaned off the area with some isopropanol alcohol.
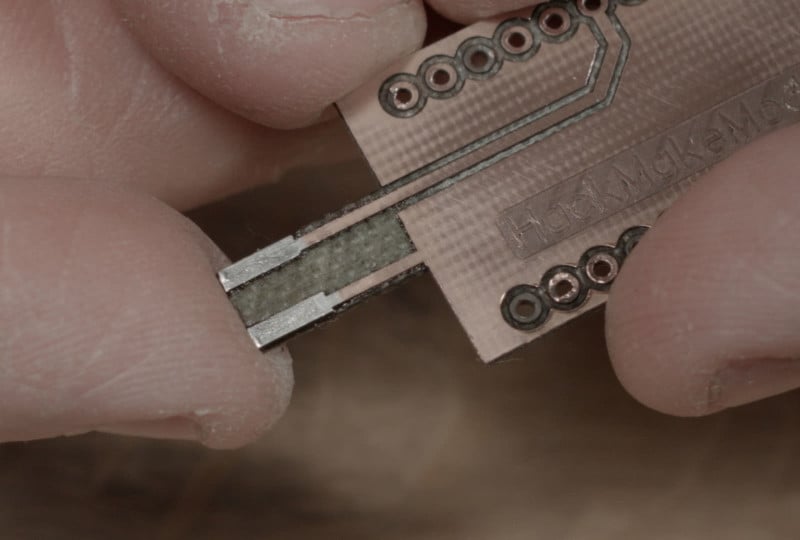
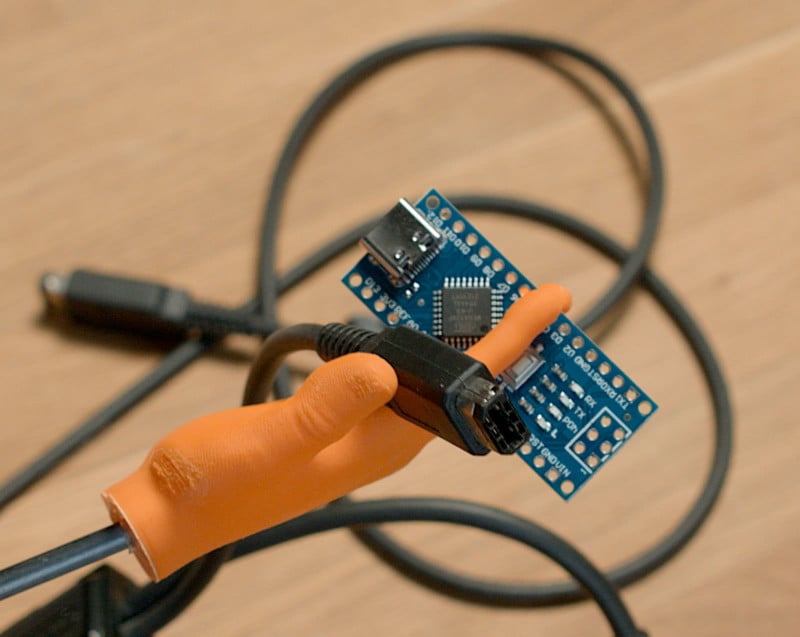
I then glued the boards together using some CA glue and used the pins to align the boards. I 3D printed a connector so that I don’t plug in the cable the wrong way…
…and a case for the whole thing to make it look a bit snazzier.

Note: All the design files are available here.
Alright, let’s turn this Arduino into a Game Boy printer emulator! First, download the “Arduino Gameboy Printer Emulator” project by Brian Khuu from GitHub.
Then upload the Arduino sketch and open the serial monitor. Set the baud rate to 115200. That’s it really on the programming side.
Now, all we have to do is to print an image from the Game Boy Camera and the Arduino will spit out a pair of hex digits for each pixel. We’ll then copy that and open this website that is linked on the GitHub project page. This page turns the hex code into images. Paste it in the window and hit update. Boom! Now you have a pixel-perfect image from your Game Boy Camera that you can download as a PNG or JPG.
You can even choose different color palettes to change the feel of the images. I personally prefer the Game Boy Pocket look. Perhaps because that is the handheld I had when I grew up, but the original Game Boy green is very iconic.

Tips for a Better Transfer Process
Before I forget here are some tips to make the transfer process a little less painful. You don’t have to transfer one picture at a time. If you push “select” on the main screen, then choose “link”, then “print”, then “Option” you can quick-select all the images you want to print.
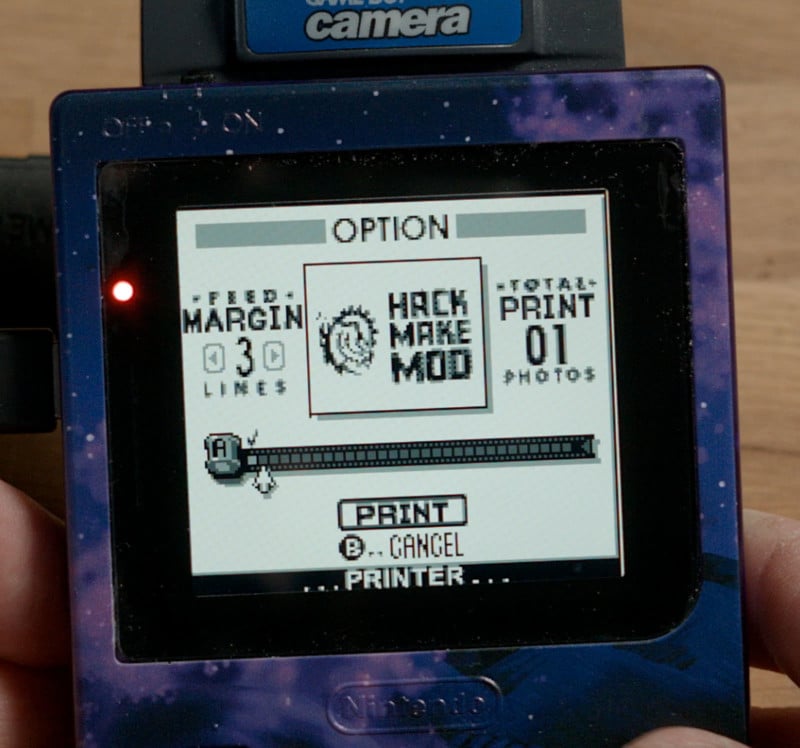
Then hit print and it will print all those images in sequence. The website that converts the hex to images understands that there are multiple pictures in the stream so you can just copy-paste the whole block and it will automatically make separate images that you can download.
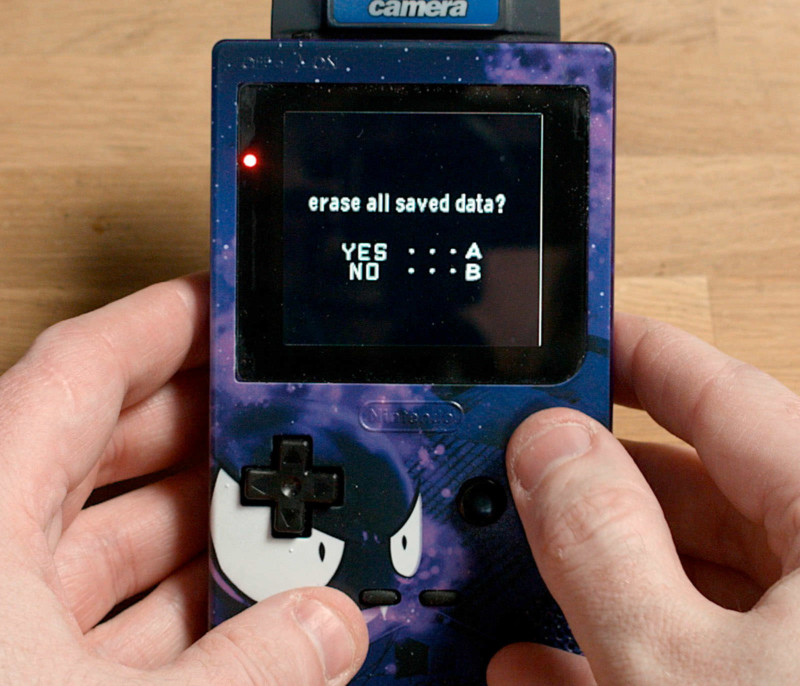
The quickest way to delete all the pictures from the cartridge is to wipe the whole cartridge — hold the start and select buttons during boot up and it will ask you if you want to delete everything. By far the fastest way to start taking pictures again but it will also delete any game progress or songs you’ve made in the DJ studio.
There are some mini-games you can play and you can make some dope music in the DJ studio but the whole menu system of the Game Boy Camera is, to put it in kind words, a bit odd. I think what happened was the CEO of Nintendo gave some new developers the task of making the software for the new Game Boy Camera. The developers made two versions, one that was super clean and professional and one that was made as a joke.
They then sent the joke version to the CEO for approval while all giggling together expecting a call from the CEO any second. When they didn’t hear back from the CEO in a couple of days the lead designer was confused and gave the CEO a call. Hey CEO, how did you like the Game Boy Camera software? – Yeah sorry Bob I didn’t have time to look it over, I just sent it straight into production. I trust you guys did a good job.
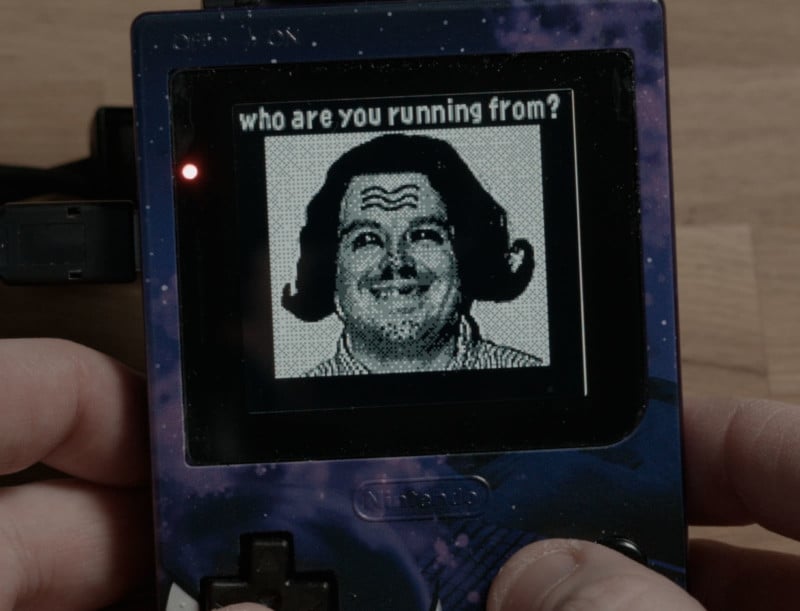
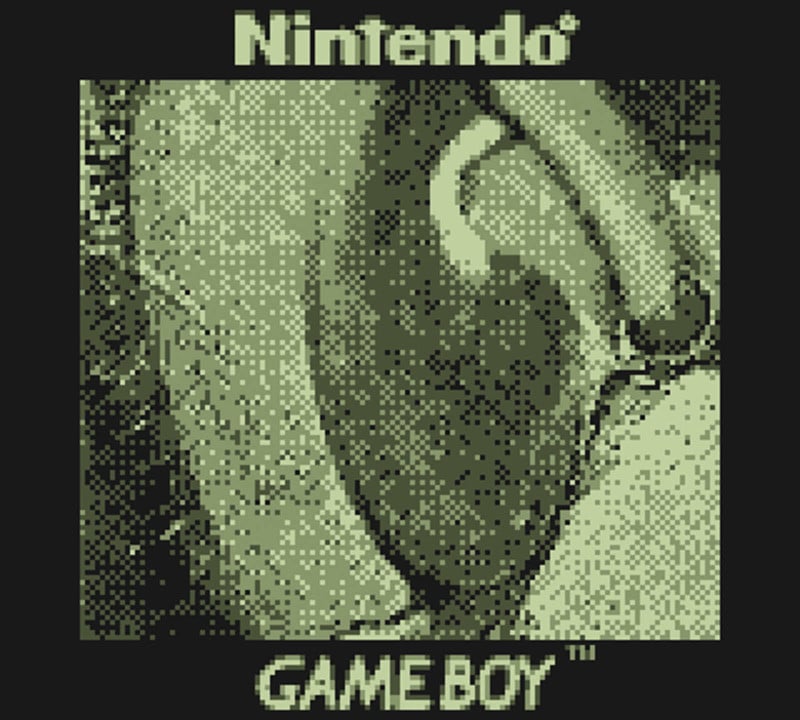
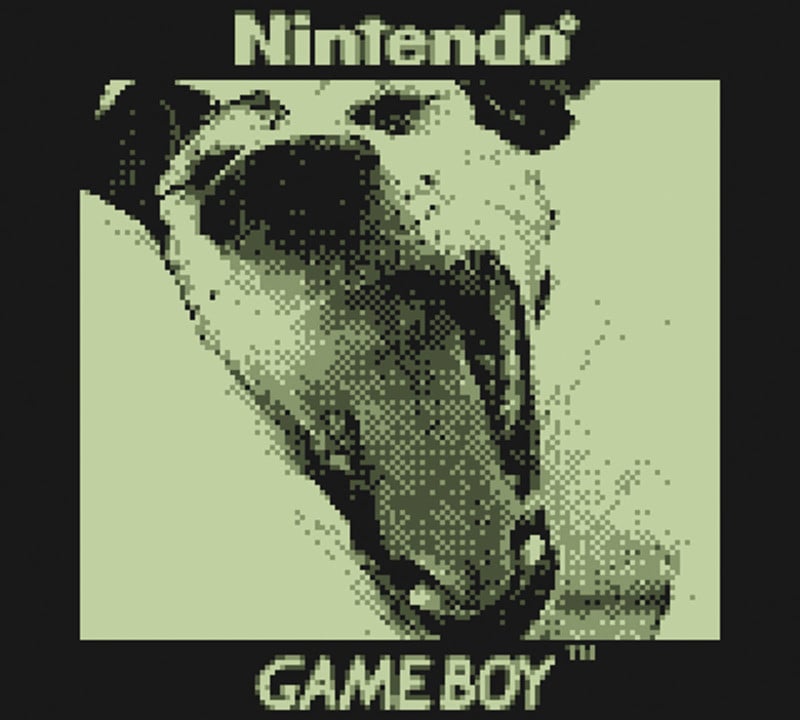
I’m not sure what else can explain the choices made here. Like, what the heck is this?
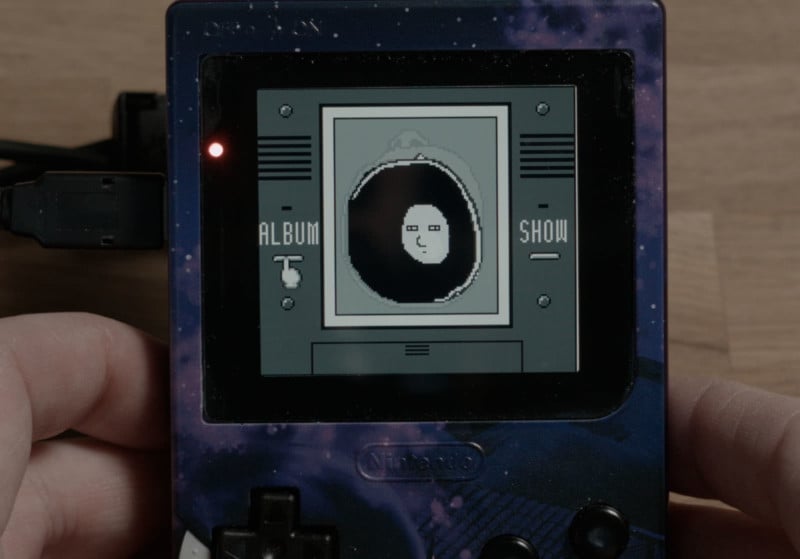
What does a head coming out of its own mouth have to do with viewing pictures? Or a boy almost crying when taking pictures? And the error messages. Like, what the actual heck is the first thing that came to mind the first time I had one of these pop up?
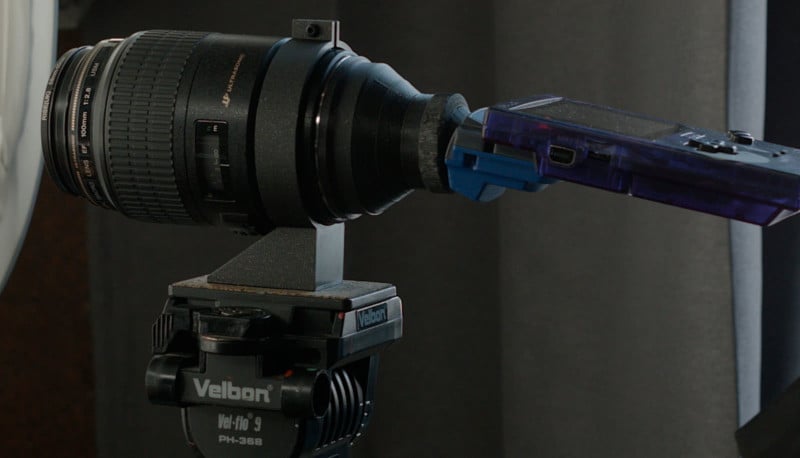
Close-Up Photos with a Macro Lens
Anyhow while trying to forget I ever saw that picture, I decided to print a Canon mount for the camera. This way I can take some sweet macro shots. I’ll be using this super nice Canon 100mm f/2.8 lens. I made a tripod mount for this one as well, as trying to take handheld macro pictures with an 1100mm equivalent focal length lens can be tricky, to say the least.
I scavenged the house for some dead insects and found a bunch of cool stuff. Perhaps I should clean more often?
I have this photo tent that I’ll light with two 98CRI, 100W LEDs mounted in softboxes. Perhaps the CRI rating doesn’t matter that much in this case when the camera can only capture 4 shades of grey. I just wanted to flex a little.

I’m also using the Ikea JANSJÖ LED lamps that I’ve modified with 98CRI 5500K LEDs instead of the horrible yellow stock ones. This way they match the softbox LED’s color temperature and color render index perfectly and I use them as accent lighting when taking product pictures.
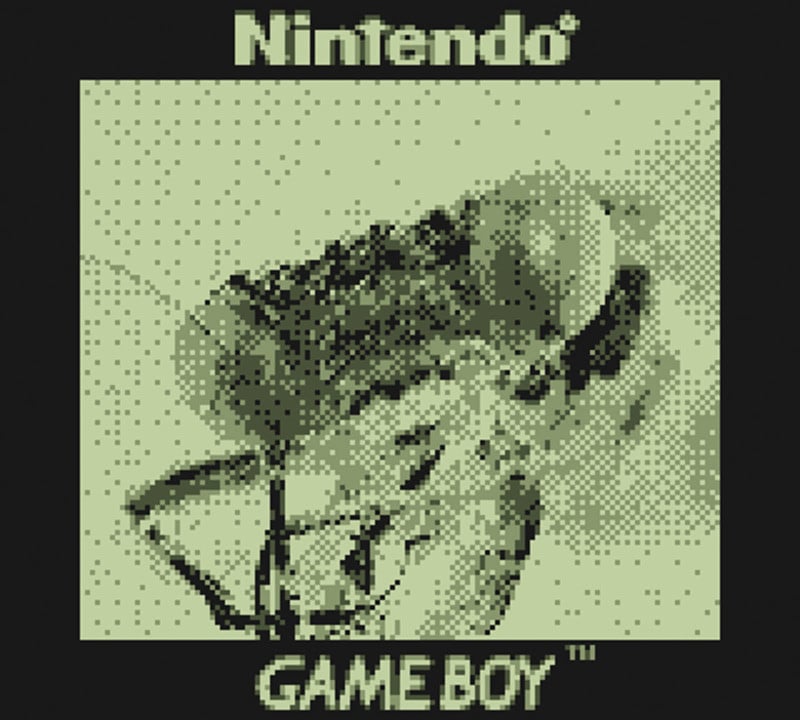
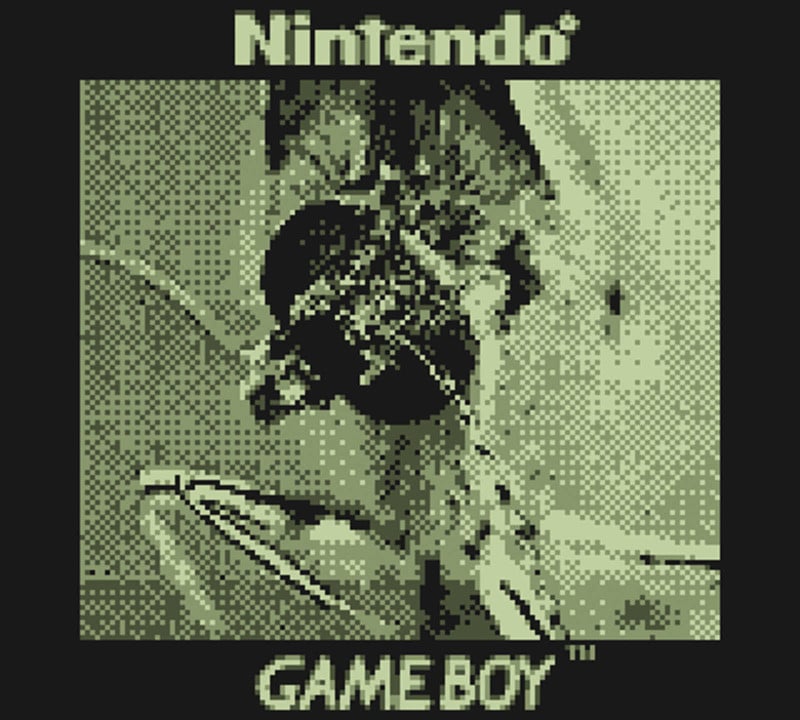
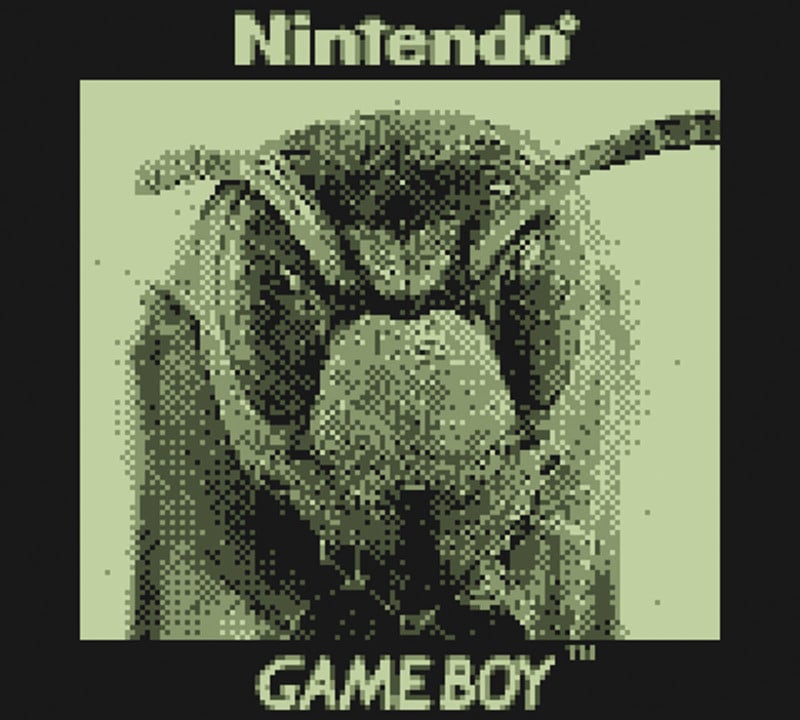
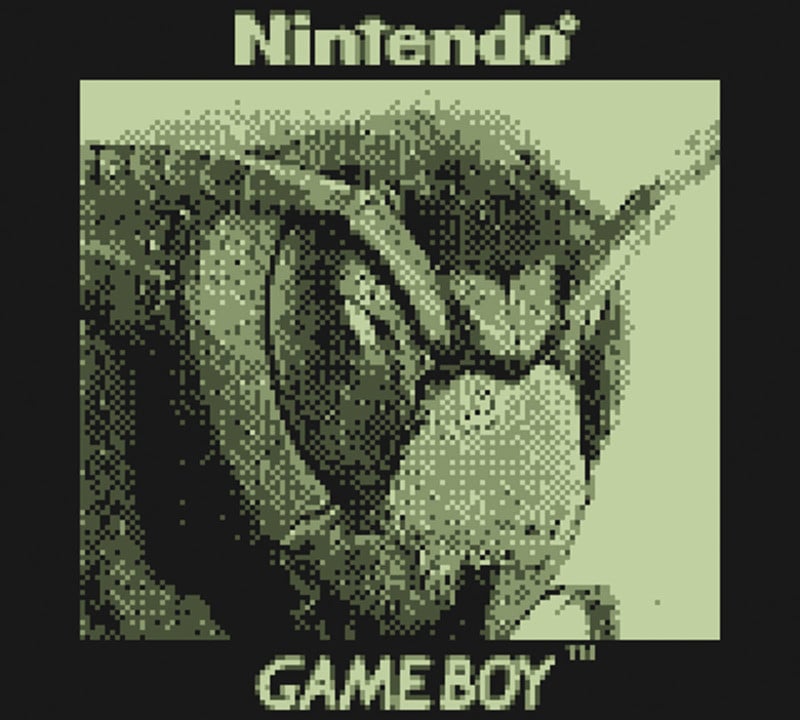
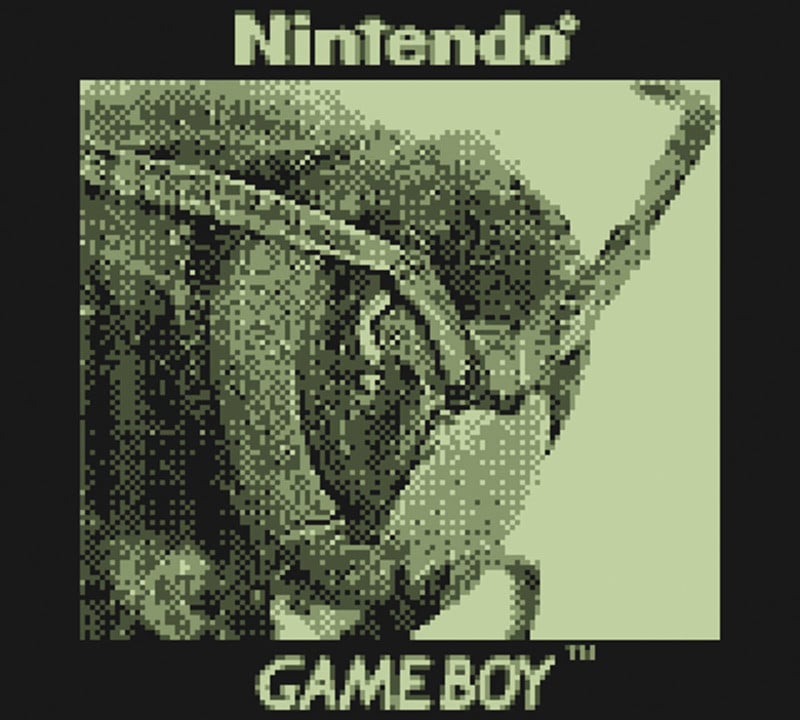
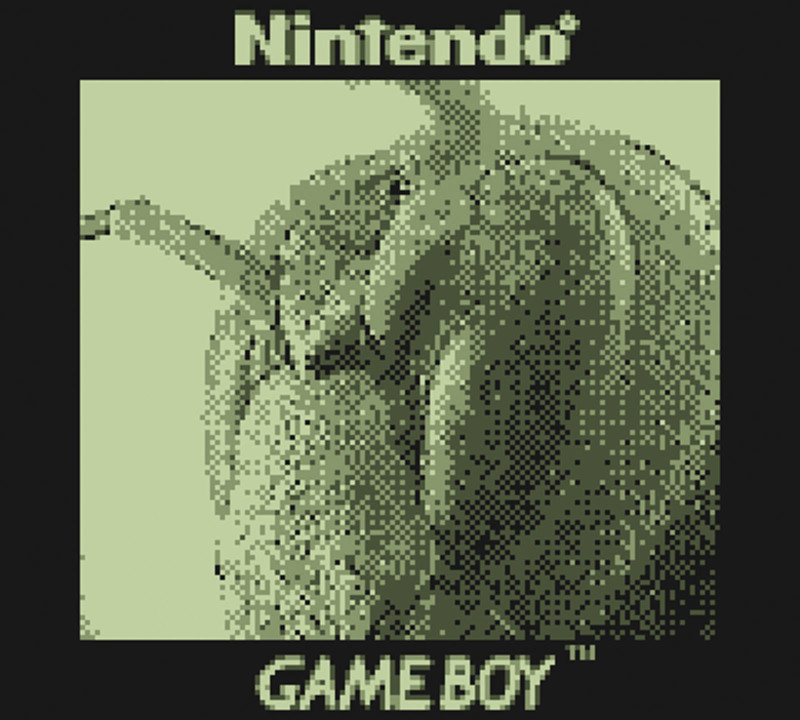
Anyhow, let’s take a picture of a fly’s face!
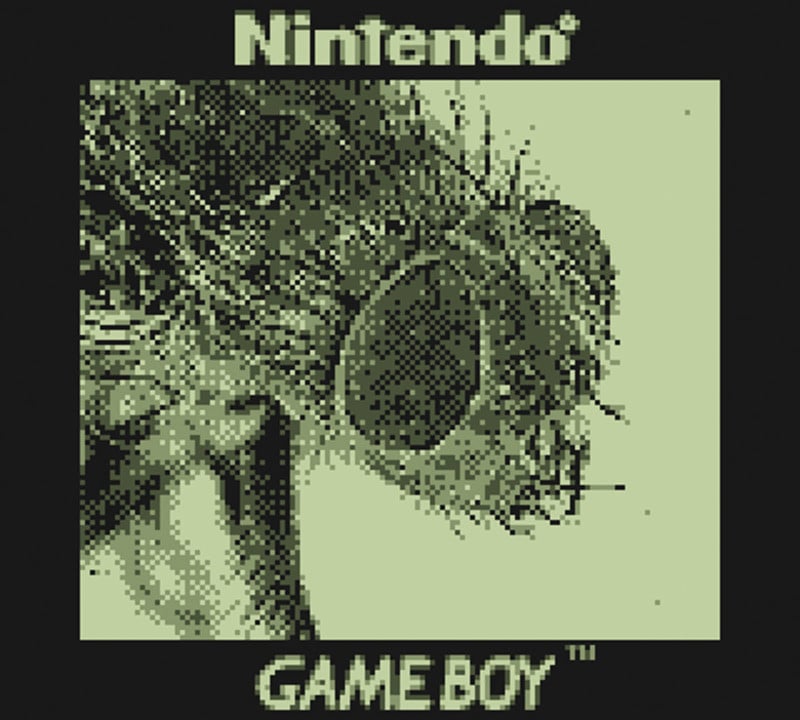
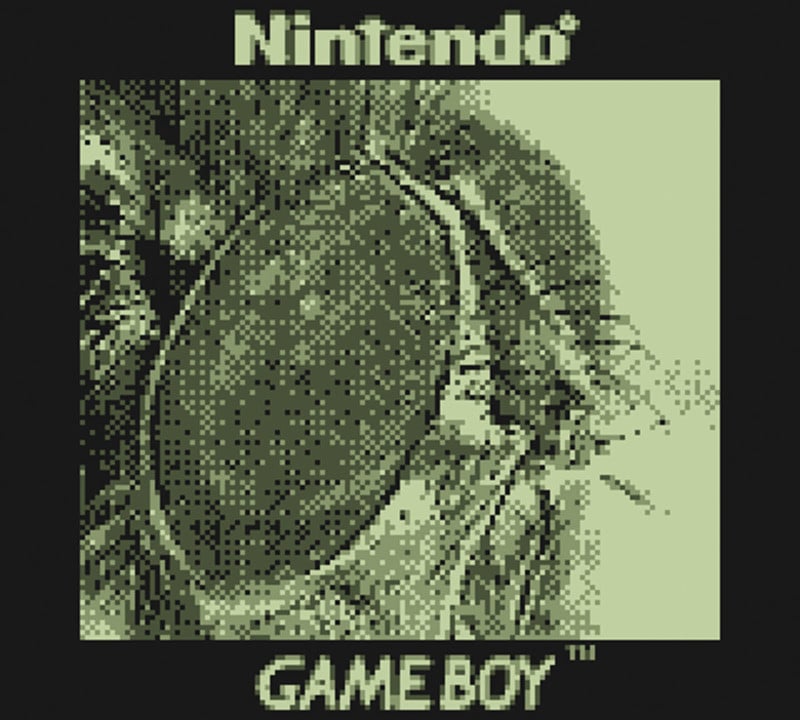
I can get even closer but it becomes more difficult to understand what you’re seeing at this point.
Photos Shot with the Hacked Game Boy Camera
Here are some other cool shots I captured with the hacked Game Boy Camera and large camera lenses:
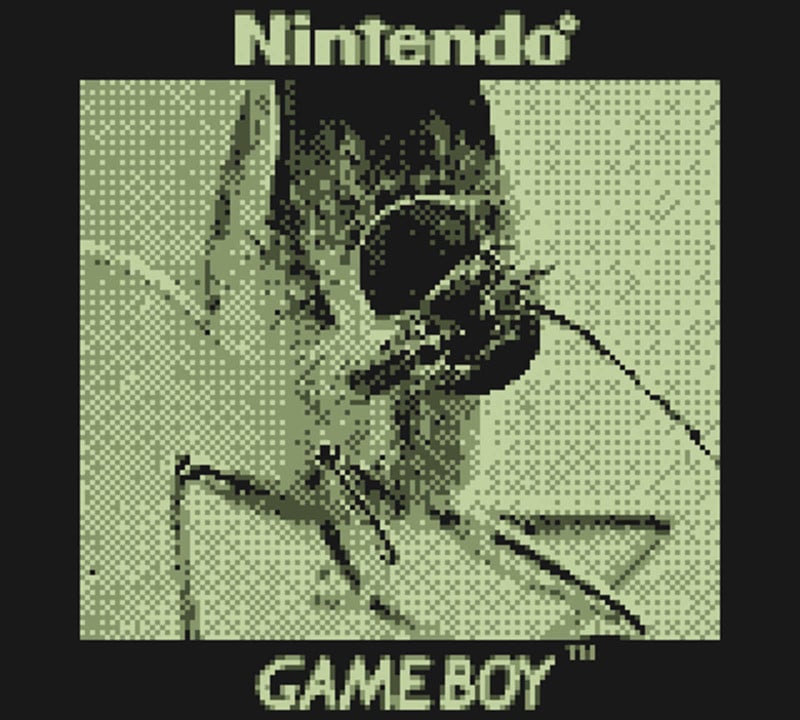
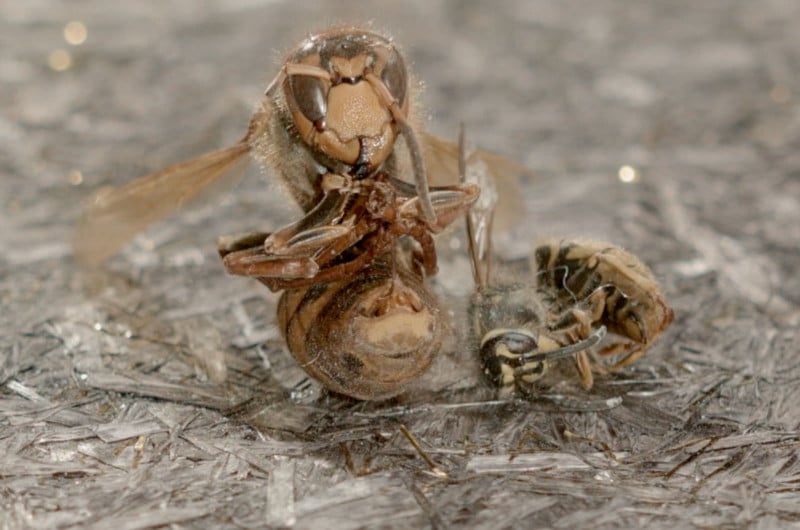
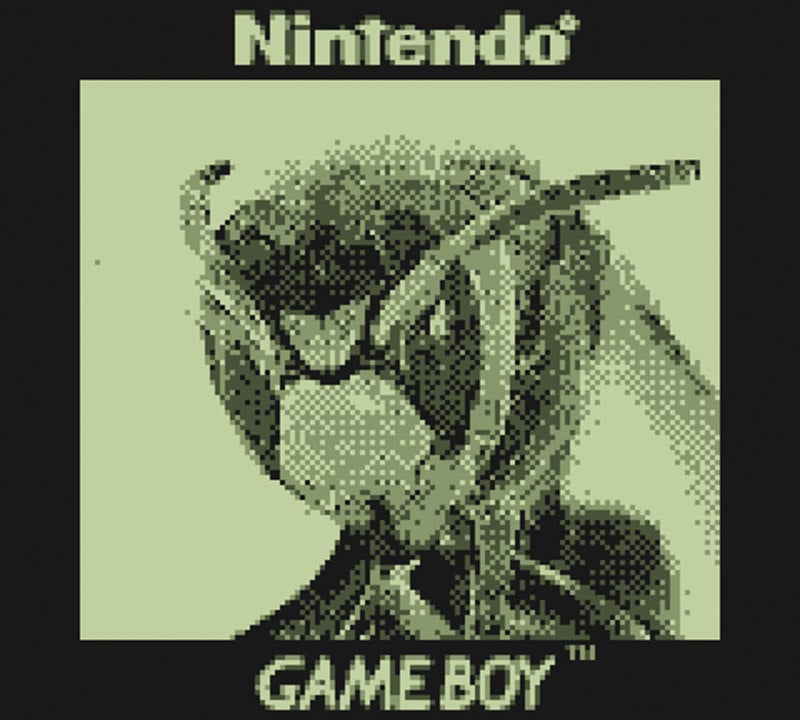
Wasps are mean jerks that don’t contribute anything useful to nature. I once accidentally bumped a hidden nest that was below me while installing a ladder on the top of my roof. I was stuck up there for 30 minutes fending off wasps. It was 30°C outside so I was wearing shorts and I’d taken off my t-shirt. I’ve had more fun at the dentist.
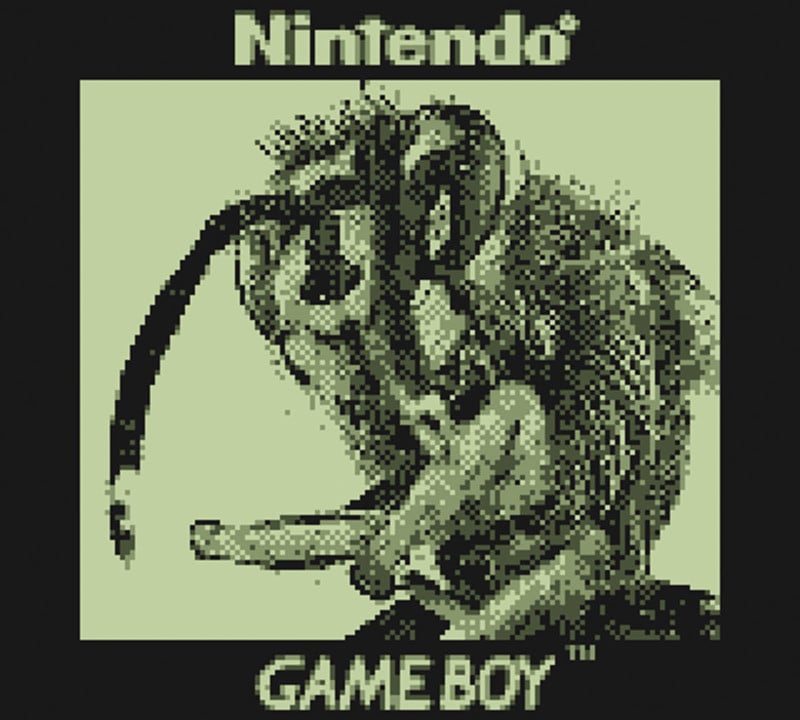
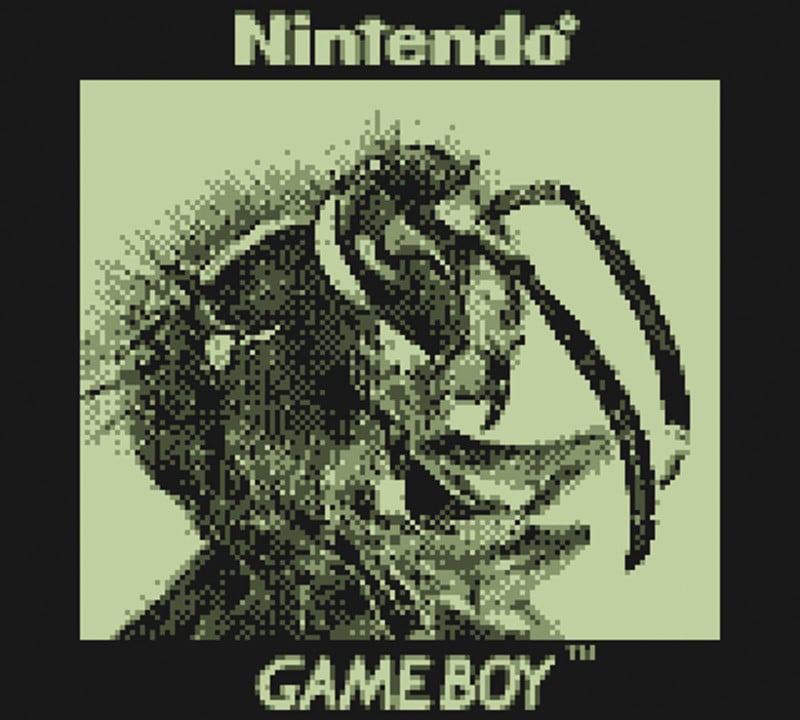
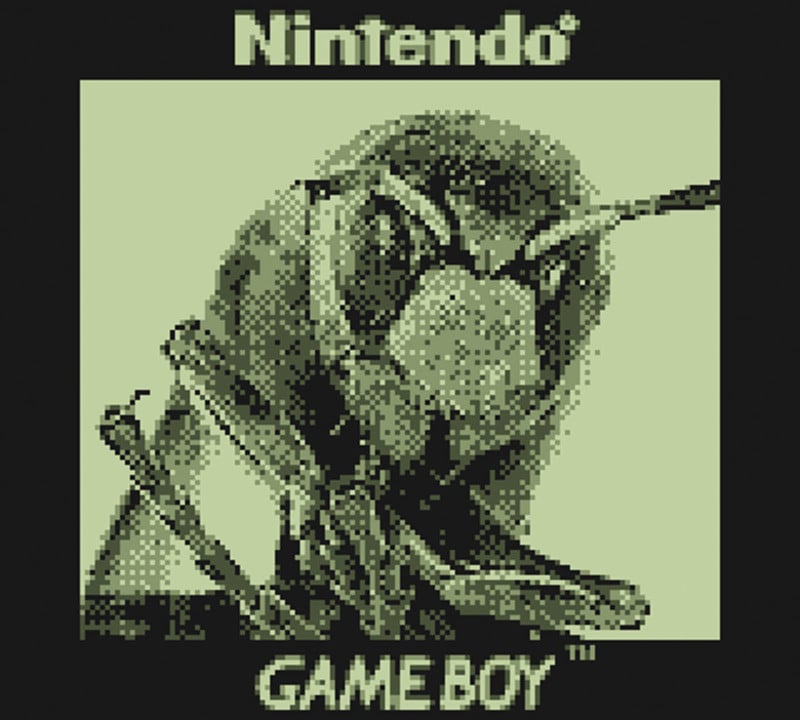
Now, this is a murder hornet:
They sound like freaking helicopters when they get inside of the house, but I always catch them and let them back out. Why? They eat wasps. They are also pretty chill to humans. They look cool as heck too.


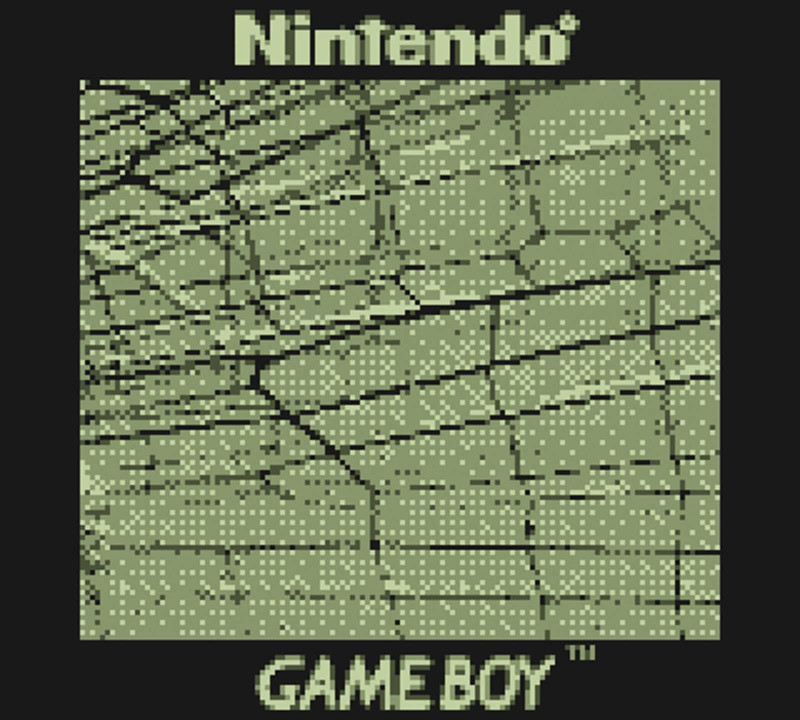
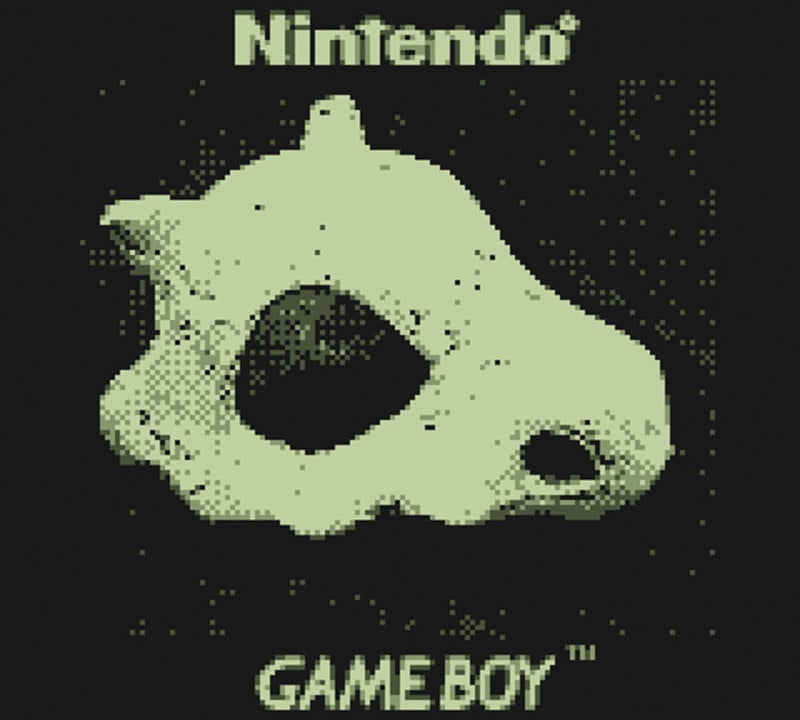
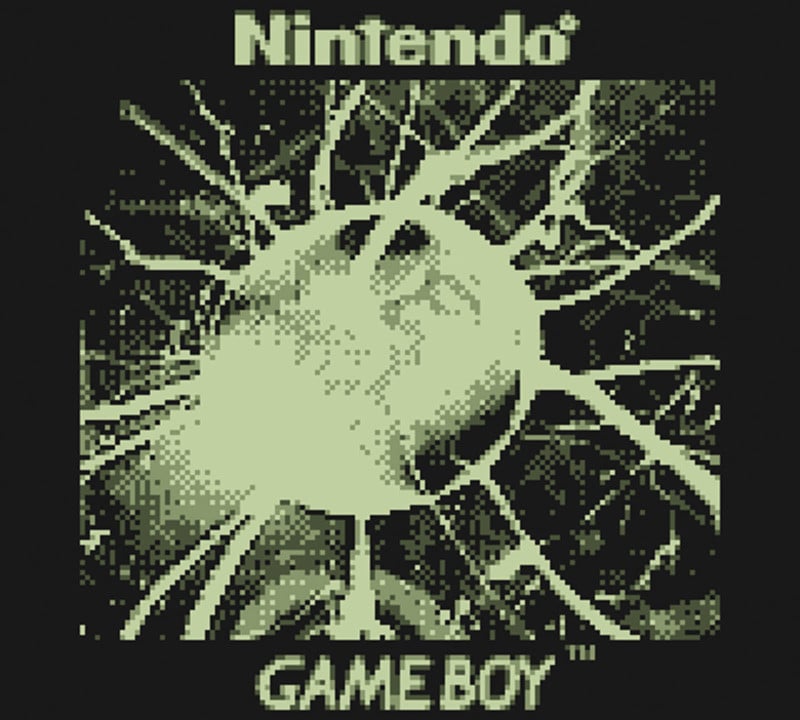
I took some other cool pictures too:

More pictures of random things:

Mounting CCTV Lenses from FPV Drones
I also made a couple of mounts for some CCTV lenses I had laying around from my FPV drone flying days.
This is a 1.6mm lens and a 2.8mm.
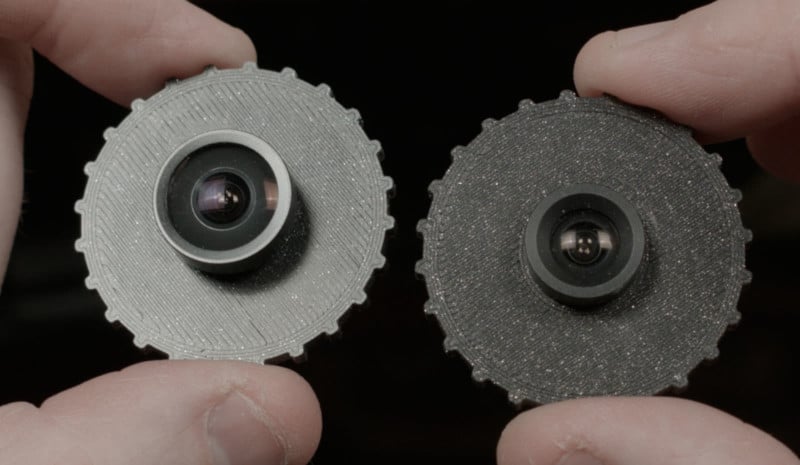
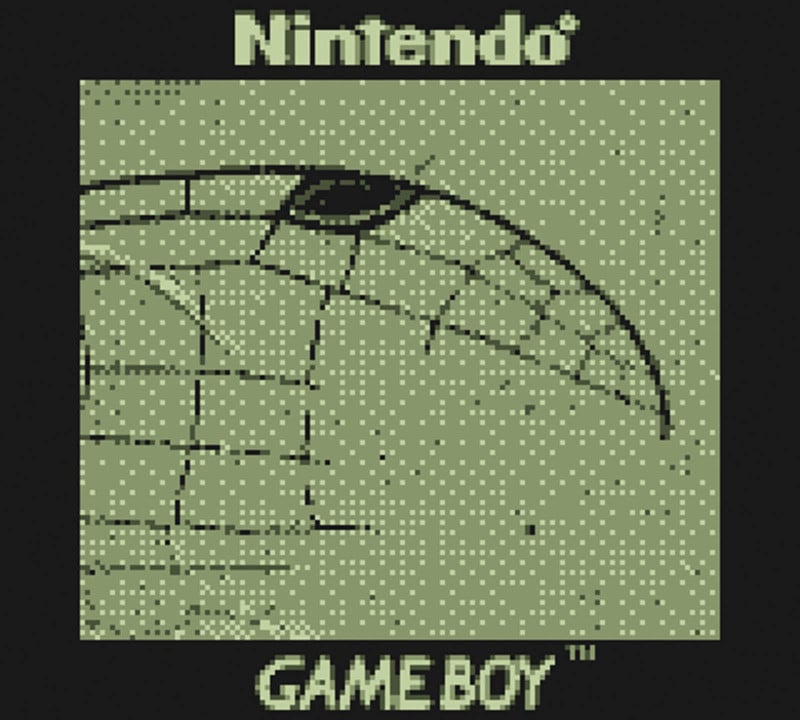
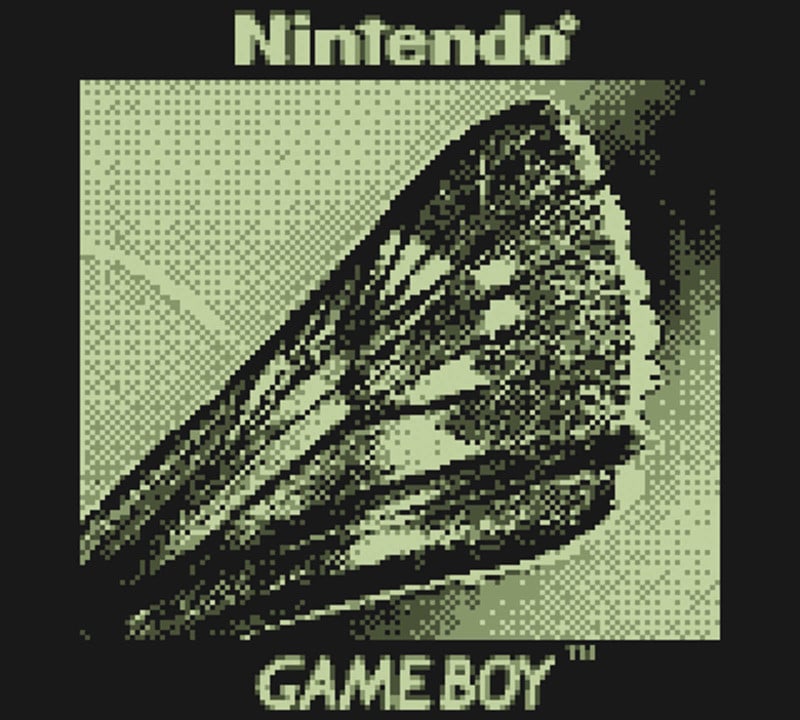
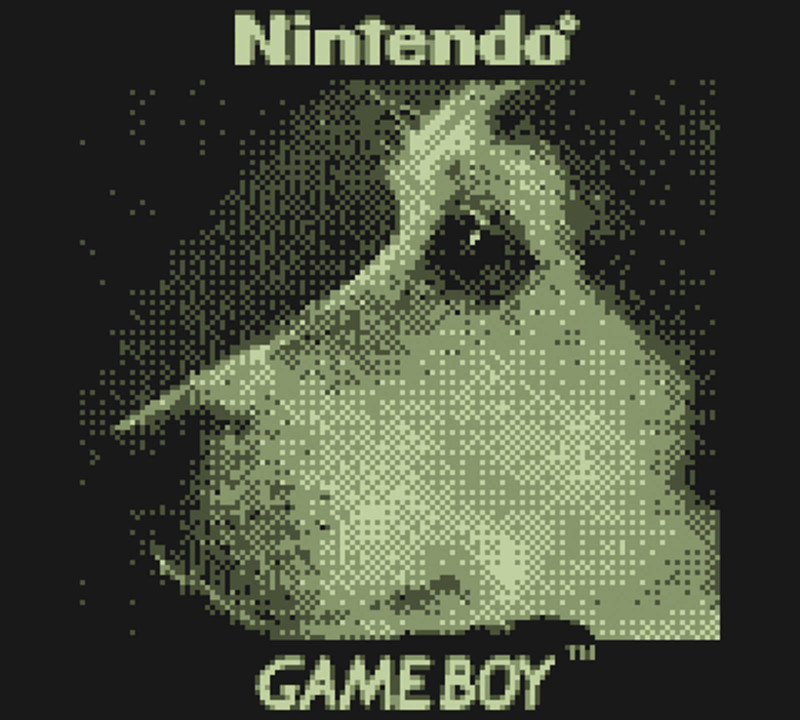
The 1.6mm lens is really wide and definitely counts as a fisheye lens. It’s pretty cool to be able to take pictures like this with such a small sensor as well.
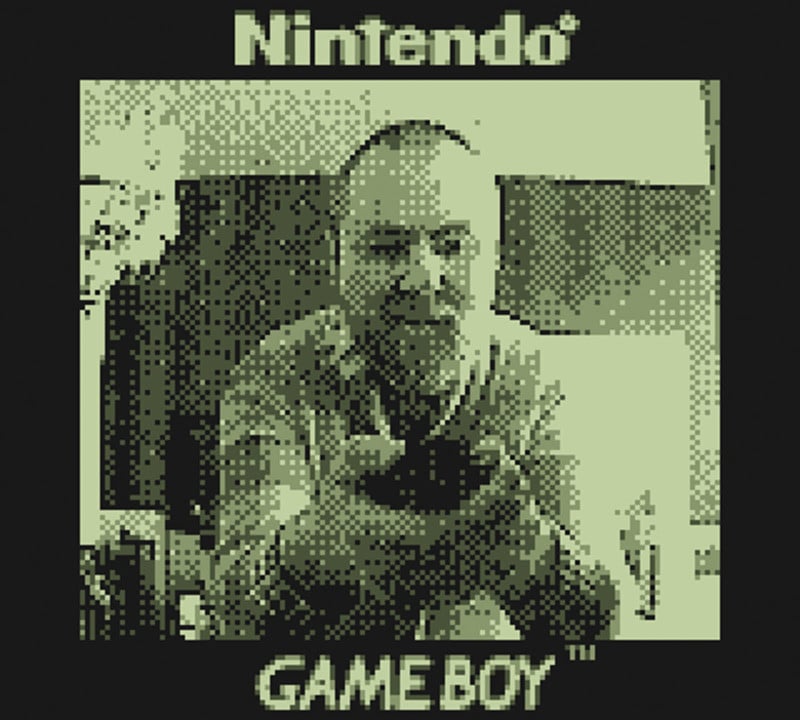
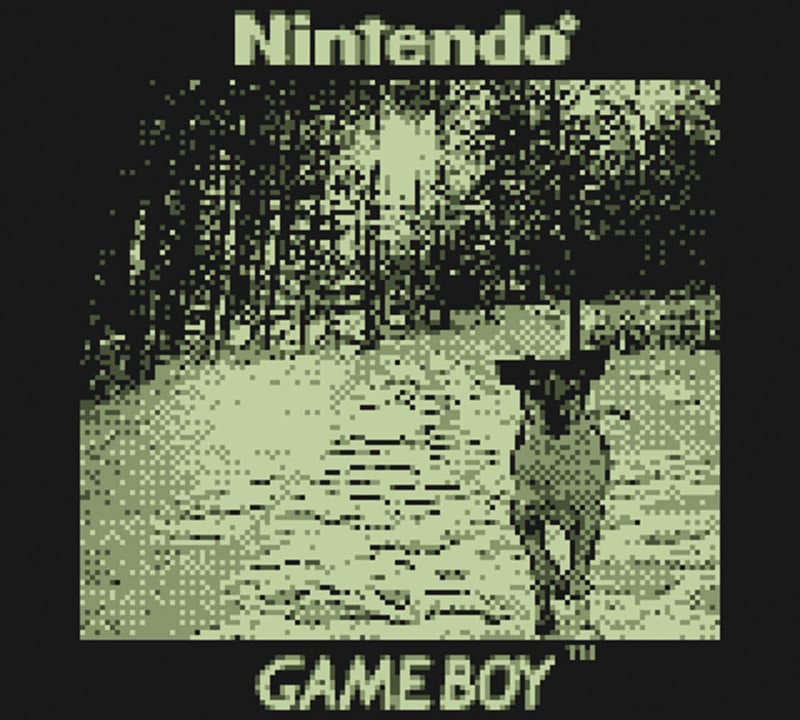
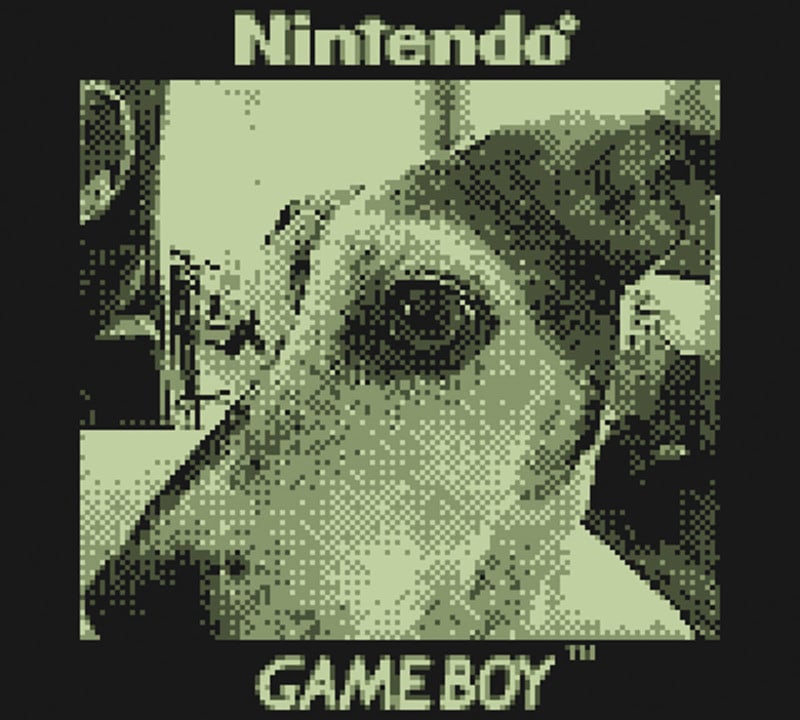
This is my dog taken with the 1.6mm lens:

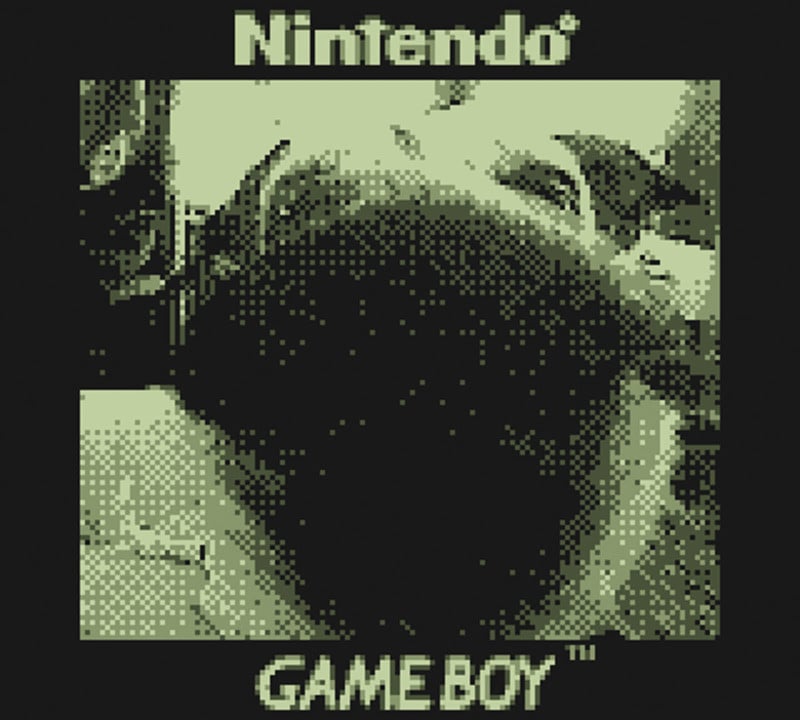
And here is one taken with a 50mm lens for comparison (I had to be on the other side of the room to take this one):
Even a 2-bit 0.014-megapixel camera can take good pictures under the right circumstances. Taking good pictures can be difficult at times though as you always have to fight the auto exposure and you have to light the scene strategically. But the modification was 100% worth the time invested. I’ll cherish these pictures for a long time to come.
I hope this in-depth look at how you can hack a Game Boy Camera to use serious camera lenses was interesting and informative to you!
About the author: David Windestal is passionate about hacking things and inspiring people to learn while having fun. His content can be found on his YouTube channel, and he is also part of the team at HackMakeMod. This article was also published here.