
Why the Habitat Matters as Much as the Animal in Wildlife Photography
Wildlife rarely exists in isolation, yet it’s easy to overlook the environment when you’re trying to capture a compelling portrait. Learn how environmental wildlife portraits use habitat, composition, and animal behavior to tell a bigger story without losing focus on the subject.
Wildlife photography often emphasizes getting close enough to capture fine detail, from the texture of a bear’s fur to the expression in a bird’s eye. But some of the most compelling wildlife images leave more room around the subject, showing an animal within the environment it inhabits. A wider composition can reveal how an animal interacts with its surroundings, communicate scale, or capture the conditions that shape its daily life.
Creating an effective environmental wildlife portrait requires more than pulling back or switching to a wider lens. The habitat should support the photograph without overwhelming the animal, and every element in the frame should help tell the story. From researching an animal’s behavior to using foreground elements and negative space, balancing the subject with its surroundings can add another dimension to wildlife photography.
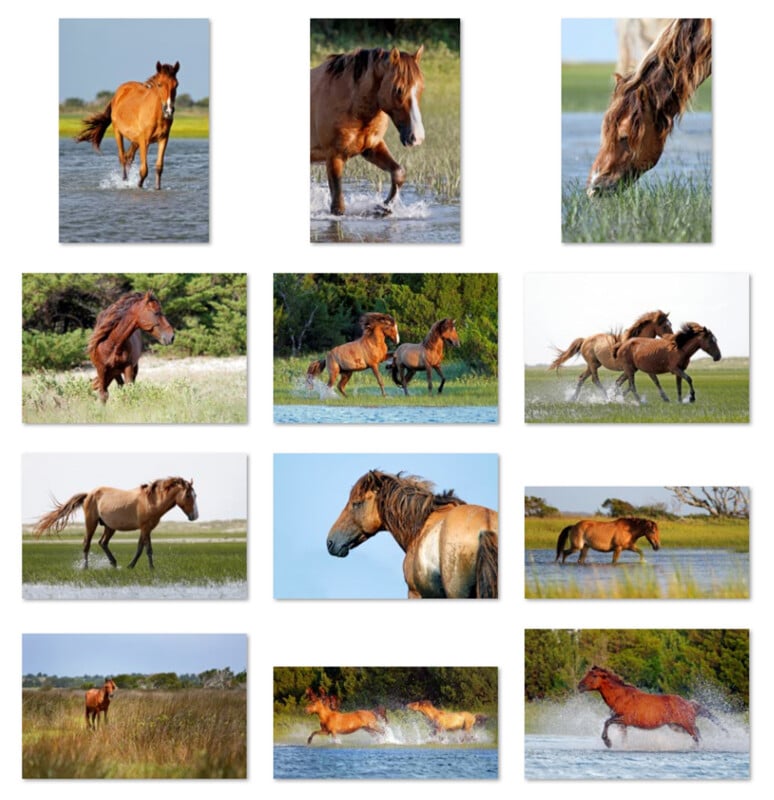
I also incorporate environmental wildlife portraits into my portfolio to add variety beyond traditional, tightly framed animal portraits. Showing wildlife in its natural habitat provides context, shows these animals were photographed in the wild rather than in captivity, and offers a more complete picture of the experience behind the image. I also share behind-the-scenes clips from my time in the field, giving viewers another look at the real environments, conditions, and moments that went into capturing the photograph, particularly as AI-generated imagery and accusations become increasingly common.
What Makes an Environmental Wildlife Portrait Different?
Traditional wildlife portraits often emphasize the animal itself, using a long focal length and shallow depth of field to isolate the subject from its surroundings. Environmental wildlife portraits take a different approach, giving the habitat an active role in the composition. Rather than blurring the background, the photographer uses it to establish a sense of place and provide context for the animal.
The difference is not necessarily how much of the frame the animal occupies. A relatively tight composition can still communicate a strong connection to the habitat, while a wide photograph can feel disconnected if the surroundings contribute little to the story. What matters is the relationship between the subject and everything around it.
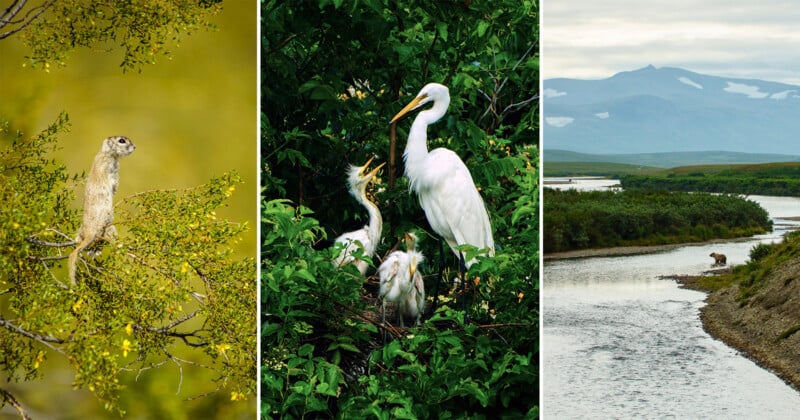
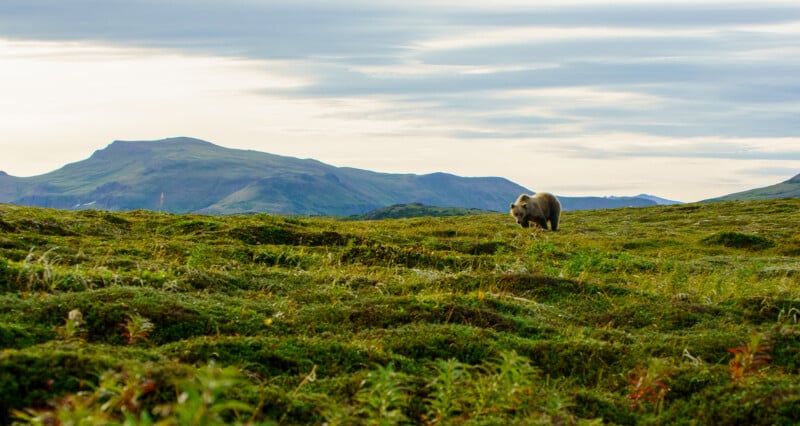
A bear moving through the tundra, a fox standing among tall grasses, or a shorebird feeding along a tidal flat can all make compelling environmental portraits. Each setting tells the viewer something about where the animal lives and how it interacts with that environment. The landscape becomes part of the subject rather than simply a backdrop.
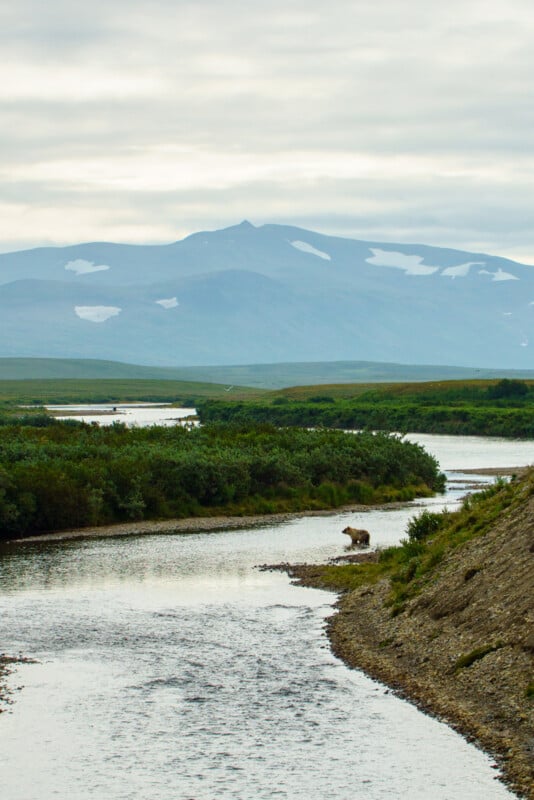
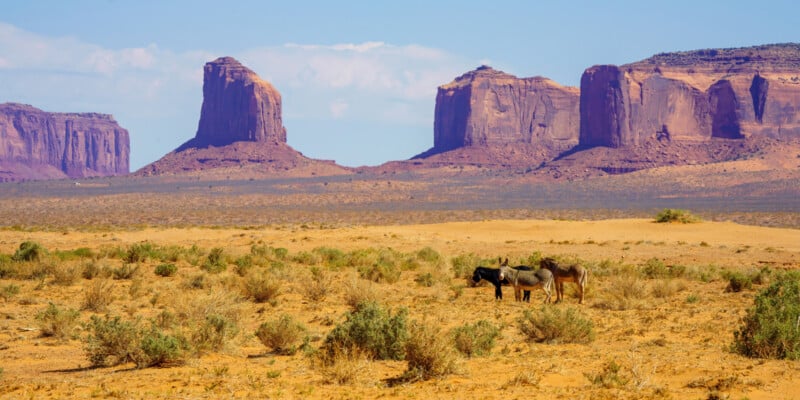
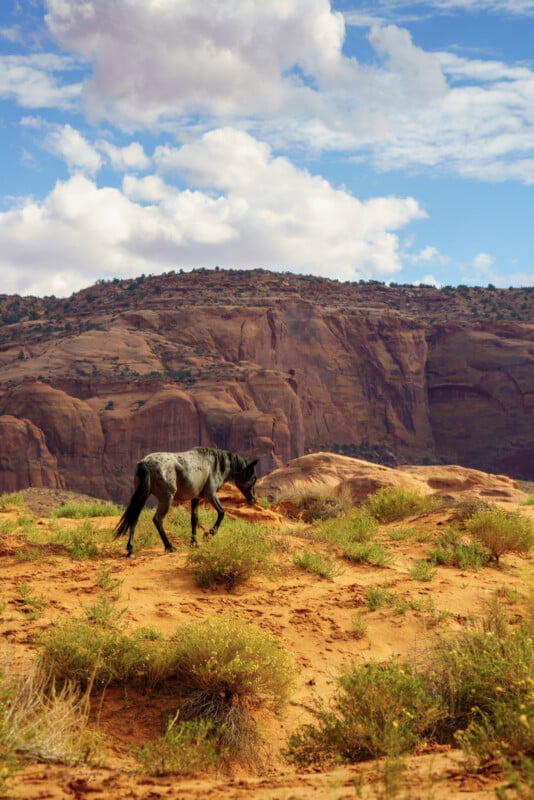
This approach also creates opportunities to communicate scale, atmosphere, and behavior. An animal photographed against a vast mountain range might appear small in the frame, yet its placement within the landscape can make the image more powerful than a close-up. The surrounding environment helps viewers better understand the world the animal inhabits.
Researching the Animal and Its Habitat to Tell a Better Story
Creating a compelling environmental wildlife portrait starts before you raise the camera to your eye. Learning about the animal, its behavior, and its habitat can help you recognize which elements belong in the frame and which distract from the story. A landscape might look visually appealing, but understanding what makes it important to the animal gives you a more meaningful reason to include it in your composition.
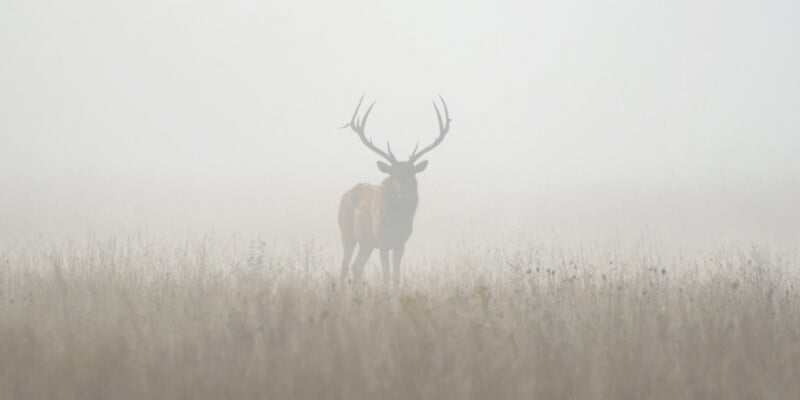
Research can help you anticipate the moments and environmental details worth photographing. Understanding seasonal migration, feeding habits, nesting behavior, or preferred habitat can reveal opportunities you might otherwise miss. An elk photographed among autumn grasses tells one story, while an elk standing in a snow-covered landscape during the rut communicates something different. The setting is not merely a backdrop. It provides context that helps viewers understand what the animal is doing and how it lives.
This knowledge also helps you decide what to leave out. A photograph of a bird in its nesting habitat might benefit from including the surrounding vegetation and nesting materials, while distant human structures or unrelated objects could weaken the intended story. In other situations, evidence of human activity may be essential, especially when documenting habitat loss, conservation challenges, or the relationship between wildlife and developing landscapes. The key question isn’t whether an element is attractive, but whether it supports what the photograph is trying to communicate.
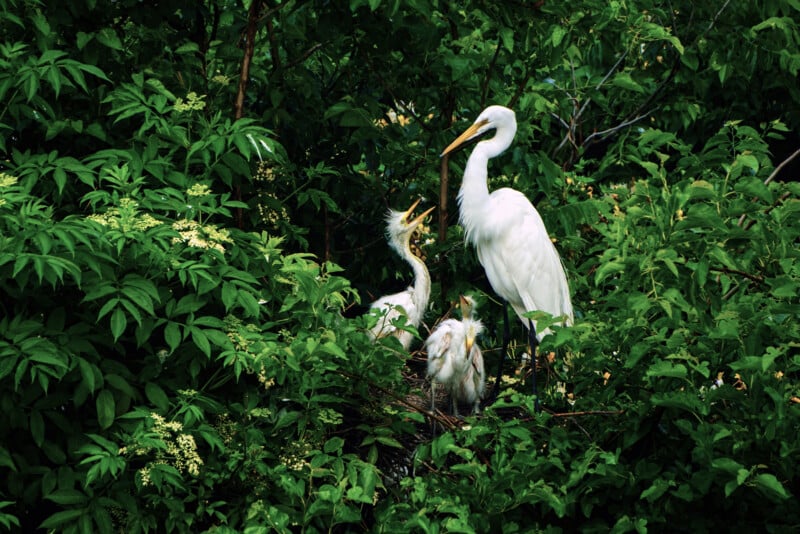
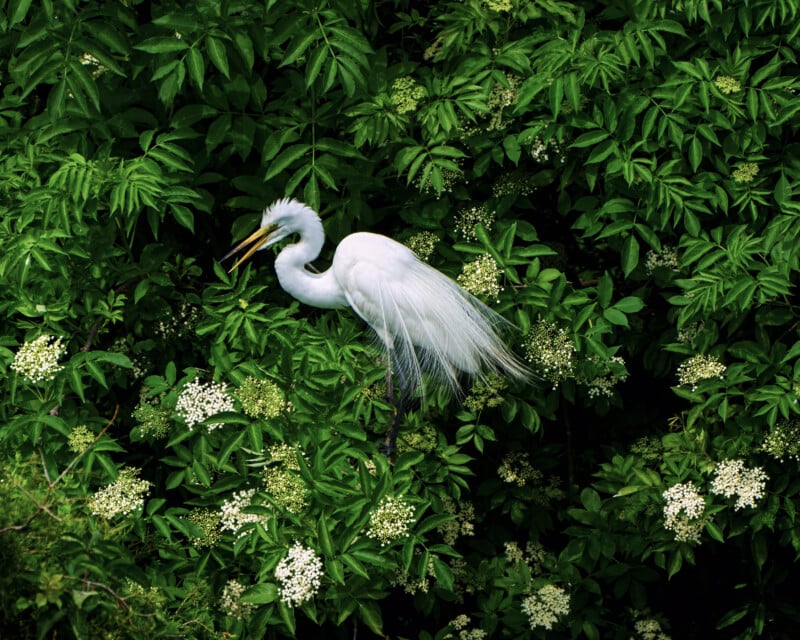
Observation in the field is just as important as research beforehand. Watch how the animal moves through its surroundings, where it pauses, what it interacts with, and how the light changes across the habitat. These observations can help you anticipate where to position yourself and when to make a photograph. They can also reveal details easy to overlook when you focus only on the animal, from tracks in fresh snow to feeding signs in the vegetation.
Ultimately, an environmental wildlife portrait works best when the photographer understands the relationship between the subject and its surroundings. Research helps you recognize the story, while careful observation and composition determine how much of that story makes it into the frame. The goal is to include enough information for the viewer to understand the animal’s world without overwhelming the image with unnecessary detail.
Choosing How Much of the Environment to Include
One of the first decisions when creating an environmental wildlife portrait is determining how much space to give the surroundings. There is no universal focal length or framing rule for this type of photograph. Instead, the composition should reflect what you want the viewer to notice about the animal and its environment.
A moderately wide composition can show the animal interacting with nearby vegetation, rocks, water, or other habitat features while keeping it prominent in the frame. A much wider view can establish the scale of a landscape, show the animal moving through a larger territory, or emphasize the isolation of a subject within an expansive setting.
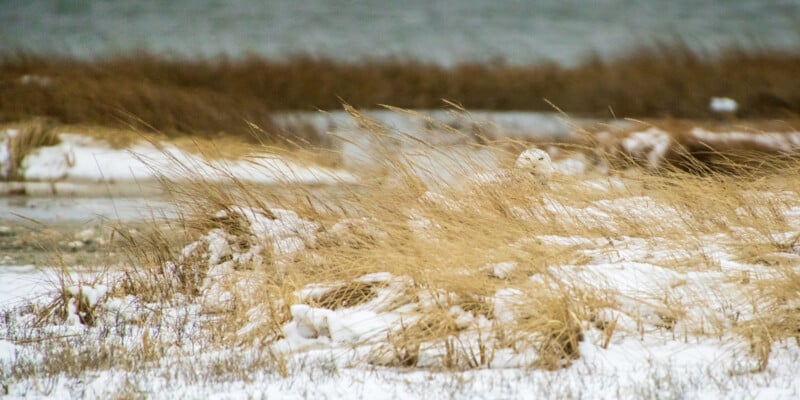
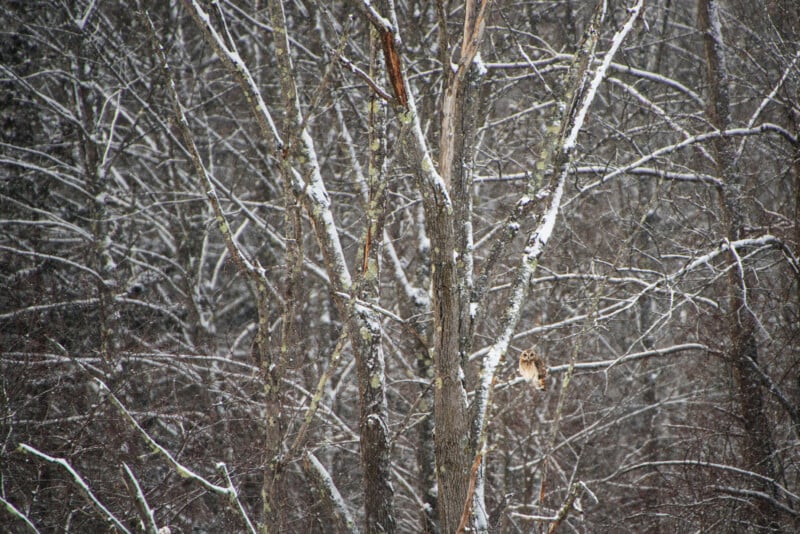
I also use environmental portraits to show a sense of scale, highlight natural camouflage, and capture how an animal appears within its habitat. Seeing a wildlife subject in context can reveal just how well it blends into its surroundings, how small it is against an expansive landscape, or how its colors and patterns work with the environment. These details can be difficult to convey in a tight portrait, but they help tell a more complete story of the animal in the wild. So thinking of the end goal helps me decide how much habitat to include.
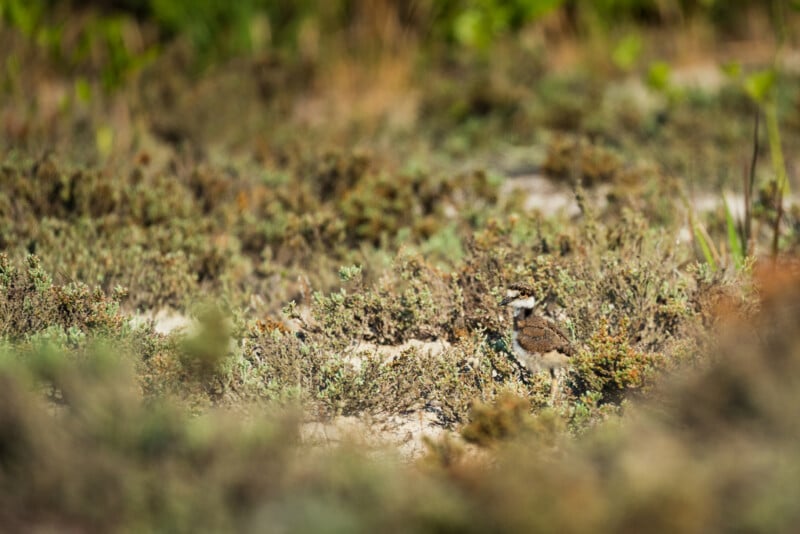
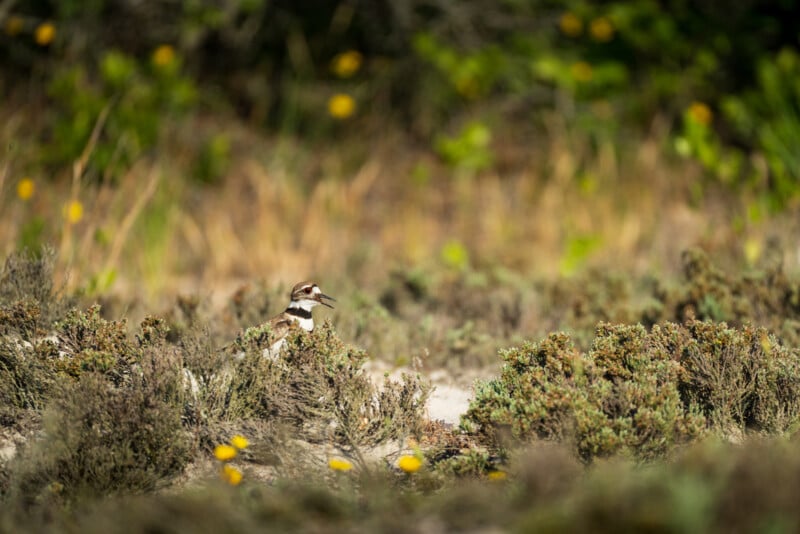
Consider what would be lost if you cropped the photograph more tightly. If removing the surrounding landscape eliminates important information about the animal’s behavior, habitat, or scale, those environmental elements are doing useful work. If a tighter crop tells essentially the same story, you may not need the extra space.
Distance also influences the relationship between the subject and its surroundings. Moving farther away can include more of the habitat, but it may also change the animal’s apparent size and introduce additional distractions. Changing focal lengths from the same position produces a different framing effect than physically changing your position, so consider both options when working out a composition.
Remember that an environmental portrait doesn’t have to be a landscape photograph with a tiny animal in the distance. The animal can remain a substantial part of the frame while still allowing enough room for the habitat to provide context. The goal is to find a balance that serves the story rather than following a fixed formula.
Using Foreground, Background, and Negative Space
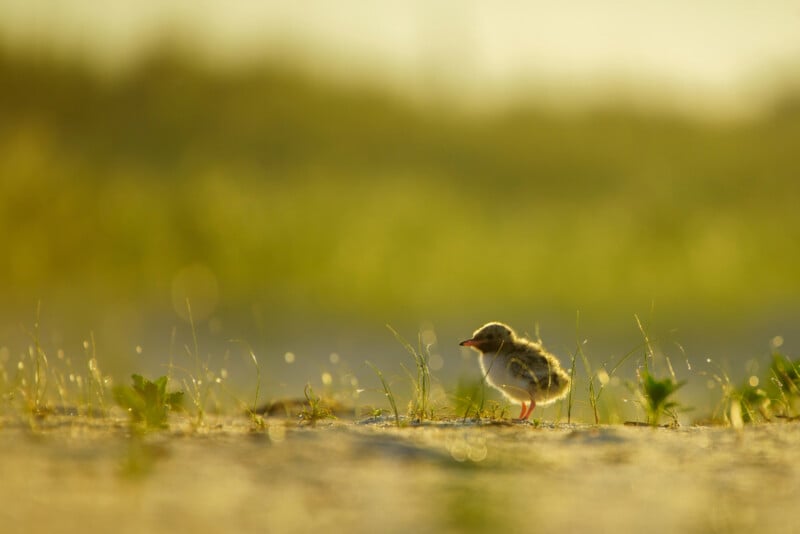
A wider composition introduces more opportunities to work with layers. Foreground vegetation, a middle-ground subject, and distant mountains can add depth and guide the viewer through the scene. These layers can also establish the animal’s position within its habitat, making the image feel more immersive than a straightforward portrait.
Foreground elements can be particularly useful when photographing wildlife in forests, wetlands, and grasslands. Blades of grass, leaves, or branches can frame an animal and provide a sense of being present in its environment. However, they need to be used carefully. Vegetation that obscures the animal’s face or creates confusing shapes around its body can weaken the composition.
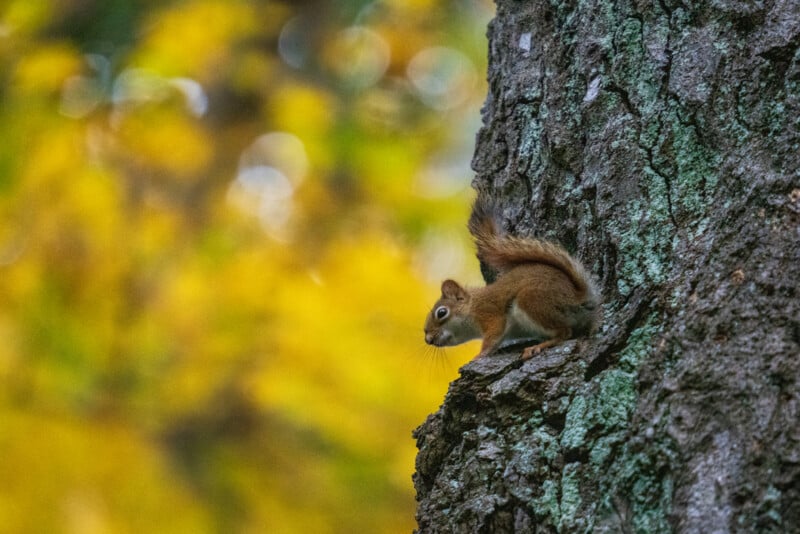
Pay attention to how foreground and background elements overlap with the subject. A tree trunk emerging from an animal’s head or a bright branch crossing its body can be distracting, even if the surrounding habitat is otherwise attractive. A small shift in your position may separate those elements and produce a cleaner composition.
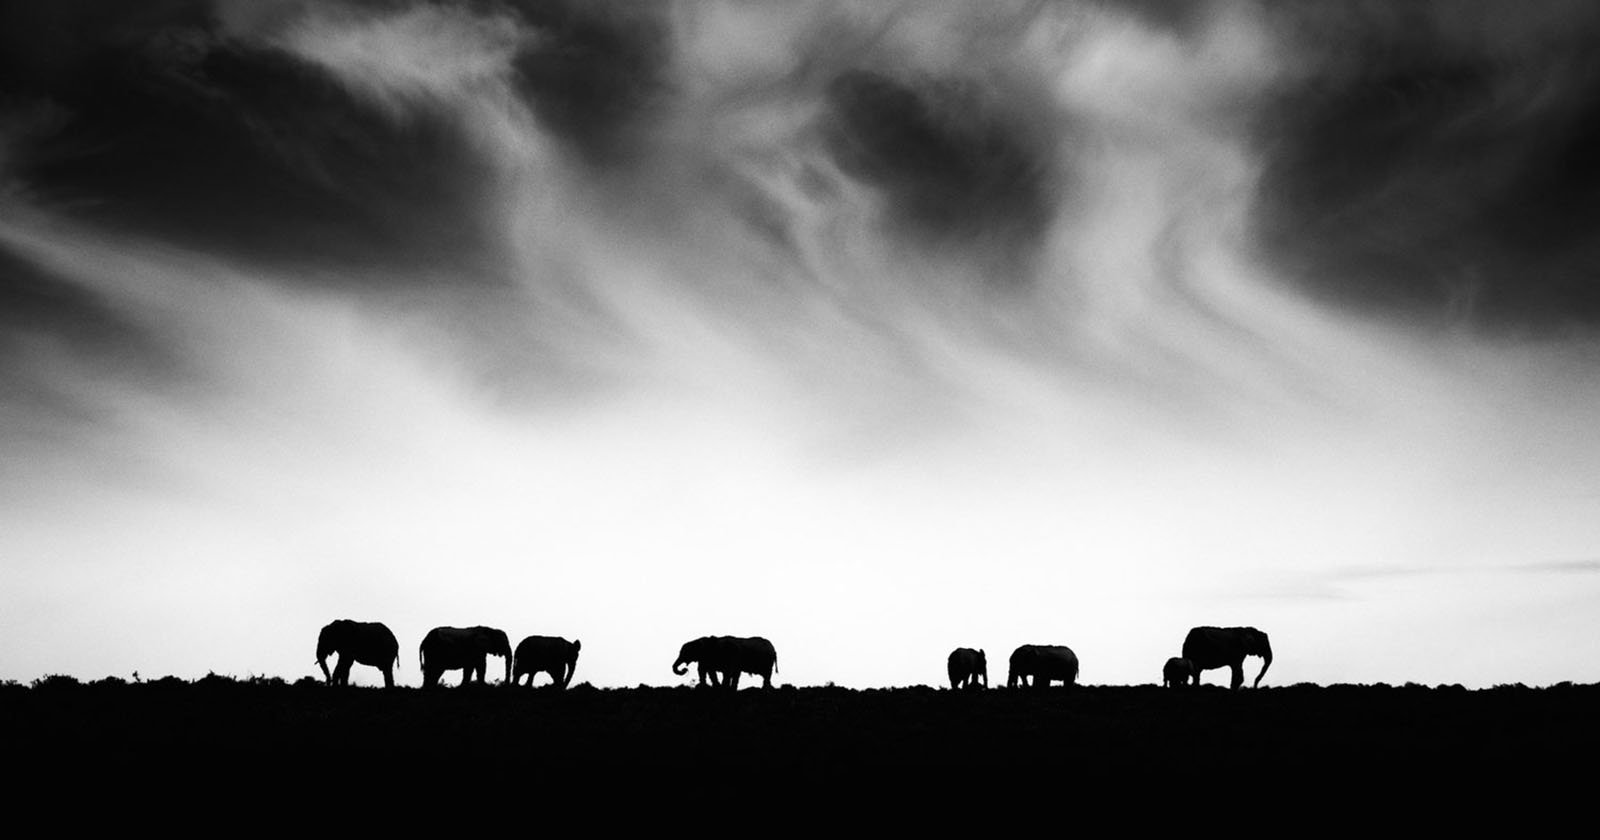
Negative space can be equally important. Open water, snow, fog, or an uncluttered stretch of sky can give an animal room within the frame and establish a particular mood. A bird flying across a broad expanse of sky, for example, may communicate movement and freedom, while a solitary mammal surrounded by snow can emphasize the harshness or quiet of its environment.
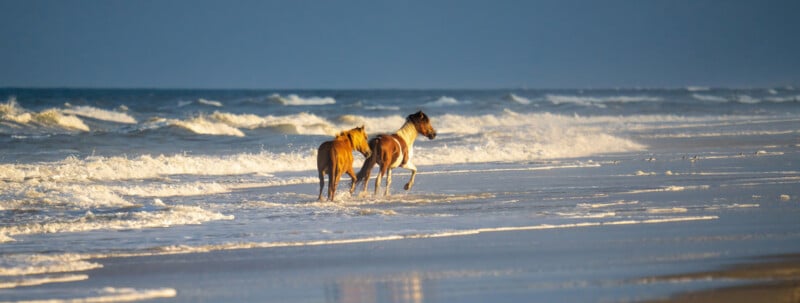
The amount of negative space should reflect the subject’s position and behavior. Leaving room in front of an animal that is walking or looking in a particular direction can create a natural sense of movement. Placing it near the edge of the frame may instead communicate tension, isolation, or an intentional sense of imbalance. Neither approach is automatically better, but the placement should feel deliberate.
Keeping the Animal as the Visual Anchor
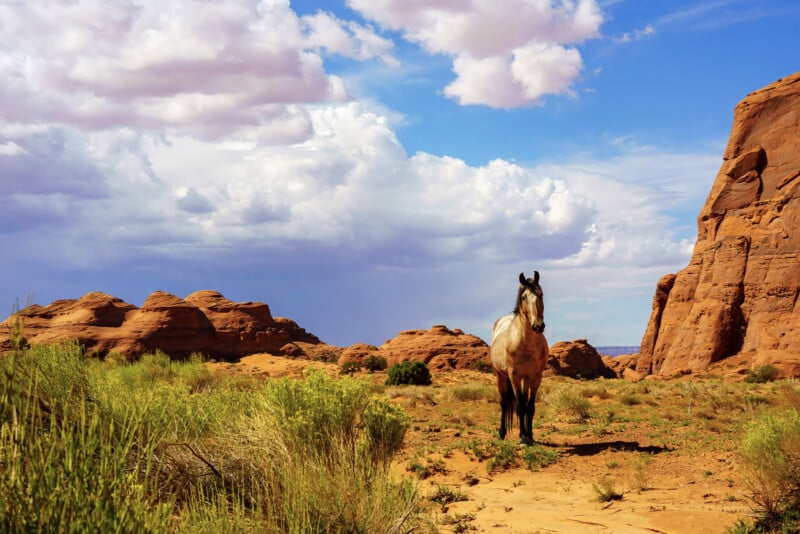
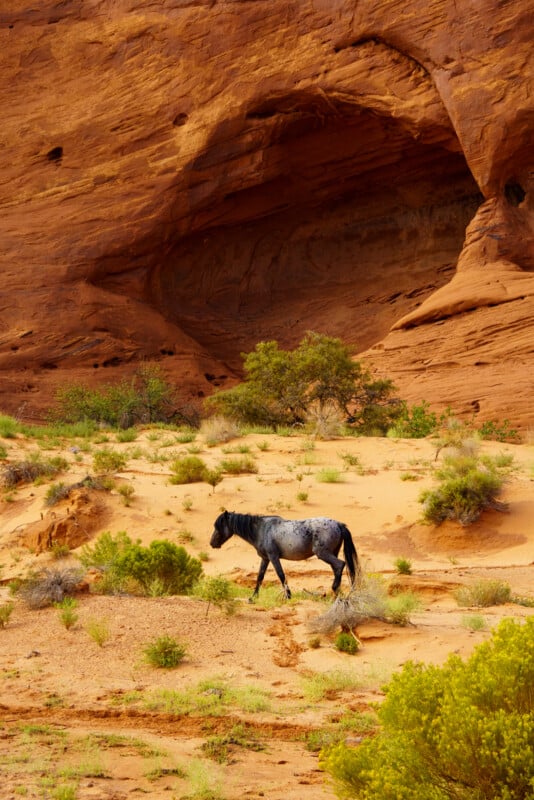
Even when the habitat is an important part of the photograph, the animal should remain the clear visual anchor. Without a strong focal point, a wider composition can become a collection of environmental details rather than a cohesive wildlife image.
One way to establish visual hierarchy is through contrast. An animal’s color, shape, or texture may stand out naturally against its surroundings. For example, a dark mammal against pale snow can remain easy to recognize even when it occupies only a small portion of the frame. In other situations, the subject may blend into the habitat, requiring more careful positioning to create separation.
Light can also help direct attention. An animal illuminated by a break in the clouds may stand out against a darker background, while a rim of light along its fur or feathers can distinguish its outline from the surrounding vegetation. These opportunities often require patience, as the photographer waits for the light and the animal’s position to align.
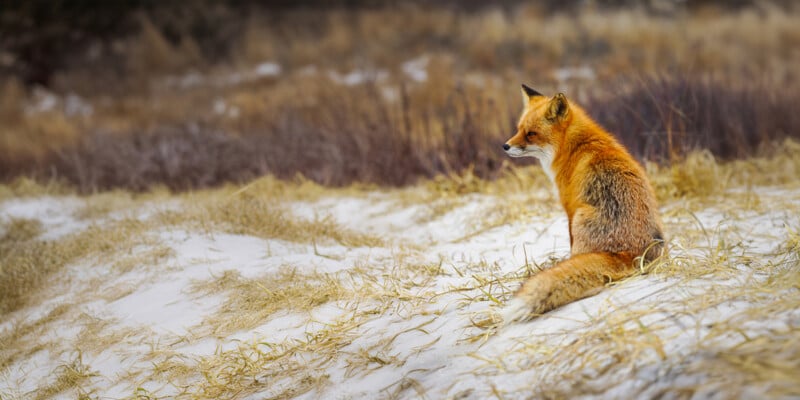
Body language and behavior also contribute to visual emphasis. A bird turning its head, a fox looking toward something outside the frame, or a bear pausing mid-stride can give the viewer a clear point of interest. When the animal is small within a landscape, recognizable posture or movement can be especially important.
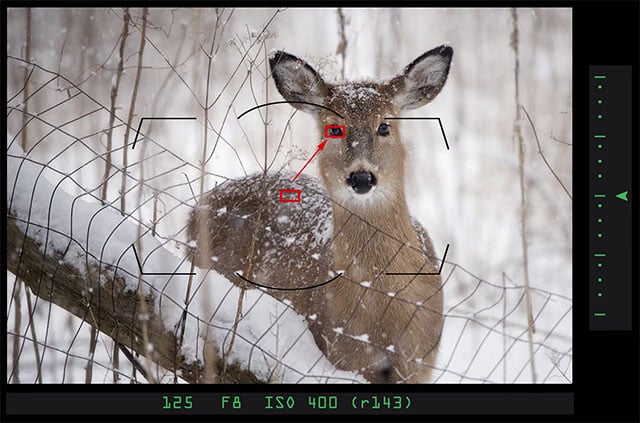
Focus remains critical. Environmental portraits sometimes benefit from enough depth of field to preserve the habitat’s detail, but the animal’s eye should generally remain sharp when it is visible, and the composition calls attention to its face. If the subject is too small for facial detail to be meaningful, a distinct silhouette or recognizable body position can still give the photograph a clear focal point.
Managing Distractions in Wider Compositions
One of the biggest challenges of environmental wildlife photography is that a wider frame includes more opportunities for visual clutter. Branches, grasses, bright patches of sky, rocks, and distant objects can all compete with the animal. The challenge is not to eliminate every detail, but to recognize which ones strengthen the photograph and which ones pull attention away from its central idea.
Start by scanning the edges of the frame before taking the photograph. Bright objects near the corners, partially visible branches, or high-contrast patches can draw attention even when they have little relevance to the subject. Looking beyond the animal to the entire composition helps identify these distractions before they become difficult to correct.
Changing your shooting angle is often more effective than changing camera settings. Moving a few feet to the left or right may place the animal against a darker background, separate its outline from a tree, or remove an unrelated object from the frame. Lowering the camera can also change the relationship between the animal and the background, while a higher viewpoint may reveal patterns in the terrain or water.
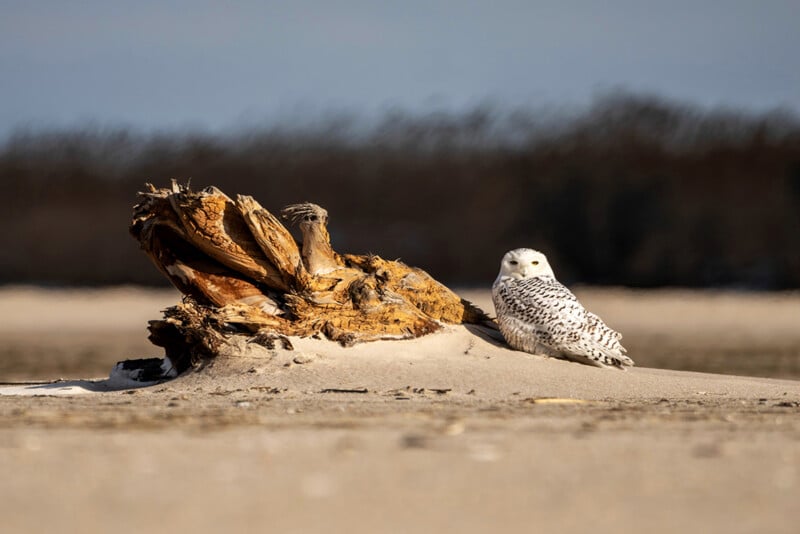
Depth of field offers another way to manage competing elements. A wider aperture can soften a busy background while retaining enough environmental detail to establish the setting. However, excessive background blur can undermine the purpose of an environmental portrait. If the habitat is essential to the story, use a smaller aperture or adjust your distance to preserve more detail.
Sometimes, the best solution is simply to wait. Wildlife moves through its surroundings, and a small change in position can reveal a clearer view of the animal. A few seconds of patience may allow a bird to move beyond a distracting branch or a mammal to step into a patch of cleaner light.
There will also be situations where distractions are unavoidable. Dense vegetation and complex habitats are part of wildlife photography, and not every scene needs to be simplified into a perfectly clean composition. The key is to distinguish between details that create a sense of place and those that obscure the subject without adding useful context.
Working With Light, Weather, and Atmospheric Conditions
Light and weather can change how the habitat contributes to an environmental portrait. Clear conditions may reveal texture in the landscape, while fog, rain, snow, or mist can simplify the scene and create a stronger sense of atmosphere. Instead of treating these conditions as obstacles, consider how they shape the story.
Fog can reduce background detail, making it easier to isolate an animal while retaining the surrounding landscape’s presence. Snow can simplify a composition through broad areas of similar tone, allowing the subject’s shape and color to stand out. Rain can add texture and reflect light from the environment, while overcast skies often produce softer illumination that helps preserve detail across the animal and its surroundings.
The direction and quality of light matter, too. Side lighting can emphasize the texture of a rocky hillside, the structure of a forest, or the contours of an animal’s body. Backlighting can create a striking silhouette or highlight fine details in fur and feathers, though it can make exposure more challenging.
Pay attention to how light falls across the entire scene, not just on the animal. A brightly lit background may compete with a shadowed subject, while a patch of sunlight on the ground can become a distracting highlight. Waiting for the light to change or repositioning yourself may produce a more balanced image.
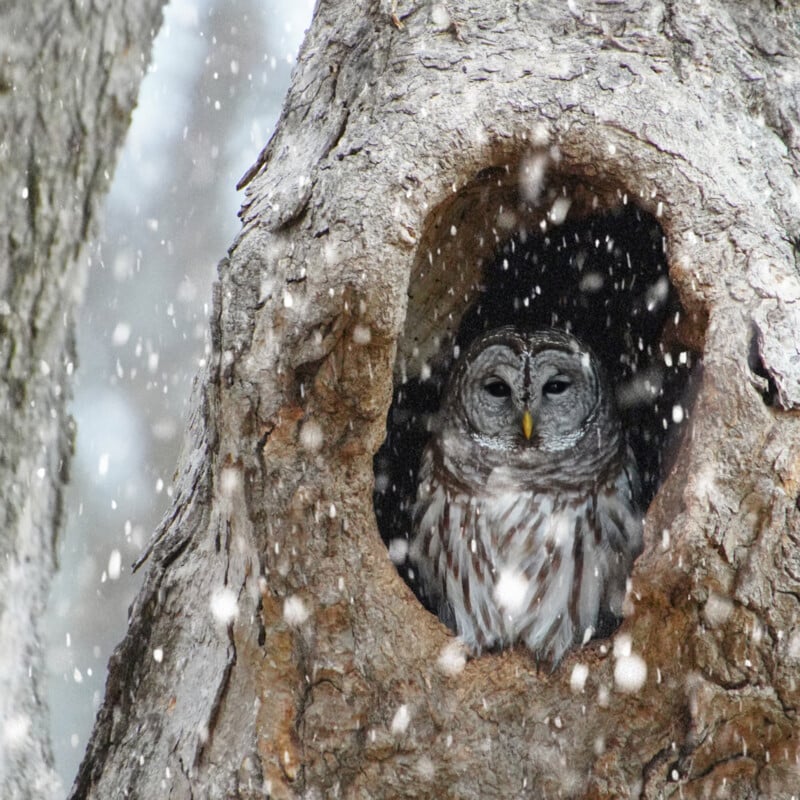
Weather can also add important behavioral and ecological context. An animal moving through fresh snow, feeding during a rainstorm, or navigating a misty shoreline can appear more connected to its environment than it would under neutral conditions. These details work best when they contribute to the story rather than simply making the photograph look dramatic.
Choosing the Right Lens and Camera Settings
Environmental wildlife portraits don’t require a specific lens. Wide-angle lenses can exaggerate the relationship between a nearby subject and its surroundings, but they generally require photographers to work closer to the animal to maintain its prominence. That isn’t always possible or appropriate, so a wider focal length should never come at the expense of the animal’s welfare.
Telephoto lenses can be equally effective. They let photographers maintain a respectful distance while still including distant landscape features in the composition. Longer focal lengths can also compress layers of habitat, making mountains, trees, or other background elements appear closer to the subject. This can create a different visual relationship than a wide-angle view, even when the same elements are present.
For environmental wildlife portraits, my lens of choice is a superzoom telephoto. The flexibility to quickly widen the frame to include more habitat, then zoom back in when the moment calls for a tighter composition, makes it easier to adapt without swapping lenses. This is especially useful with unpredictable wildlife, where even a small change in the animal’s position can affect the composition.
Another option is to use two camera bodies, one fitted with a 500mm or 600mm telephoto and the other with something like a 70-200mm lens. This setup lets you capture tighter portraits with one camera and wider environmental compositions with the other, so you can switch perspectives quickly without missing a moment.
Aperture should be chosen according to the amount of environmental detail you want to preserve. A wide aperture can help separate an animal from a busy background, while a smaller aperture can keep more of the habitat in focus. Be mindful of shutter speed when stopping down, especially in low light, and increase ISO when needed to keep a shutter speed appropriate for the animal’s movement.
Autofocus settings also deserve attention. Continuous autofocus and animal eye detection can help maintain focus as wildlife moves, but tracking systems may struggle when the subject is small in the frame or surrounded by complex vegetation. Check that the camera is focusing on the animal rather than a foreground branch, and be prepared to adjust your focus area when needed.
Ultimately, equipment should support the composition rather than dictate it. The right focal length, aperture, and autofocus settings are the ones that allow you to preserve the relationship between the animal and its habitat while capturing the moment effectively.
Knowing When to Go Wider and When to Get Closer
Environmental portraits are a valuable addition to a wildlife photographer’s portfolio, but they do not replace close-up images. Both approaches serve different purposes, and the strongest coverage of an animal or location may include a variety of compositions.
A close-up can reveal details of the animal’s expression, plumage, fur, or behavior that would be lost in a wider frame. An environmental portrait can provide the context those details lack, showing where the animal lives, how it moves through the landscape, or what conditions it faces. Together, the images can communicate a more complete story.
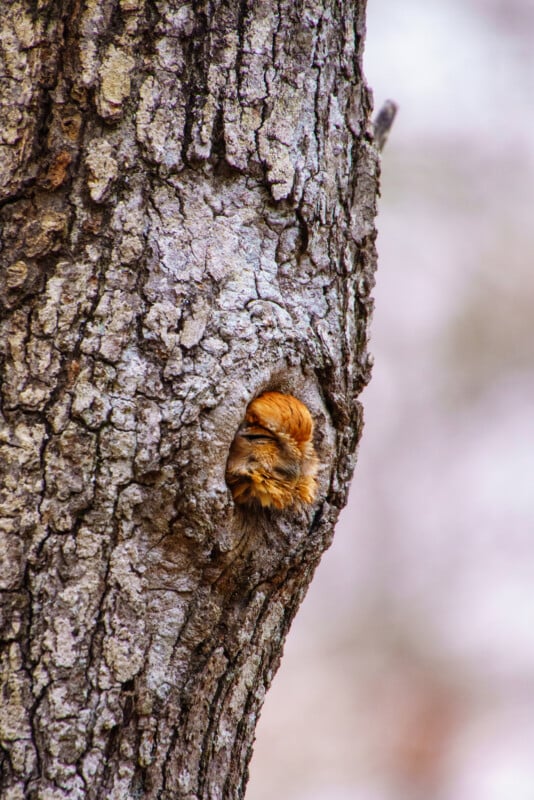
When framing a scene, consider what the photograph needs to convey. If the animal’s expression or a subtle behavior is the defining moment, a tighter composition may be the best choice. If the relationship between the animal and its surroundings matters more, giving the habitat room in the frame may create a stronger image.
Whenever possible, make deliberate variations in your composition without disturbing the animal. Photograph the scene wider, then consider whether a tighter frame offers a different perspective. You may discover that an environmental portrait captures the atmosphere of a moment, while a closer image reveals a detail that would otherwise go unnoticed.
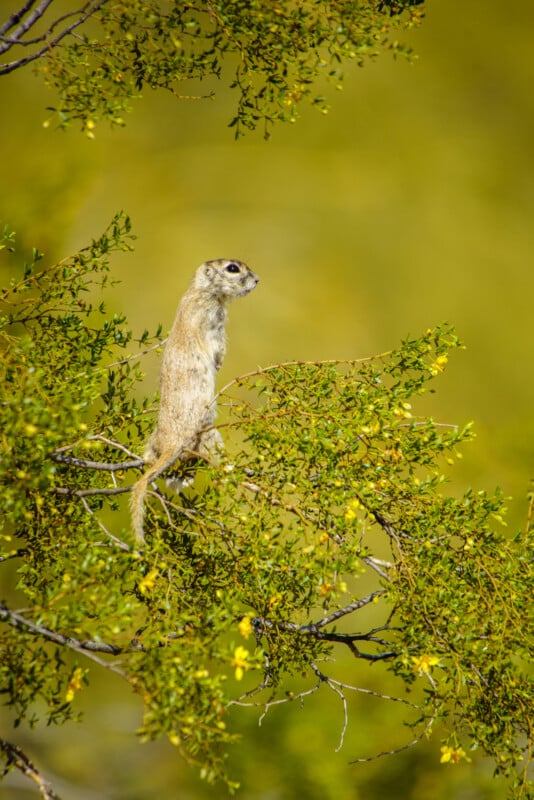
The important thing is to avoid treating proximity as the ultimate measure of a successful wildlife photograph. A small animal in a carefully composed landscape can be as compelling as a tightly framed portrait, as long as the environment adds meaning and the subject remains visually important.
Environmental wildlife photography ultimately asks the photographer to look beyond the animal and consider the larger story unfolding around it. Research helps identify the details that matter, observation reveals how the animal interacts with its surroundings, and thoughtful composition determines what the viewer sees. When those elements work together, the habitat becomes more than a background. It becomes an essential part of the photograph.
Image creditsPhotographs by Kate Garibaldi
Affiliate Disclosure PetaPixel articles may include affiliate links; we may earn a commission if you buy through one.