Hands-On with the ROGETI TSE Frame for the Canon 24mm II Tilt-Shift Lens
I have stitched many panoramas, including those I took with my Canon 24 mm TS lens by shifting the lens from side to side. The TS lens gives easy-to-stitch frames. One uncontrolled element that remains in that case is the parallax shift because the lens position changes. Although that may go unnoticed in landscape panoramas, it is still there.
Full disclosureROGETI provided a sample of this product for the purpose of this review, but the article contains no affiliate links.
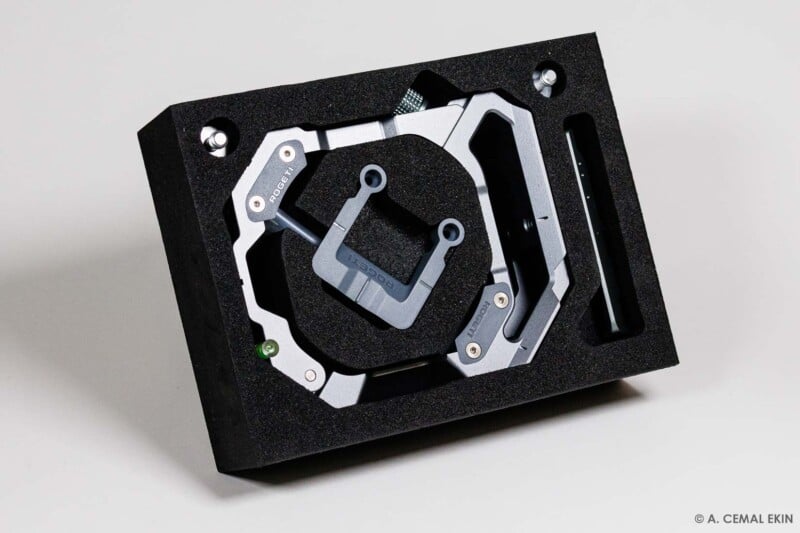
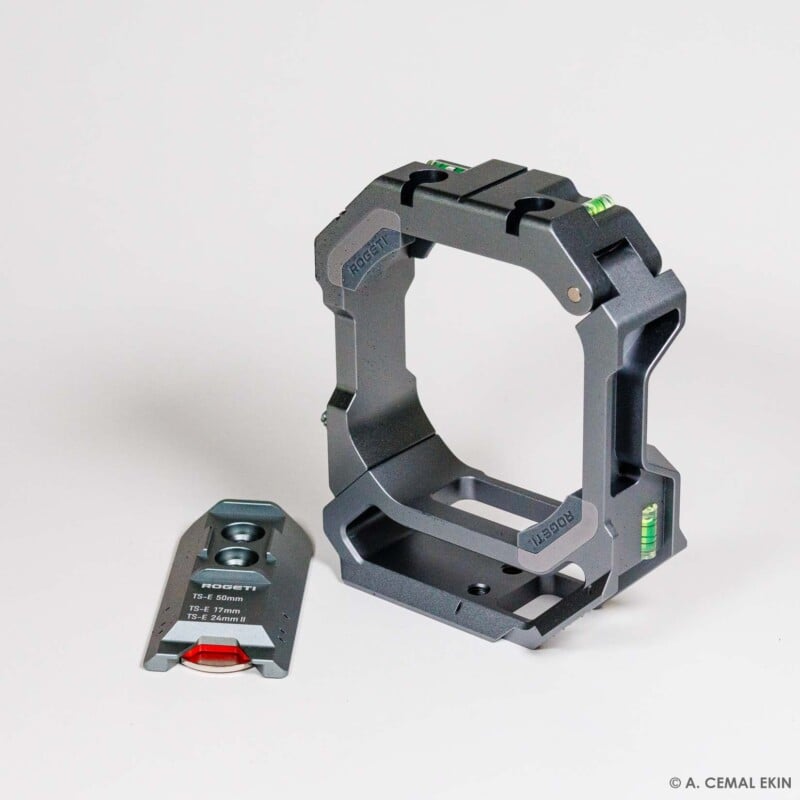
ROGETI TSE Frame
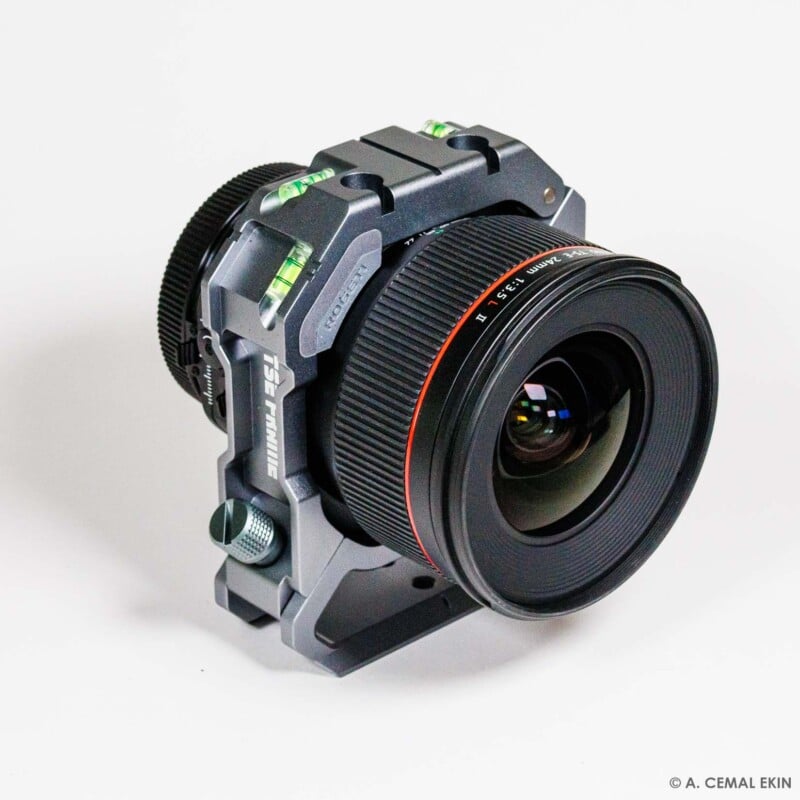
I have read about the ROGETI frame that clamps on the lens, allowing the user to mount the frame and let the camera hang behind. That keeps the viewpoint stationary, thus eliminating the parallax effect. About a month ago, I wrote to ROGETI and asked if they provided review samples. As luck would have it, they agreed to send me one to review. So, this article will share my impressions and experiences with this grip.
First Impressions
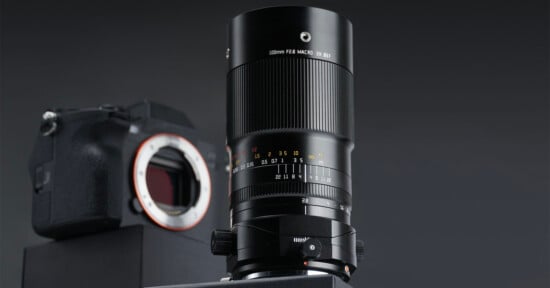
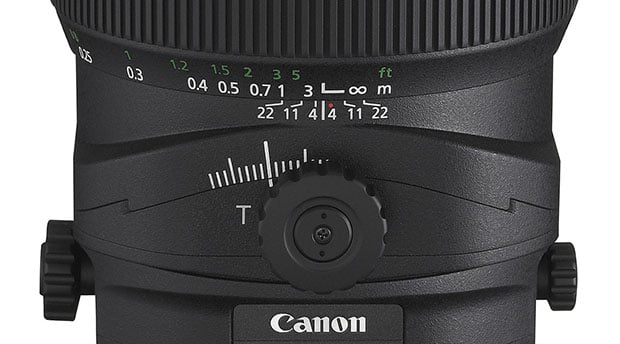
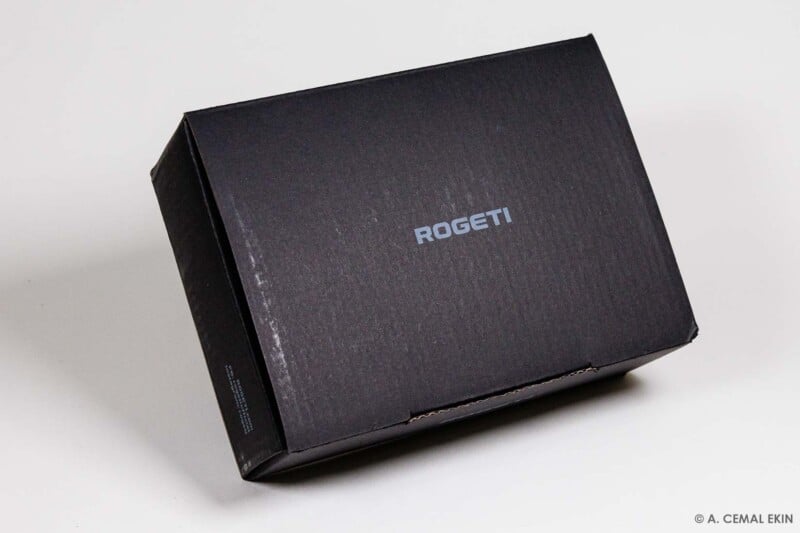
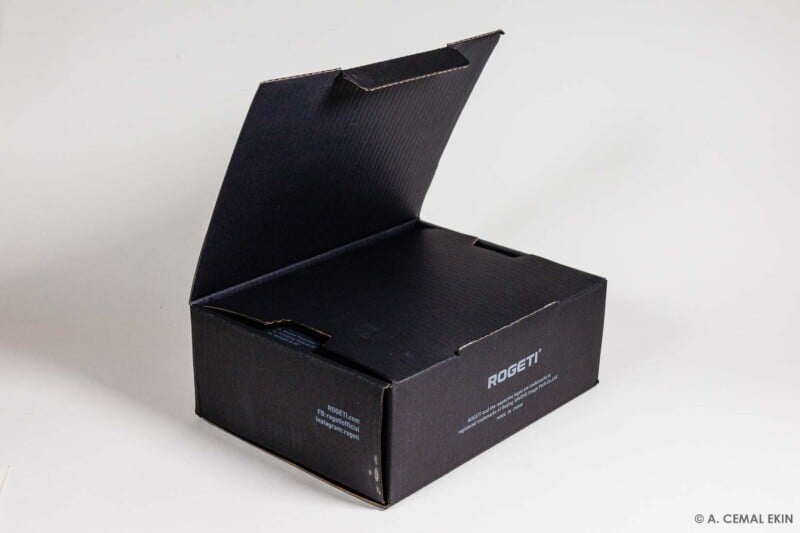
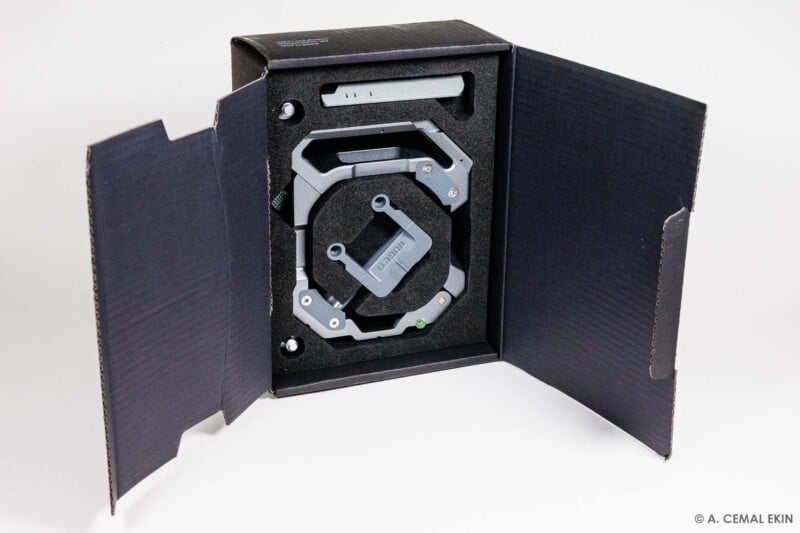
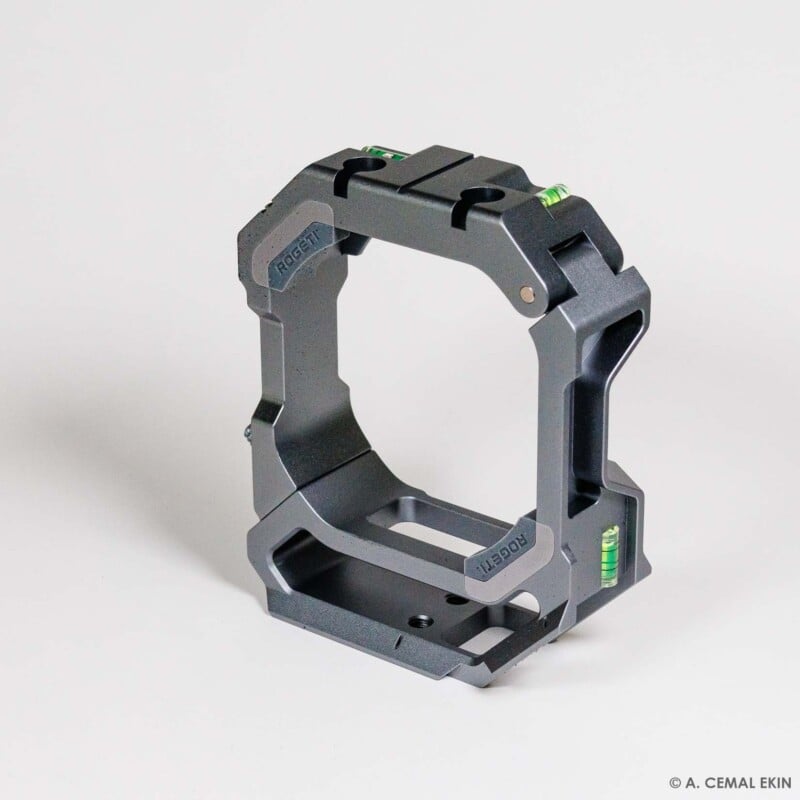
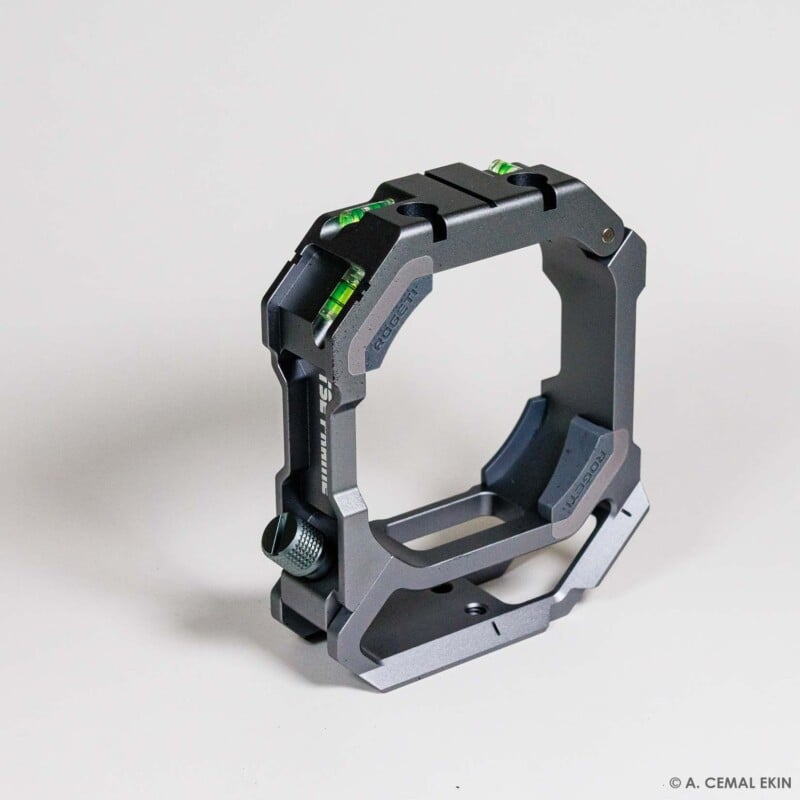
The frame comes in a blackish box with a foam insert containing the frame and optional parts. The frame and the package inspire confidence in its quality. The metal body of the frame is very well done and finished, and the packaging is designed to contain and protect it. I removed the frame, loosened the knob, and opened it smoothly. Fitting the lens seemed like a puzzle, but it took me only 30-40 seconds to position it around the lens and close the frame. It can be used with Canon TS-E 17mm and TS-E 24mm II, which I have.
Take a look.
What is Parallax
Hold your arm stretched in front of you with your index finger pointing up, close one eye, and align your finger with something a little further, say the edge of the window frame. Now, close that eye and open the other. You will see that your finger no longer aligns with the window’s edge. Because the lens, your eye, has changed its position. This is what parallax is about.
When using a panorama head, we align the lens nodal point with the axis of rotation to eliminate the parallax. But when using a tilt-shift lens by itself, the parallax is unavoidable. We expect that the stitching software will hide this problem. This is what ROGETI TSE Frame fully controls.
The ROGETI TSE Frame offers additional benefits as well. We can use it to create horizontal or vertical panoramas. By including diagonal shifts, we can also increase the angle of view in both directions, which may be particularly handy in small spaces where we cannot move the tripod further back.
Test Shoot Session
I mounted the lens with the frame on it on my Canon EOS R7 and practiced with the shifting and rotating. One advantage of using the EF lens on an APS-C body was the extra space the mount adapter provided to reach various controls. But, there was a hidden disadvantage that escaped my attention!
Although we had some good days to photograph, I could not take a few photographs to test the frame until today. It was a dark and cloudy day, and I thought I would be fine. Well, I managed to take a few frames but also learned that rotating and pushing those knobs were progressively harder as my fingers almost froze.
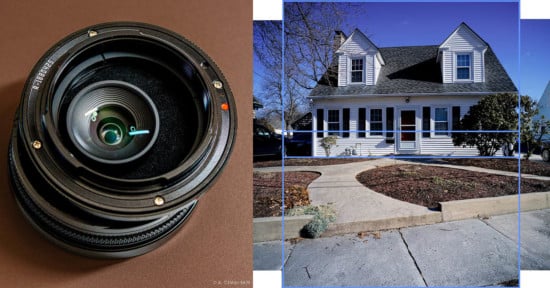
Horizontal Shift
I first tried horizontal shifting to include the entire William Hall Public Library in Cranston, Rhode Island. Rotating the shift axis to horizontal and the camera to its vertical position was easy. I focused and took a center, then a right and left shift frames. Of course, they can be taken in any sequence. Here are the three frames side by side:
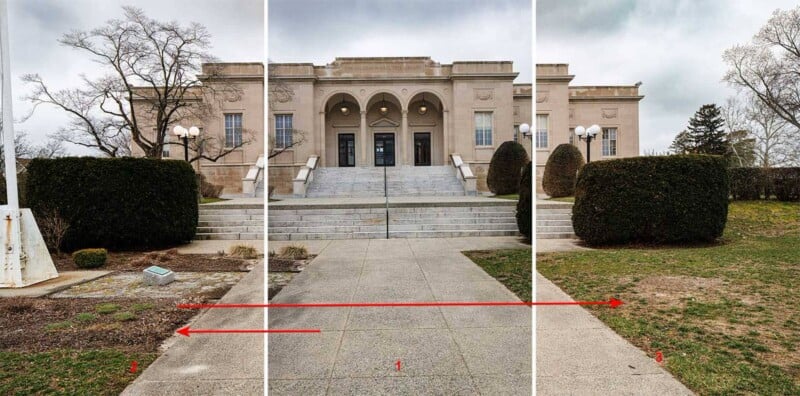
When I viewed them in Lightroom, I realized I should have been more observant of a few things. I share them with you.
- A centered composition needs a more careful positioning of the camera. I should have moved the camera a little more to the right.
- Although I thought I leveled the frame properly, it was off, needing more adjustments in Lightroom.
- I should have been more careful with framing to exclude the flagpole.
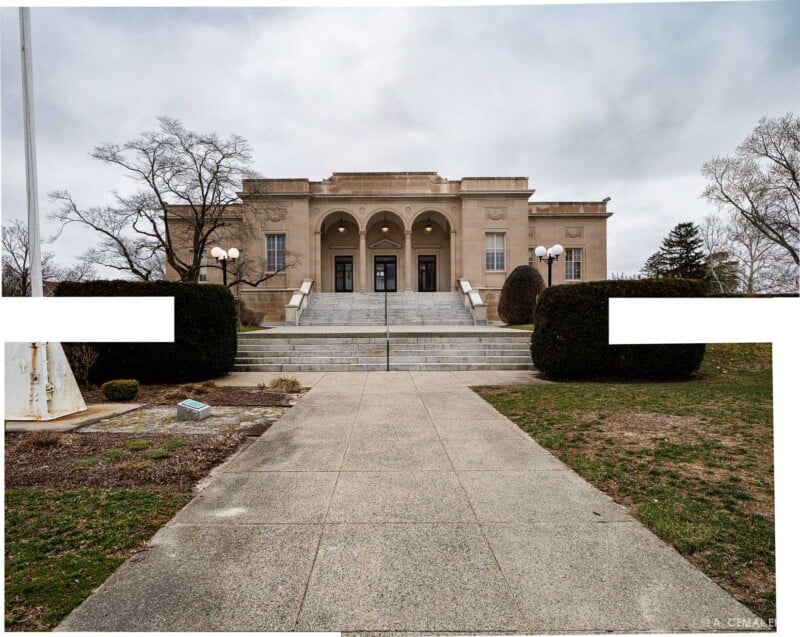
Below are the stitched results and my further cropping for a more balanced frame.


Diagonal Shift
After the horizontal shift, I wanted to include more of the sky and used the diagonal shift. That was a bit puzzling and took me a while. Before taking the camera out, I thought I practiced enough by mounting the frame on its 45° mount and trying out the diagonal movements. It proved harder with freezing fingers! I got all the diagonal shift frames I needed (or so I thought) and returned to the car.
Below is the sequence of shifts and rotations. They can be made in any order you like. Remember that when you shift the lens to the upper left, you will capture the lower right corner, and so on. And, between steps 3 and 4, you need to rotate the shift axis and align the camera at the lens mount to horizontal.
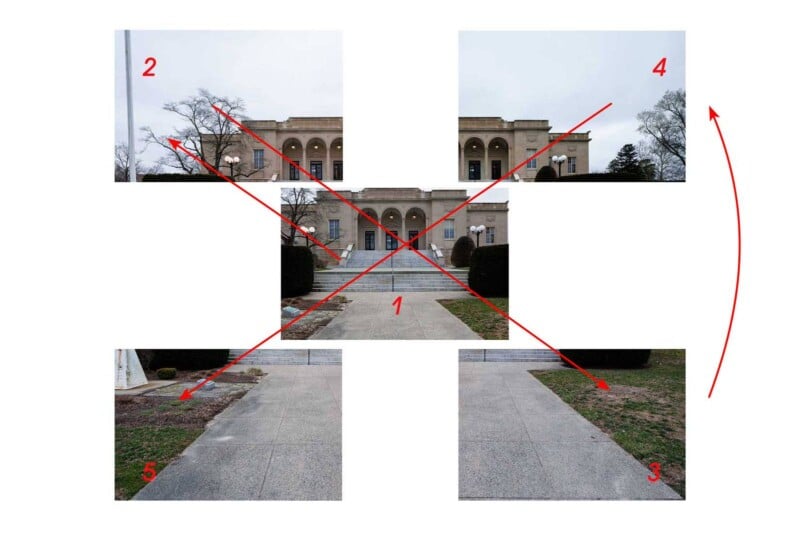
I will add a few more points to watch out for to the list above:
- Practice, practice, practice rotating the shift axis and the lens mount. The former rotates with 45° steps, and the latter in 30°.
- Don’t neglect to take the right and left shift edges if your camera is like mine, APS-C, or you will end up with gaps like I did.
- Ensure that diagonal movements are complete, especially when the camera moves up. The lower right and left corners show what happens otherwise.
When I selected the diagonal shift collection and stitched the panorama, I ended up with gaps on the right and left edges. Since the camera or the tripod did not move between the horizontal and diagonal shift series, I included the two vertical images from the previous stitch to remedy the situation this time. Next time, I will be more careful to include the right and left shift frames. Here are the results:


Observations and Conclusions
- The ROGETI TSE Frame is indeed a fine piece of equipment.
- It is well-made and holds the lens very securely.
- I highly recommend practicing the shift-axis and lens-mount rotations many times. I thought I had it down pat. But in live shooting, I had difficulty with the diagonal shift frames. I even forgot to capture the middle right and left frames.
- If you have a composition that centers the subject, ensure the camera and the lens are perfectly centered. My positioning is slightly off to the left.
- Consider the stitched result and create a virtual frame before shooting. I ended up cropping both results significantly. The stitched images are still large. But I lost some angle of view by cropping them.
- The resulting image sizes are large. The horizontal shift with the camera being vertical resulted in an image of 12,218 x 7029 pixels. The diagonal stitch yielded an image of 12,828 x 10,216 pixels.
If you have a lens the ROGETI TSE Frame supports and you create stitched panoramas, you may seriously consider adding it to your tool chest. Despite my clumsiness, the results are convincing to me.