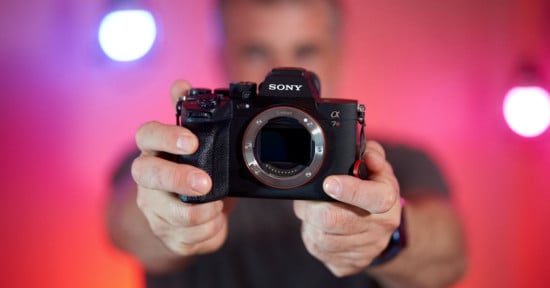
Tips for Studio Photography, Using the Sony a7R IV
The Sony Alpha a7R IV released in July of 2019 as the successor to the popular a7R III. While the early Sony mirrorless cameras had a limited lens selection, by the time the a7R IV came out, the lens selection had blossomed. Nowadays, there’s a lens for every purpose from manufacturers like Sony, Tamron, Sigma, Samyang, and Tokina.
Full disclosure: This article was brought to you by Adorama.
Key Features of the Sony a7R IV
Megapixels
When I first read that the a7R IV had a 61-megapixel image sensor, I thought to myself, “I would never need that.” And while that may have been true at the time, having it as a tool completely changed my photography process. As an editorial photographer, I create images for various print and digital layouts. This can sometimes be a two-page spread, a vertical ad, or a dynamic web banner. In the past, I found myself capturing the same scene in various ways to satisfy multiple aspect ratios. This is a chore, especially in portraiture when your subject has to maintain their expression.
The high megapixels of the a7R IV changed this. I found myself capturing a single image much wider, and composing it to work for various ad specs. Now I only needed one expression to make a portrait work. This allowed me to work faster and add variety with the extra time.

IBIS
Another feature of the a7R IV that really shines is its in-body image stabilization. On any camera, as you increase the focal length, motion blur becomes more visible. Cropping a photo has the same effect. The more you crop a photo, the more you’ll appreciate IBIS keeping your images free of motion blur. Nowadays, I keep IBIS on full-time unless my camera is on a tripod. If you turn it off while photographing handheld, you realize the significant impact it has.
Autofocus
When I think of cameras with high megapixels and strong dynamic range that are exceptional for studio photography, my mind immediately goes to medium format cameras. These systems often have a significant drawback when it comes to autofocus performance, at least when compared to modern full-frame mirrorless cameras.
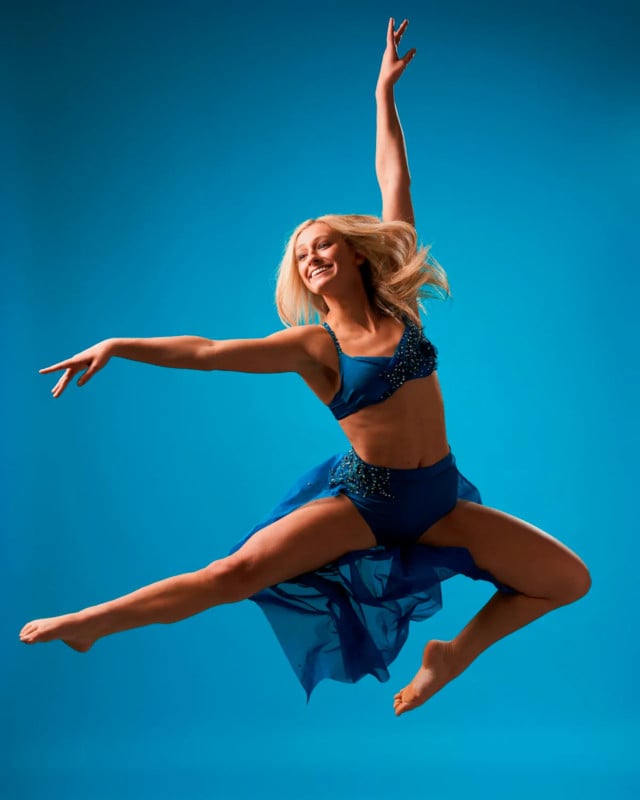
This is especially true when photographing portraits. The Sony a7R IV has incredible face and eye detection autofocus systems that make photographing people a breeze. While I wouldn’t suggest that the a7R IV is a replacement for medium format systems, I do think it bridges the gap. It brings the high resolution while maintaining exceptional autofocus. The a7R IV is a far more friendly and accessible user experience than most medium format systems.
a7R IV Studio Settings
In a controlled environment — such as a studio where I am using flash — my settings generally fall into one of two patterns.
General Purpose
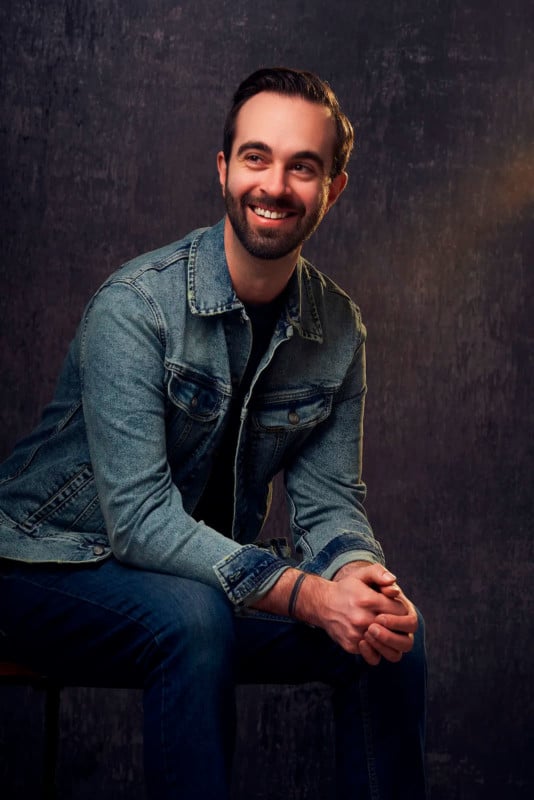
If I am trying to capture a sharp portrait or product, two of my settings pick themselves: ISO 100 and a shutter speed of 1/250s. I choose ISO 100 because it is the base ISO of the Sony a7R IV, where the optimal dynamic range is. I choose 1/250s shutter speed because it is the sync speed limit. This is the fastest shutter speed I can use and still trigger flash without using High-Speed Sync. These two settings help stop ambient light from impacting the photo. With shutter speed and ISO out of the way, the only decision I have to make is the f/stop. I choose my aperture based on how much depth of field I want in the image.
Freezing Action
If my goal is to freeze action, my settings change quite a bit. When freezing action, it’s best to use flash at as low of a power as possible. First I block any ambient or constant light in the studio. I tend to use higher ISOs (800-1600) but still stick with 1/250s shutter speed. For this type of work, the flash provides all the stopping power.
Other
While these two approaches apply for the vast majority of my studio work, neither of them are hard rules. If I looked hard enough, I’m sure I could find every combination of aperture and ISO used together in the studio. Your lens selection, environment, and vision will all contribute to finding the settings that work best for you.
Favorite Gear for the Sony a7R IV
I’ve been using Sony cameras exclusively since 2018. I started out with a very budget kit to minimize the cost of switching systems. Since pivoting from wedding to commercial work full-time, I’ve spared no expense and purchased the best available lens for nearly everything I need to capture. This means two things; I own almost 20 FE mount lenses and have owned or tried almost everything else. Here’s my take on the most standout gear to pair with an a7R IV.
Tamron 35-150mm f/2-2.8 Di III VXD Lens
Prior to the release of this lens, you would typically find me shooting with a prime lens. My rolling bag is packed with lenses such as the 24mm f/1.4, 35mm f/1.4, 50mm f/1.2, 85mm f/1.4, and 135mm f/1.8 G Master lenses. That’s all changed since I started using the Tamron 35-150mm. Now, it’s rare that I even switch to a prime. I’ve even adjusted my camera bag so I have a compartment that can keep this lens attached to my camera at all times. There have been many instances where I’ve gone to a shoot with only this lens. It’s sharp, fast, smooth, and, most importantly, flexible to a wide set of circumstances.
Sony FE 50mm f/1.2 G Master Lens
If I had to pick a single prime lens that I wouldn’t get rid of, it would be the Sony 50mm f/1.2. Admittedly, it’s not the best option in a studio if you’re focused on individual portrait work. The short working distance would lead to significant distortion. However, I think most people can agree that the 50mm is the most flexible option out of prime lenses. The Sony 50mm F/1.2 GM is a masterpiece of a lens.
Apple iPad 10.9″ 10th Gen
This is a strange accessory to include, right? A big change in my workflow recently has been incorporating an iPad with the Capture One app to tether my a7R IV. While tethering has been possible on a computer for years, the iPad app format makes it portable enough to flip between my studio sessions and on-location work. It’s helped me get a more accurate and closer look while shooting, which allows me to address issues during the shoot rather than in post-production.
Who Should Use the Sony a7R IV?
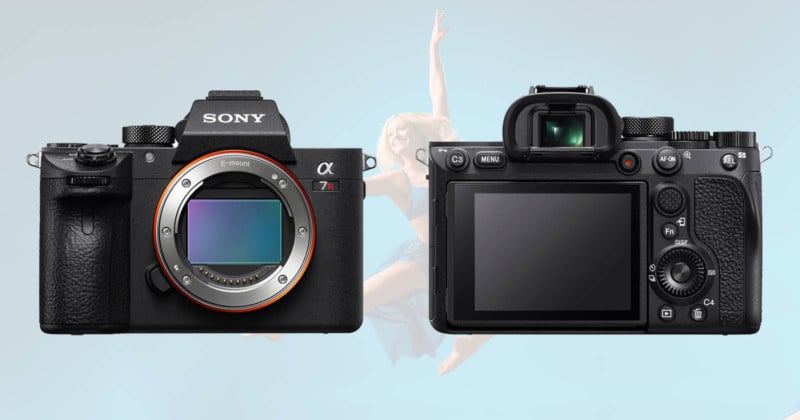
A lot of people may be writing off the a7R IV since the release of its successor, the a7R V. That’s a huge mistake. Yes, the a7R V brings notable upgrades. It has a new tilt screen design, improved EVF, new autofocus modes, improved IBIS, and updated menus. You can learn about all of this in Adorama’s recent article. These upgrades also come with a price increase to the series — but the sensor has not changed. You can still get the flagship image quality and resolution out of the a7R IV. Being one model back, you can already find the a7R IV used at a significant discount.
The a7R IV can be a solid fit for anyone looking for great image quality, whether in studio or on location. The ultra-high megapixels is most ideal for those who want the option to crop aggressively or intend on creating large prints. Portrait photographers will appreciate the extra detail when it comes to retouching. The advanced autofocus features will also translate well to video, and the recording options are powerful enough for content creators looking to publish on social media.
I’ll be keeping my a7R IV for the foreseeable future — both for use in the studio and to serve as a backup to my Sony A1 on location.
Learn more about the camera here: Sony Alpha a7R IV Mirrorless Digital Camera Body (V2)
Full disclosure: This article was brought to you by Adorama.