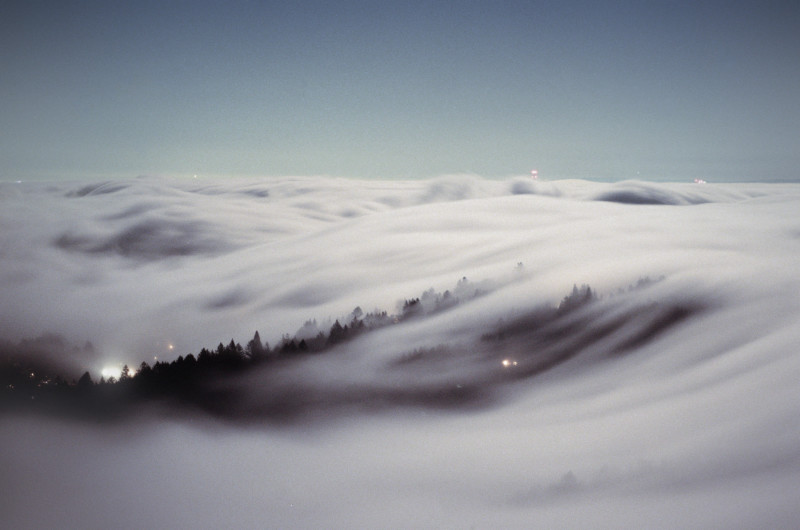
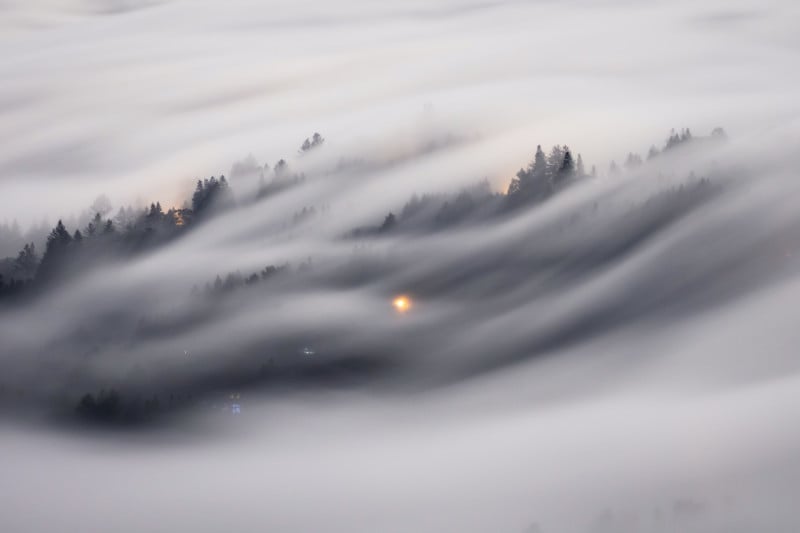
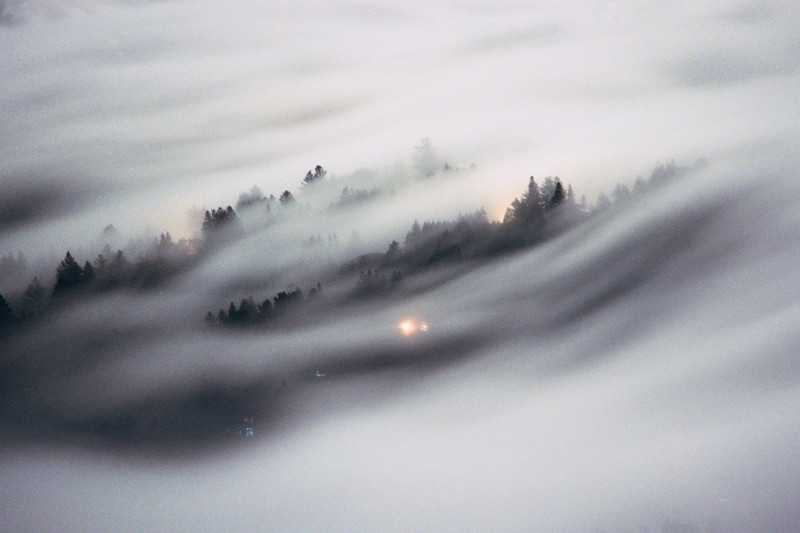
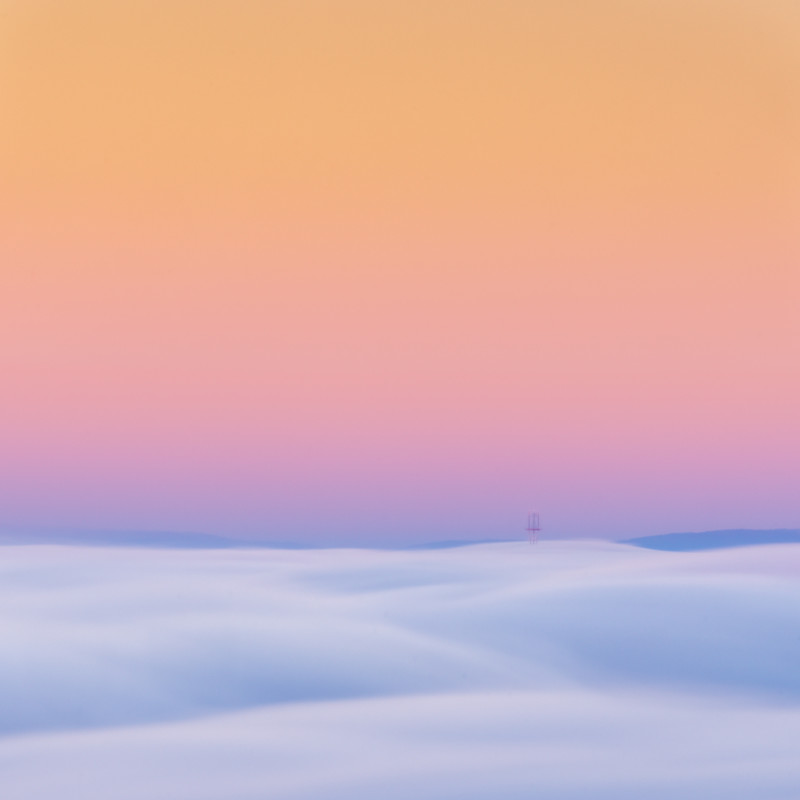
Tips To Help You Capture Excellent Long Exposure Fog Photos
Acclaimed landscape and timelapse photographer Michael Shainblum has shared an informative guide that explains how he uses long exposures to capture his incredible fog photos.
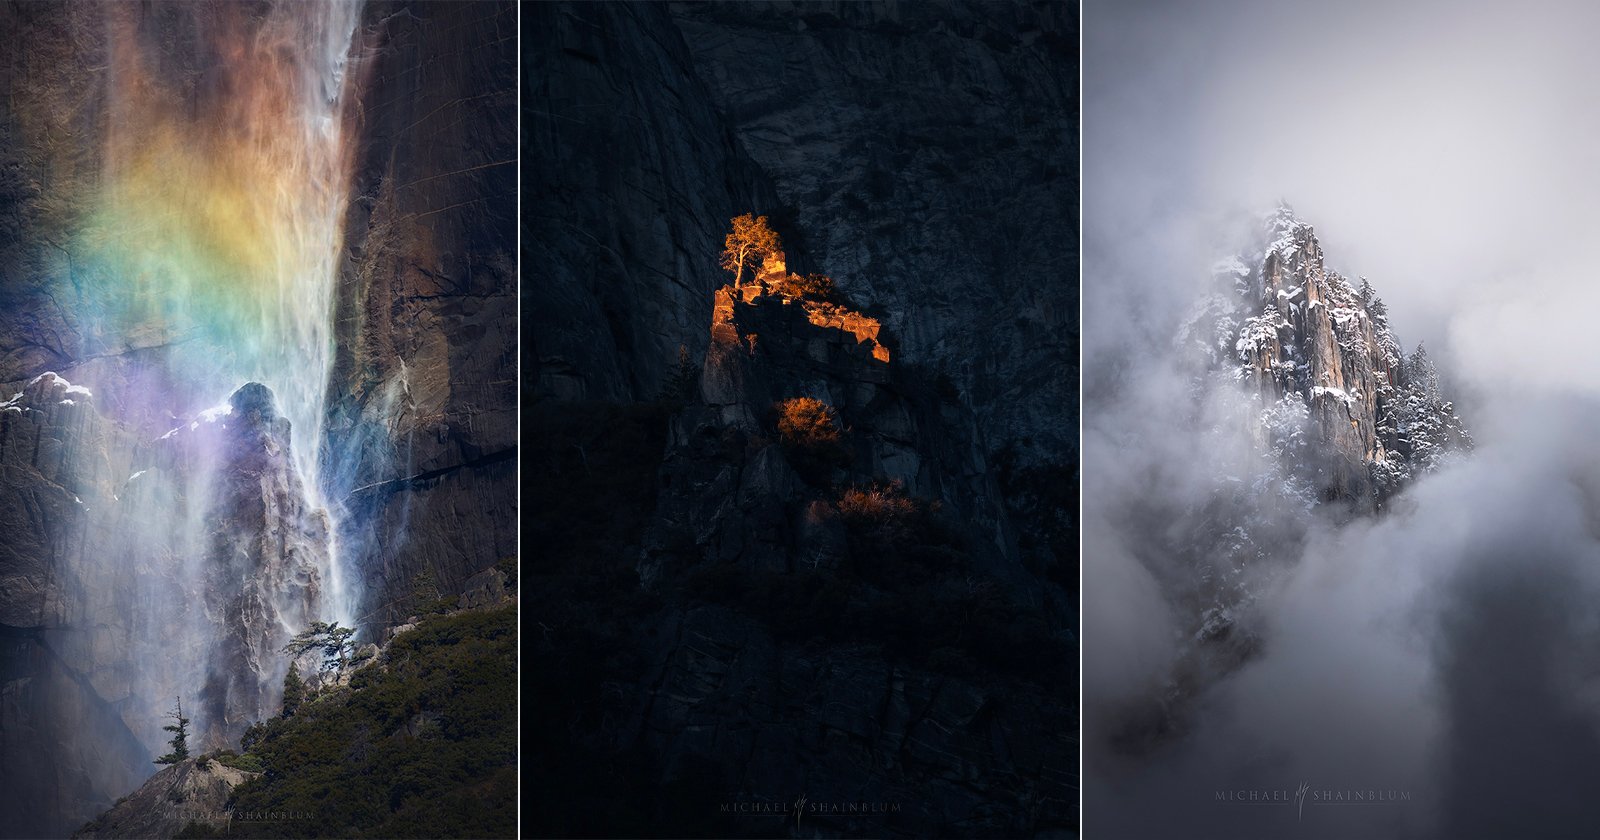
In the information-heavy 15-minute video, Shainblum breaks down his process for creating long-exposure fog photographs that give viewers insight into everything he does to create his finished images, from the camera, lens, and filters used to the techniques he uses to scout his locations and compose the shots.
Scouting the Location
To scout his locations, Shainblum often uses Google Earth to find more unique and intriguing perspectives to capture his shots. Once he finds an interesting location to shoot from, he then researches how to safely get to those locations. Since he often has to venture to the tops of hills and mountains, he also looks into all the logistics involved in that trek including visiting the Alltrails site to see if there are any pre-determined and easier or recommended paths.
While he does sometimes use weather apps and webcams to predict views, Shainblum says prefers the method of venturing out when he sees the weather he is interested in capturing.
“Most of the time I look outside, if it’s foggy, I pack my bag and just go,” he says. “These are the moments when I have gotten the best conditions or the most interesting shots. At the very worst, you do not get incredible fog and you still get a nice outing in nature. It ends up being a win either way.”
What Gear To Bring
If the plan is to capture a long exposure, there are a few very important (and critical) things to include with the kit. The most important of these include good filters (ND, VND, CPL) and a sturdy tripod. Shainblum typically will bring a combination of a 6-stop ND to 10-stop ND filters for daylight and early evening/dawn images to help reduce the amount of light entering the sensor, allowing for a much longer shutter speed creating a smooth long exposure effect. As for the tripods, if long-exposure images are the goal, stability is the most important feature. With this in mind, it’s best to not go cheap on the tripod to ensure that not only is the camera stable on it in any weather condition, but it also can keep the camera safe while attached.
While it is always handy to have a wide angle on hand, Shainblum tends to pick compositions that are out in the distance so he often chooses a 100-400mm telephoto lens to allow for a lot of flexibility in framing the subject matter. Since stability is key for long exposures, he also recommends getting a shutter-release cable (or app) to reduce any chance of camera shake from touching the system. If you forget it at home, or simply don’t have one, it is also possible to set a short timer for each shot to help eliminate any vibration in the frame.
Long Exposure Camera Settings
Calling out a specific set of camera settings that work for long exposure photography isn’t really possible since so much is variable and constantly changing.
The few things that are consistent in long exposure photography come down to disabling autofocus (make sure to shoot in manual) and setting the focus to infinity. Since his photos typically focus on wide vistas at a distance, most of the shots will leverage this setting. If the lenses used have Vibration Reduction or stabilization of any kind, it is also best to disable this since, perhaps counterintuitive, it can create unwanted blur or shake in the images.
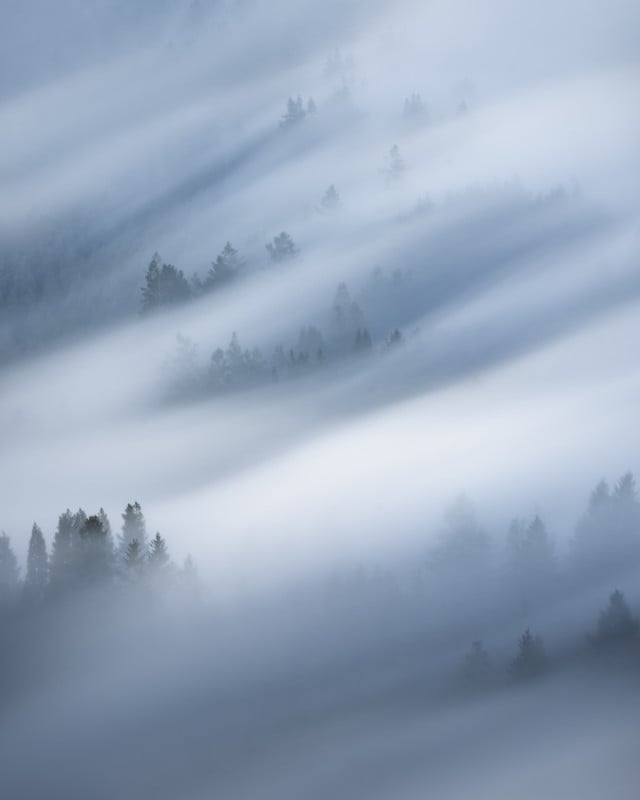
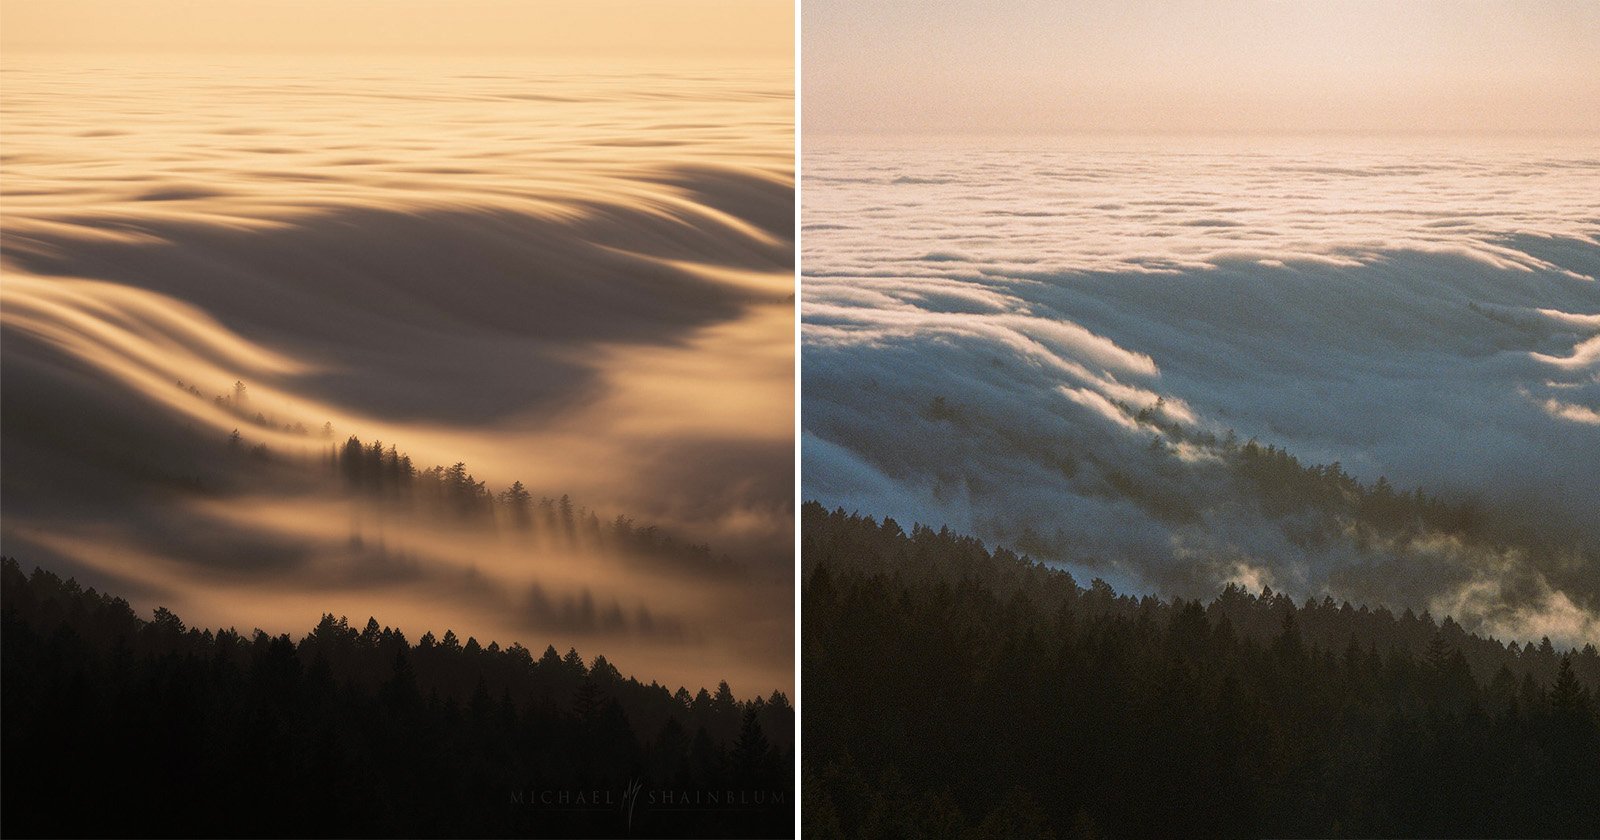
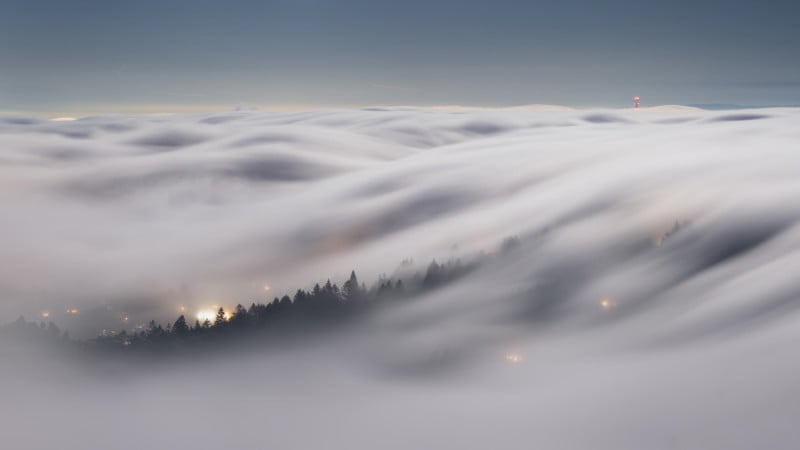
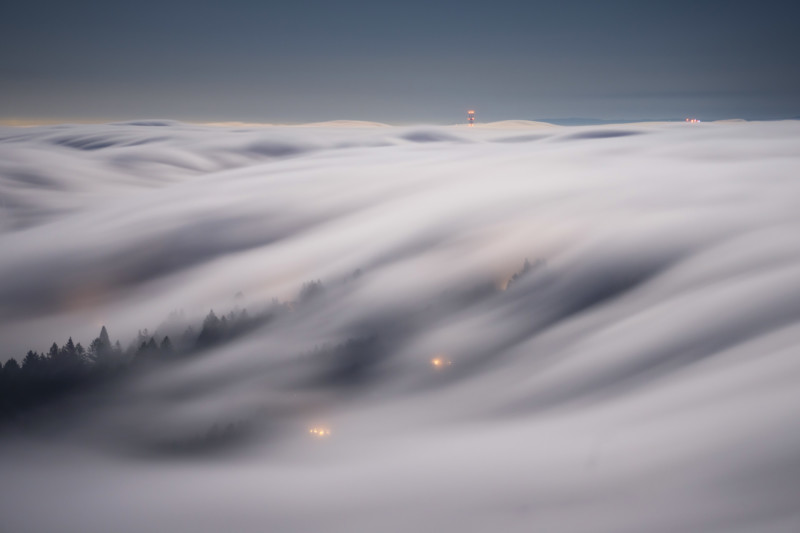
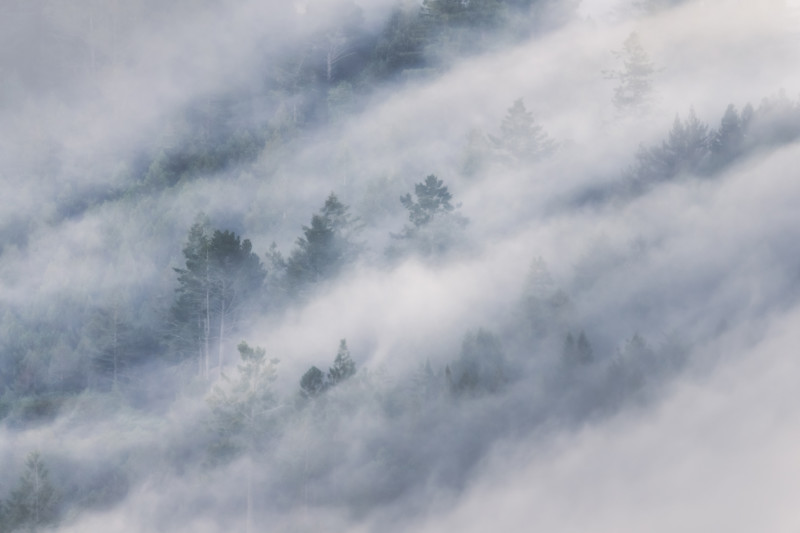
According to Shainblum, the most important setting to pay attention to when shooting fog is the shutter speed.
“Doing a 30-second or one-minute exposure can give you a super smooth eternal image and give the image more of a fantasy look. But sometimes that might not be what you are looking for,” he says.
In some of his examples, Shainblum reduces his shutter speed to a two-second exposure because, in his words, it completely changes the look and feel of the focus area. For him, the key is to have an idea of what sort of motion will make for the ideal image and to then experiment with the shutter speeds to get the look captured properly.

Since exposure times are increasing to provide a sense of motion, Shainblum typically uses a low ISO to assure the best quality image and will compensate exposure with aperture instead. How much he changes the aperture depends on the ambient light, the filters he is using, and the shutter speed he has set to achieve the desire look. The math can sometimes be a little confusing, but the exposure calculator in the PhotoPills app helps with this.
Once all these details are ironed out, the only thing left to do is experiment until the desired photo is created.
More of Shainblum’s work can be found on his website, Instagram, and YouTube Channel.
Image credits: Photos by Michael Shainblum.