Nikon Z9 Teardown: A Look Inside the Monster Flagship Mirrorless Camera
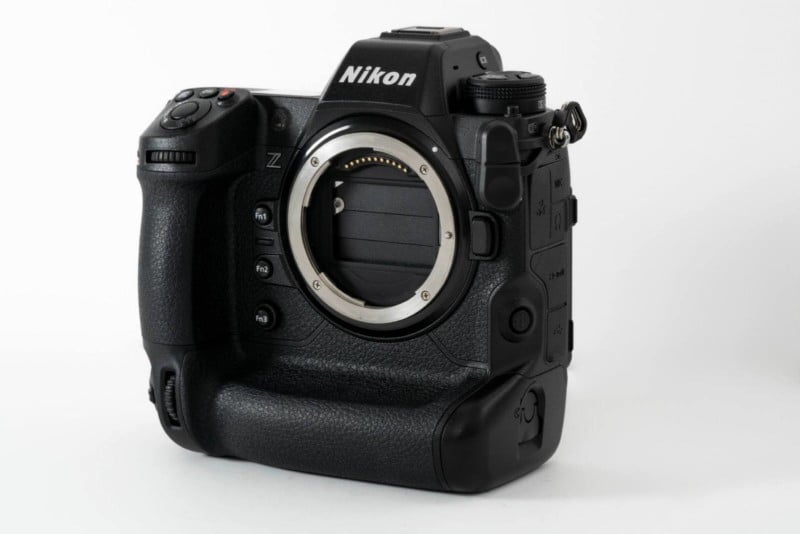
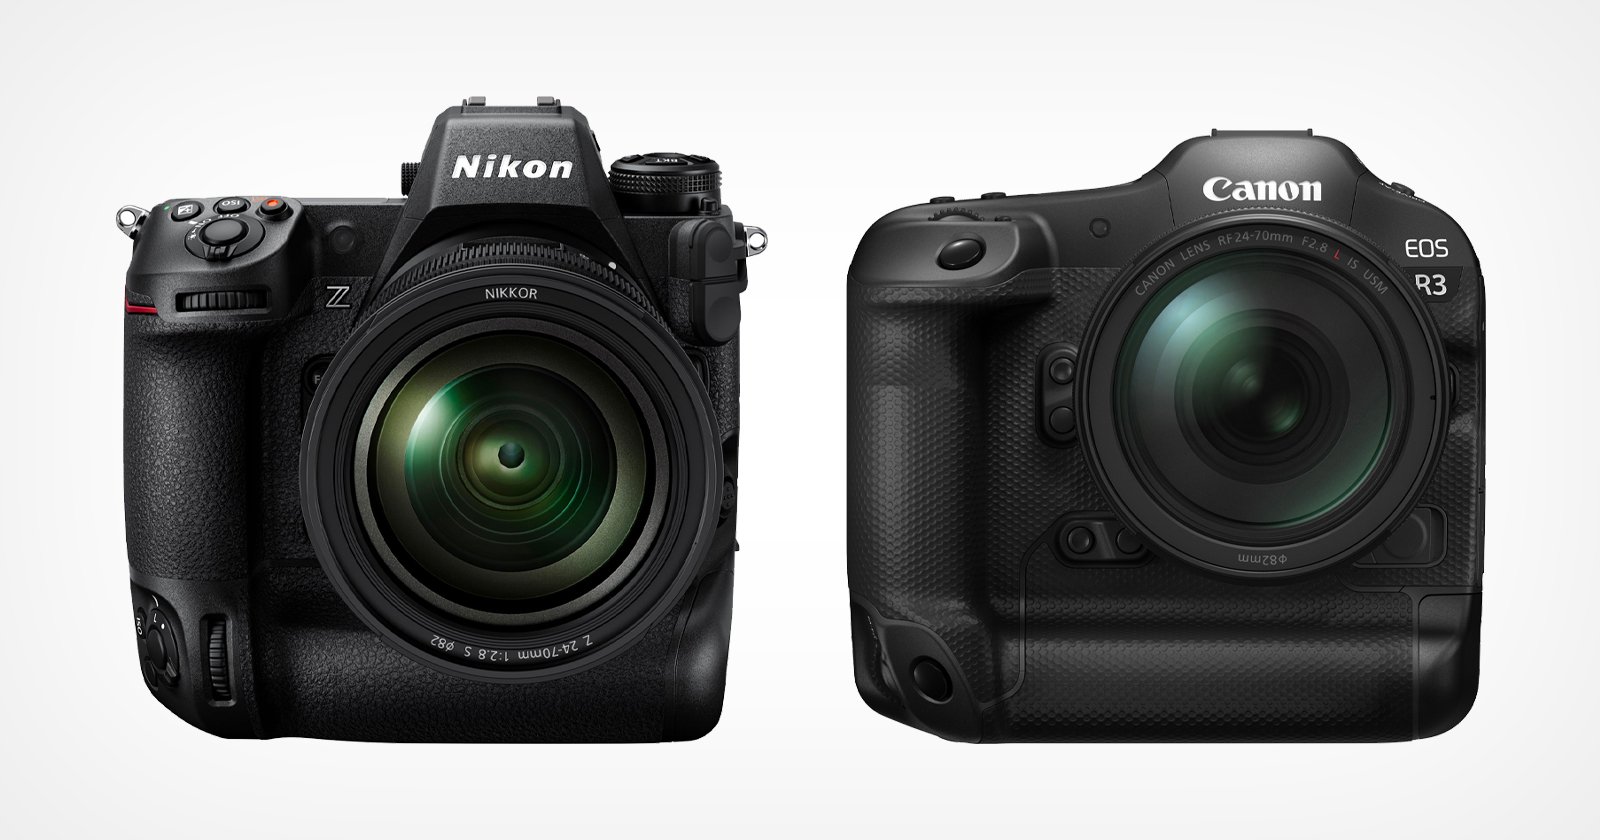
The Nikon Z9 is here and ready to take on the Sony A1 and Canon R3 for the title of ‘Mirrorless Flagship.’ We can argue all day about which camera is the best, but there’s no question that this one is the biggest. Mirrorless cameras have all been lighter and more compact than their DSLR counterparts, but with Z9 and the R3, Nikon and Canon have changed that.
Before we dive in, let’s look at some benchmarks starting with the base stats. This camera has a 45mp sensor and can record 8k 60fps/4k 120fps video. Where that gets even more exciting is with the burst rate. It can shoot 20fps RAW, 30fps using full-resolution JPEGs, and 120fps using 11mp JPEGs. That means you can effectively record a video using high-res photos and 1/4 speed slow-motion video of low-res photos. It can also record continuously for up to 1,000 compressed RAW photos.
While the Sony A1 technically has the Z9 beat with the RAW burst at 30fp, the 120-frame burst makes up for it. Of course, the 11mp JPEGs are quite limiting – you won’t have much flexibility in editing or cropping.
Nikon has also added a series of improvements after the camera’s initial release with the 2.0 firmware update. These updates include the 12-bit RAW recording in different formats, a red record frame around the screen, pre-release photo recording, custom area AF, and a programmable focus point button.
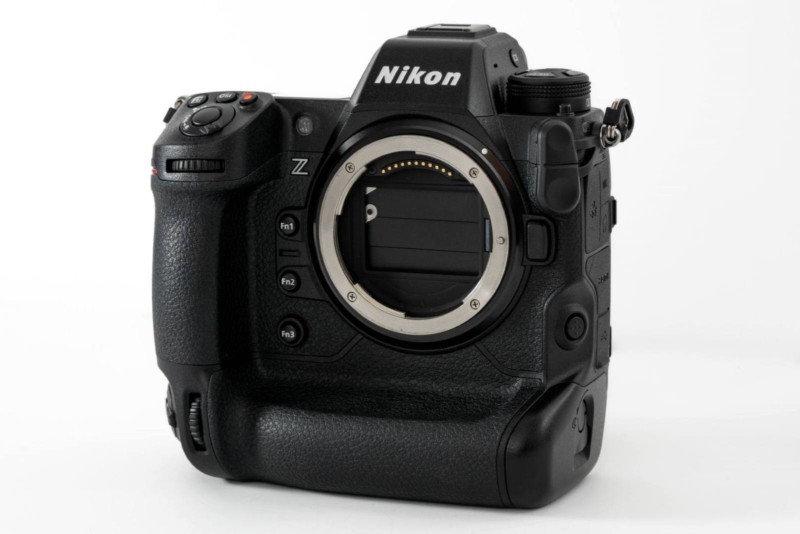
Let’s take a look at the camera.
We’ve got a lot to cover here. Literally. This thing is huge.
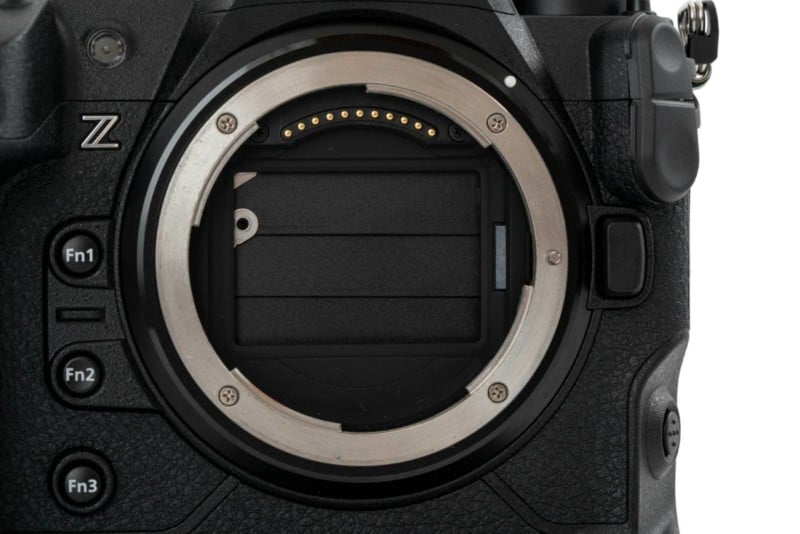
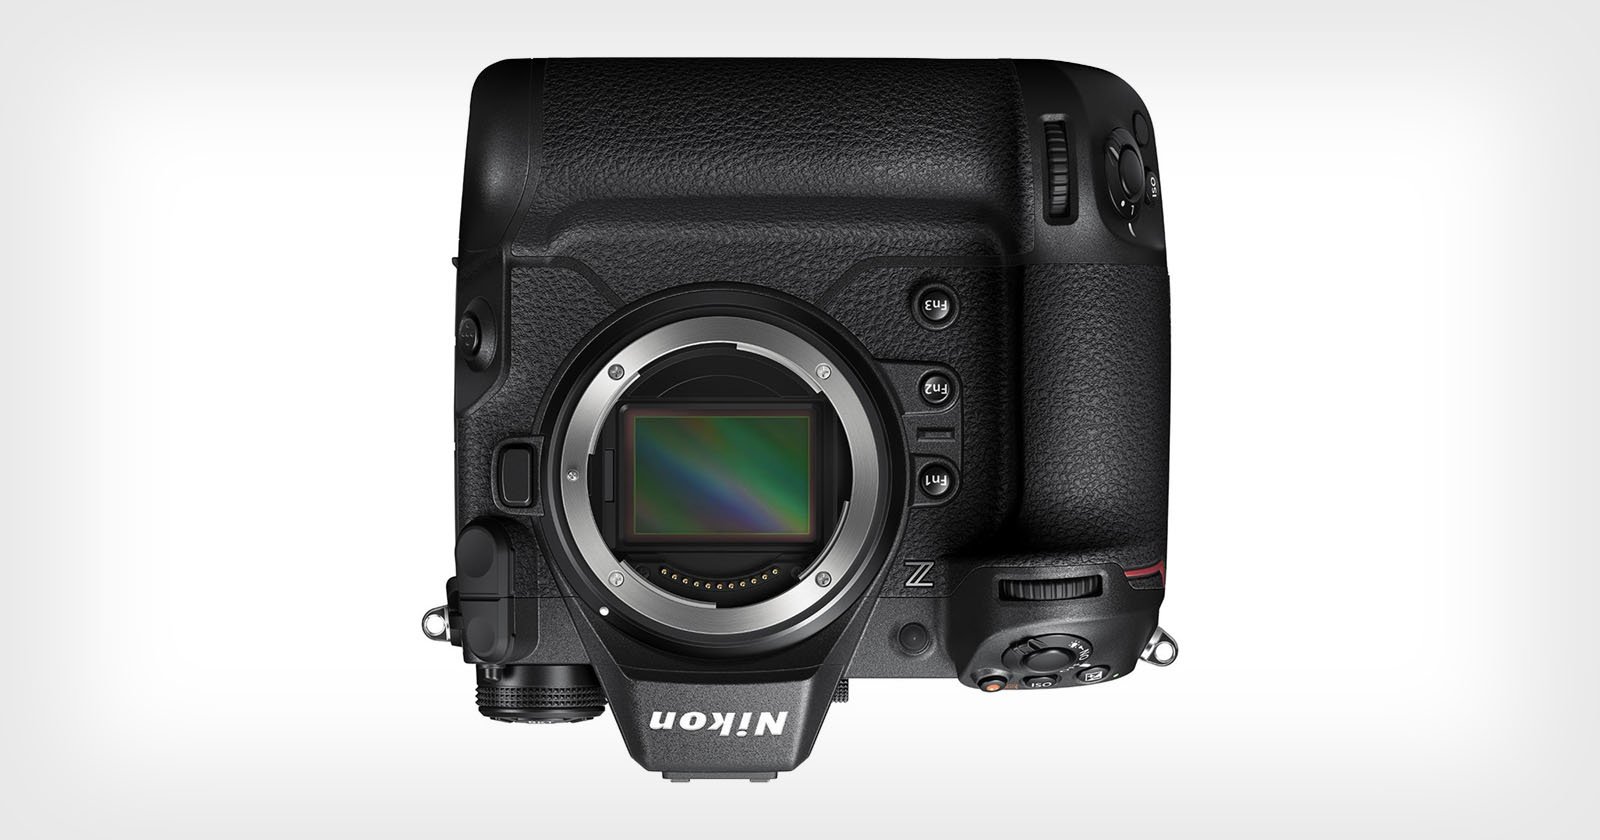
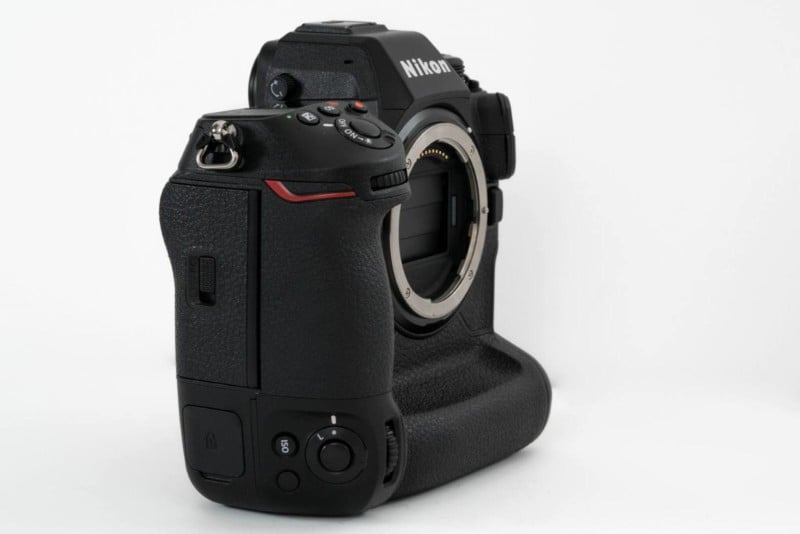
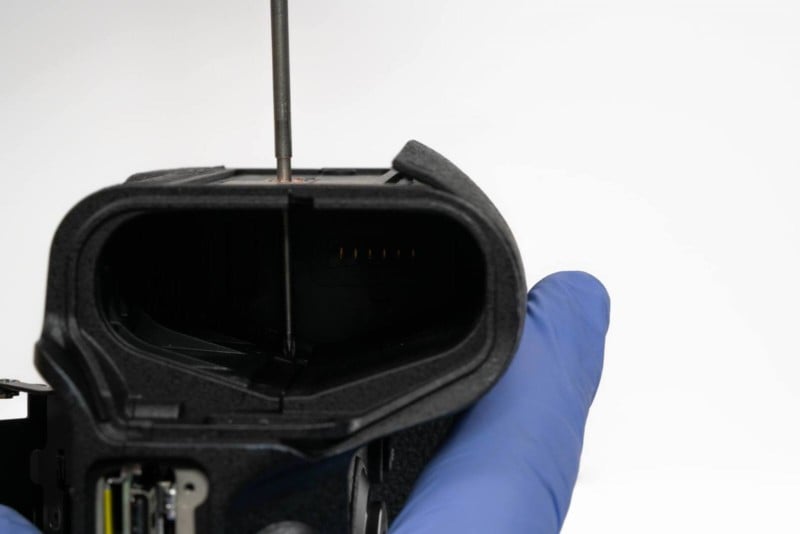
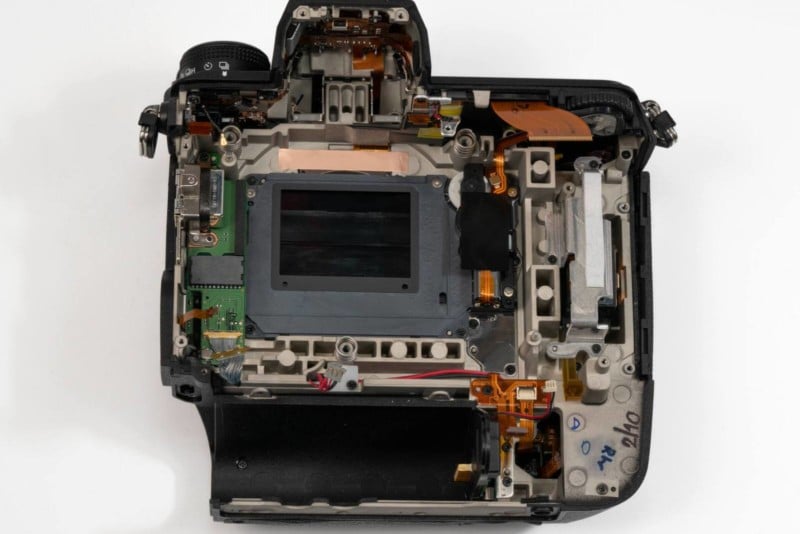
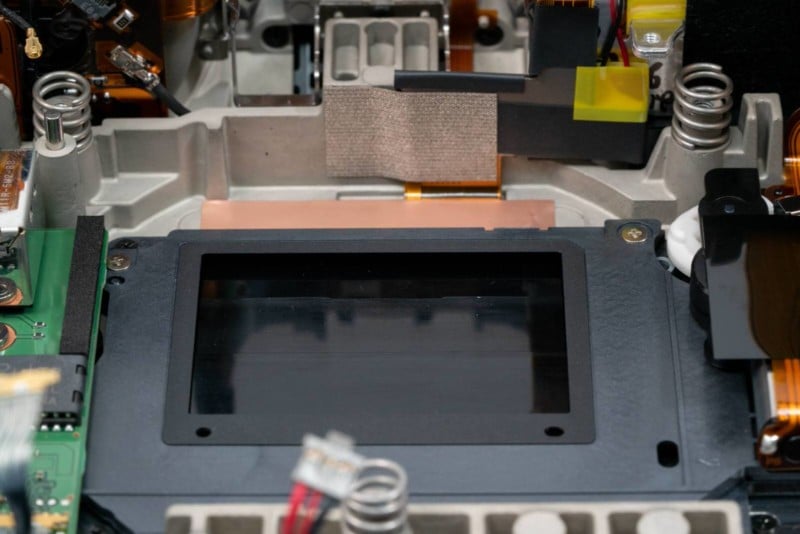
Let’s start with what it doesn’t have: a shutter. “But Alex,” you say, “of course it has a shutter. I can see it right there in the lens mount.” Your eyes deceive you, my friend. What you see is not a shutter, but a dust cover that protects the sensor when the camera is off. The Z9 uses only an electronic shutter. Most mirrorless cameras have the option to use either an electronic or mechanical shutter, but the Z9 is the first to do away with it altogether. It’s a direction that some people have said the industry might move in, and it’s exciting to see Nikon give it a try. I applaud them for taking the leap and going with this.
Another benefit of not having a shutter is that there is no chance of an internal LED light leak. Most cameras have an infrared light next to the shutter to measure the actuation time. In some cameras, that light can leak through and become visible during long exposures, ruining those photos. Electronic shutters remove that completely. Combined with the Z9’s ‘Starlight mode,’ which claims to be able to focus at -9.5 EVs and a positive exposure time counter, this could be a good camera for astrophotography.
Regarding the shutter frame, Nikon used non-magnetic plastic material, presumably to keep the weight down. Unfortunately, this means that you will need a mag-mount in order to use products like Kolari clip-in filters for Nikon Z-mount, as it is not natively compatible.
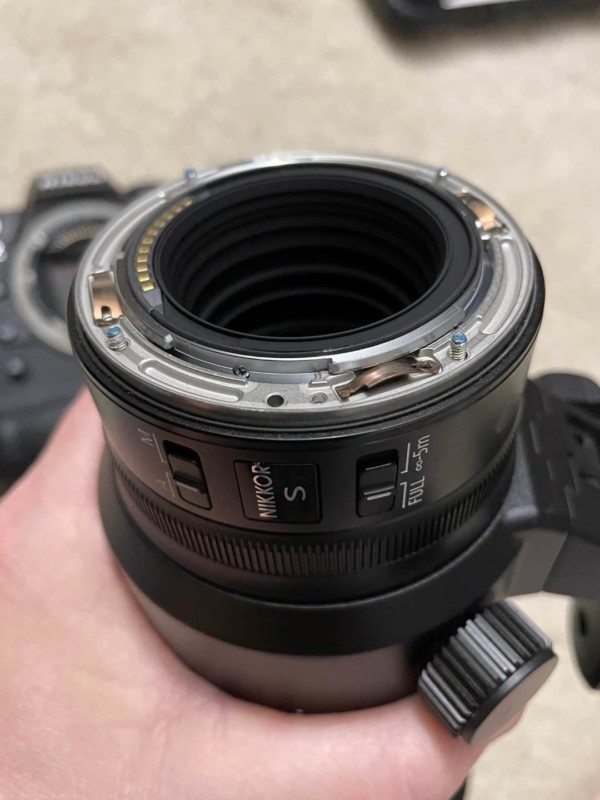

Speaking of the lens mount, we received these images from a customer whose lens ring snapped off their camera. They didn’t specify whether this occurred due to being dropped or if it simply broke on its own weight, but we offered our best analysis of the damage. First, as we’ve seen, Nikon only uses four screws to mount the lens ring, which is on the lower side compared to five in Canon and six in Sony (A7 & A7 II used four, but they increased to six with their third generation). However, it looks like the problem is that the screws are just screwed into the magnesium alloy body, and evidently, the material failed to take the strain and broke apart, causing the screws to rip free.
Additionally, with some cameras, e.g., Canon and Sony mirrorless, there’s another layer of connection between the lower mount and the ring, which fits under the front panel of the body. Nikon, on the other hand, seems to screw the ring directly into the frame. It makes access easier for assembly and repair, but it’s not as durable. It’s disappointing that they didn’t add any reinforcement to the mount of the Z9, especially considering its price and being marketed to professionals, who you’d expect to be working in rough conditions and using large and heavy lenses.
If the Z9 had that additional inner ring, it might have taken the strain better and reduced the damage, and we may have been able to repair it by replacing that part. However, in this case, it looks like the only way to fix that would be to replace the whole front panel.
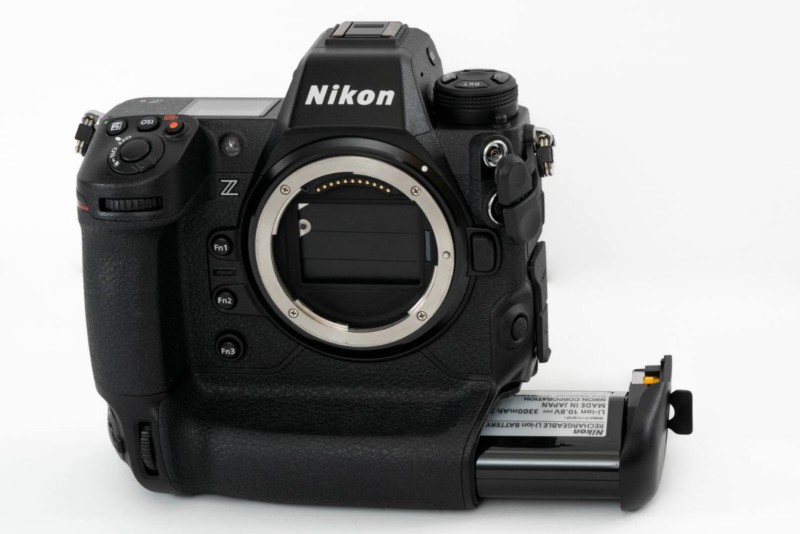
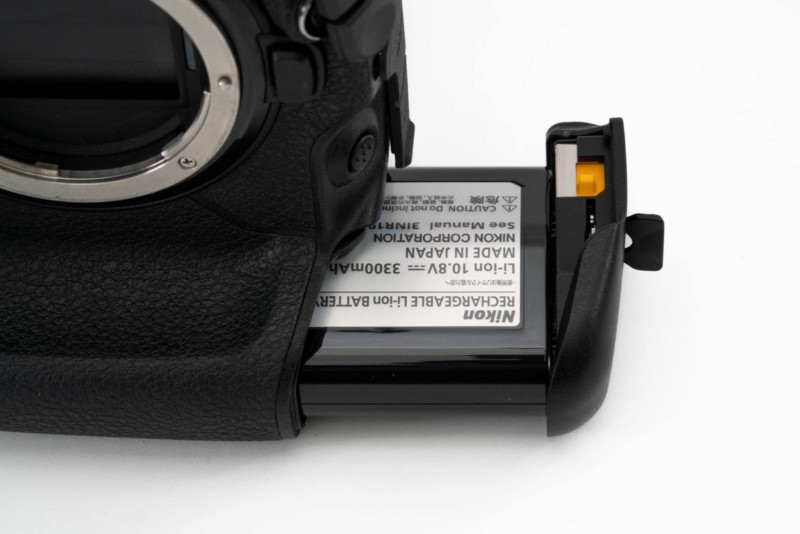
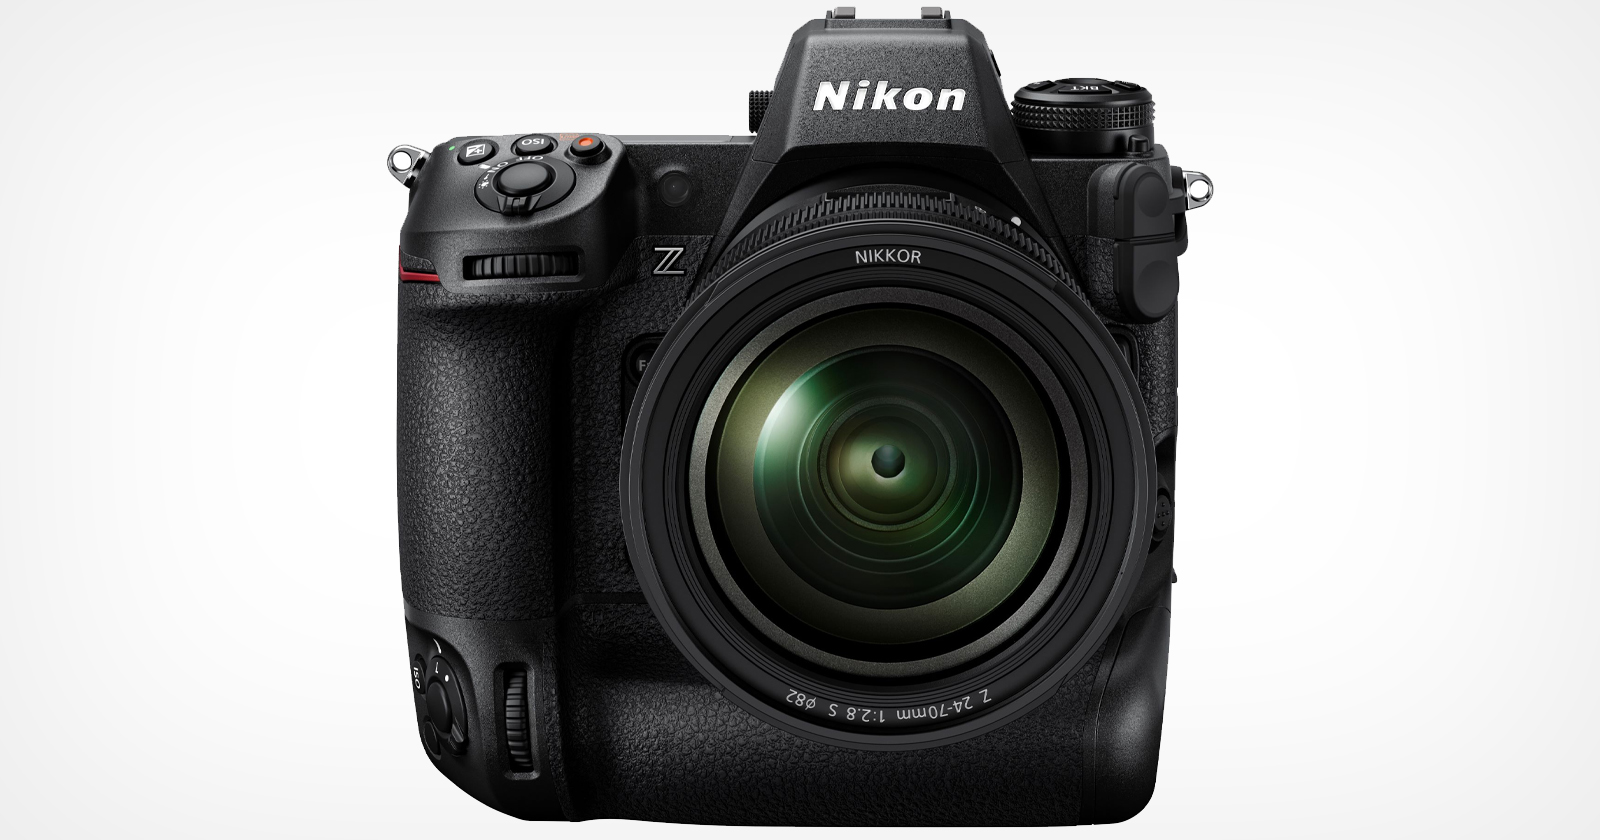
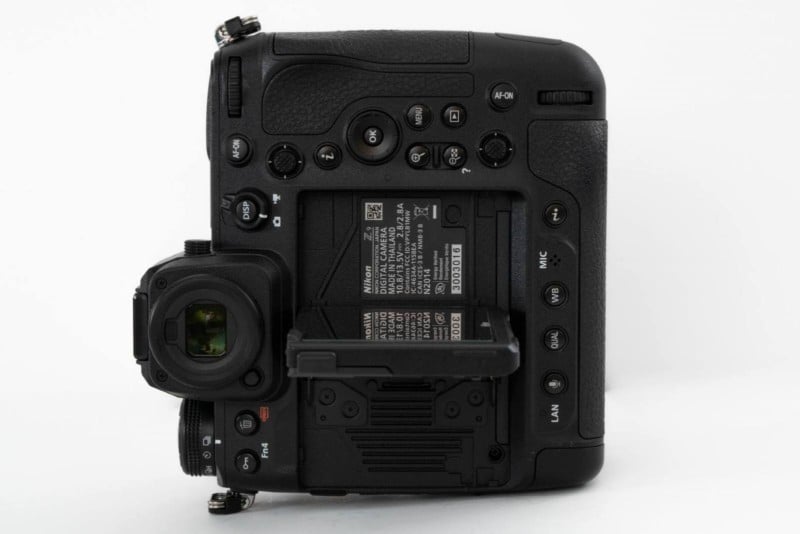
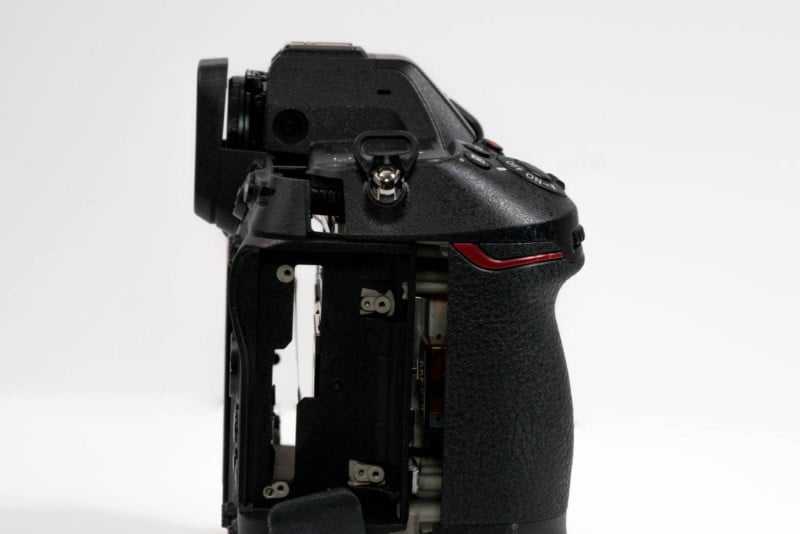
The considerable size of the Z9 is due mainly to the built-in battery grip on the bottom, giving it the same form factor as the Nikon D6. It comes with a Nikon EN-EL18d battery and is compatible with any EN-EL18 battery. However, you’ll need a model 18b or newer to charge it through the camera’s USB-C port.
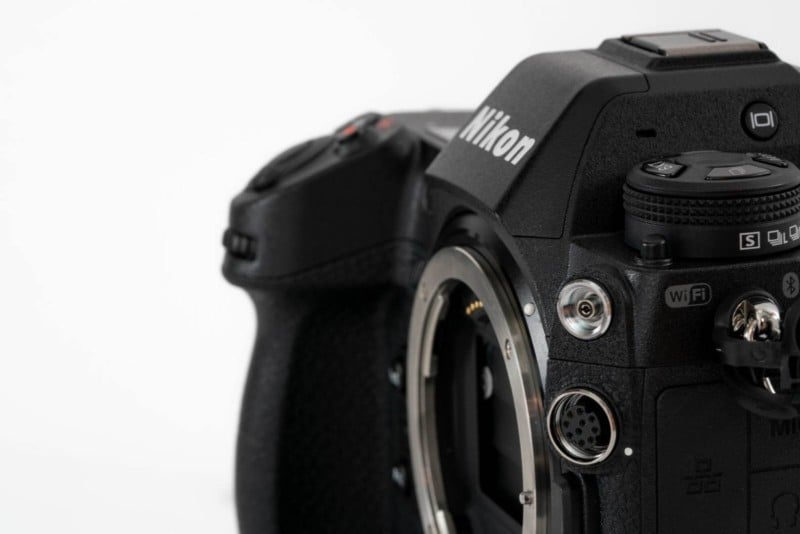
Looking at the front, we see this now has three function buttons, one more than the Z7 II. We also see the return of the 10-pin and flash sync ports, which have been missing from the Nikon mirrorless cameras. Beneath that is the focus mode buttons, which are in a more ergonomic space.
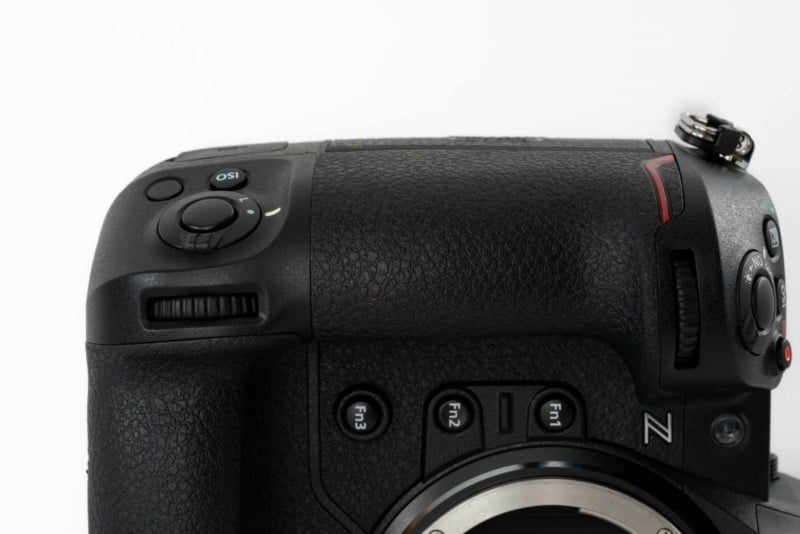
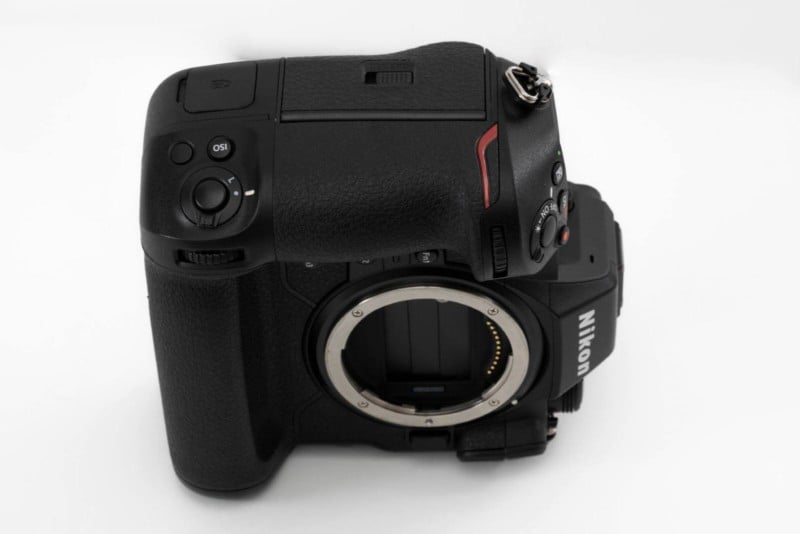
And of course, there is the vertical shutter button, which comes complete with front and rear command dials, as well as ISO and function buttons. This allows you to maintain full control of the base settings while shooting vertically. It also comes with a lock switch which will lock the controls and prevent you from accidentally setting it off.
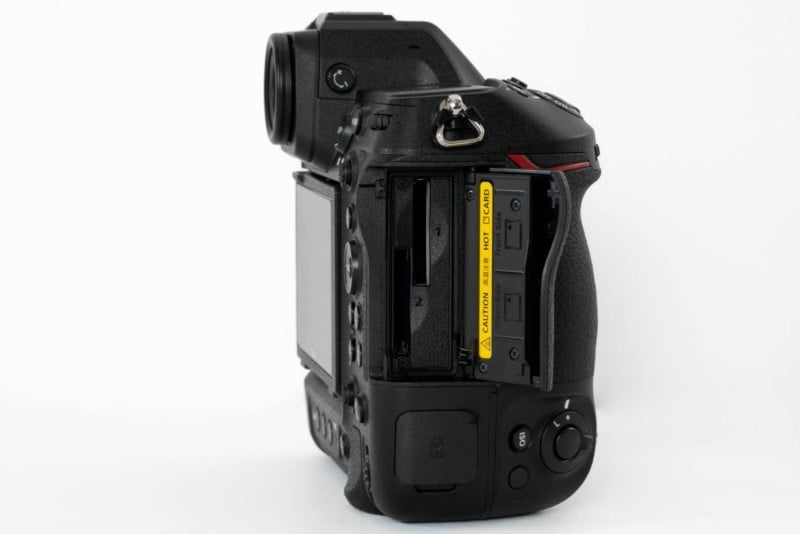
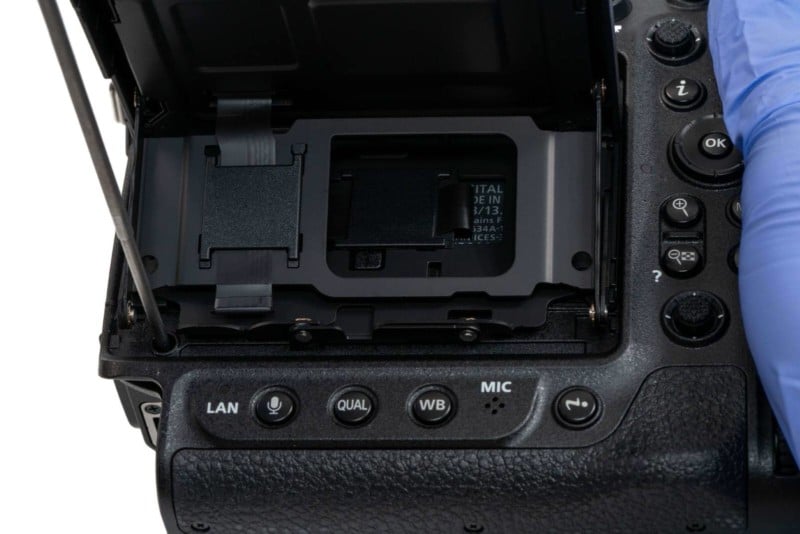
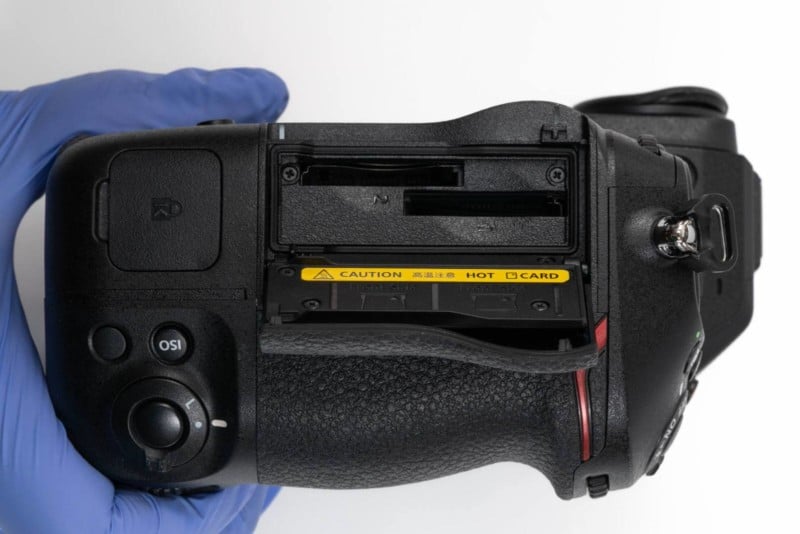
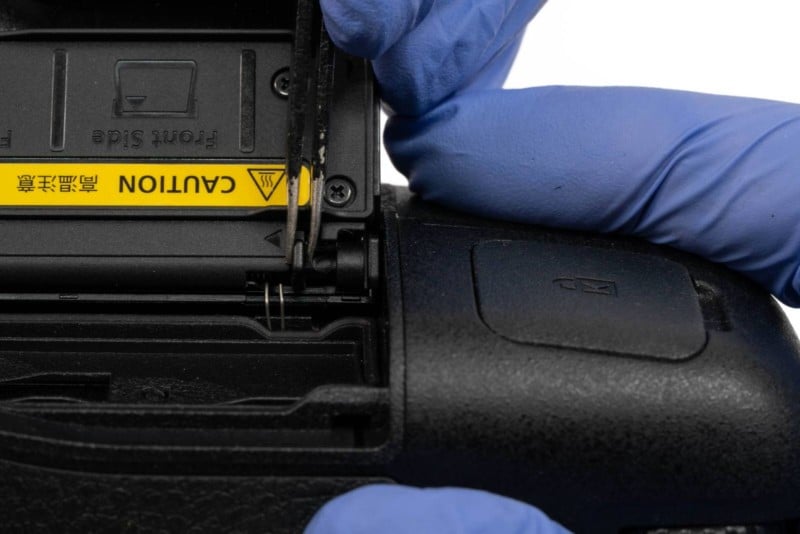
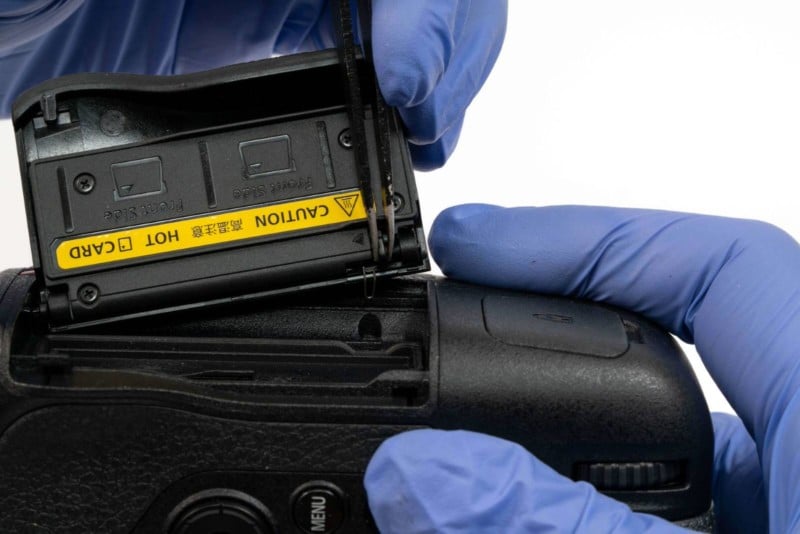
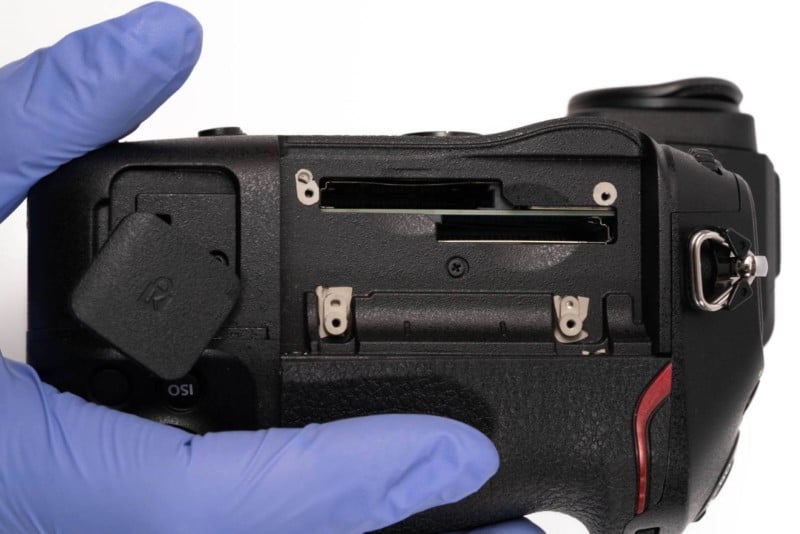
Moving to the camera’s right side, Nikon decided to go all-in on CFexpress cards, like the Z7. However, this time they remembered to include the second slot that was added with the Z7 II. While CFexpress cards are more expensive – up to four times the cost of an “equivalent” SD card – and far harder to come by, it’s an understandable choice for the Z9. This camera is intended for professionals operating on a large budget who need top performance. The last thing you want is to buy a $5,000 camera for its burst capabilities, only for the buffer to fill up during some fast-paced action.
It’s a shame Nikon couldn’t use CFexpress Type A cards as we saw on the Sony a1 and a7S III, which can still fit SD cards in their ports. Of course, given that Type A cards are manufactured by Sony, it’s understandable why Nikon wouldn’t want to use their competitor’s innovation on their flagship.
They’ve also added a latch on the card slot door to prevent accidental openings for added security.

Another noteworthy feature of added security is the Kensington lock on the bottom corner, which can fit a laptop lock cable. This is a nice way to fill up some dead space but doesn’t seem practical. There are only a few situations where I would have something to tie my camera down to and is vulnerable to theft but is out of my watch. It might be useful for those working in a shared space.
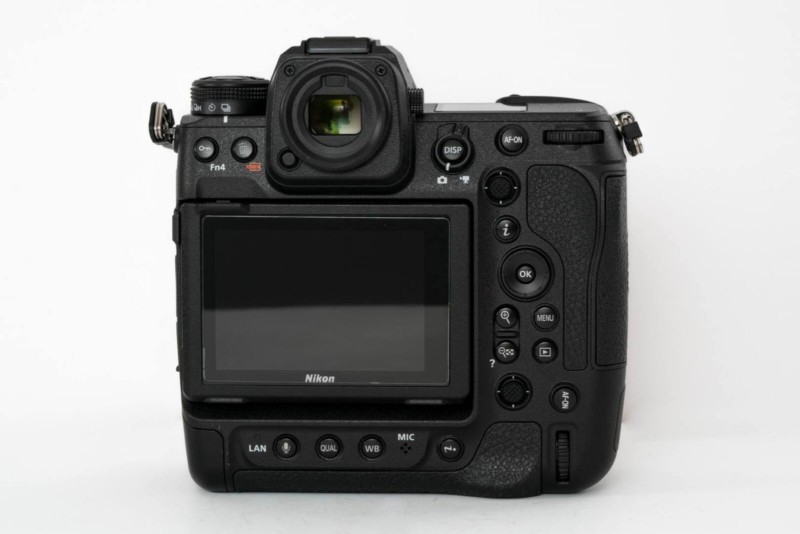
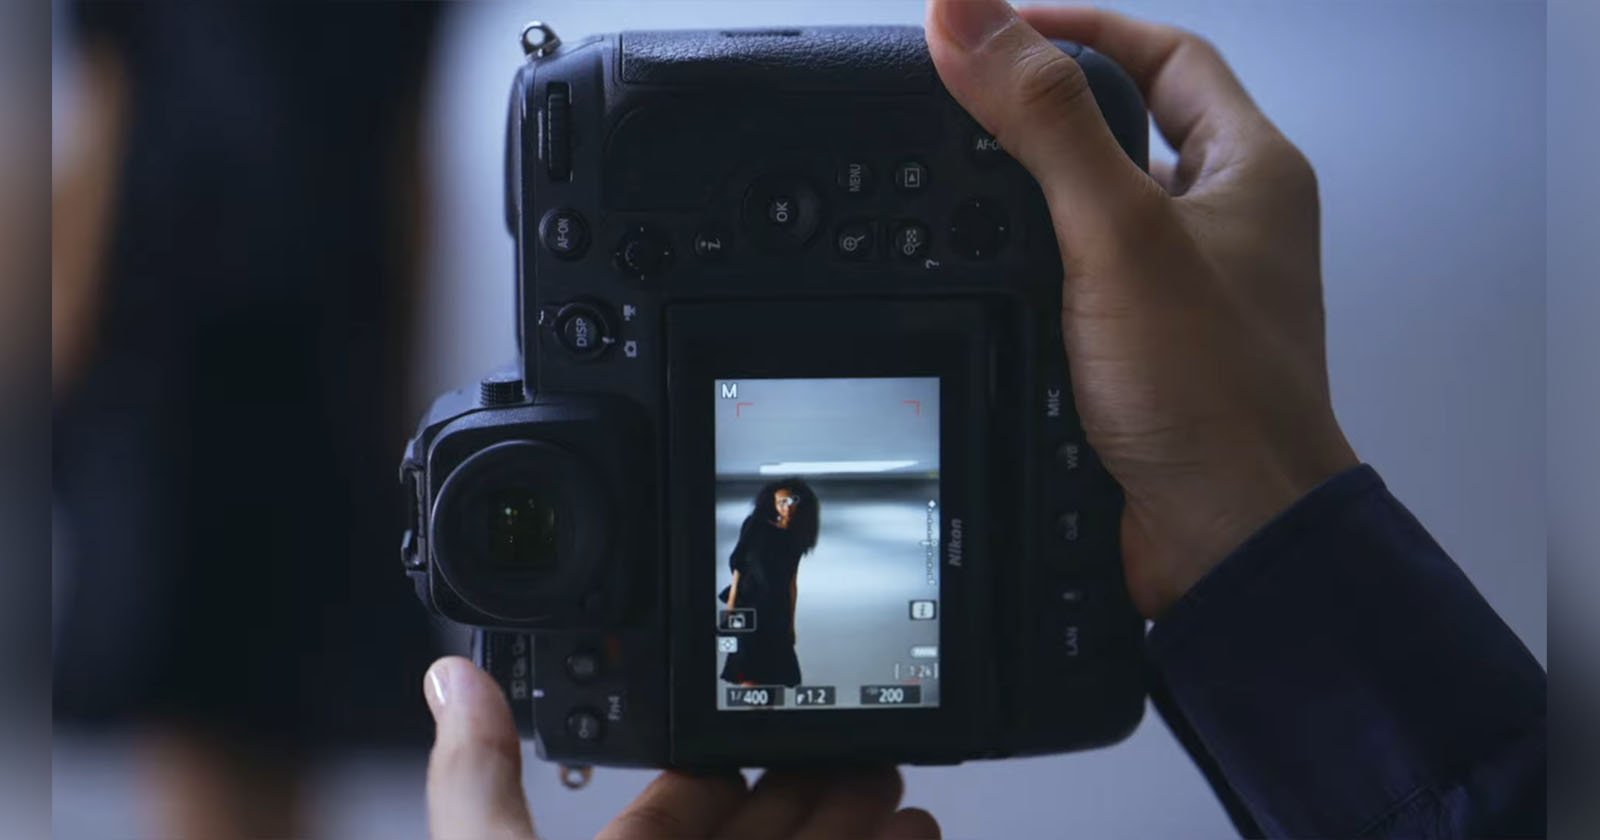
The back is where things get more interesting.
The button placement is essentially the same as the Z7 II, except the shoot mode is replaced with the playback button, and the playback button is replaced by the new lock button. However, there is another joystick added underneath this section for vertical shooting. Along the bottom are three new buttons for setting white balance, picture quality, and recording audio notes for your photos, which can record through the new mic along the bottom.
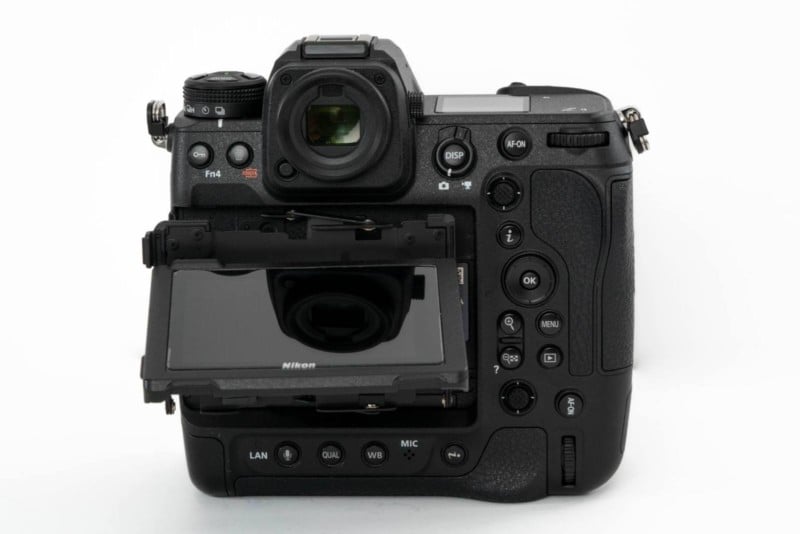
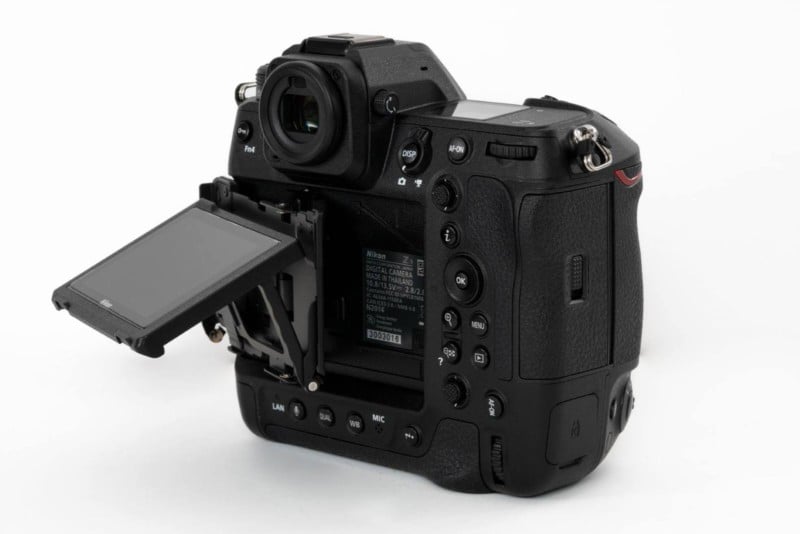

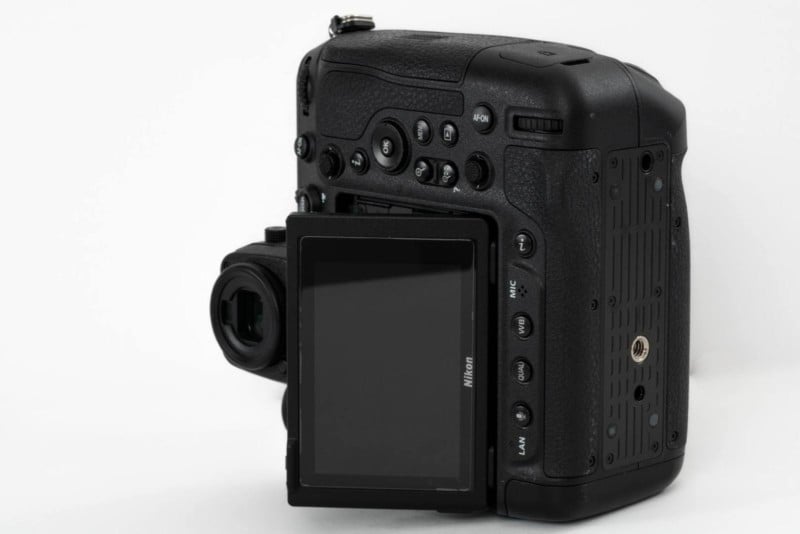
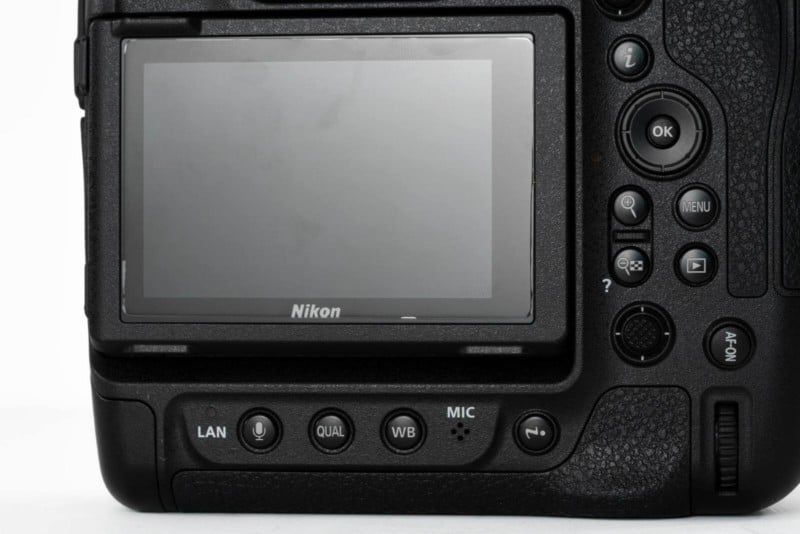
The fun part is the new 3.2-inch LCD which offers a four-way tilt. Rather than stick with a standard up-down tilt-screen like in the A1 or the fully articulating screen of the R3, Nikon offers something unique.
This isn’t the first Nikon mirrorless with a unique screen-mount system. There was the Z50, which had a screen that flipped back around the bottom of the camera for an awkward selfie mode, and of course, there’s the full articulation screen they implemented on the Z-FC.
This screen can rotate 90 degrees to the left, up, and down, but only part of the way to the right. It is mounted with brackets on two points instead of the usual four; however, it seems pretty stable. That said, we don’t necessarily recommend hanging the camera from it. You have to extend it out pretty far to make full use of the articulation, but that shouldn’t be a problem for most situations.
The resolution on the screen is 2.1 million dots, which is lower than the Canon R3 (4.1 million) but higher than the Sony A1 (1.4 million), putting it right in the middle.
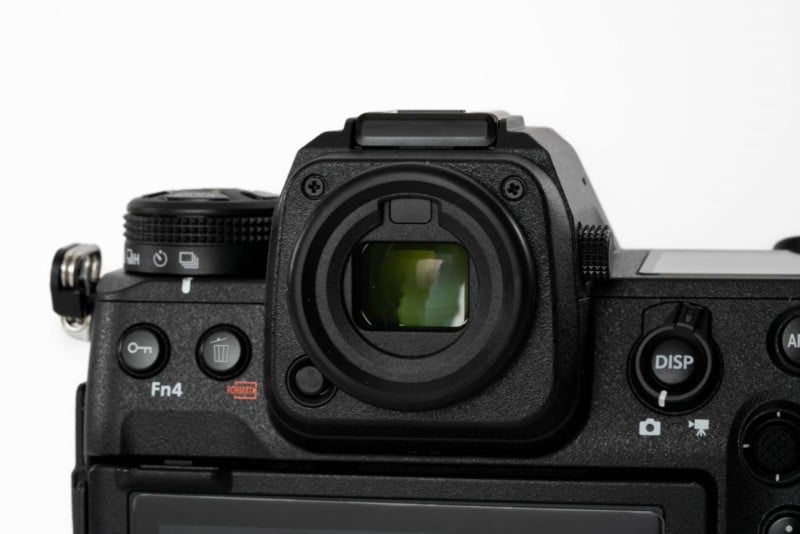
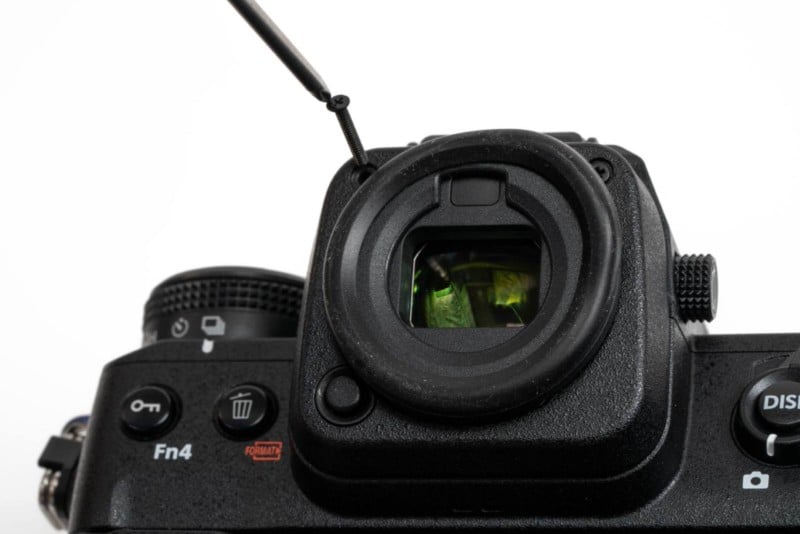
The other screen to look at is the EVF. In keeping with the theme, it is also bigger on this camera, similar to the D6 or D850, and provides a generous view of the action. It initially launched with a 60hz refresh rate; however, they were able to upgrade that to 120hz with the 2.0 update. The resolution is only 3.6 million dots, well below the A1 (9.4) and R3 (5.7), but it is more than enough to work with.
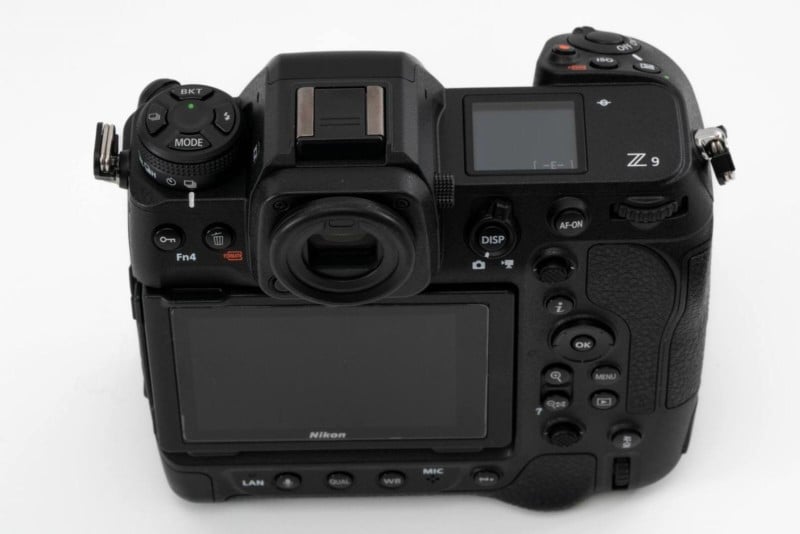

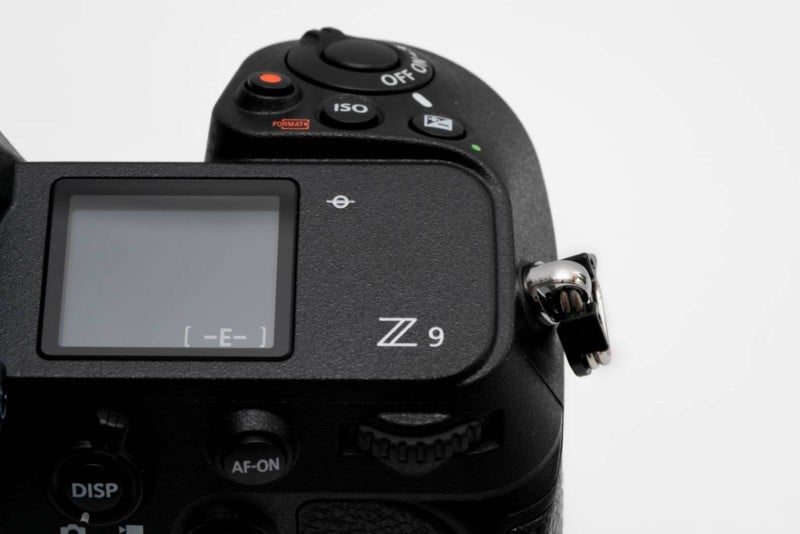
On its left shoulder, similar to the D850 and D6, is the knob that holds four buttons: mode, burst photo size/rate, bracketing, and flash controls. Along its base is a wheel for setting the shooting mode. On the right shoulder, we see the standard display showing the current picture settings.
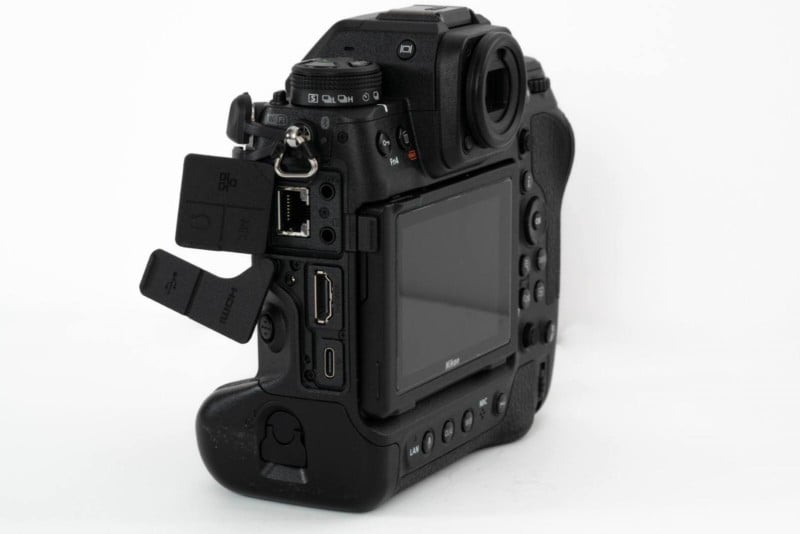
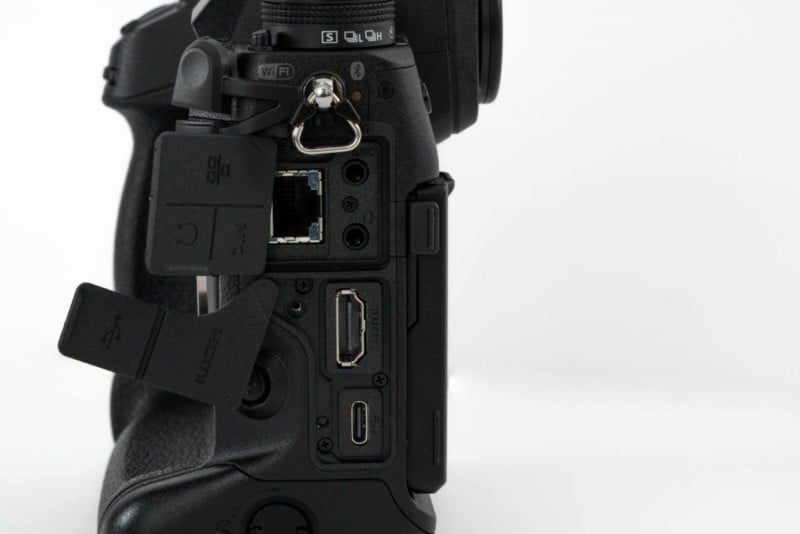
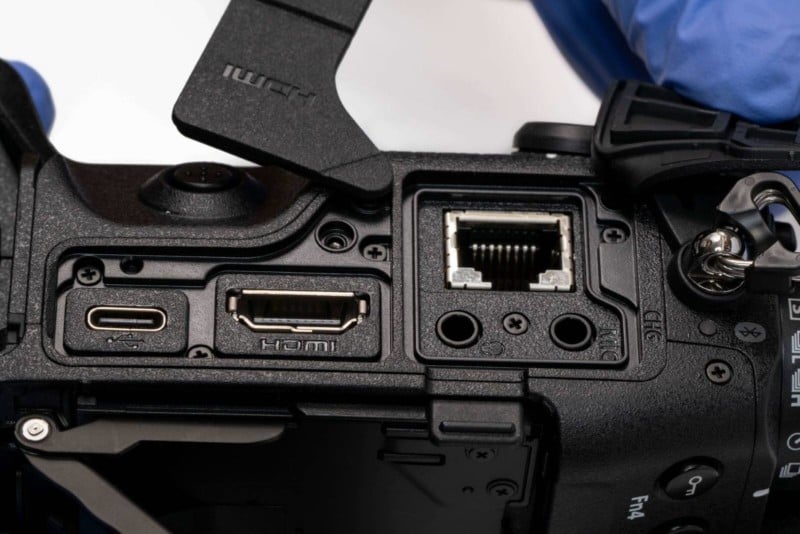
Looking at the port side, we see they added an ethernet port and upgraded from a mini to a full-size HDMI port. Of course, it also comes with the standard USB-C, headphone, and microphone jack.
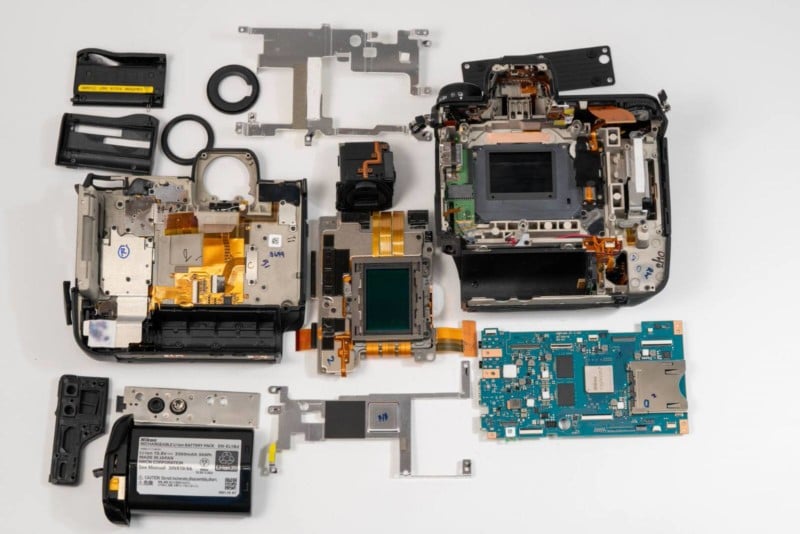
Let’s start taking it apart.

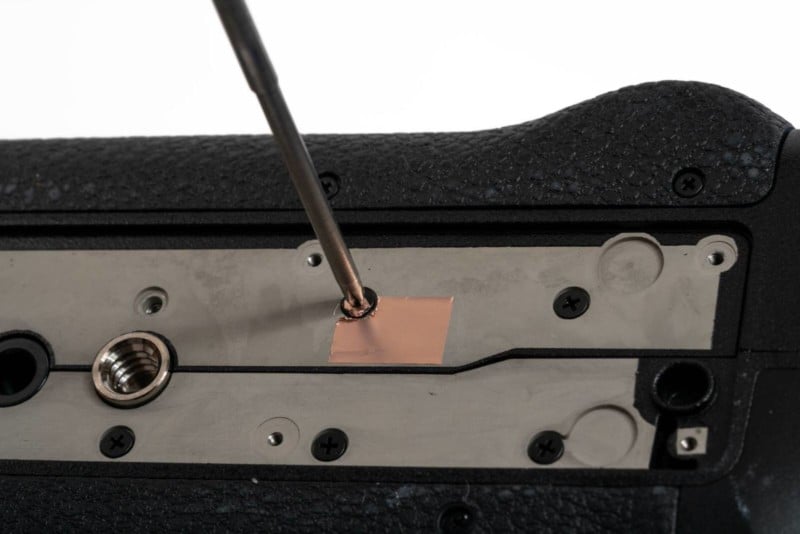
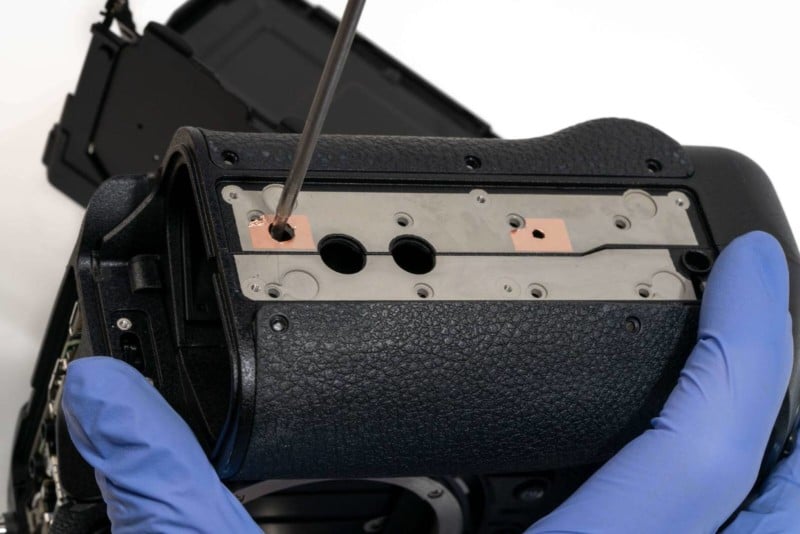
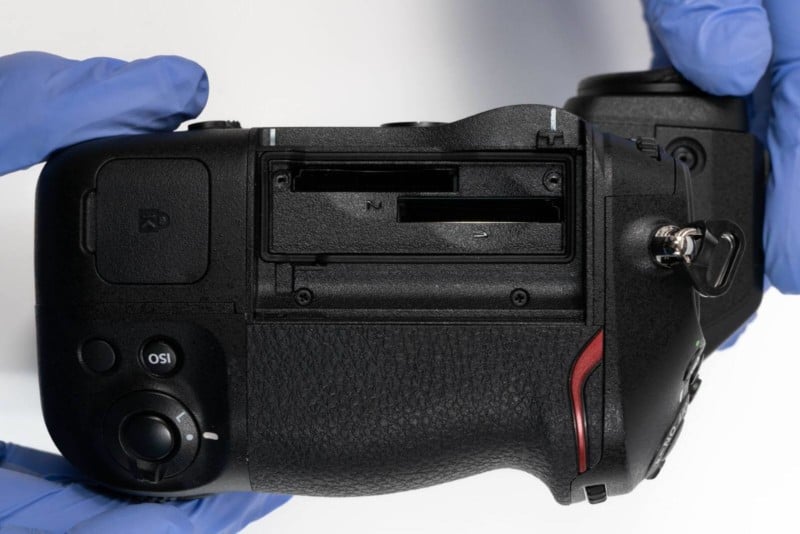
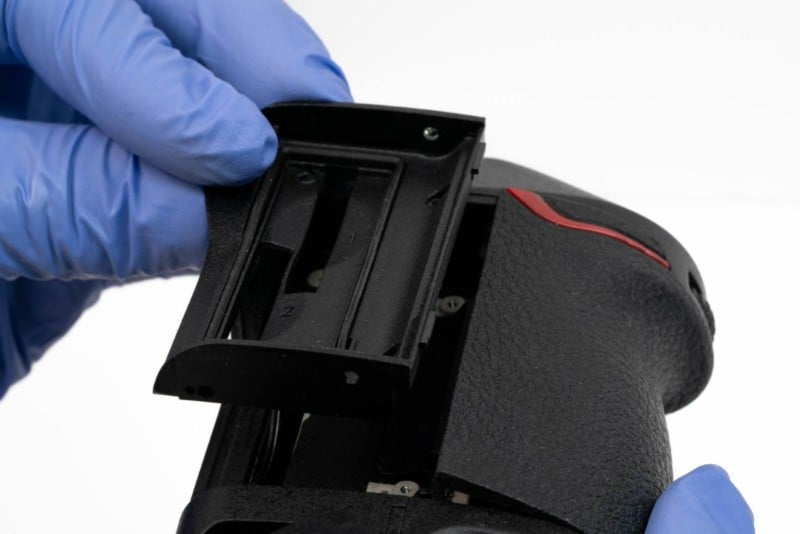
First, we remove the chunky battery from the battery grip, remove the screws in the bottom piece, and take off the panel. Look at that lovely copper foil tape… Unfortunately, we’re going to have to chop through it.
Then, we remove a couple of screws under each piece, allowing us to pry off this plate, which seems to act as the joining bracket for the bottom while also holding the tripod mount in place. Taking that off gives us access to the screws at the bottom of the battery compartment. We had some trouble getting it to release at first but eventually figured out how to get through.
Next, we’ll take out this screw on the back. Luckily we don’t have to do anything with that elaborate screen tilt mechanism.
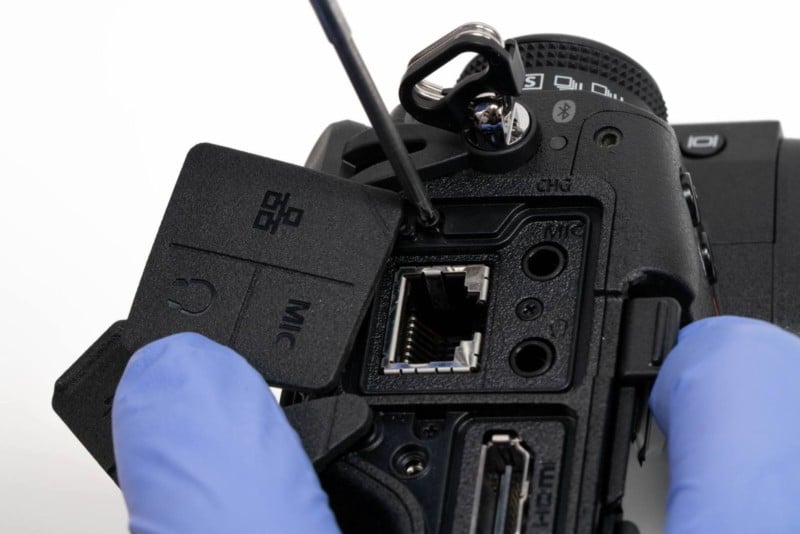
Then we’ll remove the port panel.
Next up is the card door, which has a few screws under the hinge. Once we remove that, there’s one more screw built into the frame. We’ll also need to remove that screw in the security slot. Don’t worry, that Kensington lock doesn’t come out when we do that; it just keeps the camera from coming apart.
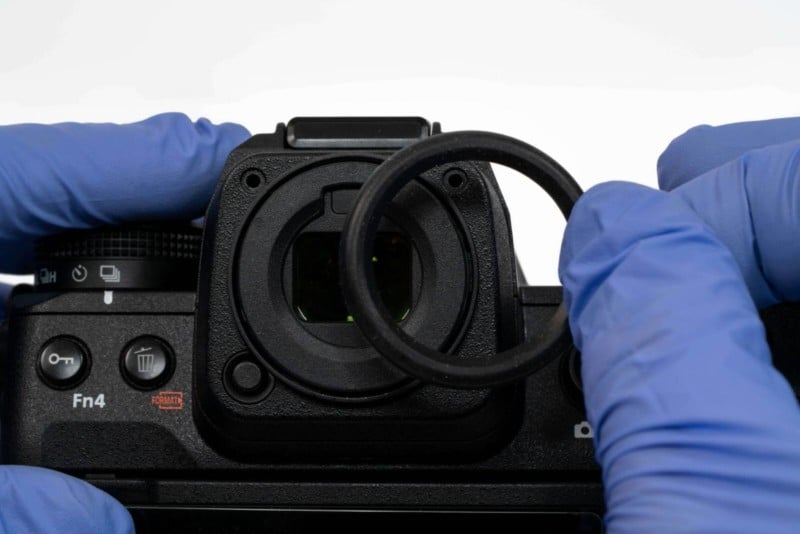
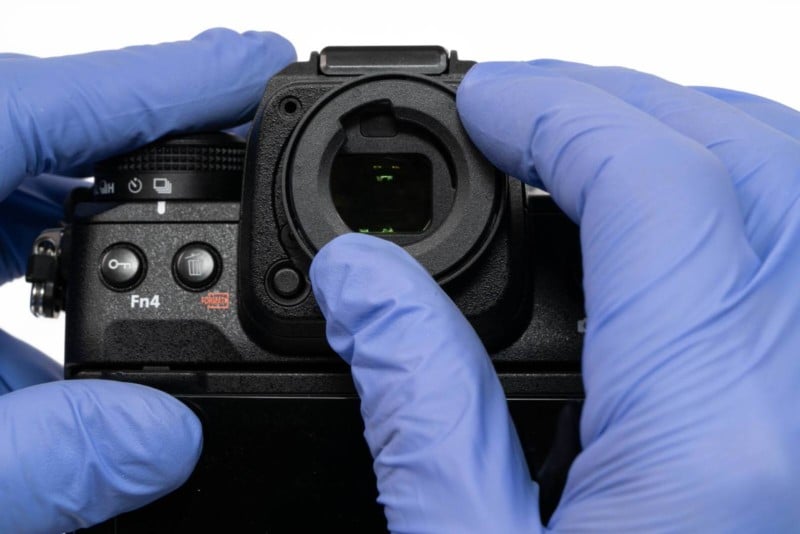
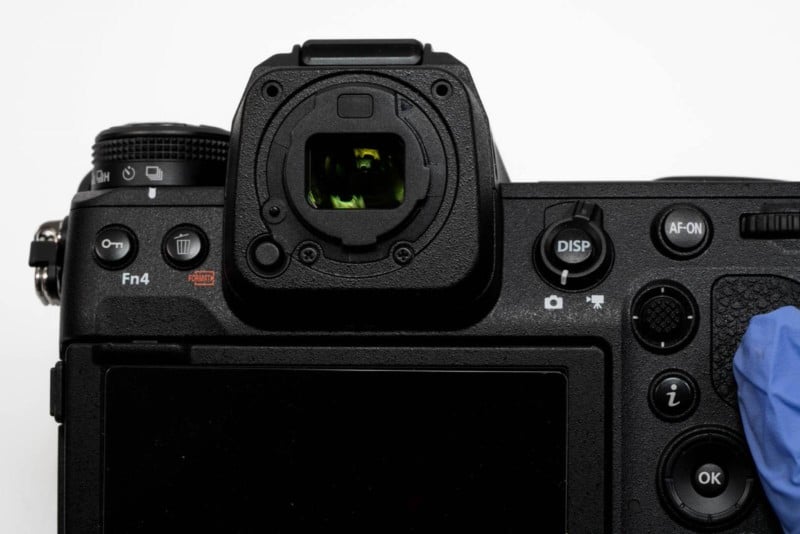
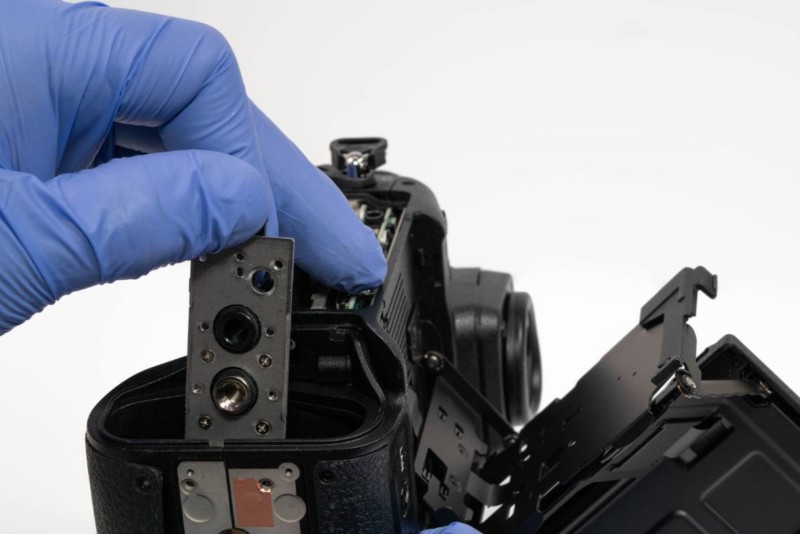
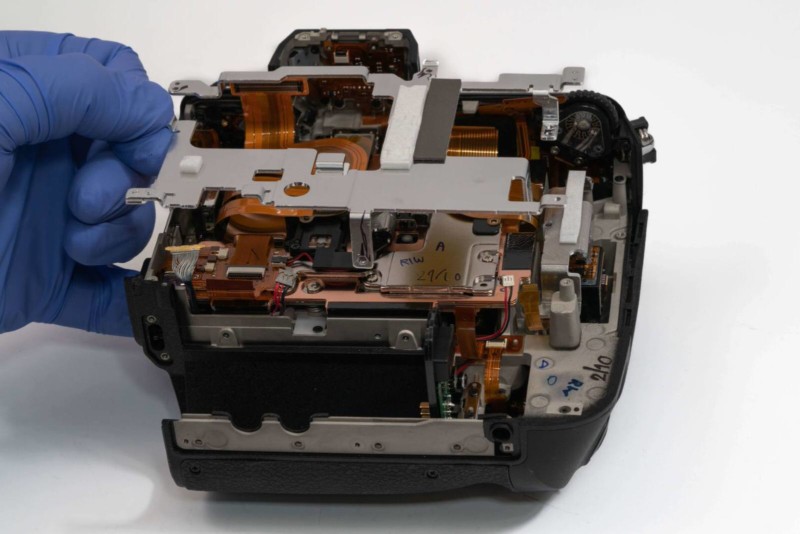
This is followed by the surprisingly intricate viewfinder piece, made up of three separate layers.
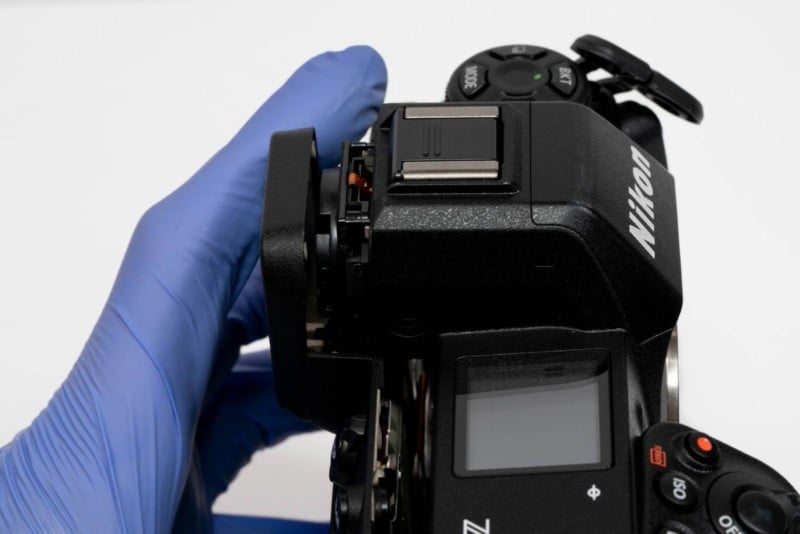
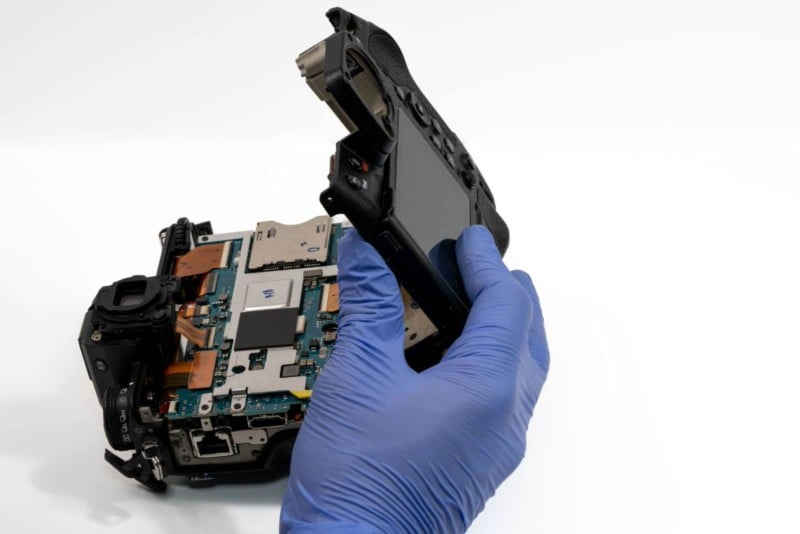
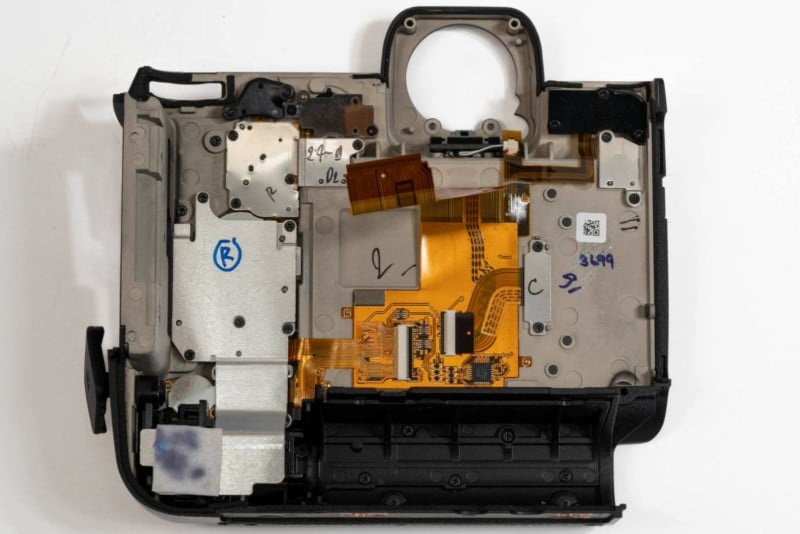
With that, we can open up the camera.
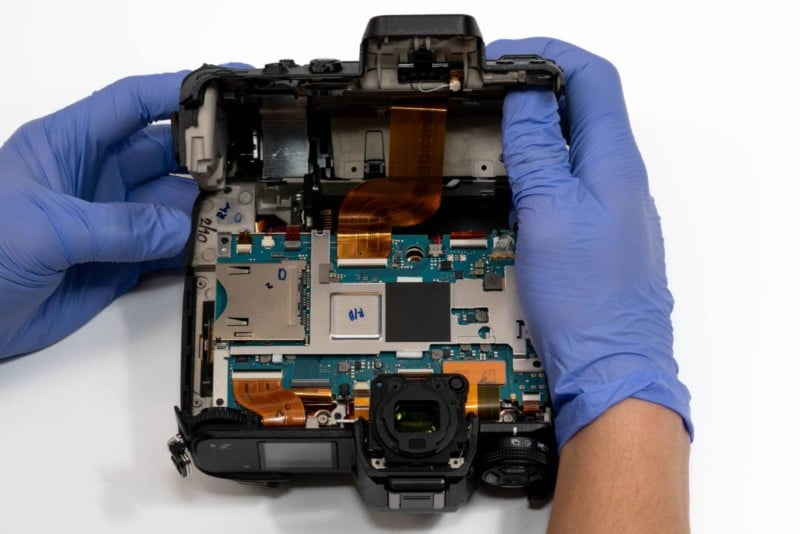
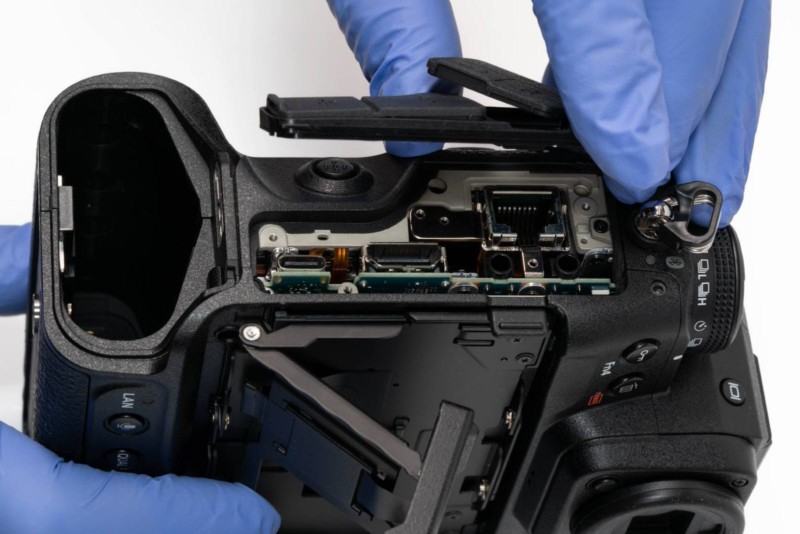
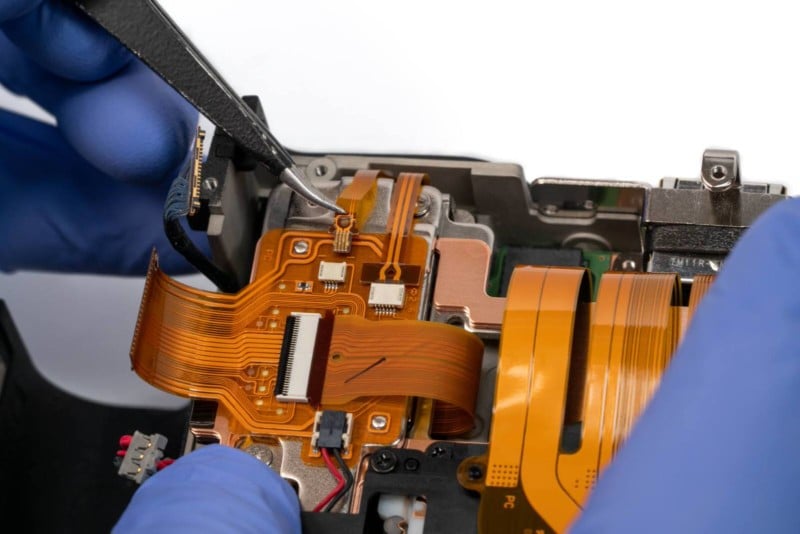
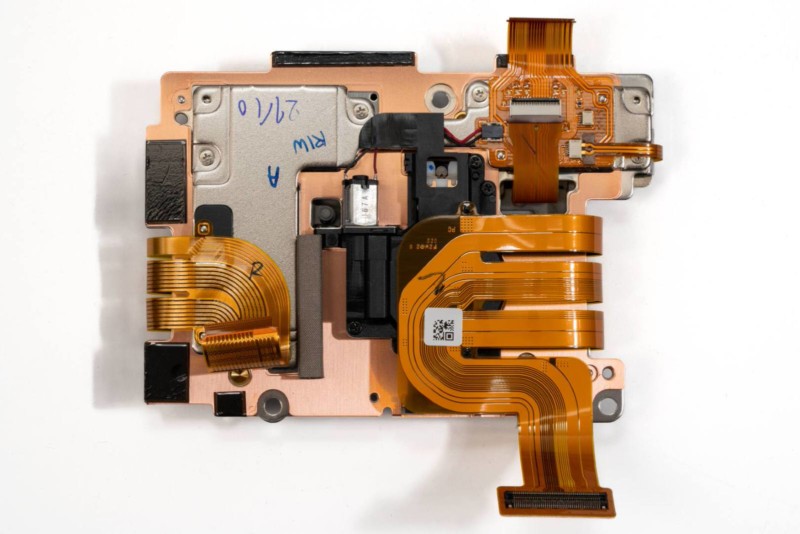
Wow, look at the size of that ribbon cable! It’s not just a ribbon cable, it’s a streamer cable. It’s an entire bolt of flex-cable. It’s bigger than Jared’s thumb. Of course, it’d have to be thick, considering how many buttons and connections are on that panel; there’s a lot of data being transferred through there.
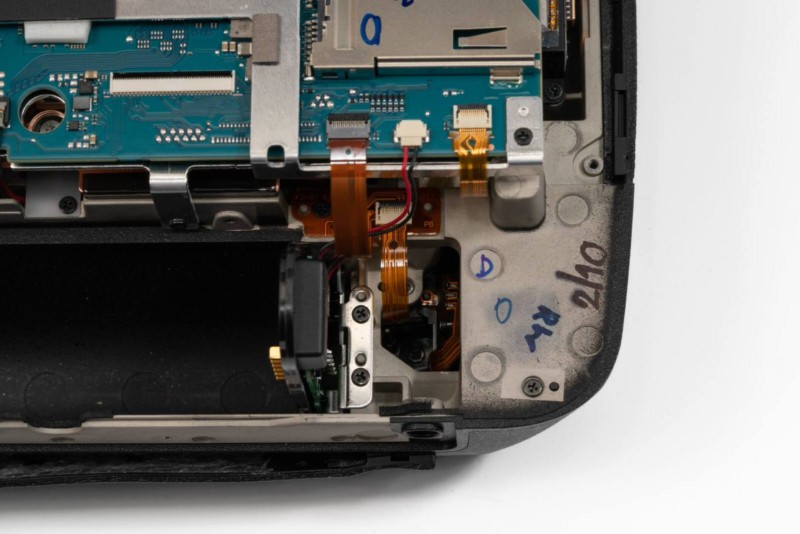
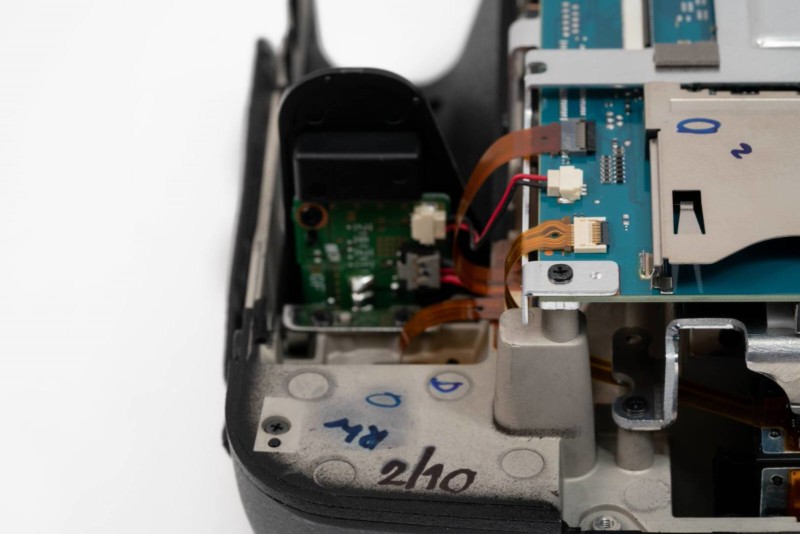
We can also get a look at the connection of the security lock.
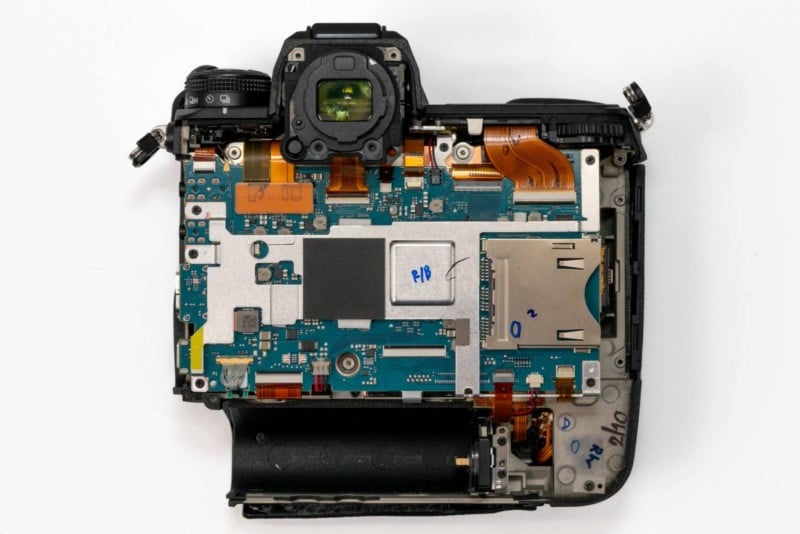
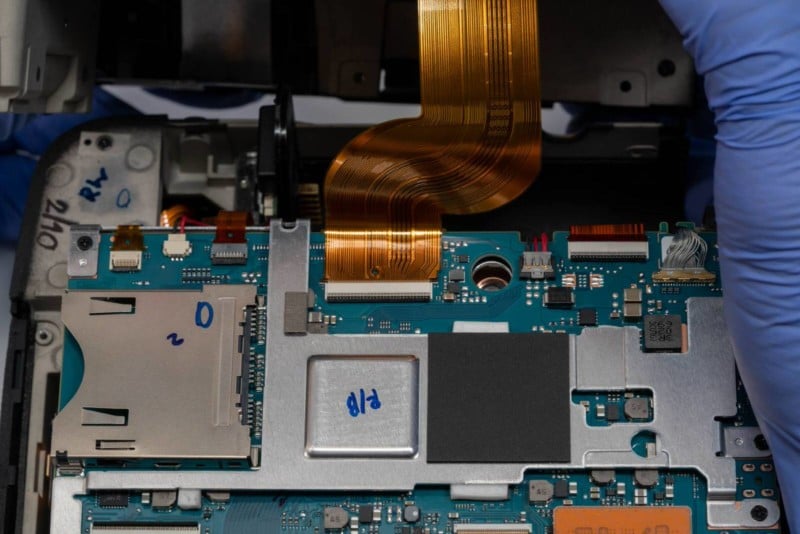
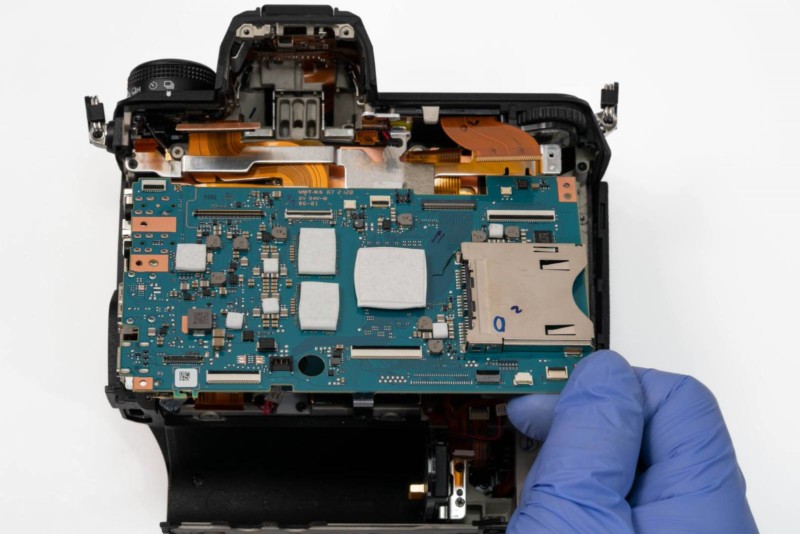
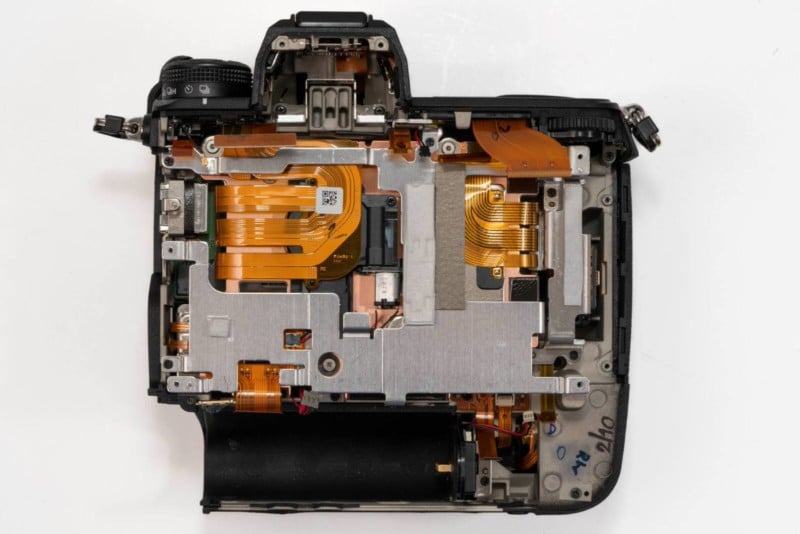
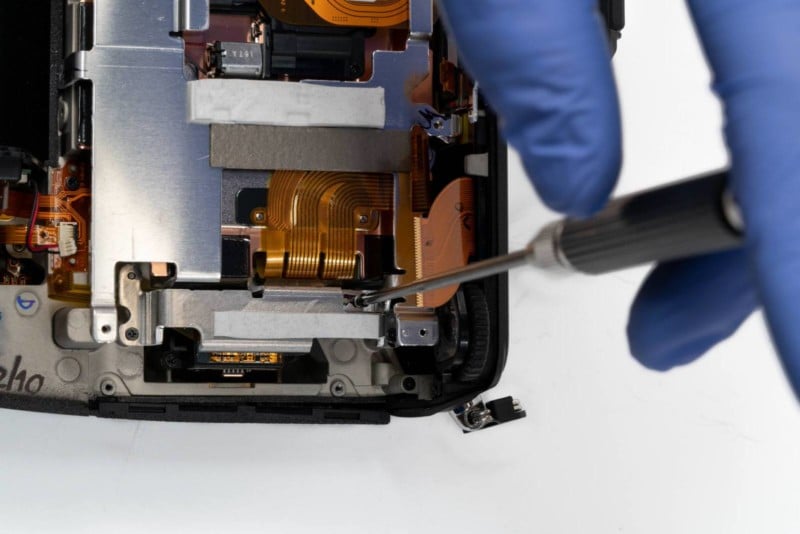
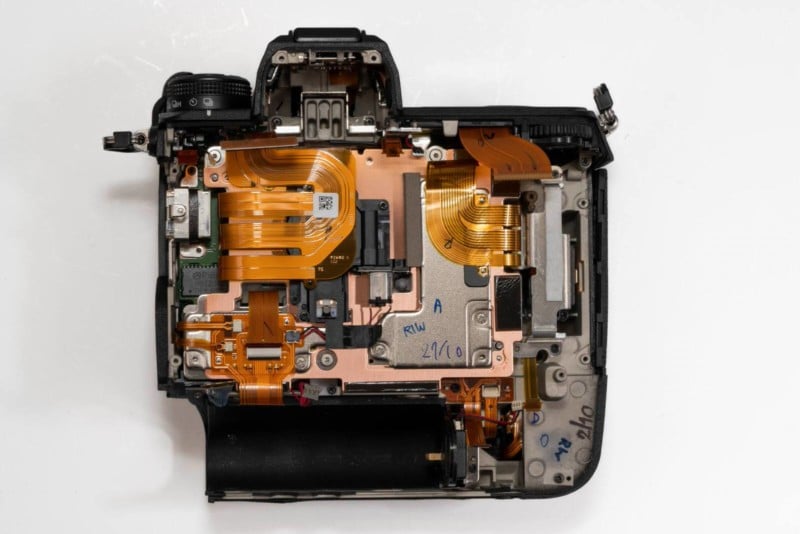
Now we’re at the motherboard. They designed the heatsink frame around the Expeed 7 processor, which will transfer heat out while guiding it to the shell. They went for a more minimalist design with it, keeping it open and off the other connectors, creating better guidance for the heat.
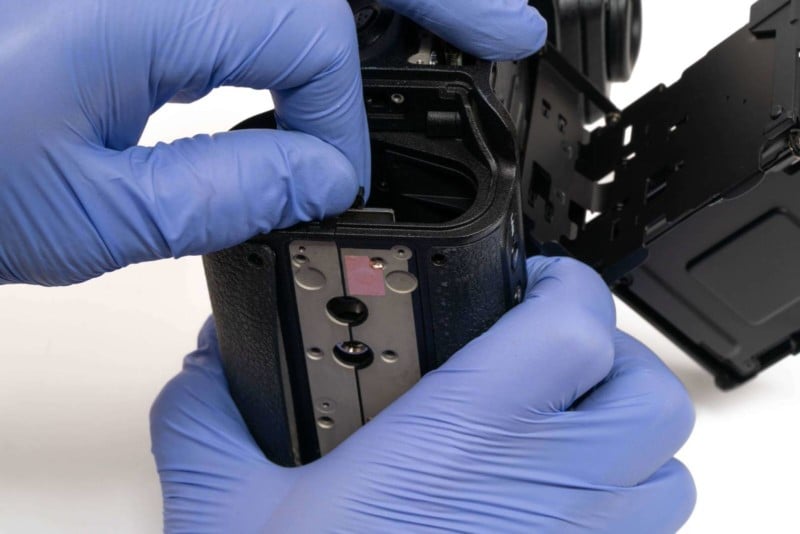
They’ve also added holes to access the sensor screws. Those screws hold the sensor down against a spring, and tightening or loosening them allows you to adjust and calibrate the position of the sensor. This is essential because an improperly calibrated sensor can lead to all sorts of focusing errors. Because our infrared conversions over at Kolari Vision involve replacing the sensor glass, we often need to calibrate the sensor to fit that glass thickness. Using certain lenses can also require additional calibration. Adding this access hole allows a technician to fine-tune the sensor position more easily and without the risks of repeatedly taking apart a camera.
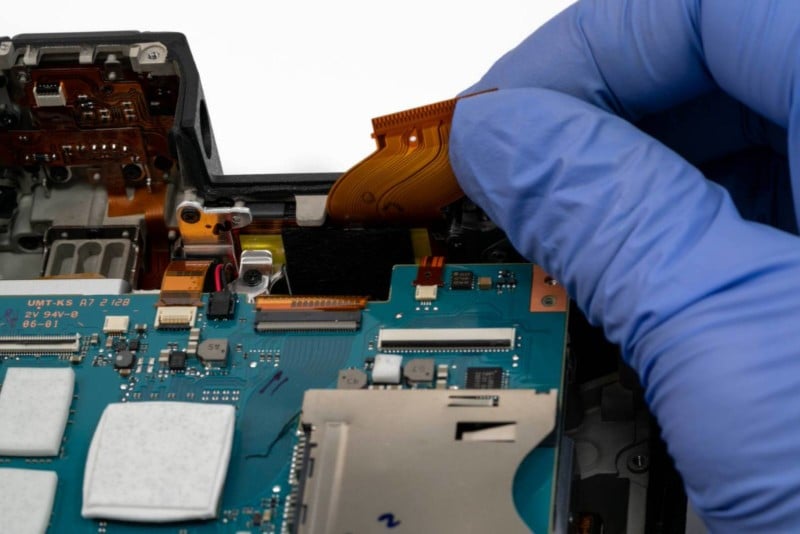
We can also see that the connection between the battery and the board is very accessible, which should make any repairs to that part much easier.

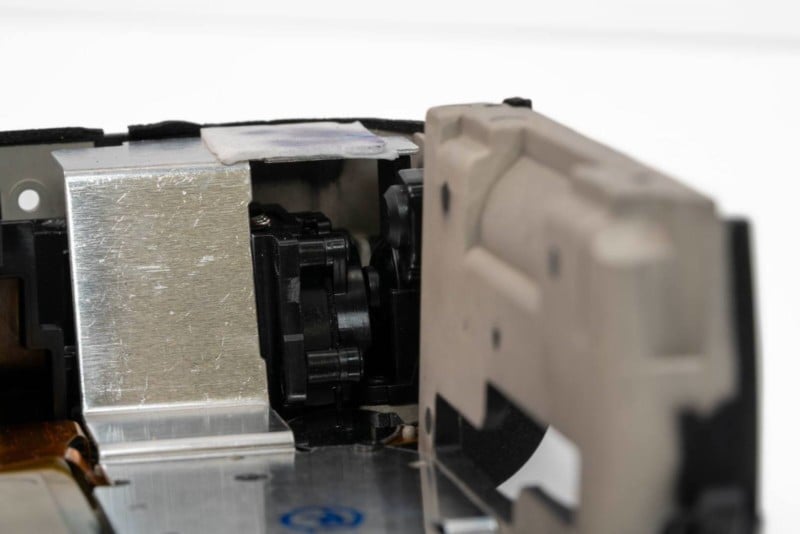
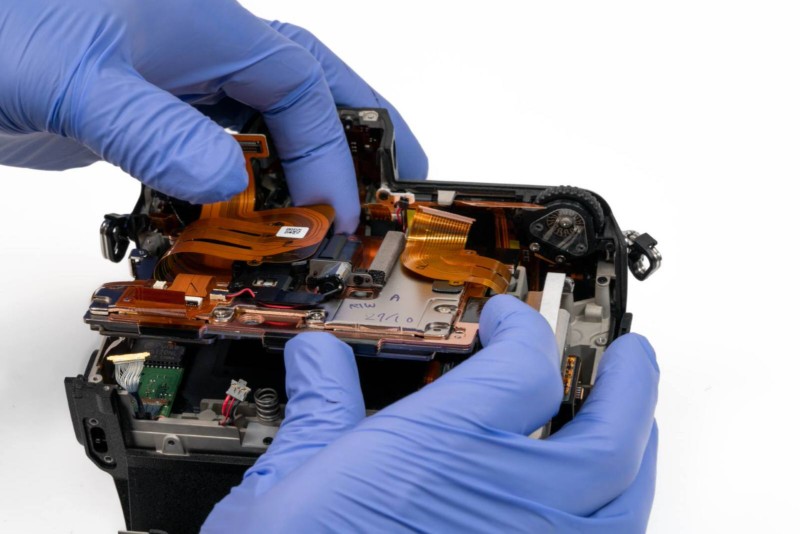
Now let’s get moving forward. First, let’s take off that heatsink. Note the thermal pads laying beneath it.
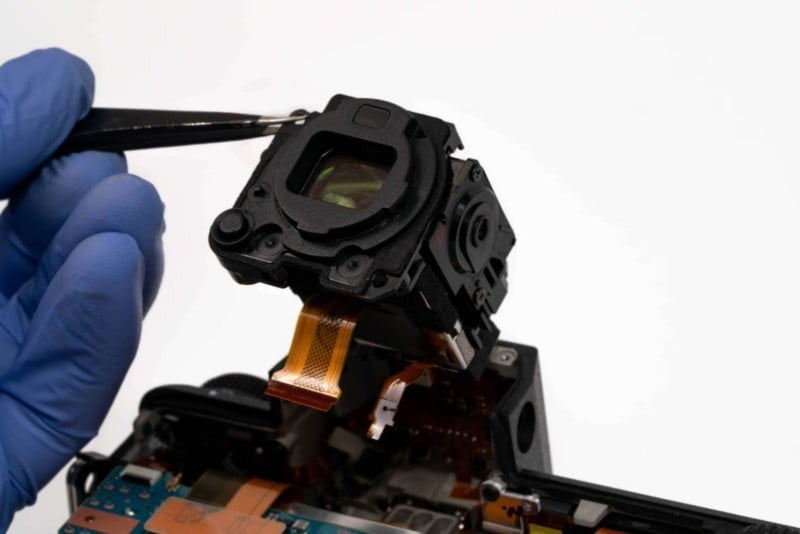
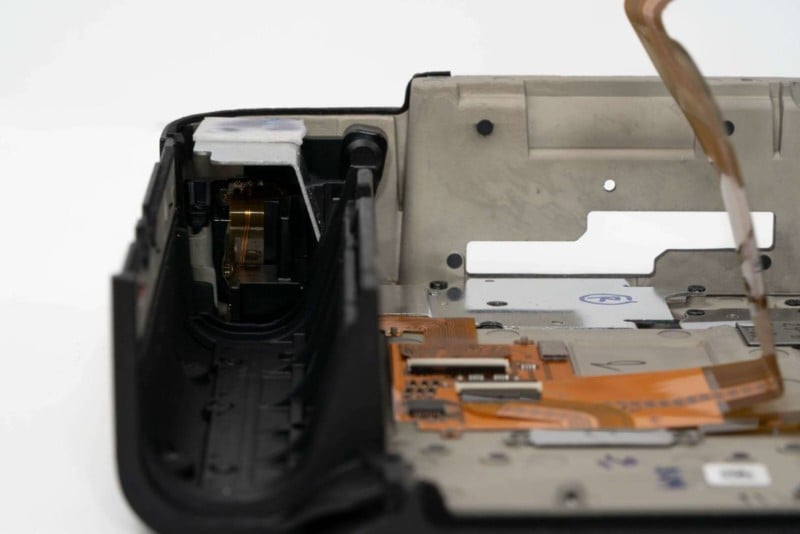
Then we’ll take out that generously sized EVF.
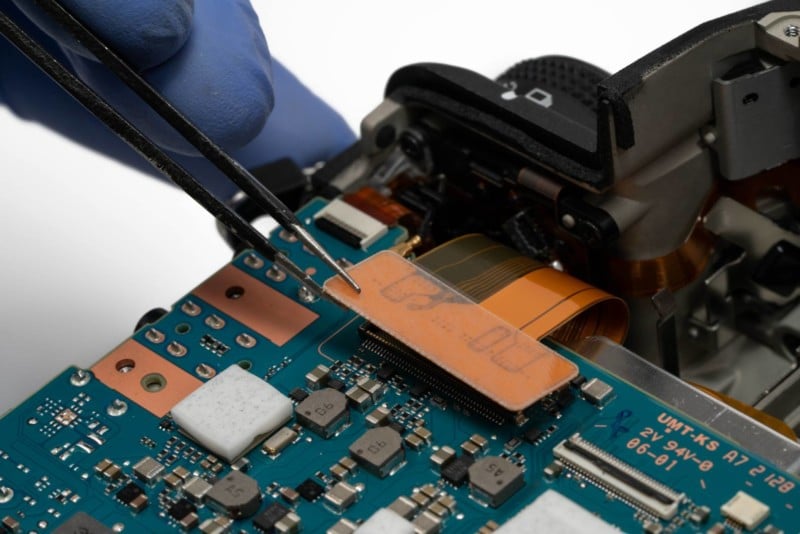
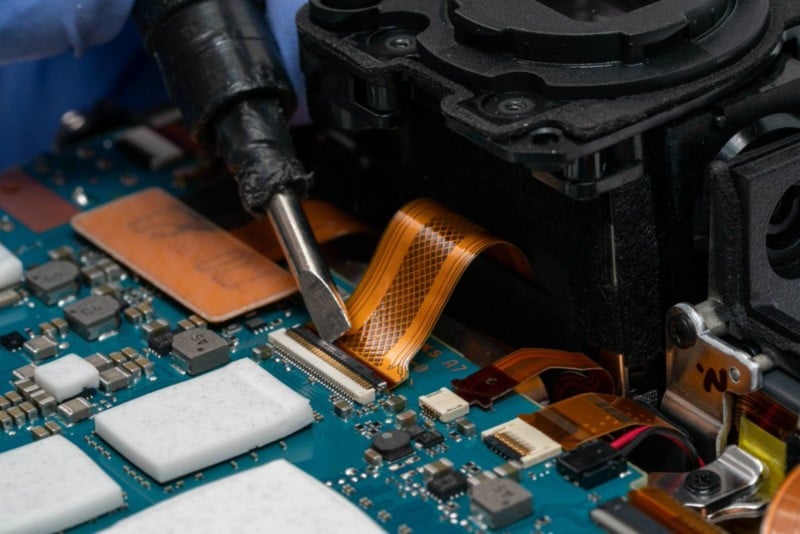
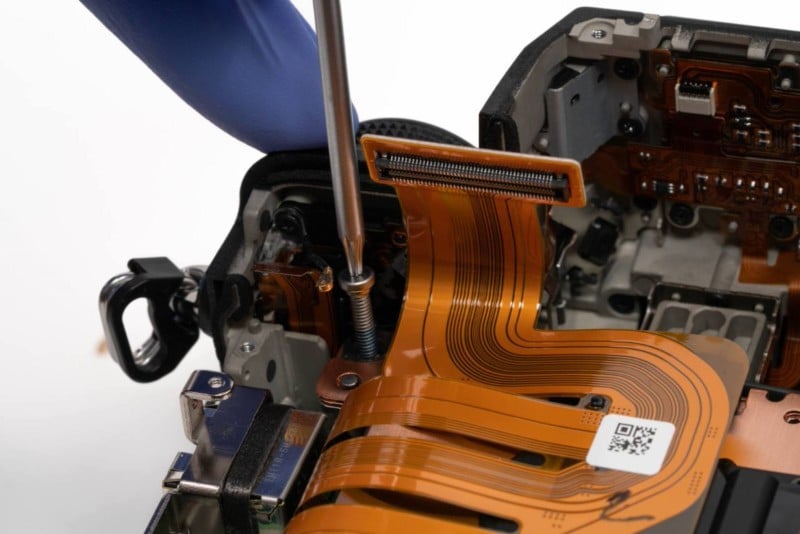
Next, we’ll disconnect the two sensor ribbons. The Z9 can pull off its no-blackout shooting by running the data from the sensor to the processor/screens and the cards separately, allowing it to remain completely active while recording photos.
With everything disconnected, we can take out the motherboard.
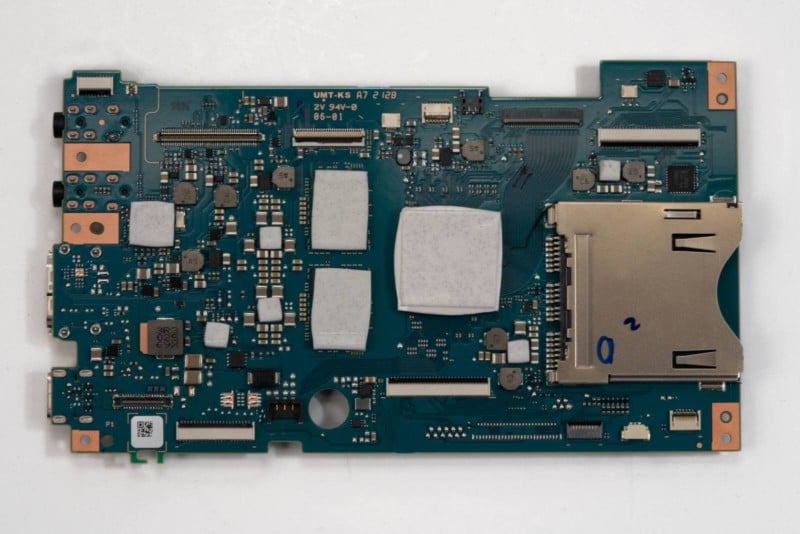
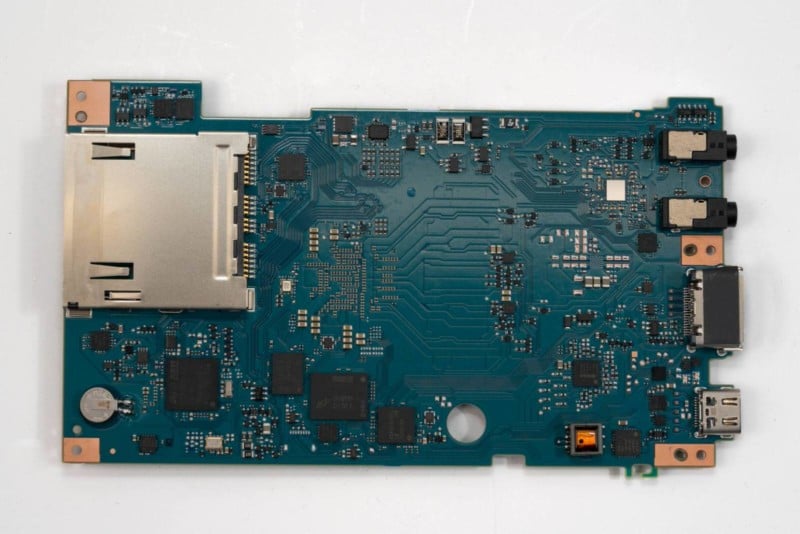
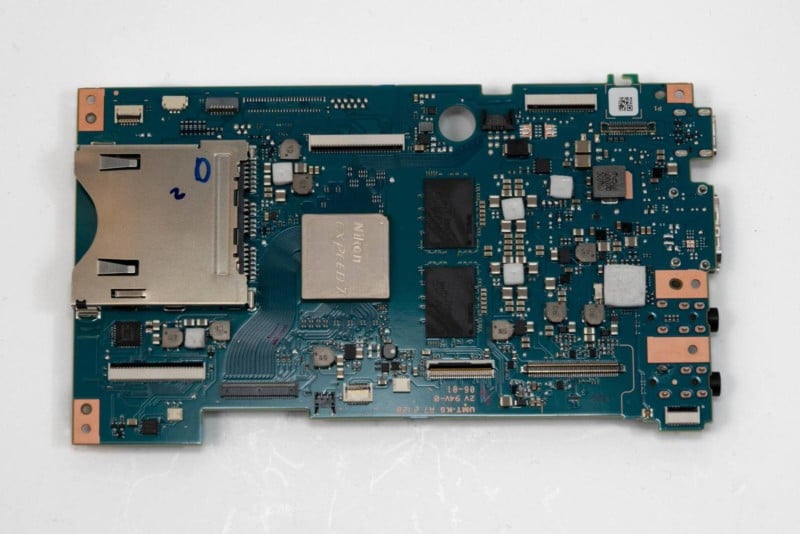
Nikon decided to put the card readers on opposite sides of the board as they’ve done with the Z7 II.
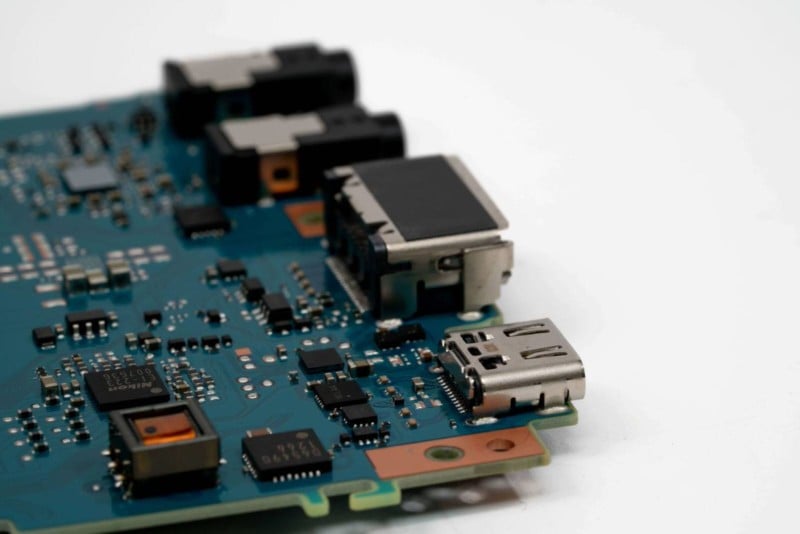
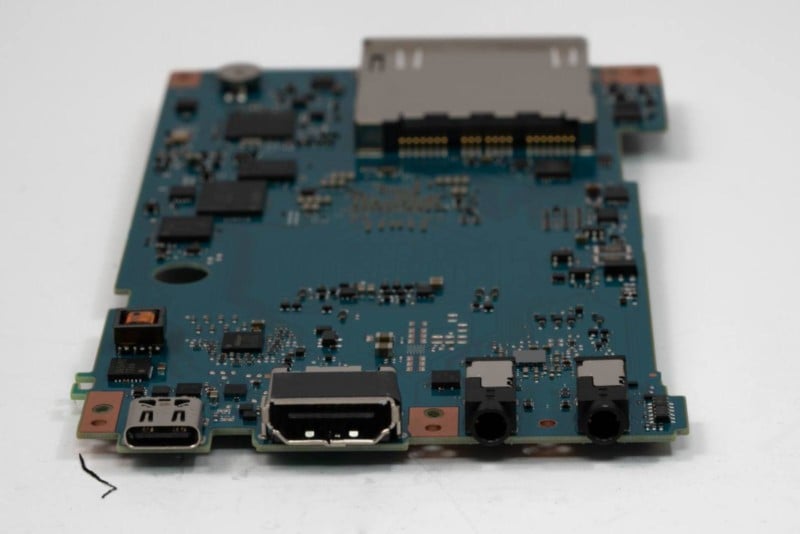
They’ve also soldered all the ports onto the board, making any potential repairs more difficult, especially compared to the a1, which connected most of its ports with detachable flex cables.
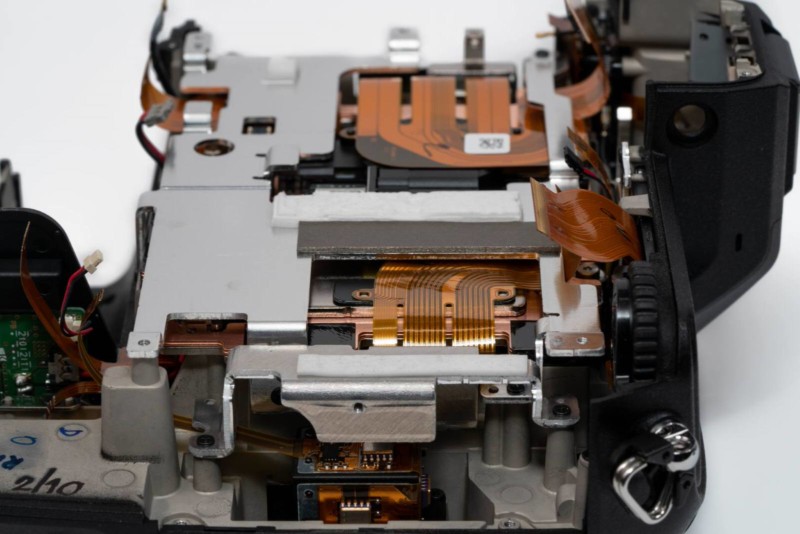
Beneath the board, we find another layer of the heatsink frame.
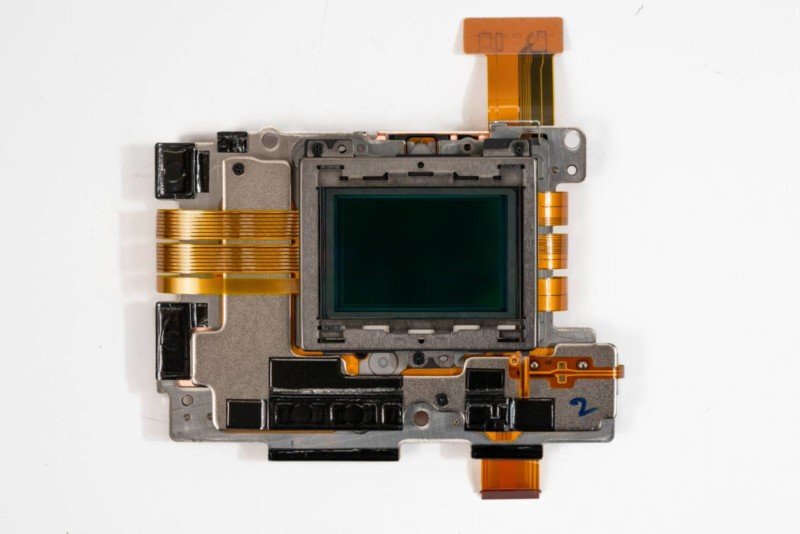
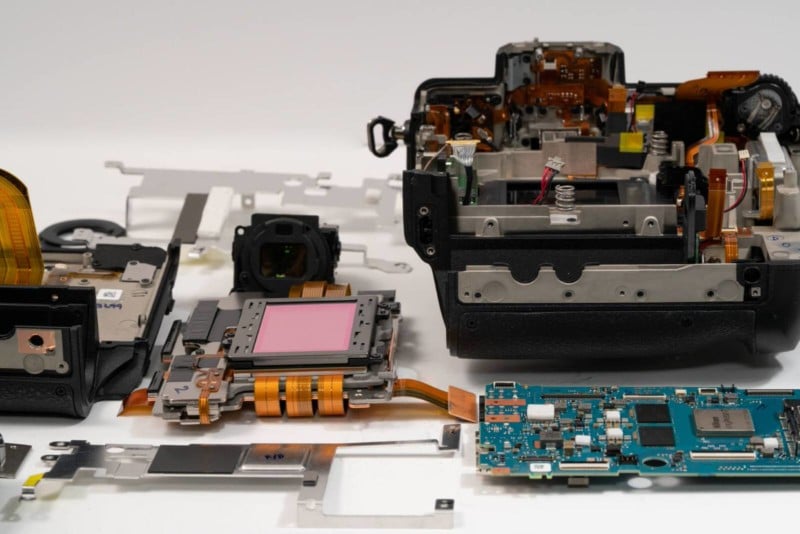
We remove a few screws, take off the frame, and there we have the sensor.
By the way, if all that talk of uncalibrated sensors concerns you, don’t worry. The sensor screws are laced with Loctite glue to ensure that they’re not going anywhere. Well, unless, of course, somebody were to unscrew them. But who would be crazy enough to disassemble a $5,500 camera?
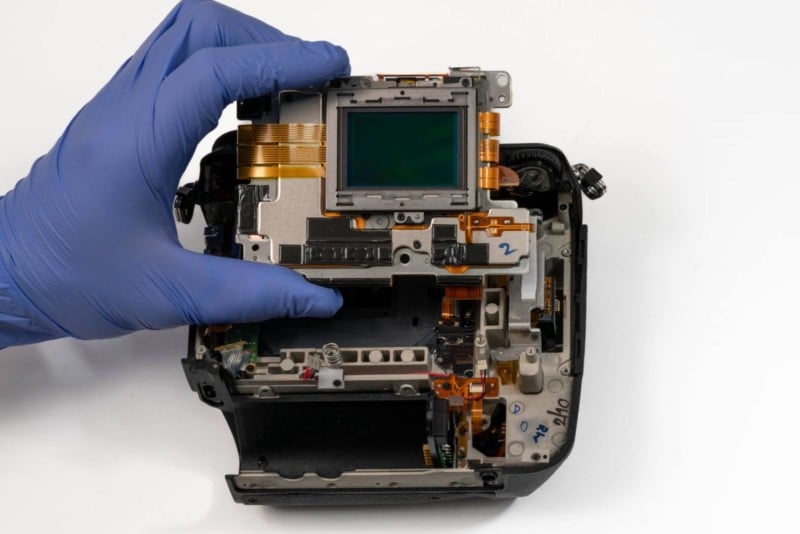
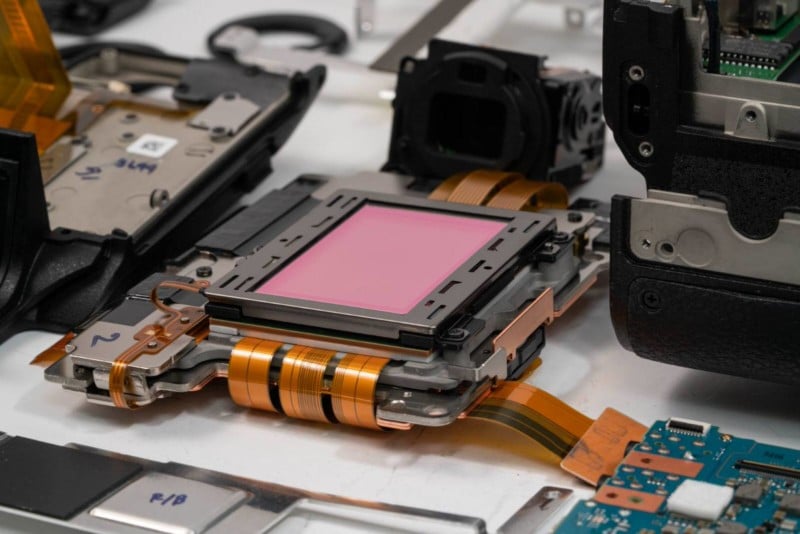
Now we just remove the last couple of connections, and there it is. Yep, that whole thing is the sensor unit. Let’s take it out so you can see for yourself.
Of course, the sensor itself is your standard full-frame size, but it ends up being quite large with the IBIS and other assorted bits. A fun fact about the IBIS in the Z9 is that, while most image stabilizers will jiggle freely when not in use, this one is locked in place to reduce the risk of damage.
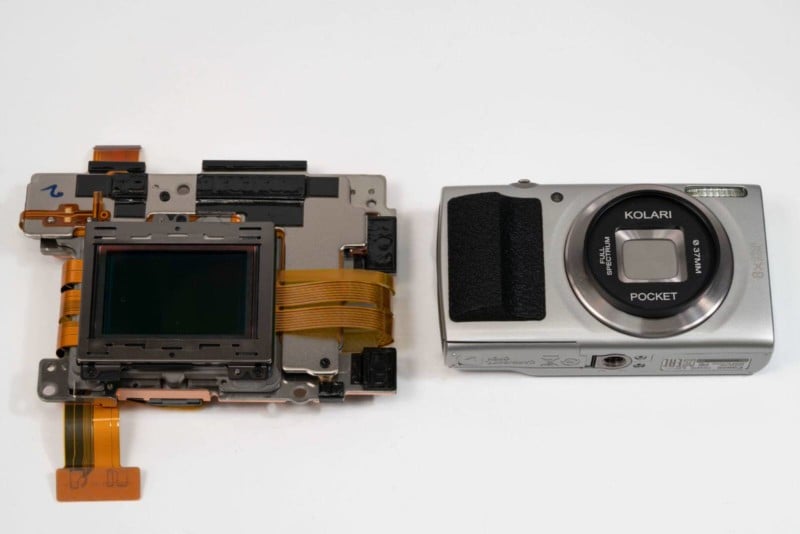
For scale reference, here is the Z9 sensor unit next to the Kolari Pocket point-and-shoot camera, which is a fun and affordable way to try out infrared photography before you take the plunge on having your own Z9 converted.
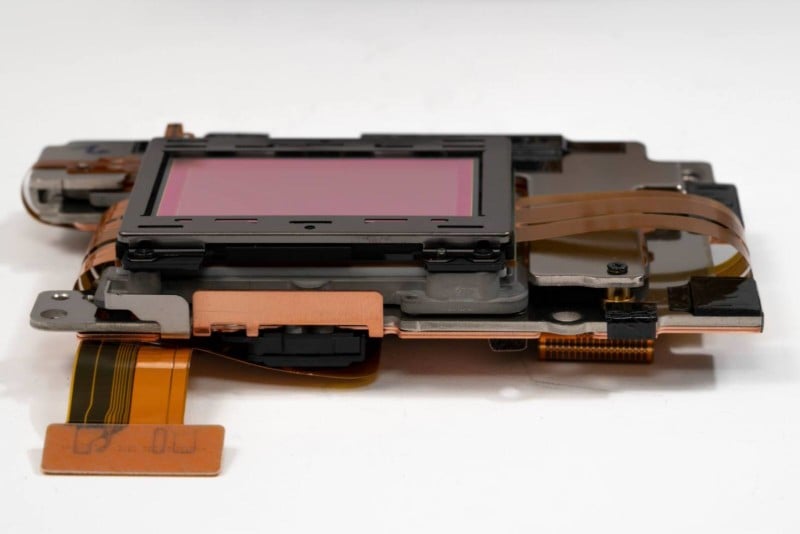
This should give a clearer look at how the Z9 divides its data transfer between the card reader and the screens.
This camera is so large that it was a struggle to get this shot with my 90mm macro lens, even while standing on a step-ladder.
The Z9 camera combines the classic features we’ve seen in Nikon’s DSLRs of the past and new innovations never before seen. If you’re a DSLR shooter who’s been holding off on mirrorless cameras because of the battery life, EVF lag, or because you (for some reason) don’t like cameras being small and lightweight, then this is the mirrorless camera you’ve been waiting for.
About the author: Alex Mirchuk is a photographer, designer, and technician at Kolari Vision, which offers pro-level filter optics and digital camera modifications. The opinions expressed in this article are solely those of the author. This article was also published here.