An Intro to Shadows in Photography
What is a photograph? There are many different ways to answer this simple question, but in basic abstract terms through the lens of lighting, every photograph is a combination of highlights and shadows. The only reason we see depth and dimension is in fact shadow. Understanding shadows is crucial in growing as a photographer.
Table of Contents
The Power of Shadows
Highlights and shadows enable us to see dimension, and in this article, we will focus on the latter.
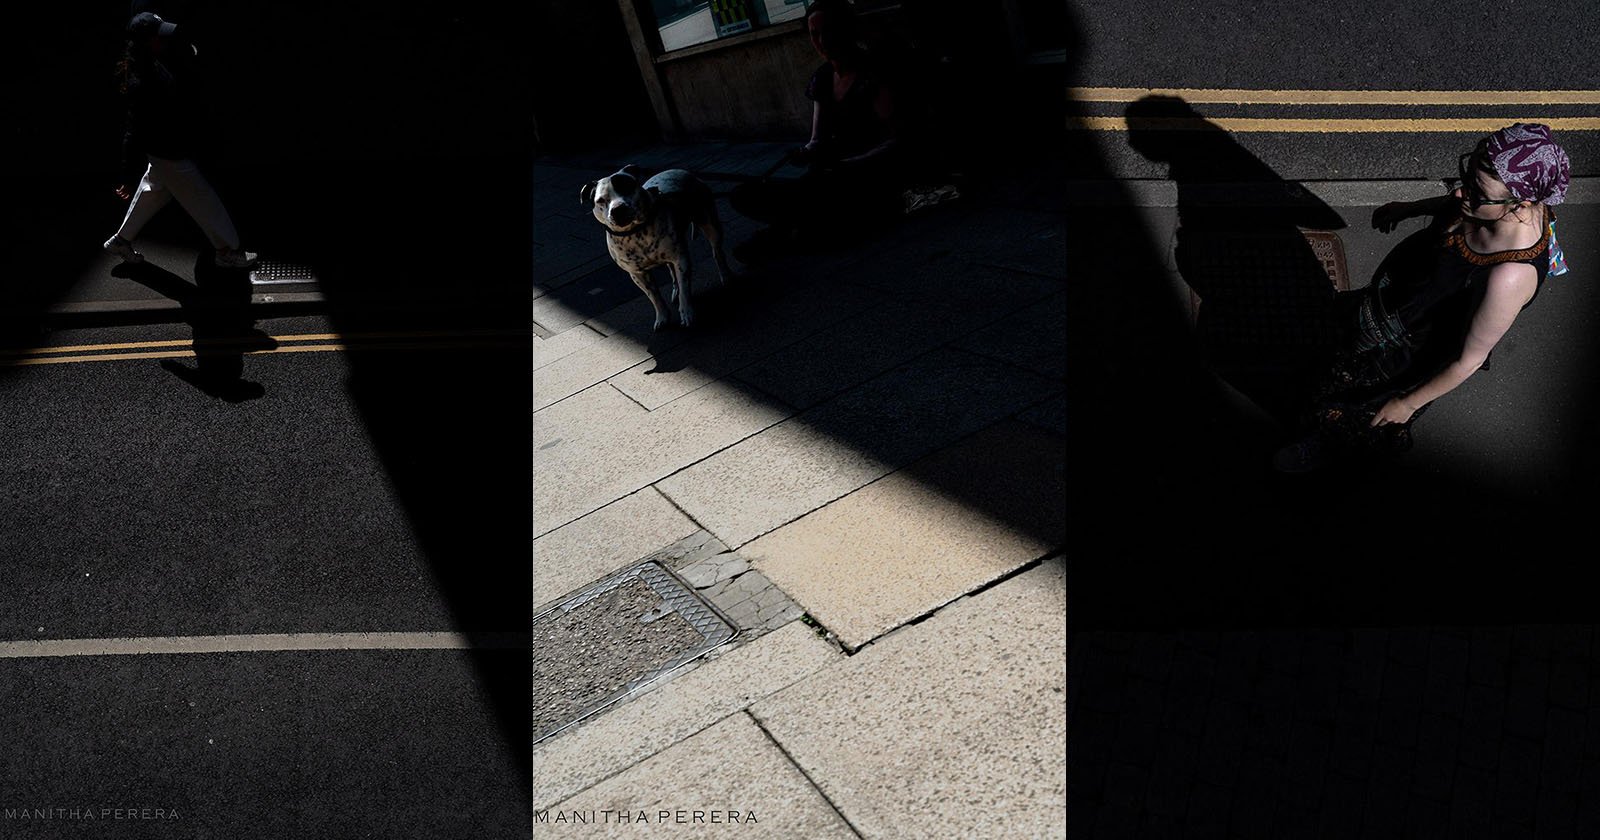
Shadows generally do a lot more than highlights in creating mood and aesthetics. There is an element of mystery in each shadow, and the eye is naturally drawn to it. In photography, shadows help reveal the texture, depth, size, and shape of each object. In portrait and fashion, shadows help craft an aesthetic.
For example, an image with dramatic really dark shadows will appear a lot more mysterious than a high-key shadow-less portrait. You can use shadows to your advantage when photographing people — someone with a round face will benefit from more side shadows as that will help them appear slimmer, while someone with a long face will be helped with a kicker light that can remove a potentially unflattering shadow.
Whenever you’re photographing, ask yourself these questions about shadows:
- Where is the light coming from?
- Where are the shadows?
- How dark are they?
- What is their shape?
- Do they create the mood I need?
In order to help you answer these important questions, I will describe some key components of shadows. Let’s start off by putting all shadows into two categories: thrown and self shadows.
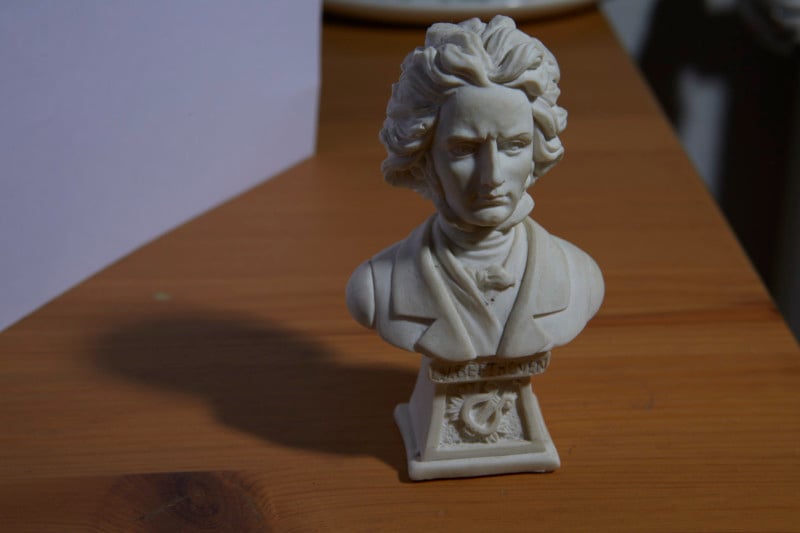
Thrown Shadows
This type of shadow is one that’s cast by an object obstructing a light source. Importantly this is a shadow that’s cast on a surface different from the object obstructing. This shadow will follow the outline of the shape and take the form of whatever object is obstructing it.
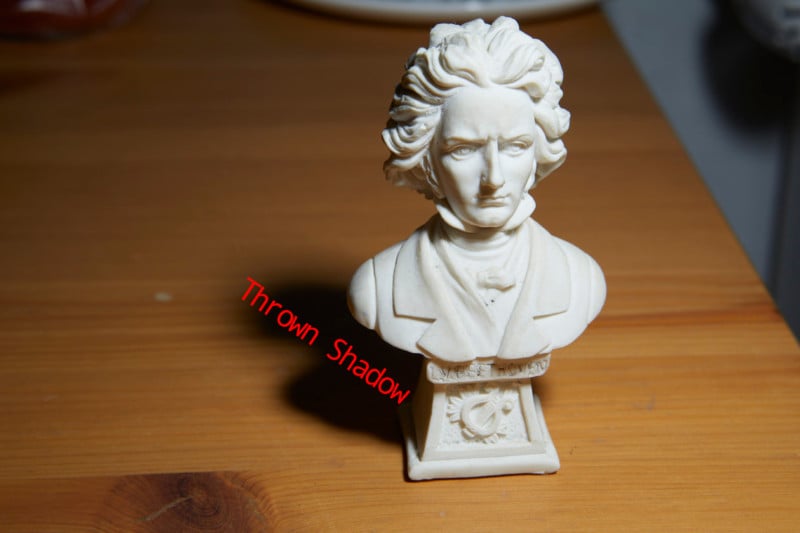
You can control the width of the shadow edge by moving the object casting a thrown shadow toward or away from the light source.
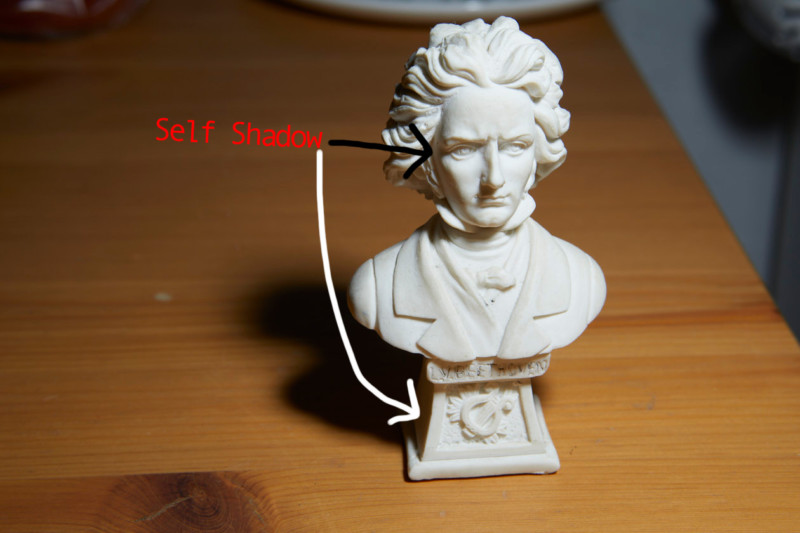
Self-Shadows
Self-shadows are created because the object changes shape. These are the shadows that help us determine the dimensions of an object. In other words, it’s the side that is not lit.
The brightness of self-shadows is determined by the relative angle at which the surface is towards the light. If the surface is at 0 degrees, it will reflect 100% of the light, at 45 degrees it will reflect 50%, and at 90 degrees it will reflect 0% of the light.
Self shadows depend greatly on what type of surface you’re photographing. Sometimes this can deceive you. A small hard light source can produce “soft” results on a smooth round surface. Therefore, it’s important to consider not only the shadow but also the surface when evaluating self-shadows.
Key Components of Every Shadow
Brightness
A shadow’s brightness is controlled by a lot of things. The first one is light distance. As the inverse square law dictates, the closer the light source the more dramatic the falloff. Therefore, to create dark shadows you want to have your light source somewhat close to the subject. In order to create brighter shadows, put the light source further away.
Another factor controlling the brightness is light bounce. Working in a white room will make all of your shadows brighter while working in a dark room will make your shadows darker.

Fill lights can also do a great job of controlling shadow brightness. Increase the amount of fill and you’ve got brighter shadows.
Lastly, it matters if you have a grid or not, as a gridded light will have a smaller spread and hence create more contrast.
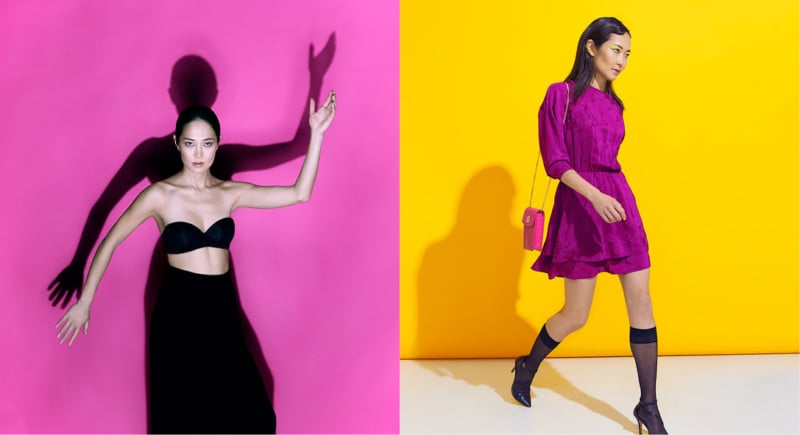
A bright shadow appears less dramatic to the viewer, whereas a dark shadow will create drama and add tension to the image.
Shape and Direction
The last property of each shadow is shape and direction. I’ve talked about controlling the shape of your shadows already, so I won’t repeat myself. Direction, however, is controlled by largely one thing: the position of the light source.
If the light source is close and high up, the shadow itself will be rather small. A light source that is on the same level as the subject will cast an infinitely long shadow. Observing the direction of your shadows can help you create movement in the images, or make them feel static.
Overall, it is a good idea to highlight action with a shadow that has direction.
Umbra, Penumbra, and Antumbra
Umbra
It is rather simple to say what an umbra is: it is the evenly dark “main” part of a shadow. The size and direction of the umbra can be controlled by chaining the subject-light distance.
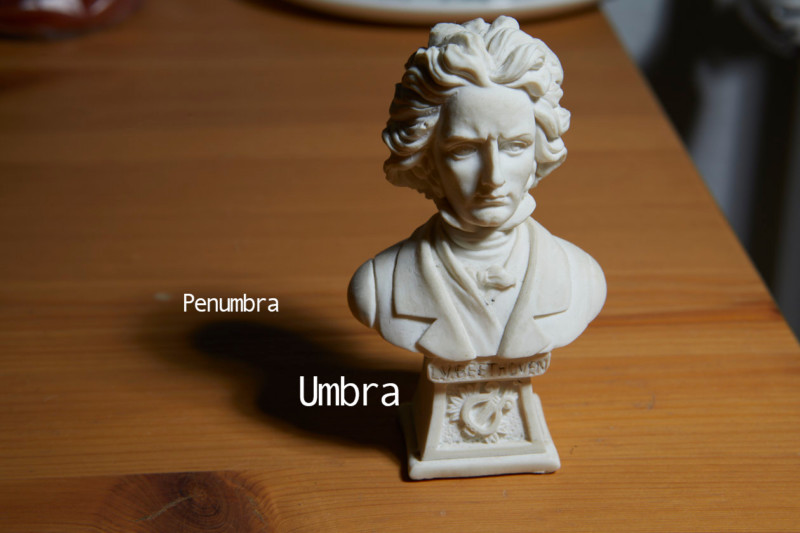
Penumbra
The penumbra is a vital concept to understand, and it is also the one photographers generally pay attention to most. The penumbra is also known as the shadow edge or the transition from the umbra to a shadowless region.
The penumbra can be either long or short. This will define if the light is soft or hard. A wide penumbra will mean soft light or hard light on a smooth surface. A sharp penumbra will mean hard light or a very jagged surface.
The shape of the light source defines how wide or hard your penumbras are. For example, a stripbox will have wide penumbras on the long side, and short penumbras on the short side. The only way to change the width of a penumbra is to change the size of your light source.
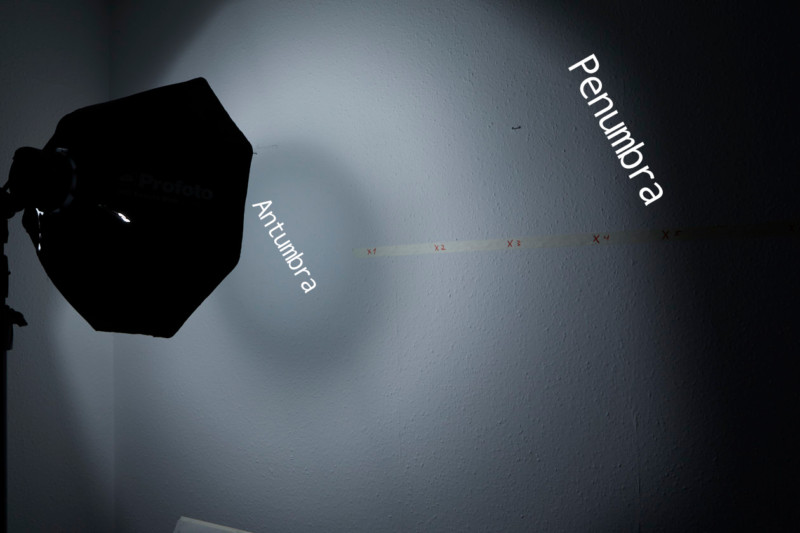
Antumbra
The least understood of the three. An antumbra occurs when the penumbras (shadow edges) are so wide, they intersect behind the umbra. This is the so-called bright spot behind a shadow. These occur when the light source is much larger than the subject so the light cast is very soft.
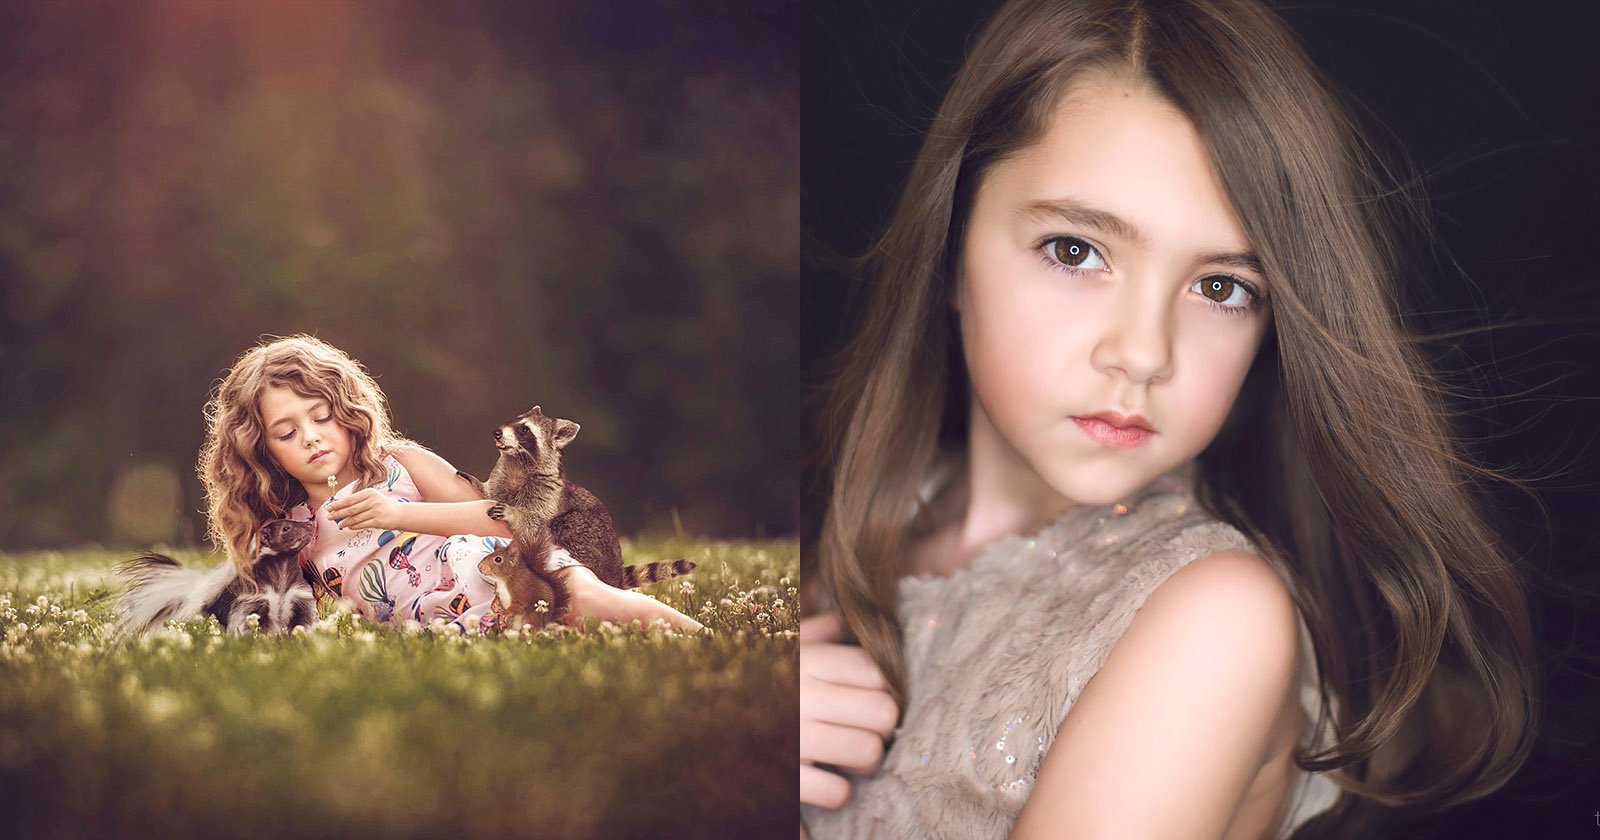
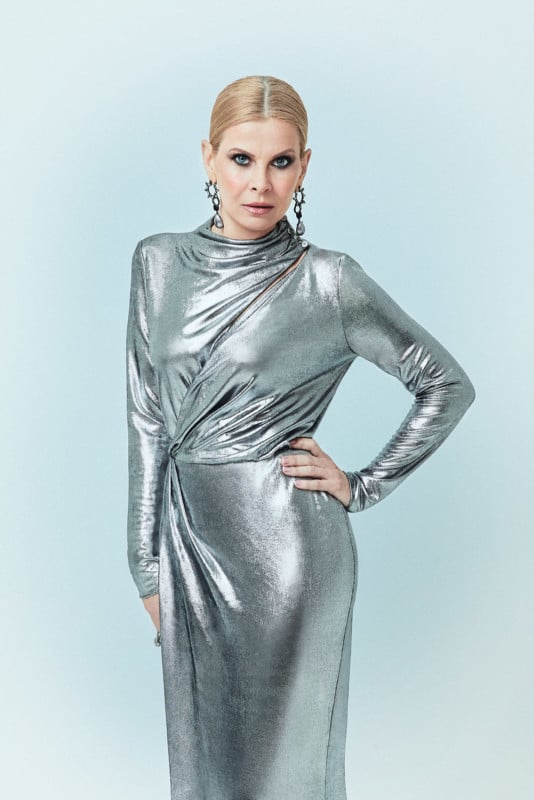
It is possible to create shadowless images like this if your background is far enough and light big enough. I create the portrait below using a 65-inch umbrella and having my subject be very far from the background so that the antumbra could take care of lighting the background evenly.
Closing Thoughts
This is an introduction to shadows and by no means a definitive guide of every possible lighting scenario involving shadows. A great way of coming to a deeper understanding of shadows is simply to experiment with your lighting and become familiar with the subject experientially.